How to install n8n on an OVHcloud VPS
150 visualizações
Objective
This guide explains how to install and run n8n, an open-source platform for workflow automation, on an OVHcloud VPS. Manual installation relies on Docker, with the server Traefik to automatically manage SSL certificates. For a turn-key setup, opt for an OVHcloud preinstalled n8n VPS.
Requirements
- A VPS solution
- A domain name
- Administrative (sudo) access to your server via SSH
Instructions
Contents
- Log in to your VPS
- You are using a pre-installed OVHcloud image
- You do not use a pre-installed OVHcloud image
- DNS configuration
- Access the n8n interface
- Conclusion
Log in to your VPS
Open a terminal and connect to your VPS with the following command (replacing IP_VPS with the real IP):
You are using a pre-installed OVHcloud image
If you have chosen an OVHcloud VPS with the n8n image pre-installed, you do not need to install Docker or Docker Compose : these tools are already present and configured.
Find all the necessary files (including docker-compose.yml and .env) in the /home/debian/n8n/ folder on your VPS.
Navigate to the /home/debian/n8n/ folder and edit the .env file:
Enter the following information:
DOMAIN_NAME: your domain name (e.g.vps.ovh.net).SUBDOMAIN: the subdomain used to access n8n (e.g.vps-xxxxxxx).SSL_EMAIL: the email address used to generate SSL certificates via Let’s Encrypt.
Once you have updated the file .env, run the following command from the directory /home/debian/n8n/:
You are not using an OVHcloud pre-installed image
Install Docker and Docker Compose
To deploy n8n via Docker on an OVHcloud VPS, Docker and Docker Compose must be installed. This method is compatible with the majority of distributions offered by OVHcloud (Debian 11, Debian 12, Ubuntu 22.04...).
Step 1 - Update the system
Step 2 - Add the official Docker GPG key
Step 3 - Add the Docker repository
For Debian (versions 11 and 12):
For Ubuntu (version equal to or higher than 22.04):
Step 4 - Install Docker Engine and Docker Compose Plugin
Step 5 - Verify that Docker and Docker Compose are working
Prepare the Traefik + n8n configuration
Create a project folder where the Docker stack will reside:
Create the configuration files
.env file
This file allows you to define the variables that are reused in the docker-compose.yml file.
Create the file:
Paste the following content into it:
Replace example.com with your real domain name and admin@example.com with the email of your choice.
If you do not have a domain name yet, order one from our website.
docker-compose.yml file
This file contains the definition of the n8n and Traefik services. In particular, it configures:
- Reverse proxy and SSL management with Traefik.
- Basic authentication to access n8n.
Create the file:
Paste the following content:
By default, the user and password are set to admin / admin123. This method is not enabled in all versions of n8n. If you would like to use it anyway, remember to change these values in the docker-compose.yml file before launching the stack, and use a strong password.
Prepare the SSL certificate folder
Traefik stores the certificates generated by Let's Encrypt in a file named acme.json. This file must exist before launch and have strict permissions.
Create the folder:
Create the empty file:
Start services
Launch the stack with Docker Compose:
DNS configuration
Ensure that your subdomain (e.g. n8n.example.com) points to your VPS’s IP address in the DNS zone. For more details, please read our guide on Editing an OVHcloud DNS zone .
If you do not have a domain name yet, order one from our website.
Access the n8n interface
Access n8n in a browser via the URL https://n8n.example.com/. Replace n8n.example.com with the actual domain you have defined.
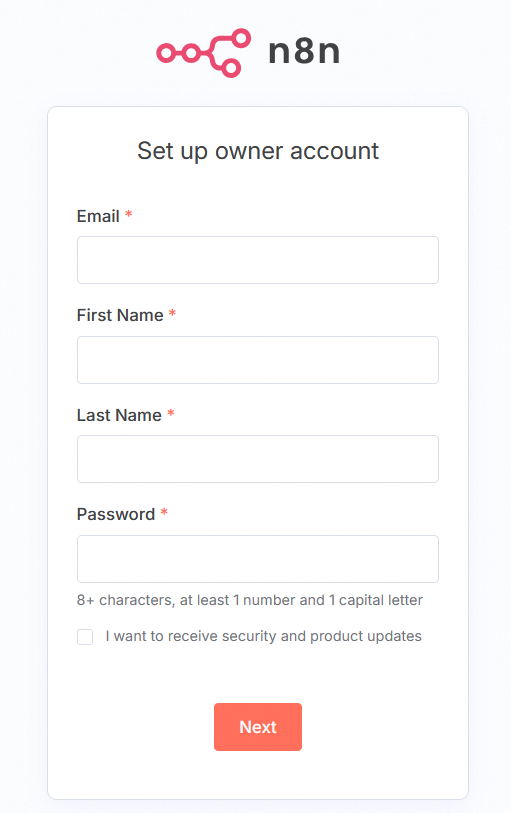
Since version 1.0 of n8n, you must create an administrator account when you first access your self-hosted instance, even if you already have an account on n8n.cloud. The accounts are specific to each instance. An account created on your VPS cannot be used on another instance, even with the same email address.
A form for creating an account will appear. Complete it to configure the first admin user of your n8n instance.
You are redirected to the login screen. Use the credentials defined above.

Conclusion
You now have a secure, operational n8n instance on your OVHcloud VPS, with automatic SSL certificate management using Traefik. To go further, please refer to the official n8n documentation to create your first workflows.
Go further
For specialized services (SEO, development, etc.), contact the OVHcloud partners
Join our community of users.

