Backing Up a Bare Metal Windows Server Using Veeam Agent for Windows (EN)
201 visualizações
Objective
Learn how to configure the Veeam Agent for Microsoft Windows to back up your Bare Metal Windows server.
To back up a Bare Metal Linux server using Veeam Backup and Replication (Enterprise), see this guide.
Requirements
- An OVHcloud Bare Metal Windows server
- Veeam Backup and Replication 12.0 installed
- Veeam Agent for Microsoft Windows 6.0.2 installation software (Veeam account required)
This guide presupposes that you have followed the steps detailed in our first guide Preparing a Bare Metal Server backup with Veeam Enterprise.
Instructions
Download and install Veeam Agent
Download Veeam Agent for Microsoft Windows 6.0.2 on the target server for your backup.
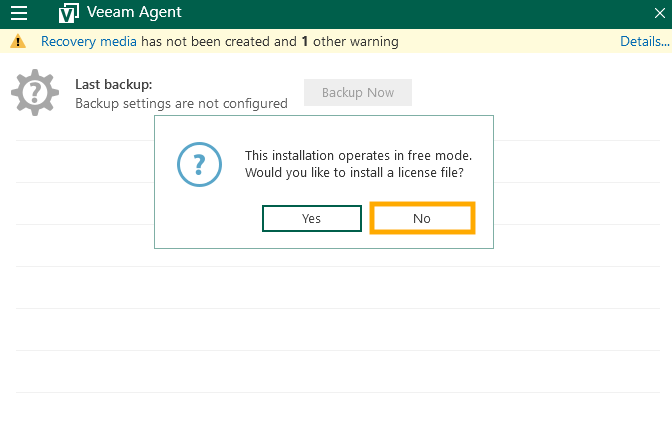
Install the Veeam Agent and select No when prompted to install a license file.
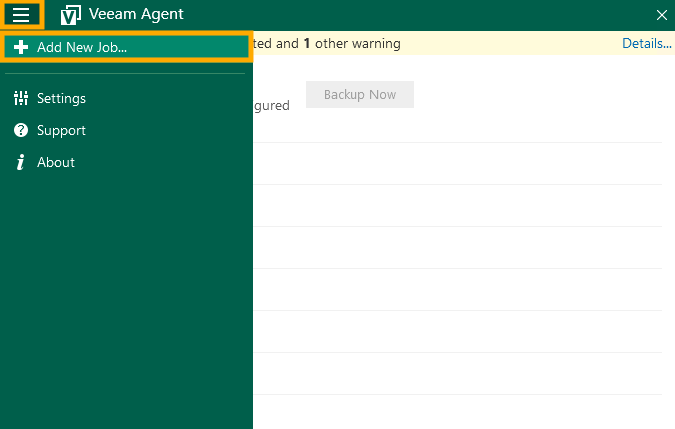
Click the menu button and select + Add New Job....
Backup configuration
Name
Modify the default Name and/or Description, if you want to, and click Next.

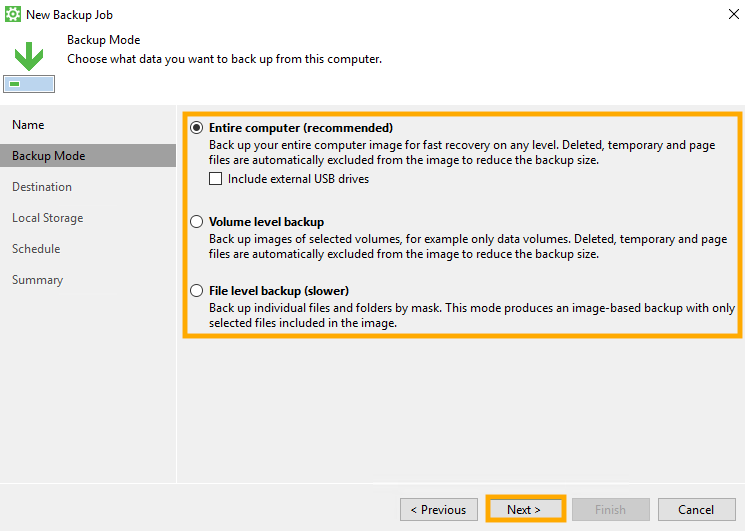
Backup Mode
Choose what data you want to back up and click Next.
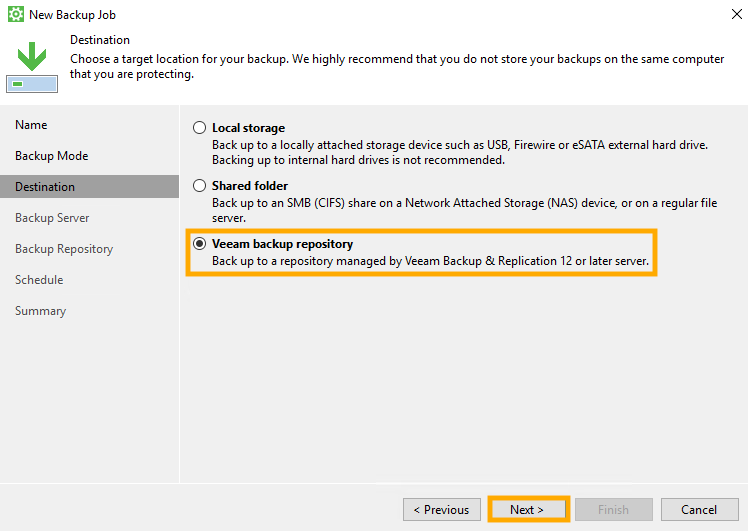
Destination
Choose Veeam backup repository. and click Next.
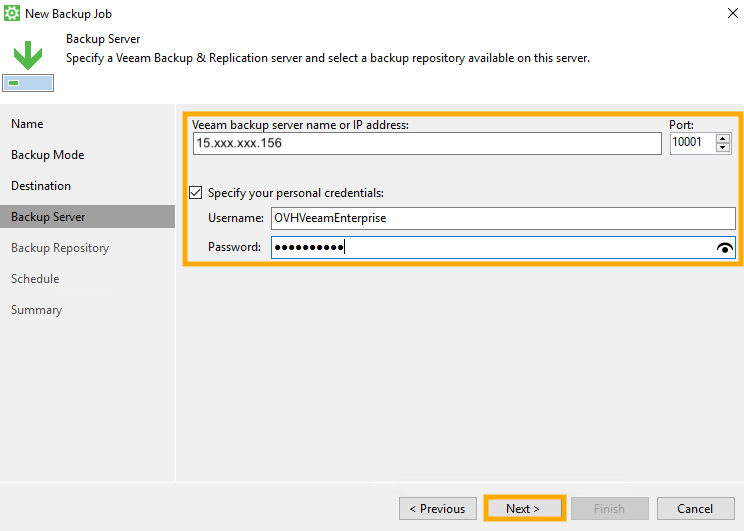
Backup server
Enter the Veeam backup server name or IP address and Specify your personal credentials (from a valid Veeam Enterprise service account).
Click Next.
It will take a moment for your license to load.
Backup repository
Select your Backup repository and, if desired, modify the retention policy.
Click Next.
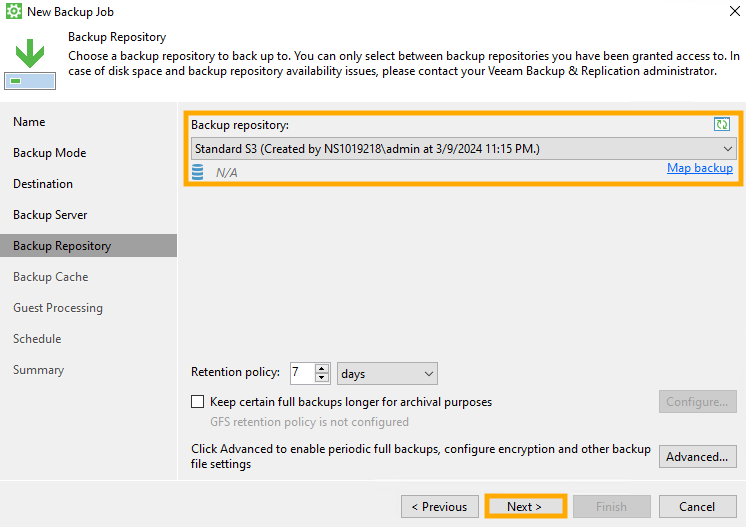
If you do not see "Standard S3" as an option for your backup repository, use the steps below to check the access permissions.
From the Veeam Enterprise application interface, select Backup Repositories, right-click on your repository, and select Access permissions....
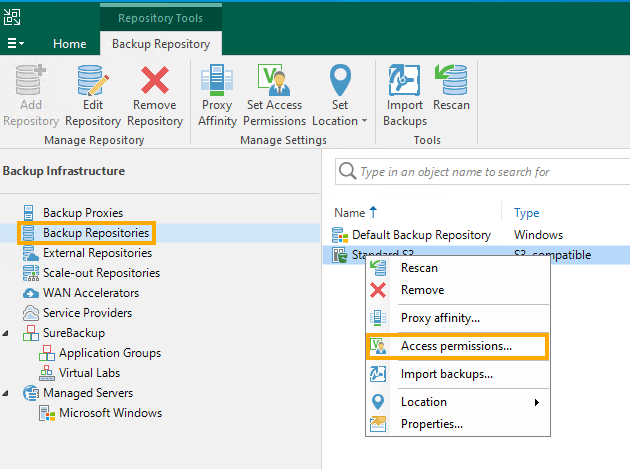
In the Standalone applications tab, make sure one of the Allow options is selected for repository access. If you need to add your account or group, you can use the Add... button. If you made changes, select OK to apply them.

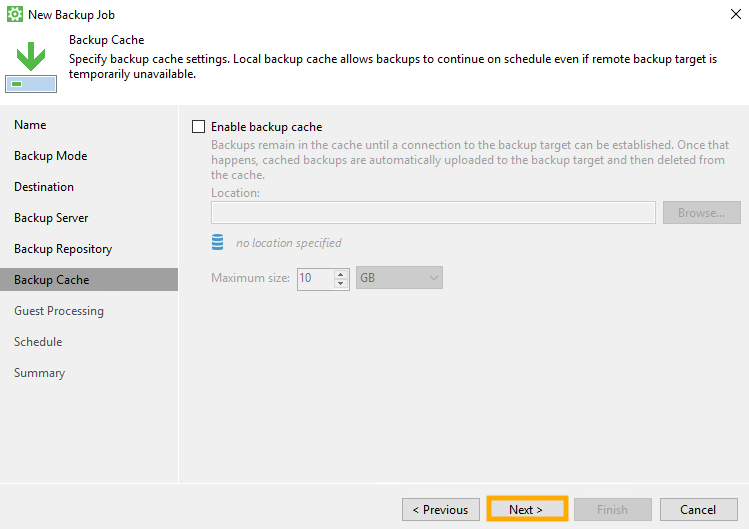
Backup cache (optional)
If desired, you can enable the backup cache if the remote backup target is temporarily unavailable.
Click Next.
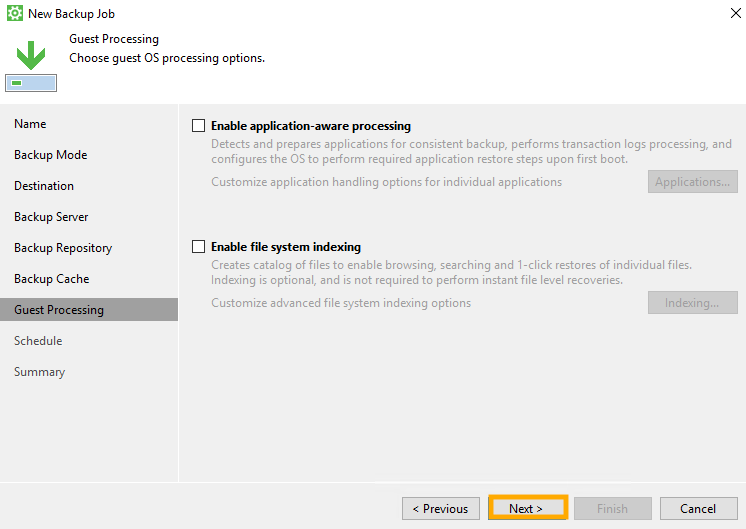
Guest processing (optional)
If you want, you can choose guest processing options.
Click Next.
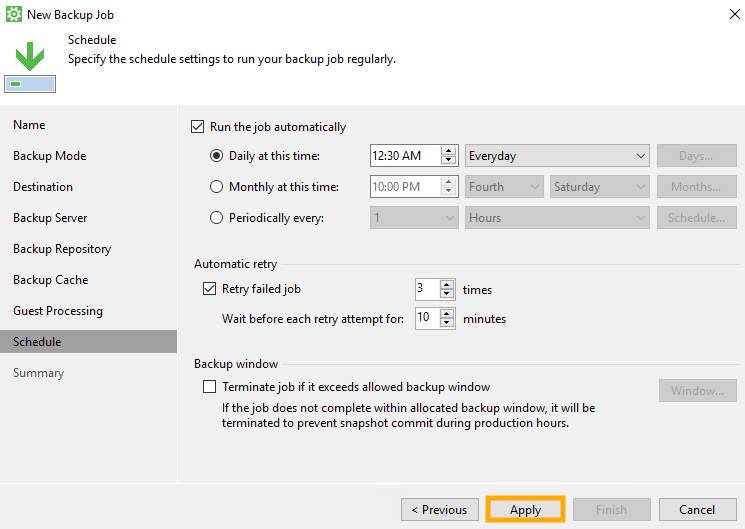
Schedule
Choose your backup schedule preferences and click Apply.
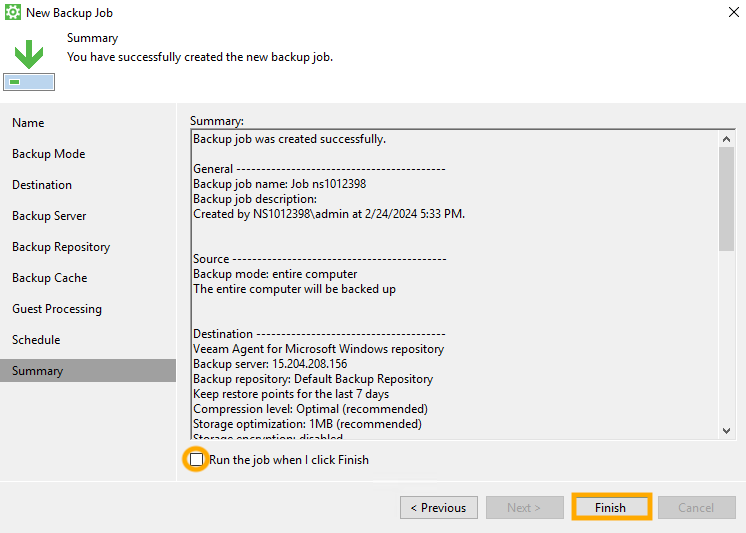
Summary
Review your settings. If you want the backup job to run as soon as you finish, tick the checkbox ☑ at the bottom of the window.
Click Finish.
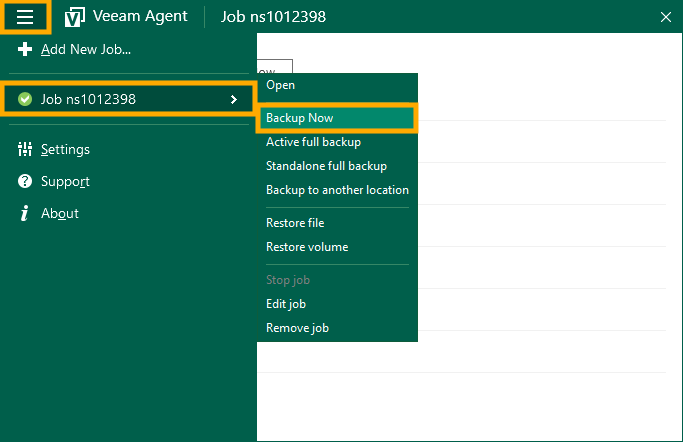
Start your backup
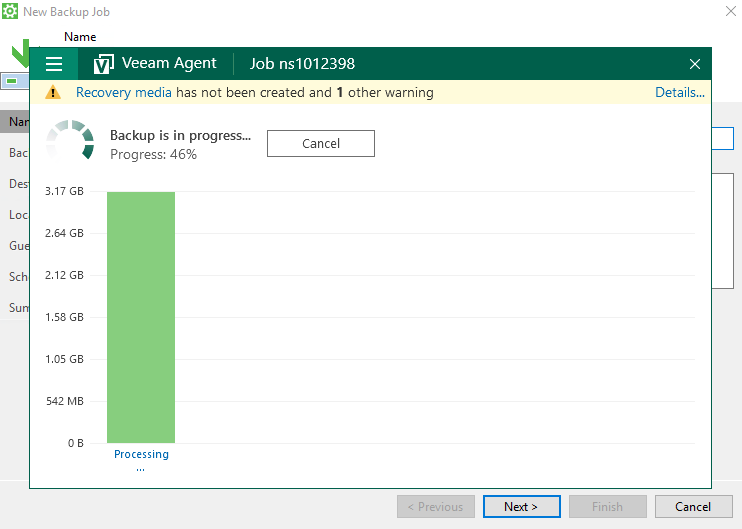
Click the menu ☰ button, select the job you just created, and click Backup Now.
You can view the progress of your backup in the Veeam Agent application:
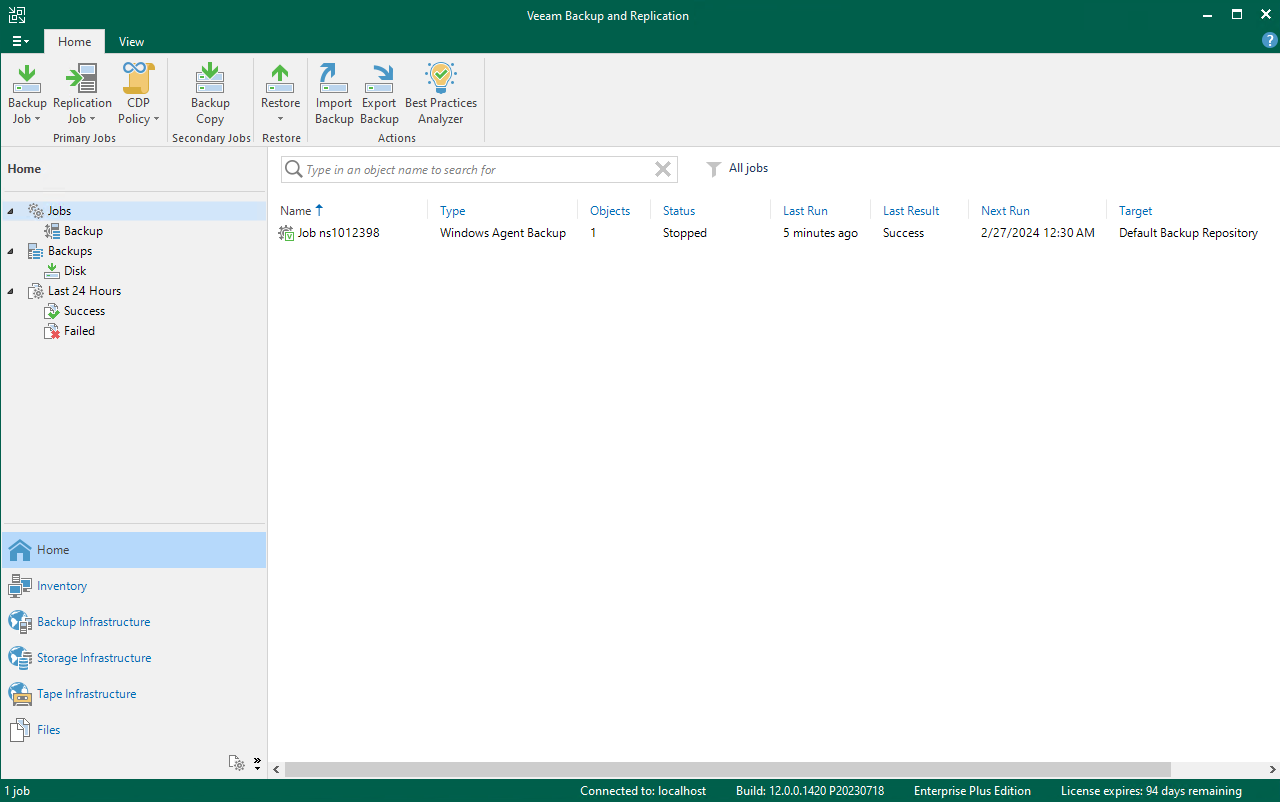
On the Veeam Backup and Recovery server, the backup job will appear:
Go further
Restoring a Bare Metal Server with Veeam Enterprise
Join our community of users.

