Instalar o Veeam Backup & Replication (EN)
728 visualizações
Objective
Veeam Backup & Replication is a data protection software. It offers its users a wide range of options for backing up, replicating and restoring their data.
This guide explains how to set up a Veeam Backup & Replication server, then register it with an OVHcloud Veeam Enterprise licence server.
If a virtual machine is protected using multiple backup methods (for example VM backup and Agent backup), each method consumes a separate licence and is billed independently.
To avoid additional charges, protect each virtual machine using only one backup method.
Requirements
- A Veeam Enterprise solution
- Windows Server 2012 or a newer version
- Veeam Backup & Replication v12.3 or earlier.
Instructions
Setting up Veeam Backup & Replication
Download the Veeam Backup & Replication solution from the Veeam website. If you do not have an account, you will need to set one up (account setup is free).
The file will appear in ISO disk image format. Once you have transferred it onto your server, select the server’s CD reader, then select the image.
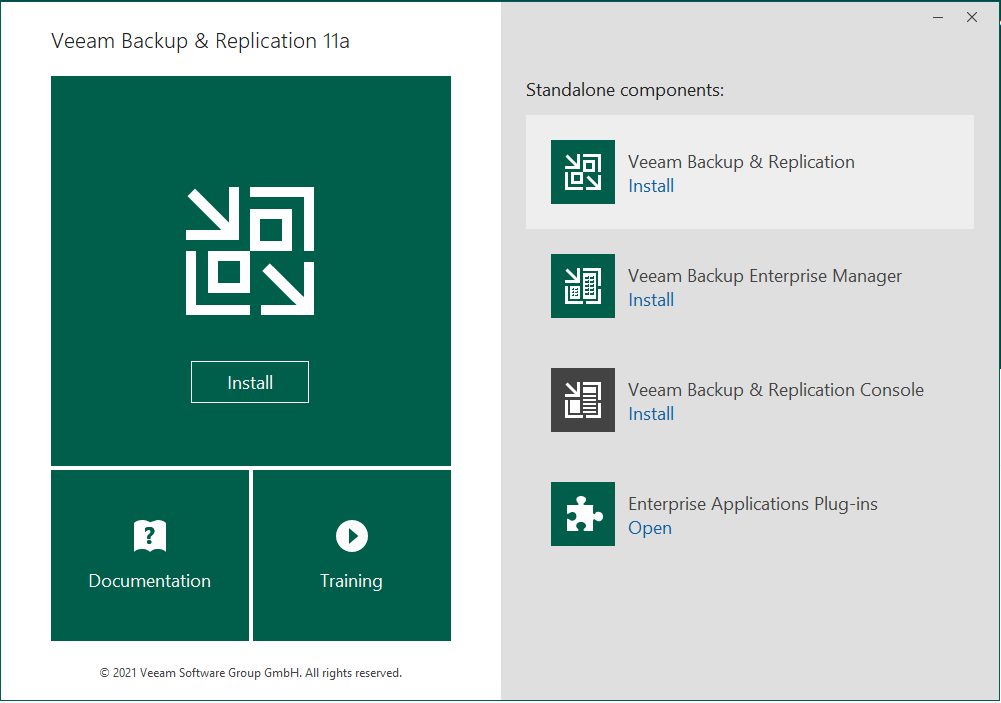
On the server, you can then launch the installation wizard. Select Veeam Backup & Replication (Install).
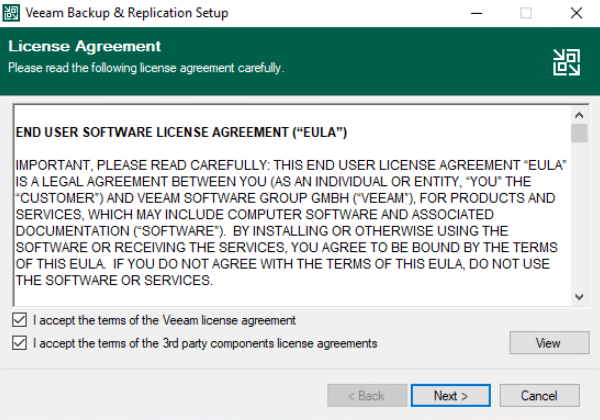
After you have read the licence agreement, accept the terms and click Next.
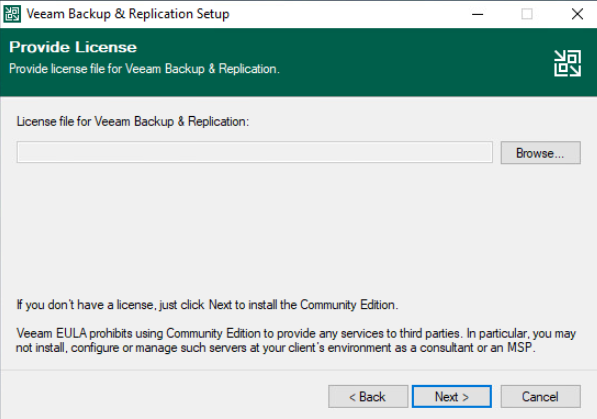
Click Next to skip the step of opening a licence file.
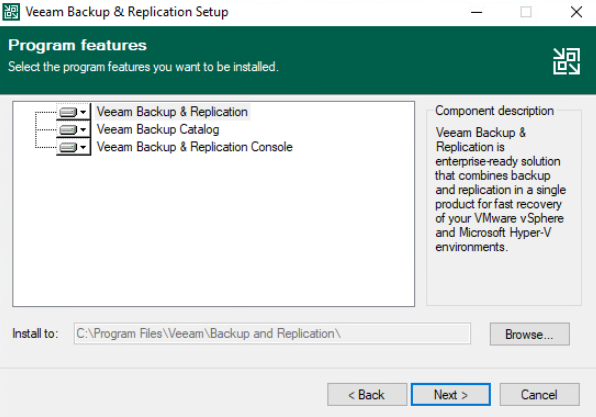
In the step where you select components to install, leave everything unchanged. However, depending on your requirements, you can change the destination path. Confirm by clicking Next.
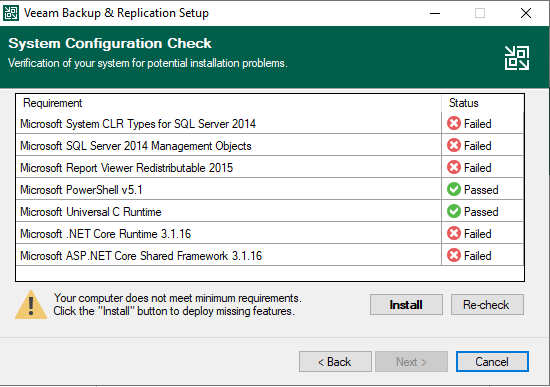
The installation wizard will then carry out a requirement check. If you are working from a clean Windows installation, some components will be missing, but the installation wizard will download and install them automatically. Confirm by clicking Next.
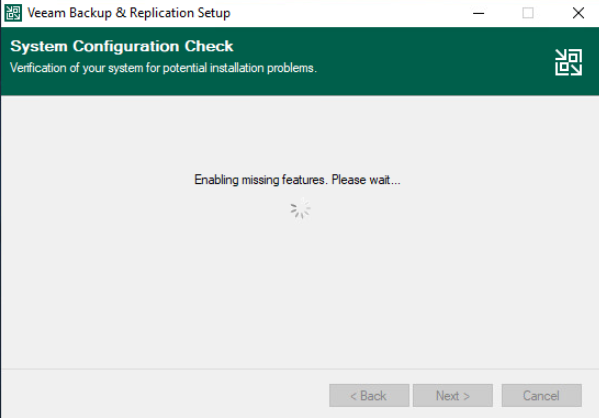
Next, wait for the missing components to be installed.
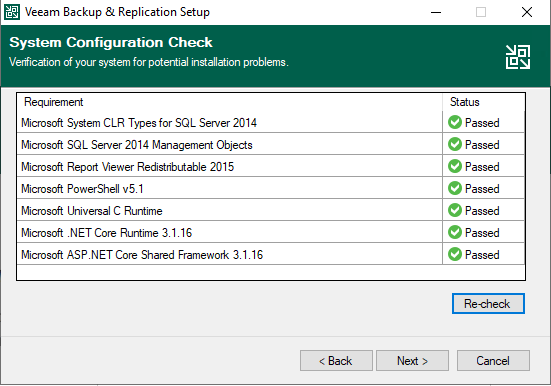
Once the installations are complete, confirm the Veeam Backup & Replication setup by clicking Next.
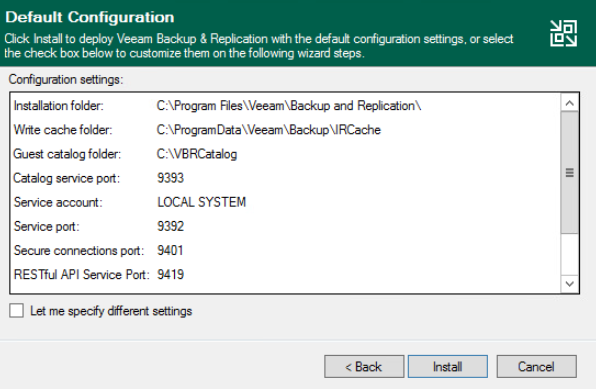
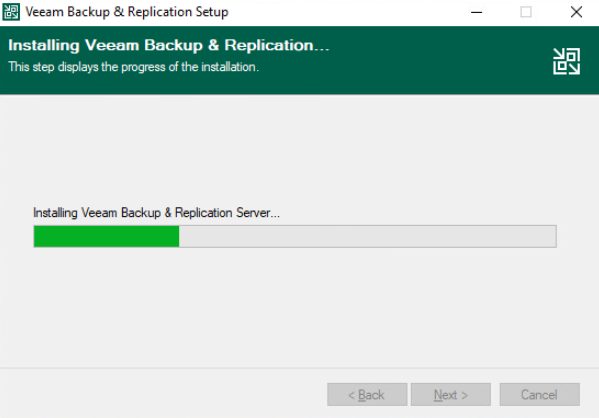
During the customisation stage of the setup, confirm the operation by clicking Install.
Next, wait for the installation to complete.
Once it is complete, exit the installation wizard by clicking Finish.
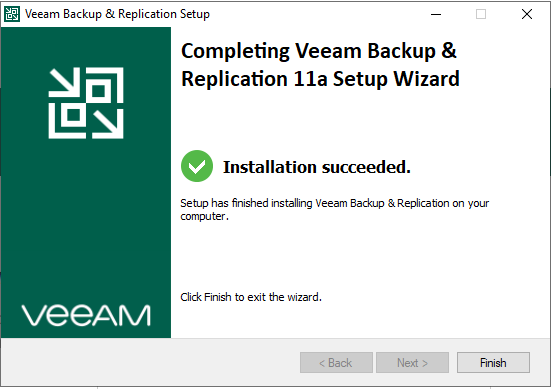
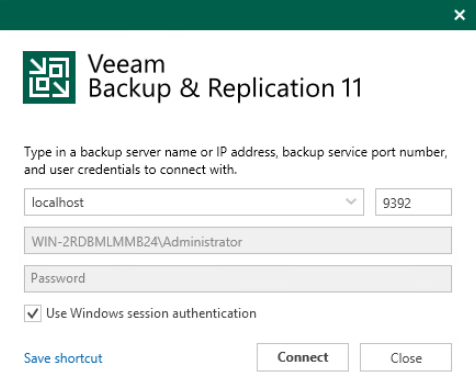
You will be redirected to the launch wizard, simply close the window.
Creating a Veeam Enterprise service account
Step 1 - Launch a service account
Generate a complex password for your service account.
To ensure that the Veeam licence activation works correctly, the username and password must use only supported characters:
- Lowercase and uppercase letters without accents (a-z, A-Z)
- Numbers (0-9)
- Special characters:
! @ = # % & ' " { } * ( ) [ ] ? . , ; : - _ \ / +
If the username or password contains unsupported characters, licence activation may fail.
Next, launch Windows PowerShell as an administrator and create the service account, for example:
Please note that the account name and password shown here are examples, and must be replaced with your own details:
- Account name: OVHVeeamEnterprise
- Password: P@ssword01
Step 2 - Define the service account authorisations
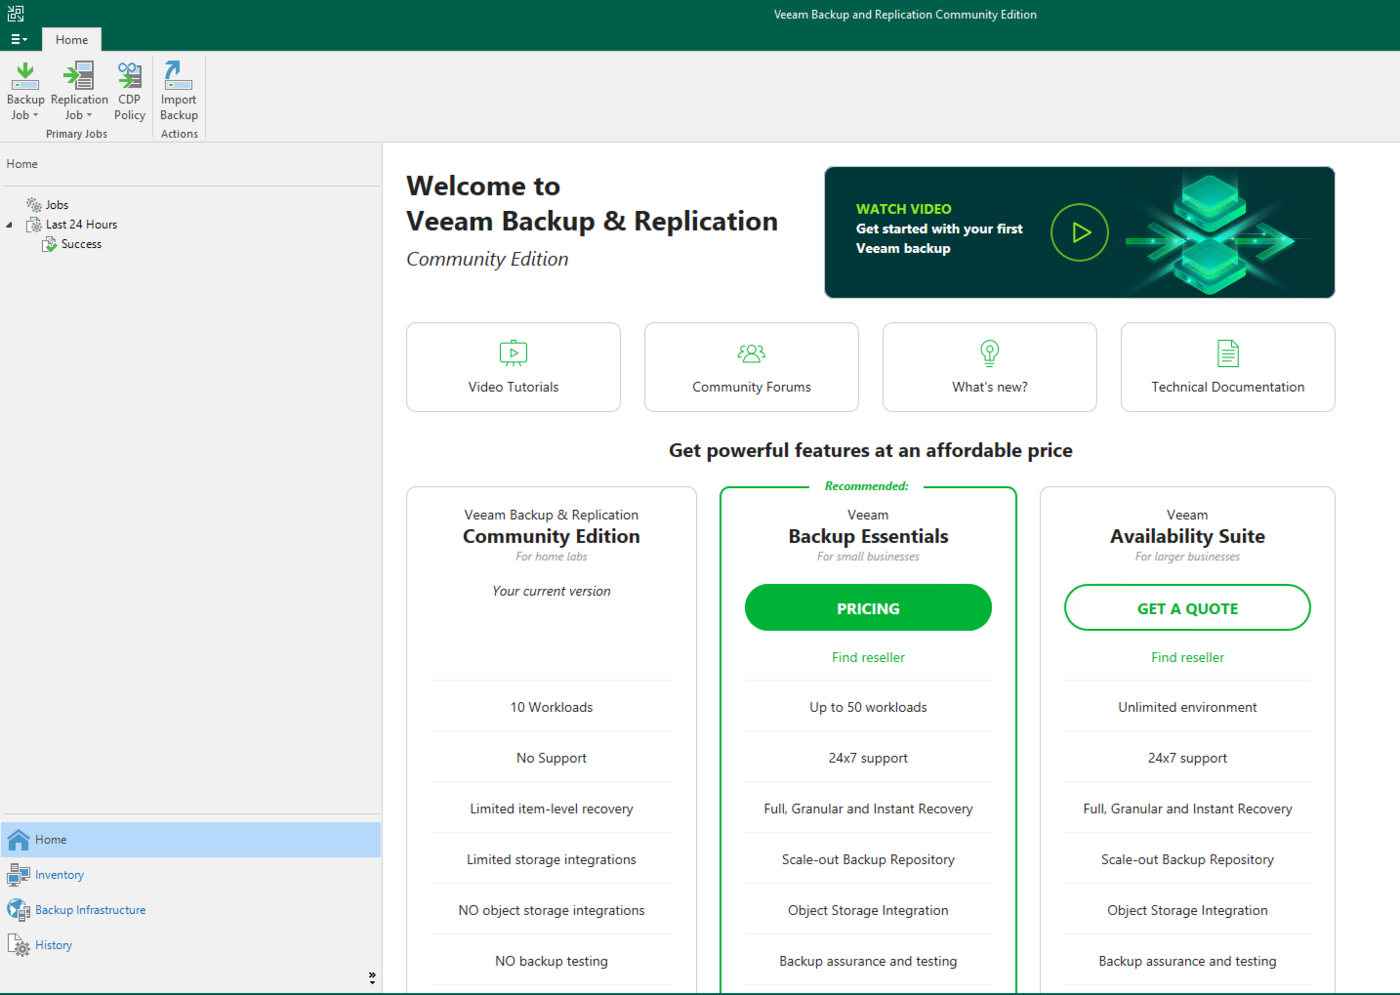
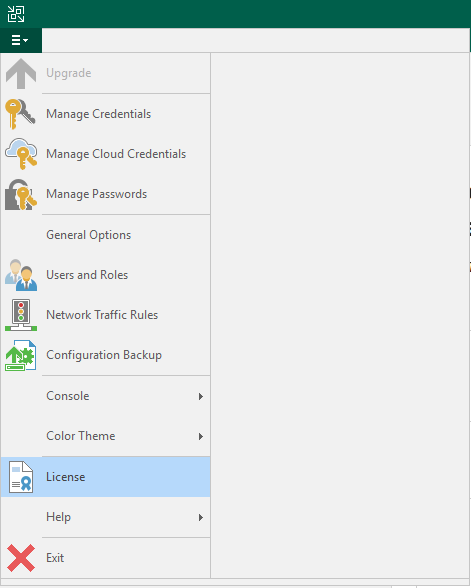
Launch the Veeam console.
Check that it is in Community Edition mode, in the bottom right-hand corner.
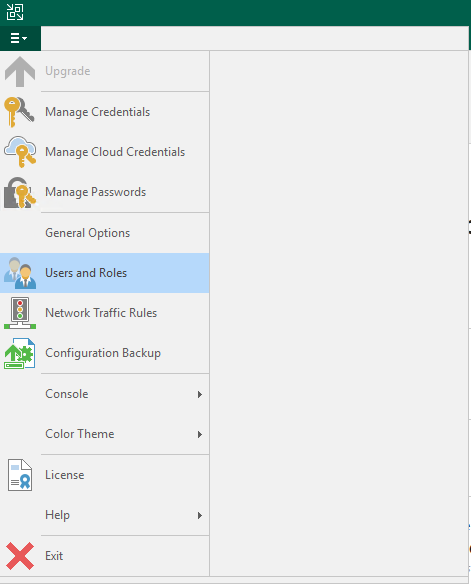
Go to the menu, and click Users and Roles.
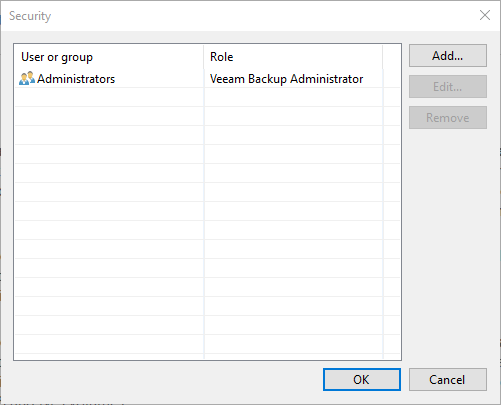
In the Security window, select Add....
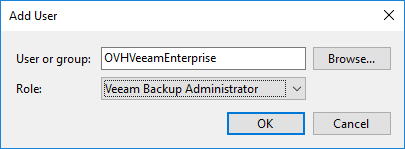
Then, in the "Add User" window, enter the service account name you have created. Select the Veeam Backup Administrator role and confirm by clicking OK.
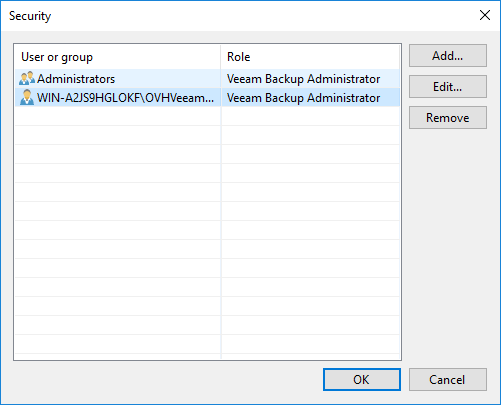
If you go back to the Security window, you can check that the account has been defined properly.
Step 3 - Launch and Activation Permissions
The OVHVeeamEnterprise user is only accessible locally, so it is necessary to add permissions in the Windows graphical user interface to enable the remote connection.
Via the graphical user interface:
- In your Windows search bar, type
Component Servicesand launch the service. - On the left menu and following the tree structure, click on
Component Services, then onComputers, then onMy Computer. - On the right, under the
Actionstab, click onMore Actions, then onProperties. - Go to
COM Security, underneath the second sectionLaunch and Activation Permissions, click onEdit Limits. Next, click onAdd....
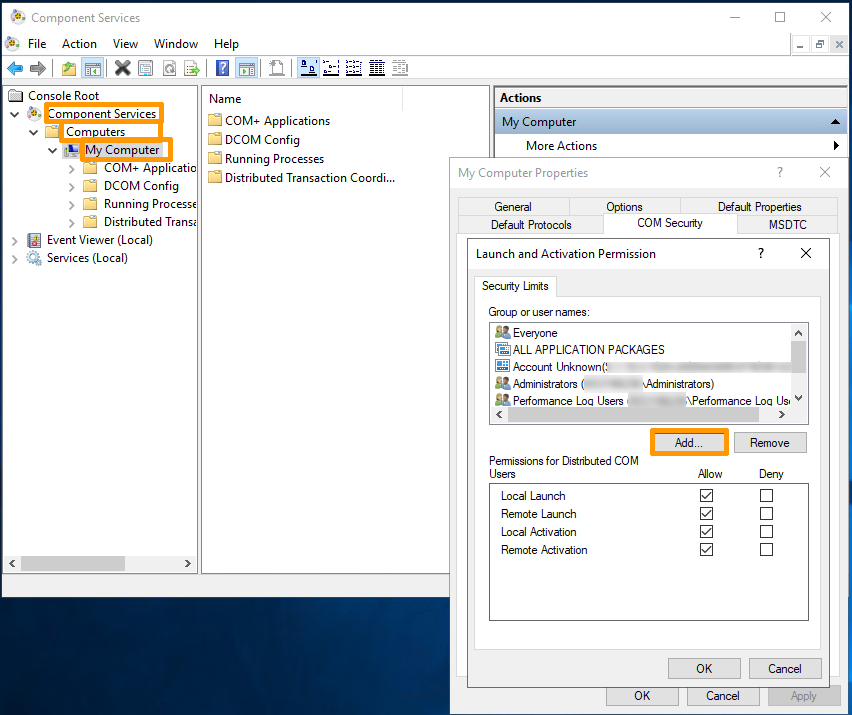
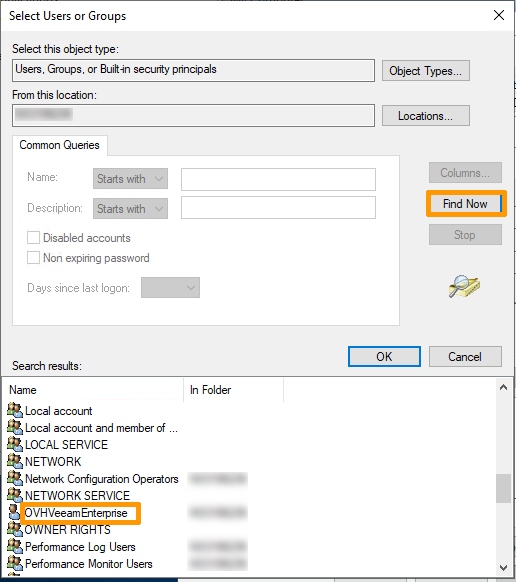
- Click on
Advancedto locate the previously added service account and click onFind Now. Select theOVHVeeamEnterpriseuser from the list of users.
- Click on
OKto confirm the selection, and onOKto validate. Next, enable all permissions on theOVHVeeamEnterpriseuser.
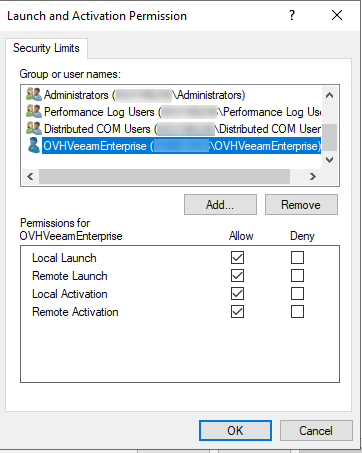
- Click on
OKto confirm and onApplyto validate the changes.
Your OVHVeeamEnterprise user is now accessible locally and remotely.
Step 4 - Register the Veeam Backup & Replication server
From the OVHcloud Control Panel
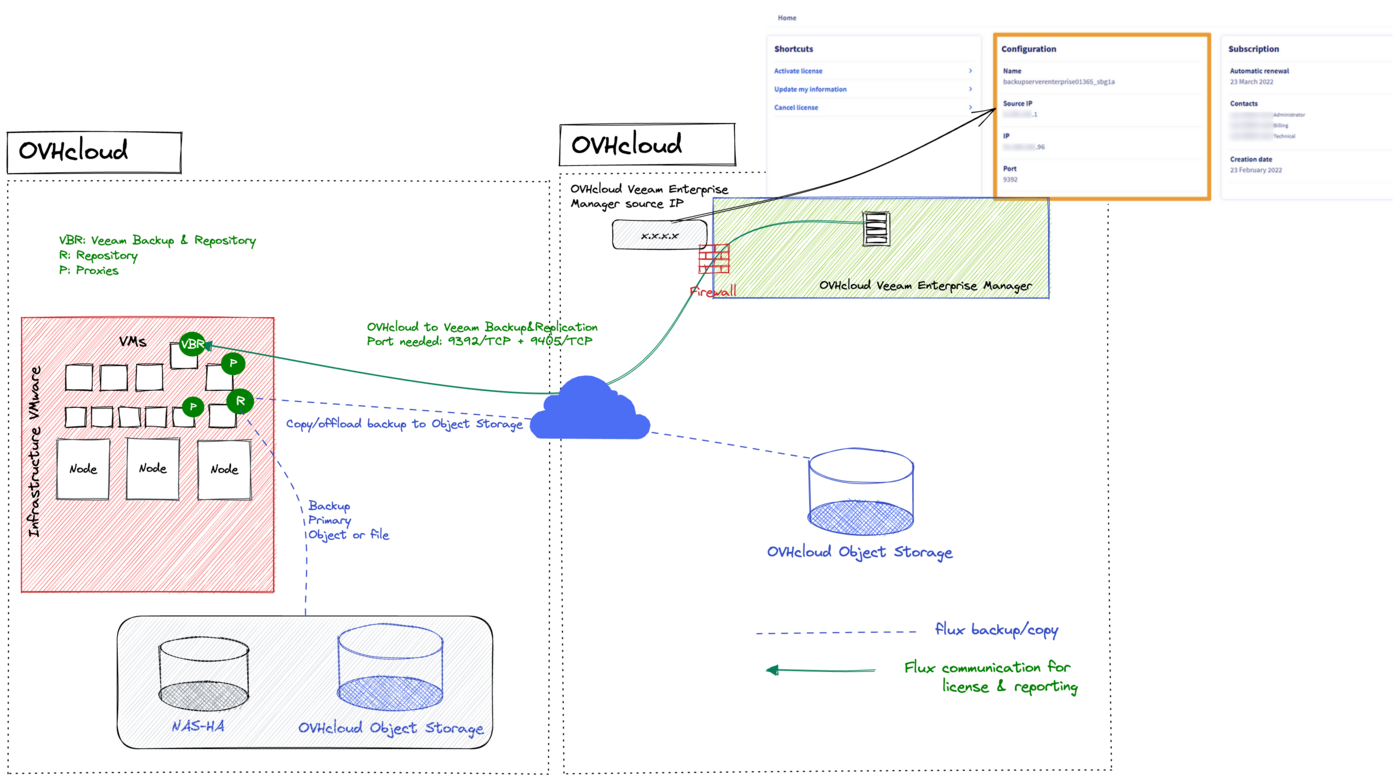
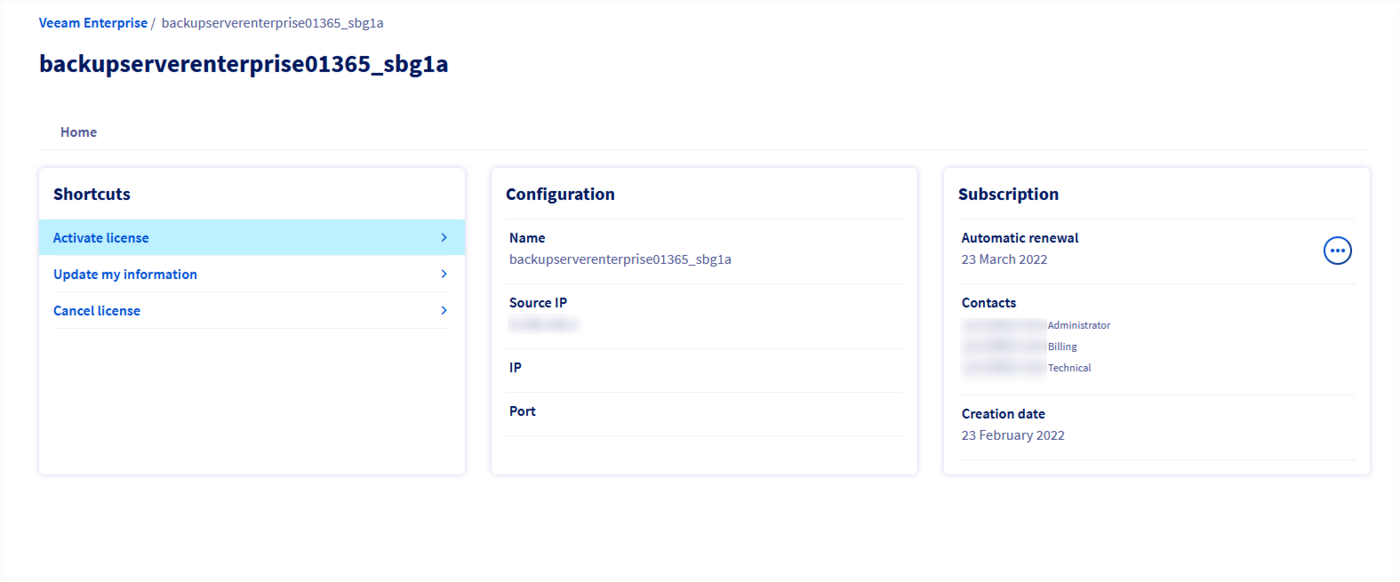
In your OVHcloud Control Panel, open the Hosted Private Cloud section and select your service labelled backupserverenterprise from Platforms and services. On this page, click on Activate license in the Shortcuts box.
To set up your environnement, make sure you have opened the ports from OVHcloud to your Veeam Backup and Replication servers:
Port 9392/TCPPort 9405/TCP
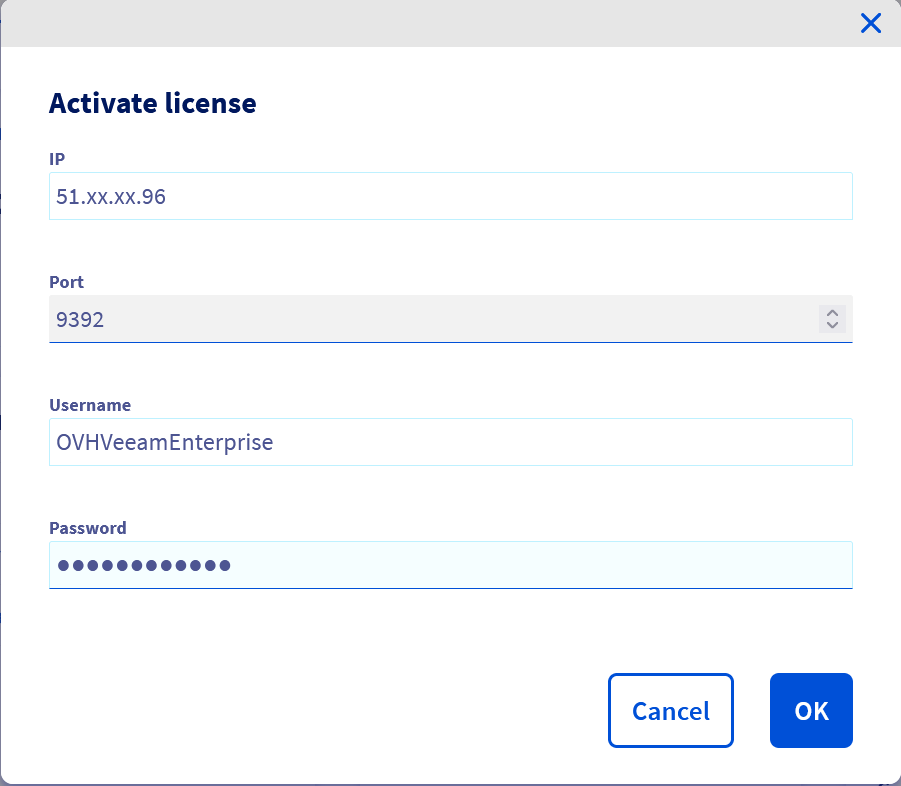
In the new opened window, enter the following information:
- The public IP address through which your server Veeam Backup & Replication can be contacted.
- The login for the service account you have created.
- The password for the service account.
Then confirm with OK.
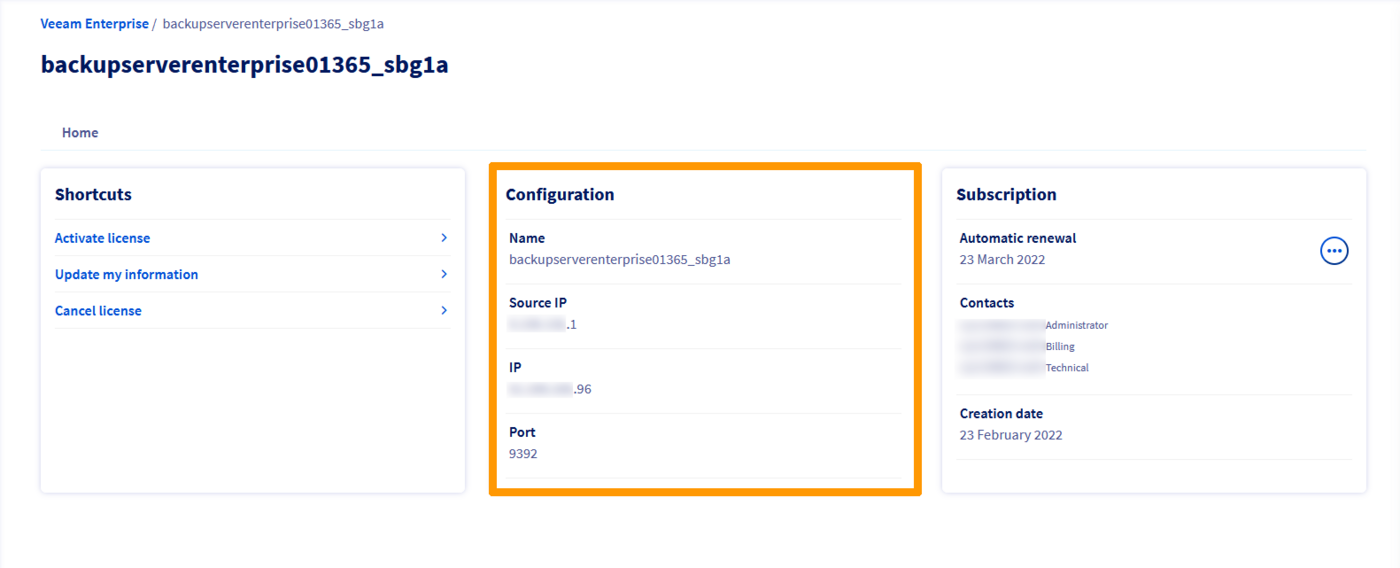
Once you have activated it, you will find the main information on the service page.
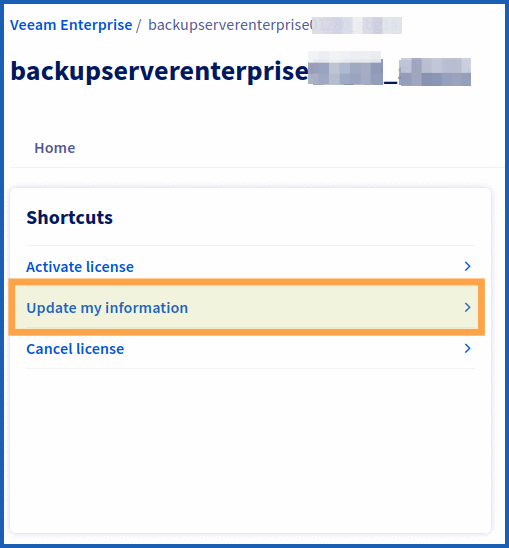
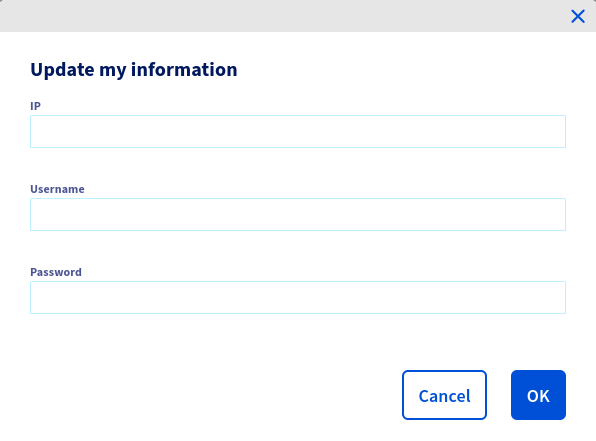
Updating login credentials via the OVHcloud Control Panel:
To update your login credentials, you can use the Update my information button.
In the window that pops up, inform the IP, Username and Password.
Finally, click OK.
Using the OVHcloud API
First, retrieve your serviceName:
Then register it:
You will need the following information:
- the public IP address that can be used to contact your Veeam Backup & Replication server
- your server’s Veeam Backup & Replication port (usually 9392/TCP)
- the login for the account you have just created
- the password for your service account
You can retrieve the public IP used by Veeam Enterprise to contact your Veeam Backup & Replication server via:
The activation of your Veeam Backup & Replication server can take several hours.
Updating login credentials via the API:
Settings:
serviceName: Your service name, e.g.pcc-XXX-XXX-XXX-XXX
Example of REQUEST BODY required:
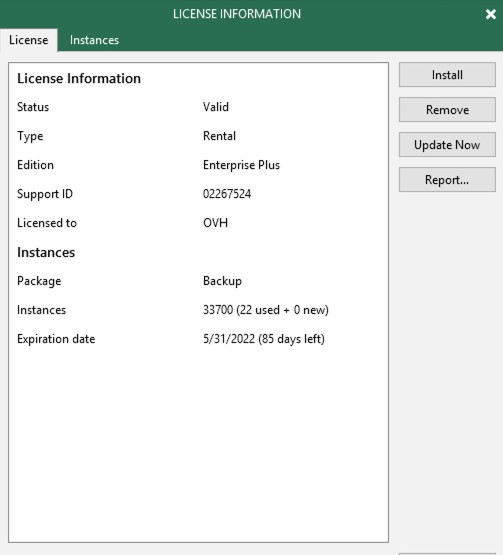
Step 5 - Verify the registration
Launch the Veeam console.
Go to the menu, then click License.
Check that the information displayed is definitely for your OVHcloud licence.
If the registration was successful, you should see Edition: Enterprise Plus.
You can now disable the user that you have created to create the registration.
Go further
If you require training or technical support to implement our solutions, please contact your Technical Account Manager or visit this page to get a quote and request a custom analysis of your project from our Professional Services team experts.
Join our community of users.

