Object Storage - Enabling HTTPS on a static website using a custom domain
257 visualizações
Objective
OVHcloud Object Storage can be used to host a static website inside an Object Storage bucket.
A static website contains only static content (HTML pages, images, videos, client-side scripts) whereas a dynamic website relies on server-side processing to process data and help render content.
However, OVHcloud Object Storage static website hosting does not support HTTPS. If you want to use HTTPS, you can use OVHcloud Load Balancer to serve a static website hosted on OVHcloud Object Storage and act as an SSL gateway.
The following document will explain how to configure your website and the OVHcloud Load Balancer to enable HTTPS.
Requirements
To enable HTTPS, you need:
- An OVHcloud Load Balancer which will serve the role of an SSL gateway and can offer protection against DDoS attacks.
- A registered domain name.
- You need to order a TLS certificate associated with your domain name at OVHcloud (optional if you already have a trusted TLS certificate associated with your domain name).
- You have to enable web hosting on your Object Storage bucket.
OVHcloud Control Panel Access
- Direct link: Public Cloud Projects
- Navigation path:
Public Cloud> Select your project
Instructions
Step 1 - Configuring the Load Balancer
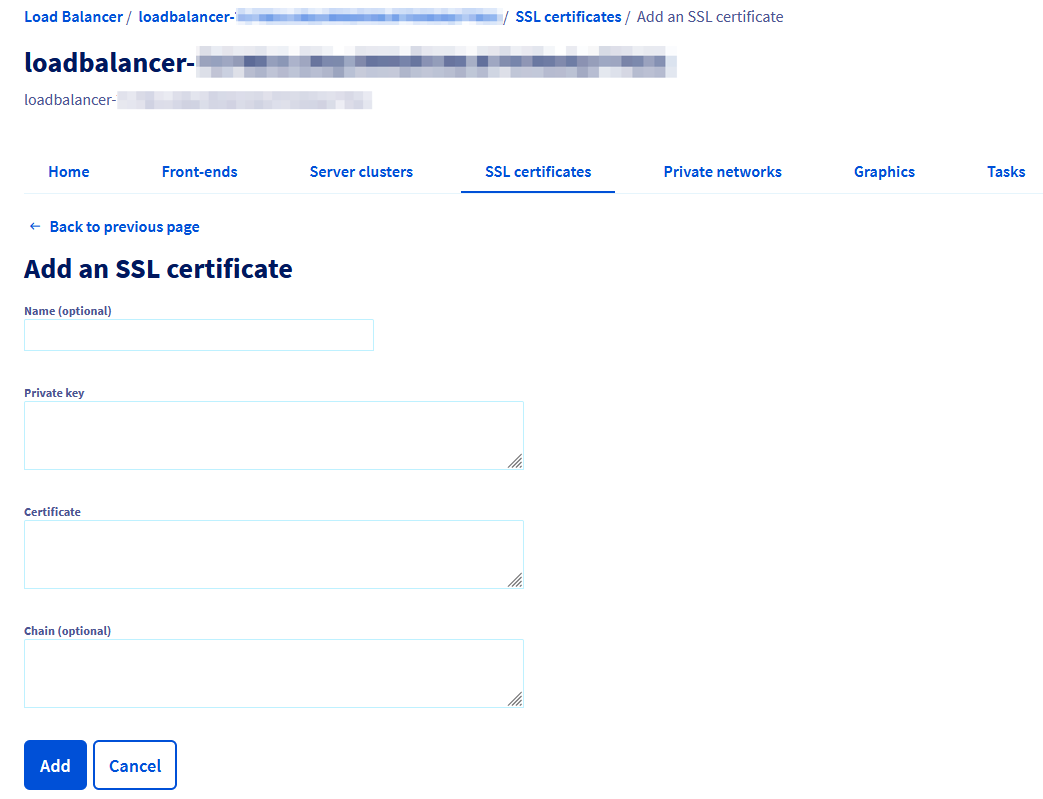
Step 1.1 - Add your certificate
Click Load Balancer.
Select your Load Balancer from the list, click the SSL certificates tab then click Add an SSL certificate.
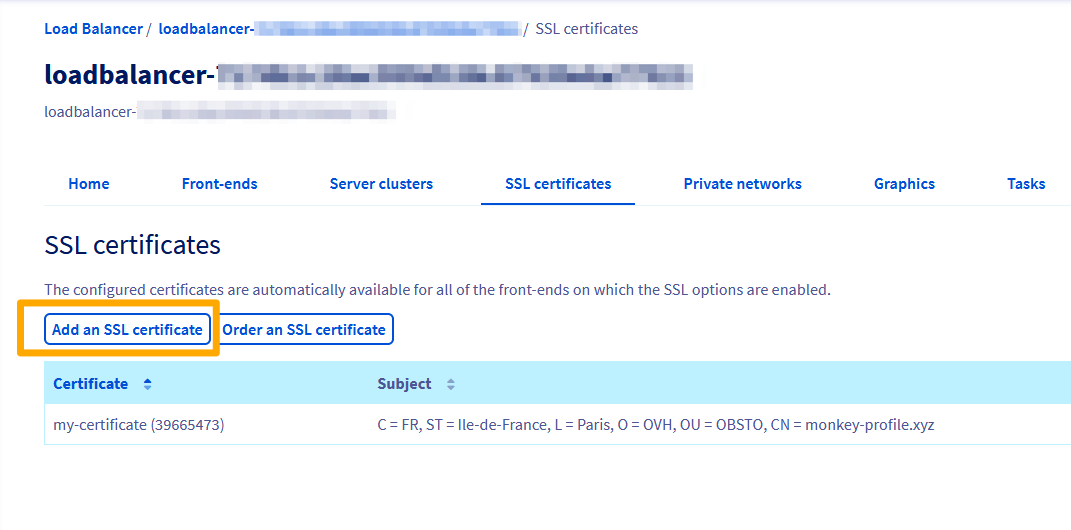
Optionally, you can also order a free Let's Encrypt certificate via the "Order an SSL certificate" button.
Step 1.2 - Configure a server cluster
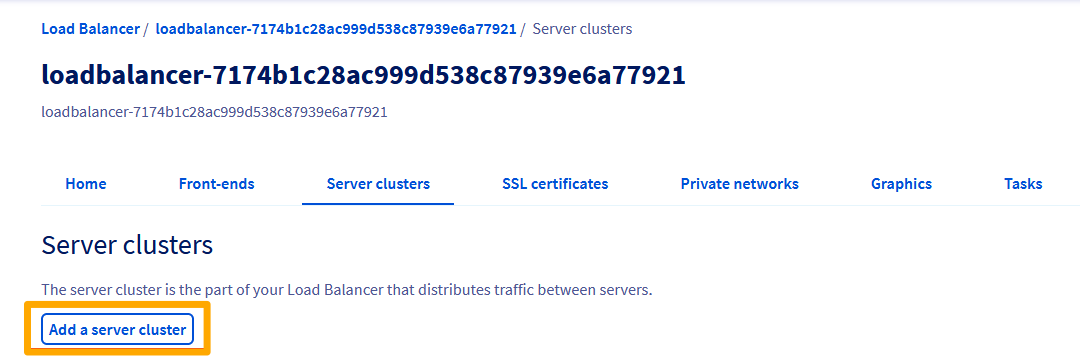
You now need to configure a server cluster and add it to your Load Balancer. A server cluster is a pool of backend machines that will handle the workload.
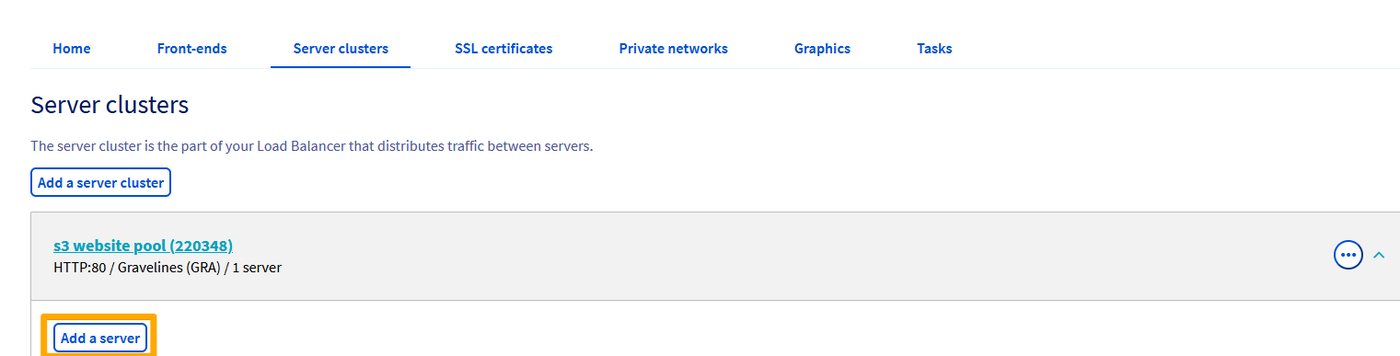
Still from the Load Balancer section of the OVHcloud Control Panel, click the Server clusters tab then click Add a server cluster.
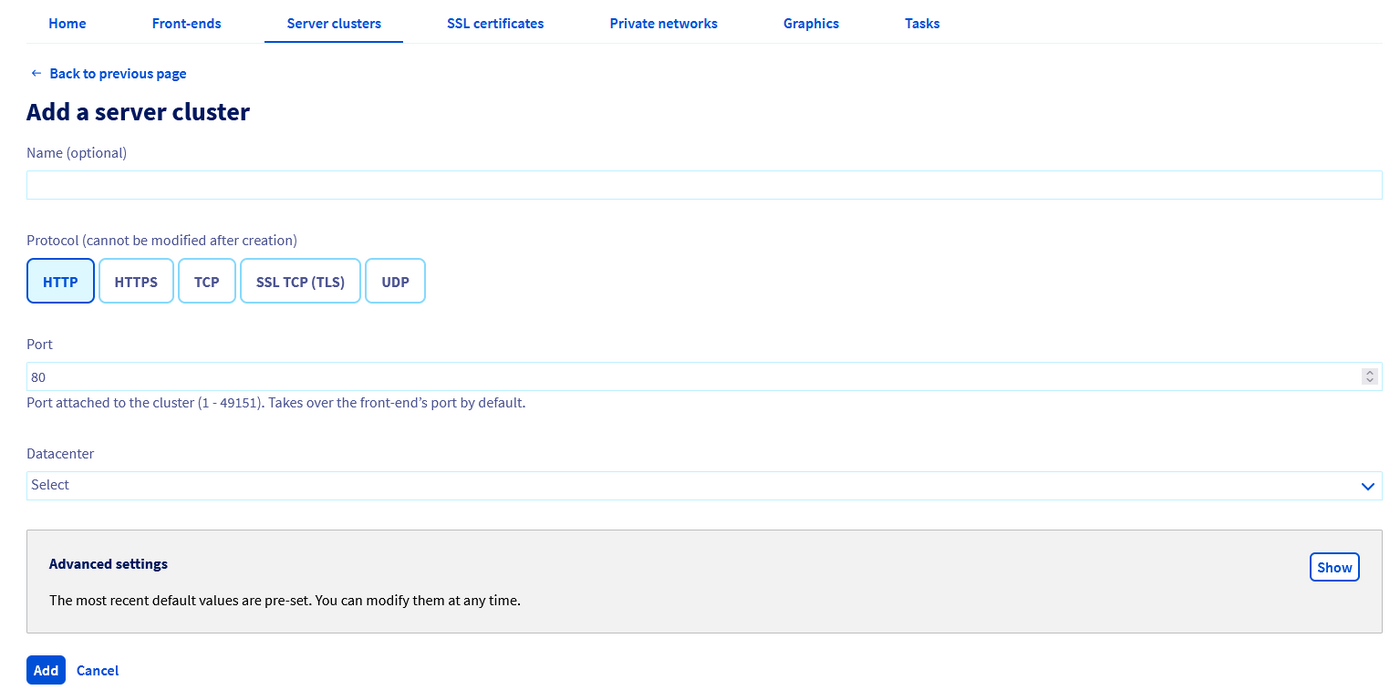
Enter the configuration of the new server cluster:
- Name (optional)
- Protocol: HTTP
- Port: 80
- Datacenter: Choose the region in which you have hosted your website
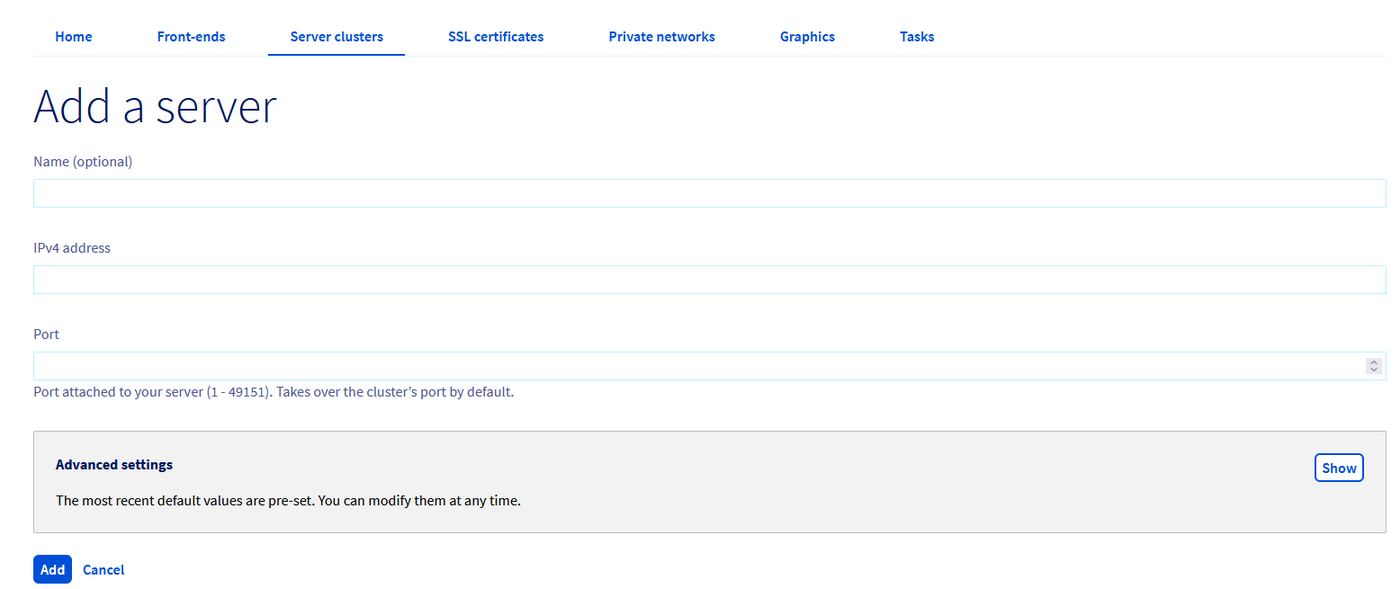
You now need to add servers to your server cluster. Click the Add a server button.
Enter the configuration information of your server:
- Name (optional)
- IPv4 address: Enter the public IP associated with your static website default URL in the form
<bucket_name>.s3-website.<region>.io.cloud.ovh.net
You can retrieve this IP address by doing a dig command on the URL.
Example: using dig
Example: using host
Step 1.3 - Configure your front-ends
The next step is to add front-ends to your Load Balancer. A front-end will be the internet facing element of your Load Balancer and is responsible for handling and routing incoming requests.
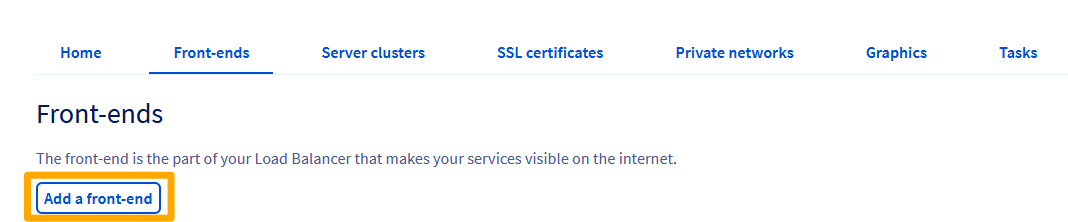
In the Load Balancer section of the OVHcloud Control Panel, click the Front-ends tab then click Add a front-end.
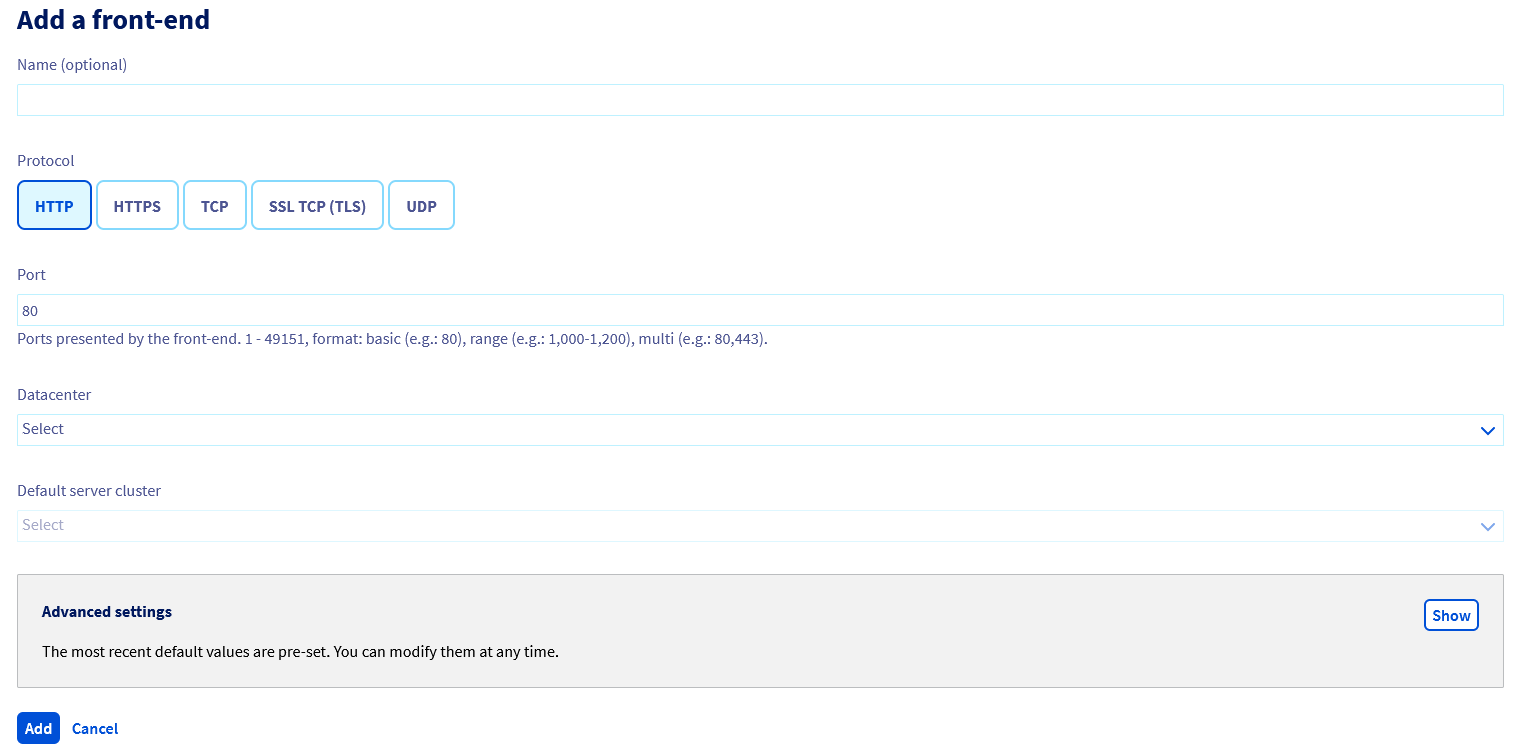
Add 2 frontends:
- One frontend whose sole purpose is to handle all incoming HTTP requests and redirect them to your domain name in HTTPS
- name (optional)
- protocol: HTTP
- port: 80
- datacenter: all
- default server cluster: none
- advanced settings > HTTP Redirection:
https://<domain_name>
- One frontend that will handle all incoming HTTPS requests and perform the role of the SSL gateway
- name (optional)
- protocol: HTTPS
- port: 443
- datacenter: the region where your bucket sits
- default server cluster: the server cluster previously created
- certificate: the certificate that you created
- advanced settings > HTTP Header: Host
<website_endpoint>in the form<bucket_name>.s3-website.<region>.io.cloud.ovh.net
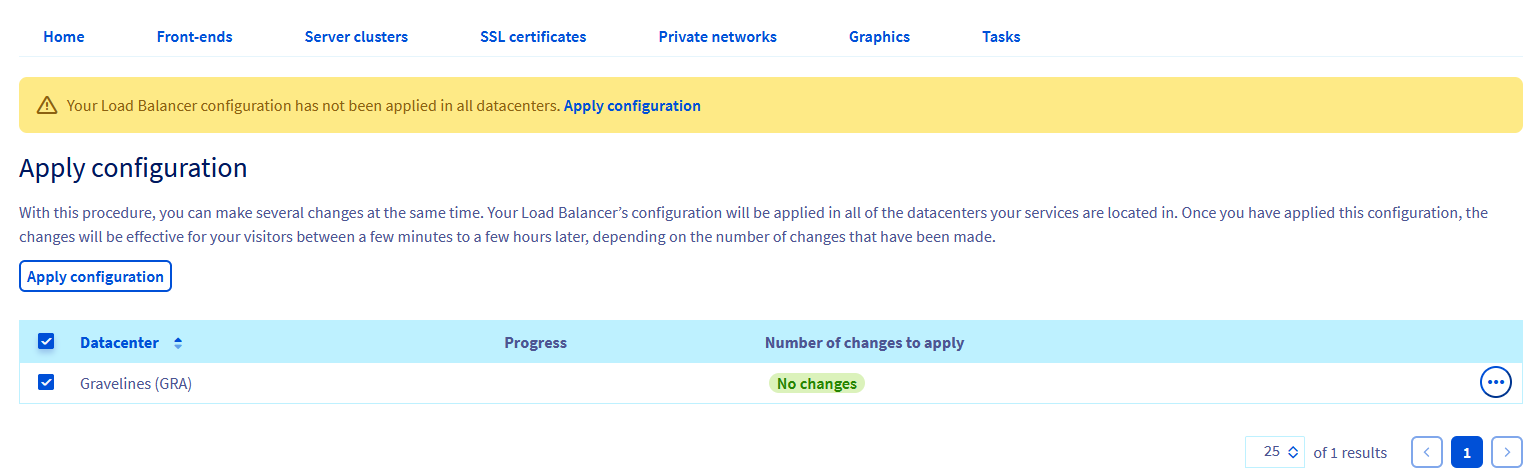
Step 1.4 - Apply changes
Once you have created and configured all the resources, do not forget to click the Apply configuration button to apply all the changes to the Load Balancer.
Step 2: Configure your DNS
This section is relevant only if your domain name is registered at OVHcloud. If you have an external domain name, please check with your provider.
Click the Web Cloud tab of your OVHcloud Control Panel and select your domain name from the Domain names section.
Open the DNS zone tab.
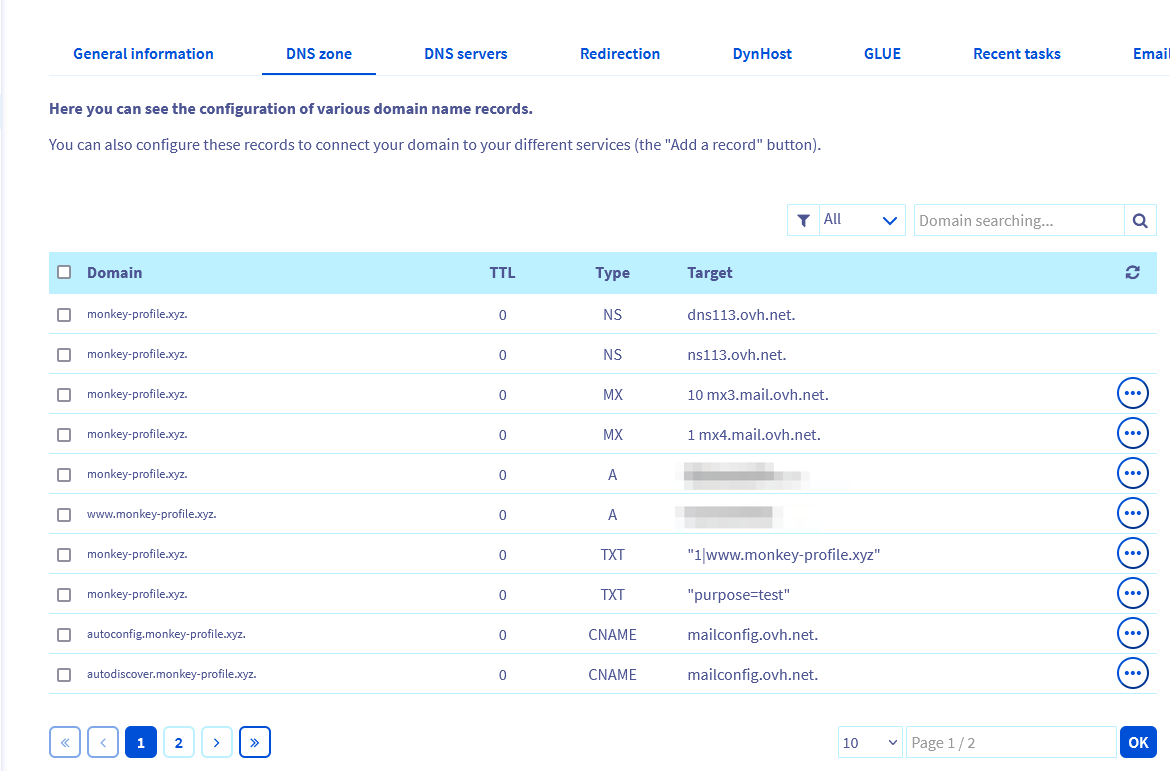
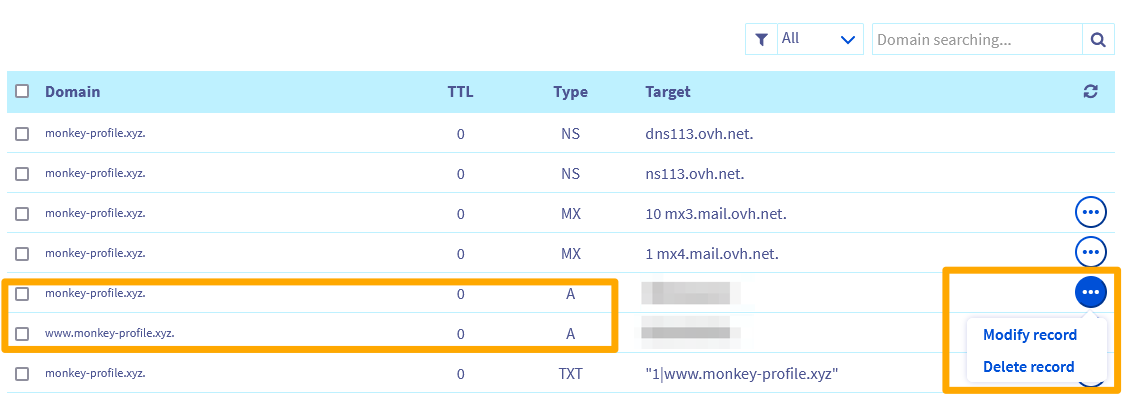
Edit the two A records to add the public IP address of your Load Balancer.

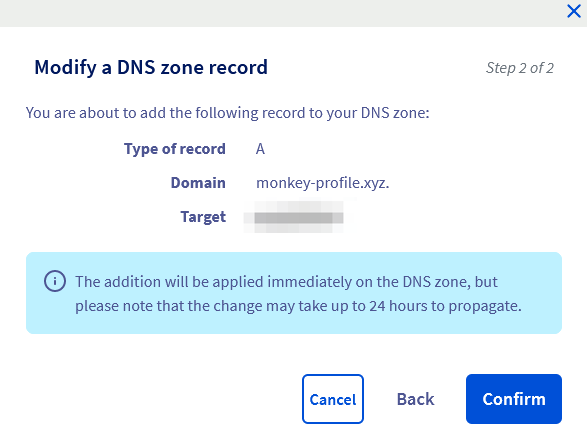
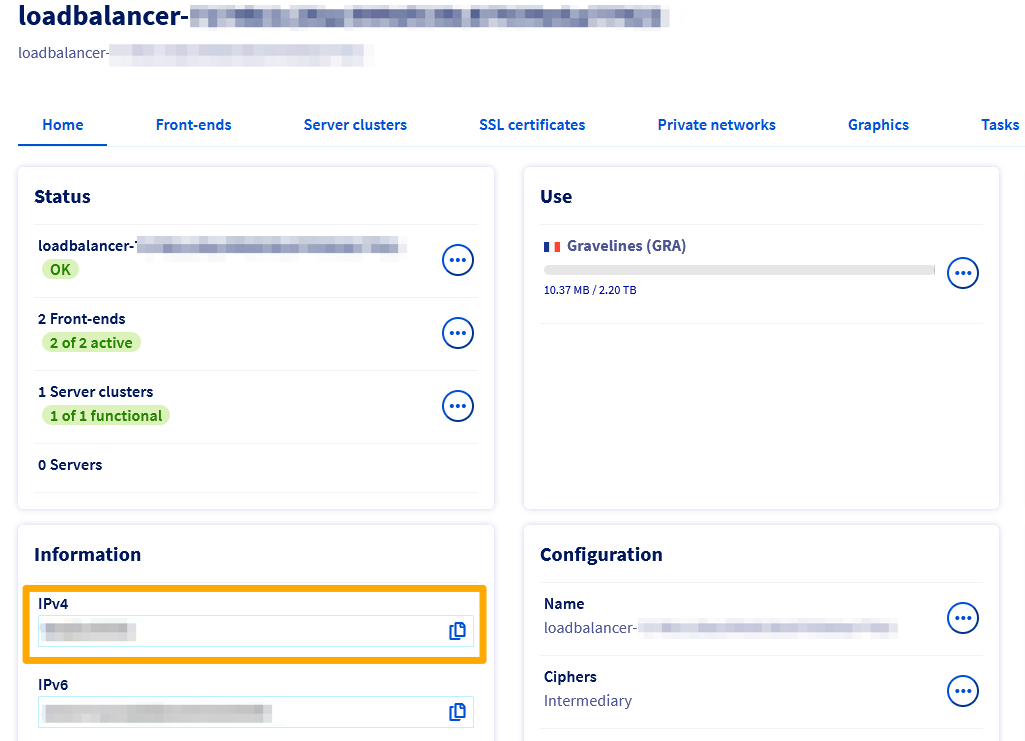
You can find the public IP address of your Load Balancer on the home page of the Load Balancer section in the OVHcloud Control Panel.
Step 3: Test your website
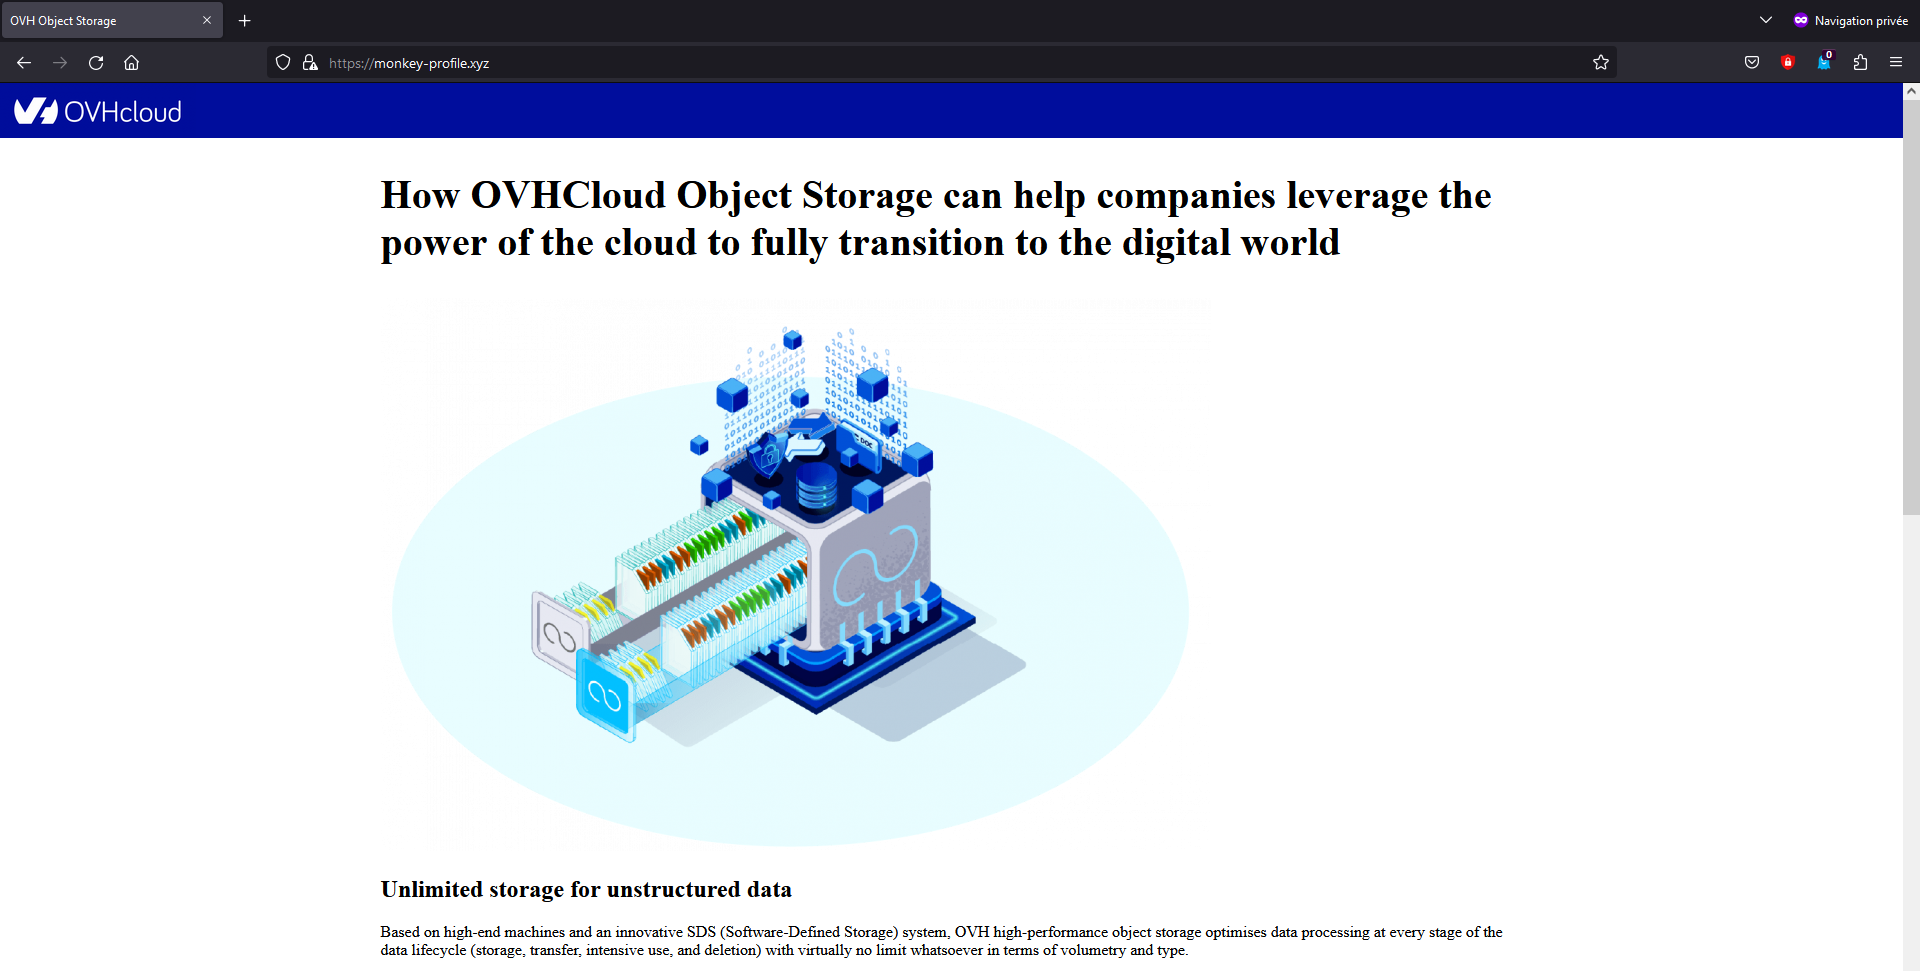
Check that the website and the redirect work properly. Open a private browser to ensure that you do have a clean cache and type your domain name.
Example:
Go further
How to configure your OVHcloud Load Balancer
How to configure your DNS zone
If you need training or technical assistance to implement our solutions, contact your sales representative or click on this link to get a quote and ask our Professional Services experts for assisting you on your specific use case of your project.
Join our community of users.

