OPCP - How to install an instance from the Horizon interface
21 visualizações
Objective
Before deploying services on your OPCP arrays, you must have an installed and active instance.
This guide details the steps to install an OPCP instance from the Horizon interface.
Requirements
- Have an active OPCP service.
- Have a user account with sufficient permissions to access Horizon for the OPCP offer.
Instructions
1. Log in to Horizon
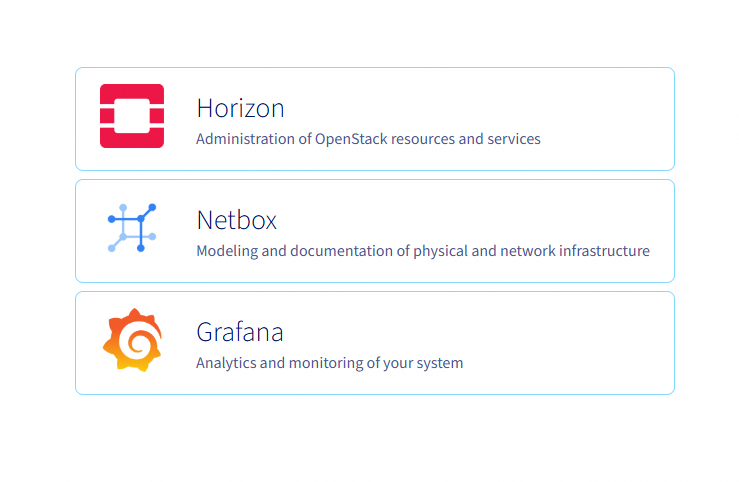
Log in to the Horizon interface of your OPCP environment.
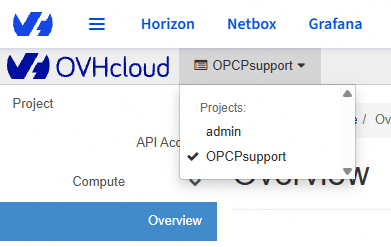
Once connected, select the project where you want to install your instance.
2. Creating a private network
Before deploying your instance, it is generally necessary to create a private network so that it can be accessed within your local infrastructure.
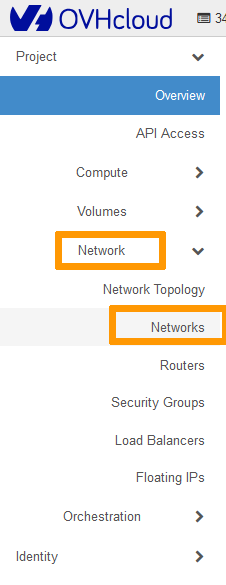
In the left-hand menu, click on Network, then on Networks.
Click on Create Network.

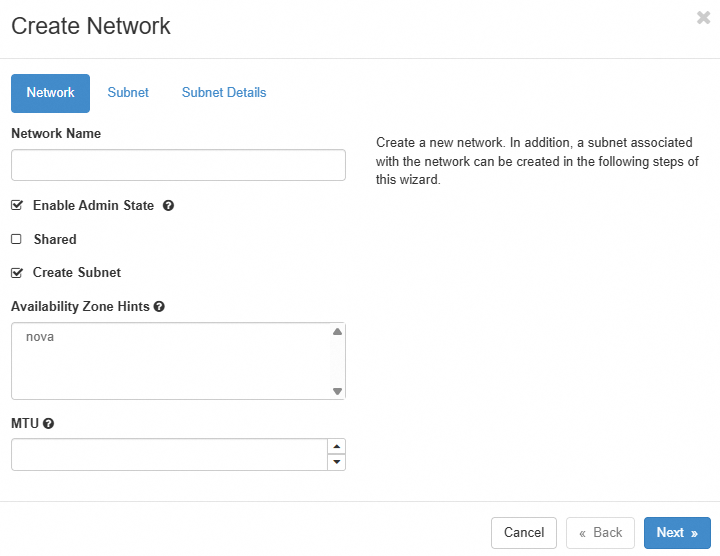
| Field | Description |
|---|---|
| Network Name | Enter a name for your network. |
| Enable Admin State | Leave this option checked to activate the network. |
| Shared | Check this box if you want to make the network available to multiple projects. |
| Create Subnet | Leave this option checked to create a subnet. |
| Availability Zone Hints | Leave the default value. |
Although it is possible to create a network without a subnet, it cannot be attached to an instance unless it has one.
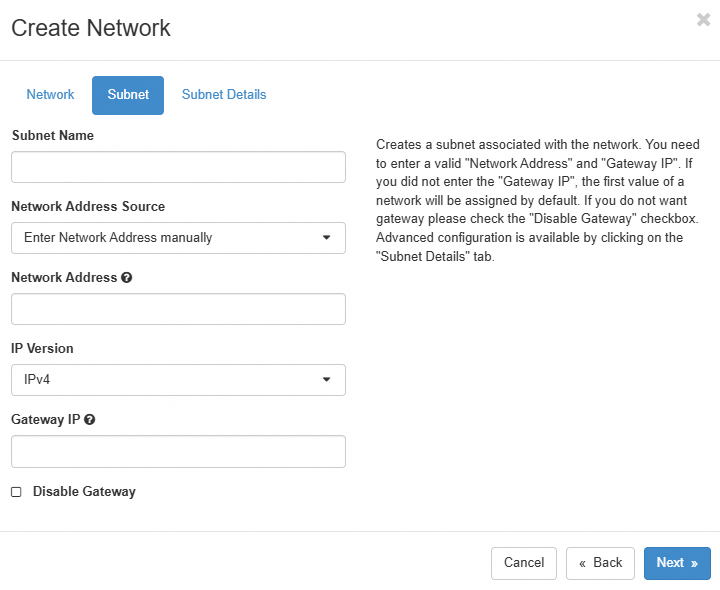
| Field | Description |
|---|---|
| Subnet Name | Enter a name for your subnet. |
| Network Address | Define a private IP range, for example 192.168.100.0/24. |
| IP Version | Leave the default value IPv4. |
| Gateway IP | Optional. If not specified, an address will be automatically selected. |
| Disable Gateway | Check this box to not assign a gateway address. |
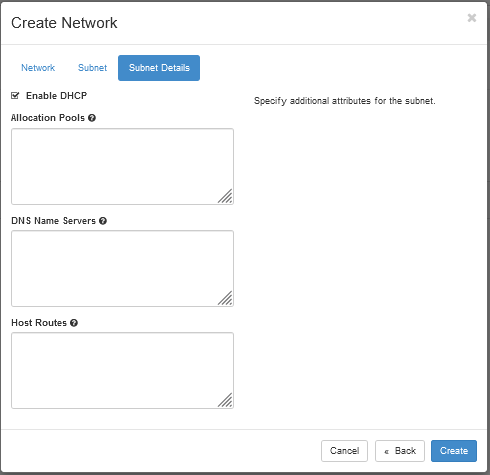
| Field | Description |
|---|---|
| Enable DHCP | Keep enabled if you want IP addresses to be automatically assigned. |
| Allocation Pools | Optional. Allows you to define a specific IP address range. |
| DNS Name Servers | Optional. Lets you specify one or more DNS servers. |
| Host Routes | Optional. Allows you to add static routes. |
3. Creating an instance
In the left-hand menu, click on Compute, then on Instances.
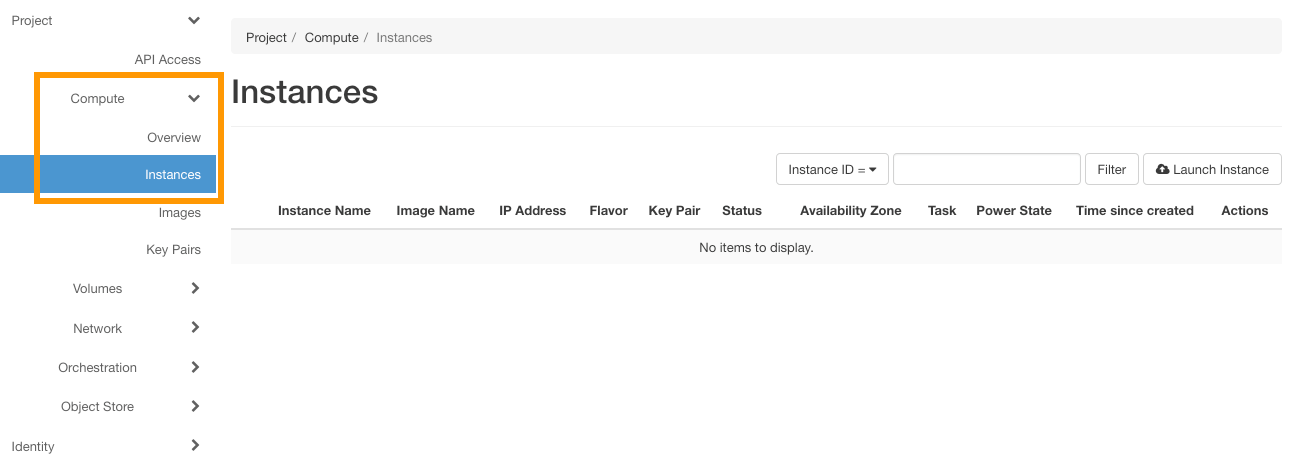
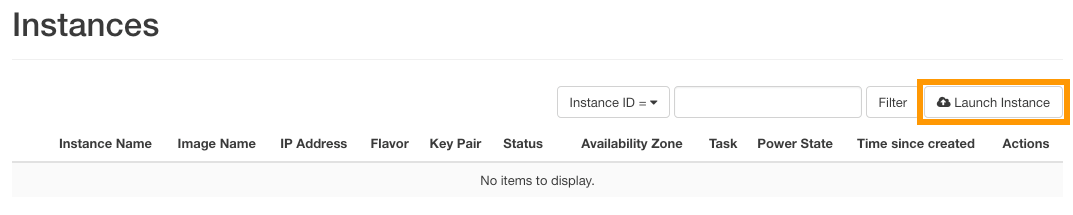
Click on Launch Instance to create a new instance.
Details
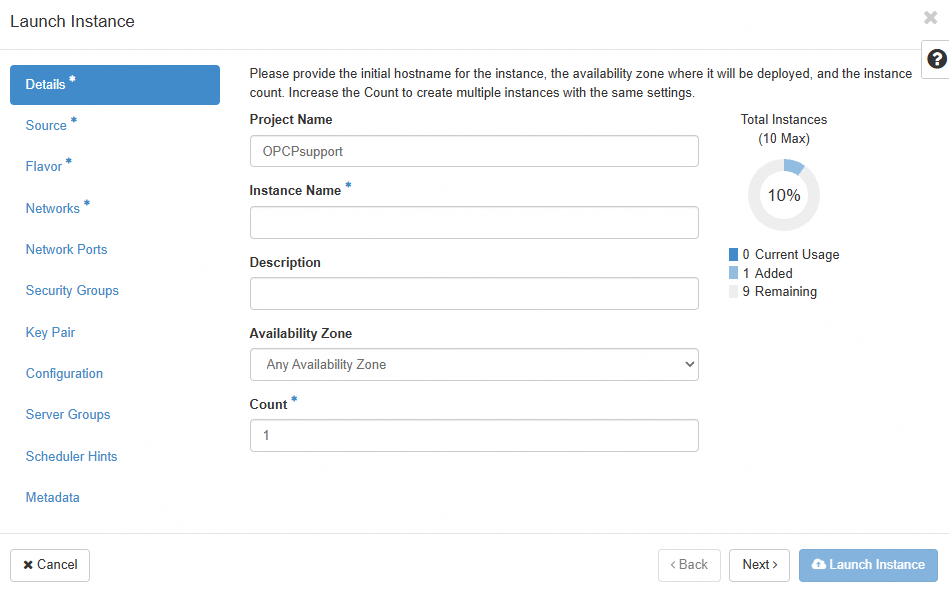
| Field | Description |
|---|---|
| Instance Name | Enter the name of the instance to create. |
| Description | Optional. Add a description if needed. |
| Availability Zone | Leave the default value nova. |
| Count | Specify the number of instances to deploy. |
Source
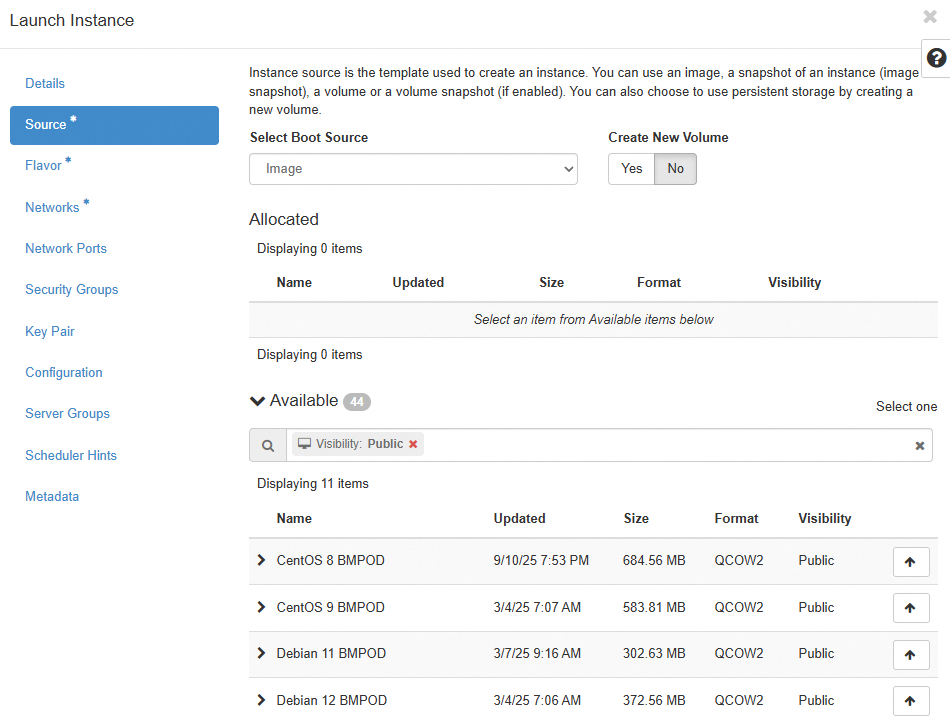
| Field | Description |
|---|---|
| Boot Source | Select the boot source: Image or Instance Snapshot. |
| Image Name | Choose the image to use (e.g. Debian 12 BMPOD). |
Flavor
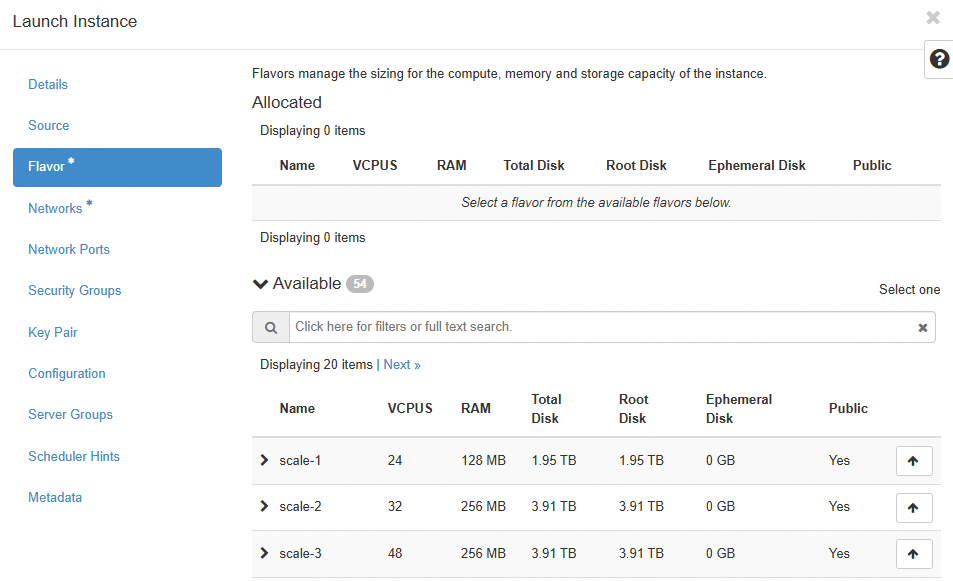
Select the appropriate hardware configuration (vCPU, memory, storage).
Networks
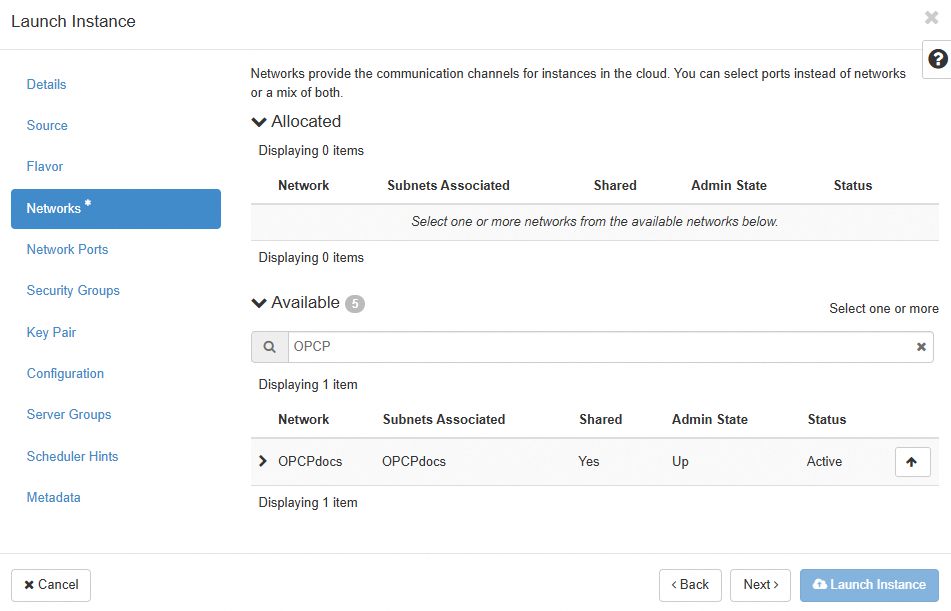
Select the private network previously created. You can also attach an existing network port from the Network Ports tab.
4. Managing SSH key pairs
Although selecting an SSH key in Horizon is not mandatory, it is essential for connecting to the instance once it has been created.
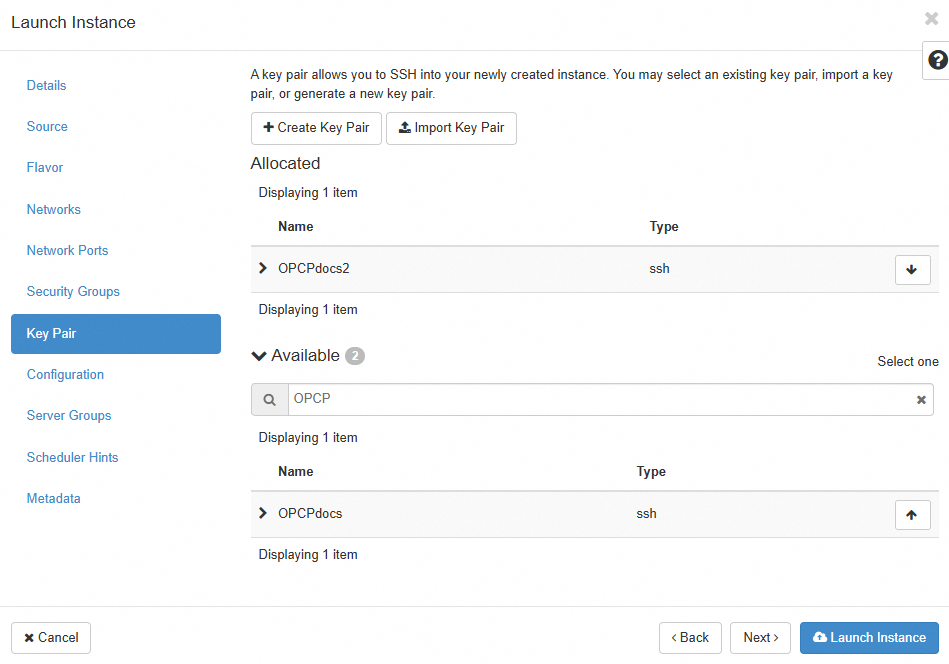
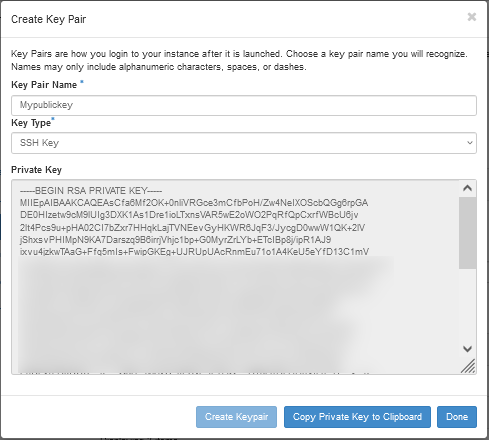
Click + Create Key Pair and fill in the following fields:
| Field | Description |
|---|---|
| Key Pair Name | Enter a name for the key. |
| Key Type | Select SSH Key. |
Next, click on Create Keypair.
Copy the private key with Copy Private Key to Clipboard, then click on Done.
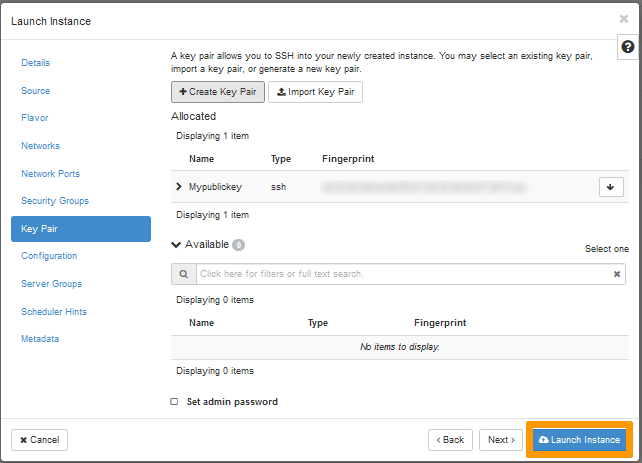
The key is now selected by default. Click on Launch Instance to start creating the instance.
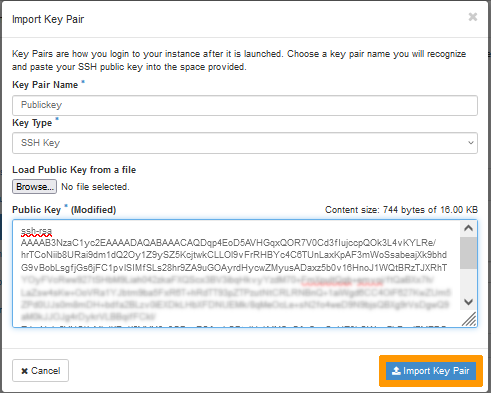
Click on Import Key Pair and fill in the following fields:
| Field | Description |
|---|---|
| Key Pair Name | Name of the key. |
| Key Type | Select SSH Key. |
| Public Key | Paste your public key or upload the corresponding file. |
Click on Import Key Pair.
The key is now selected by default. Click on Launch Instance to start creating the instance.

5. Other options
The other configuration tabs (Security Groups, Configuration, Metadata, etc.) are not required for a standard installation.
To learn more, refer to the official OpenStack documentation.
6. References
- OpenStack Official Documentation – Horizon
- OpenStack Networking Guide (Neutron)
- OpenStack Compute Guide (Nova)
- OpenStack Key Pairs
- Debian 12 Official Site
Go further
If you need training or technical assistance for the implementation of our solutions, contact your sales representative or click this link to request a quote and have your project analyzed by our Professional Services team experts.
Join our community of users.

