Creazione di VLAN (EN)
339 viste
Objective
OVHcloud sets up a base of 11 VLANs on your vRack.
This guide explains how to create additional VLANs.
Requirements
- Being an administrative contact of your Hosted Private Cloud infrastructure to receive login credentials
- A user account with access to vSphere as well as the specific rights for Networking (created in the OVHcloud Control Panel)
Instructions
In the Hosted Private Cloud solutions, VLANs can be used to isolate private communications between different OVHcloud services that are vRack-compatible (Dedicated Server, Public Cloud instance, etc.).
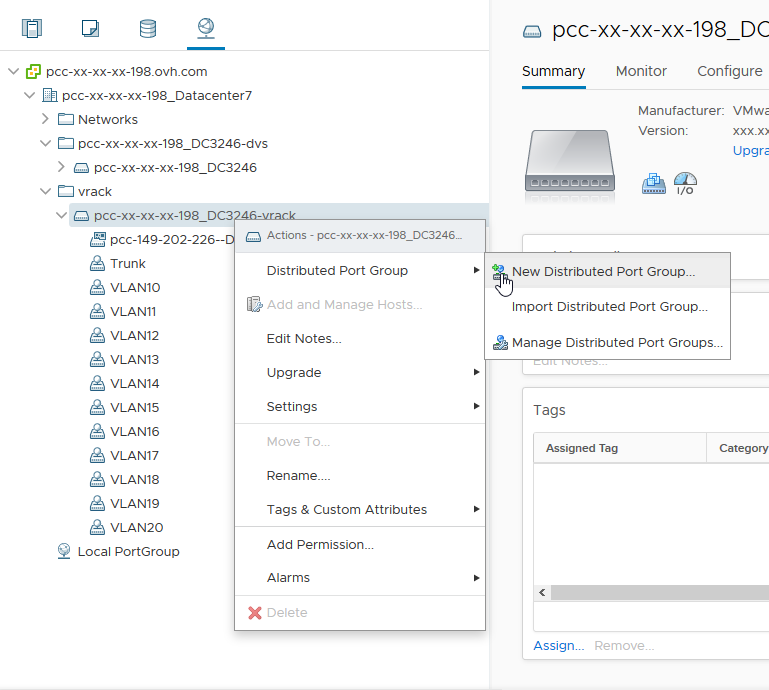
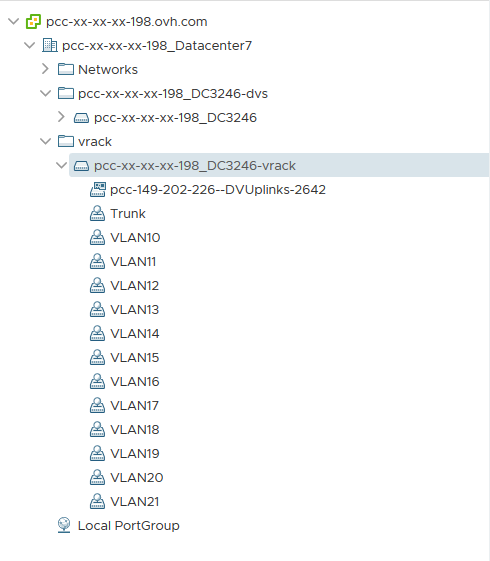
First, go to your vSphere client's Networking view. Deploy the vrack folder then right-click on the dVS ending in -vrack and finally click on New Distributed Port Group.
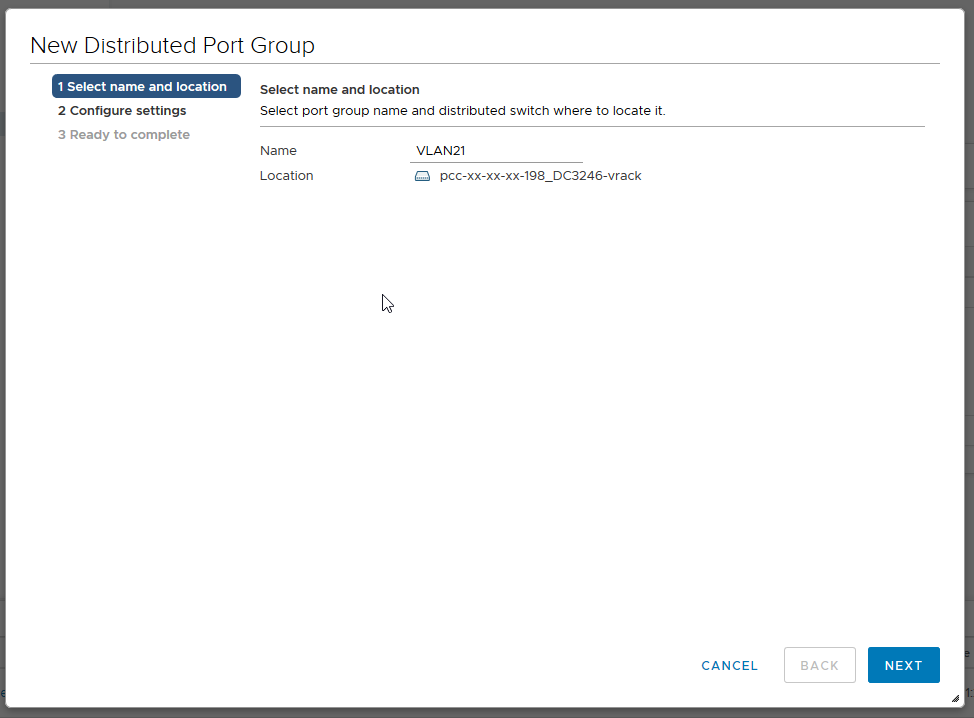
The next step is to name your Port Group:
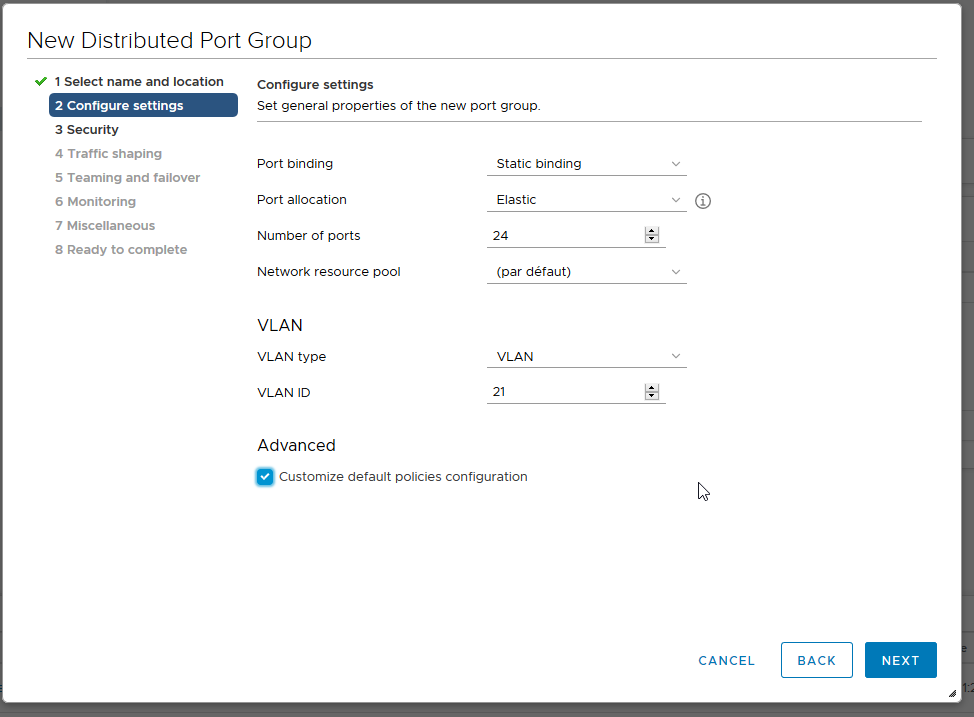
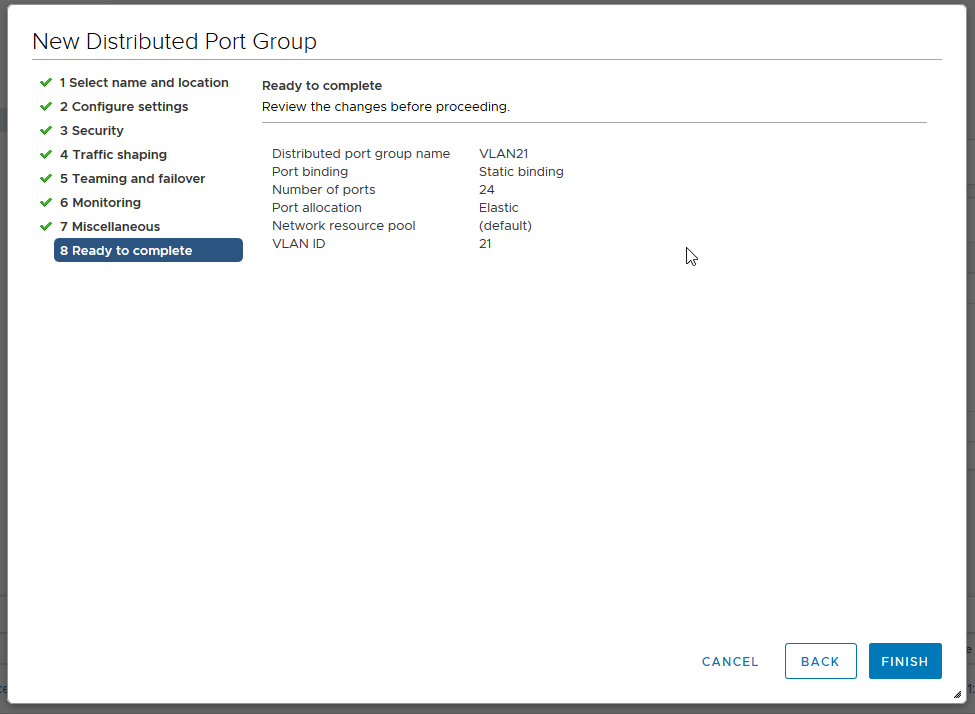
Then configure the settings recommended by OVHcloud:
- Port binding: Static (reserving and assigning the port to a virtual machine)
- Port allocation: Elastic (allows the number of ports to be hot-wired)
- Number of ports: 24
- VLAN type: VLAN (the others are PVLAN and Trunk)
- VLAN ID: 21 (knowing that the ID can be configured from 1 to 4096)
- Check the option Customize default policies configuration.
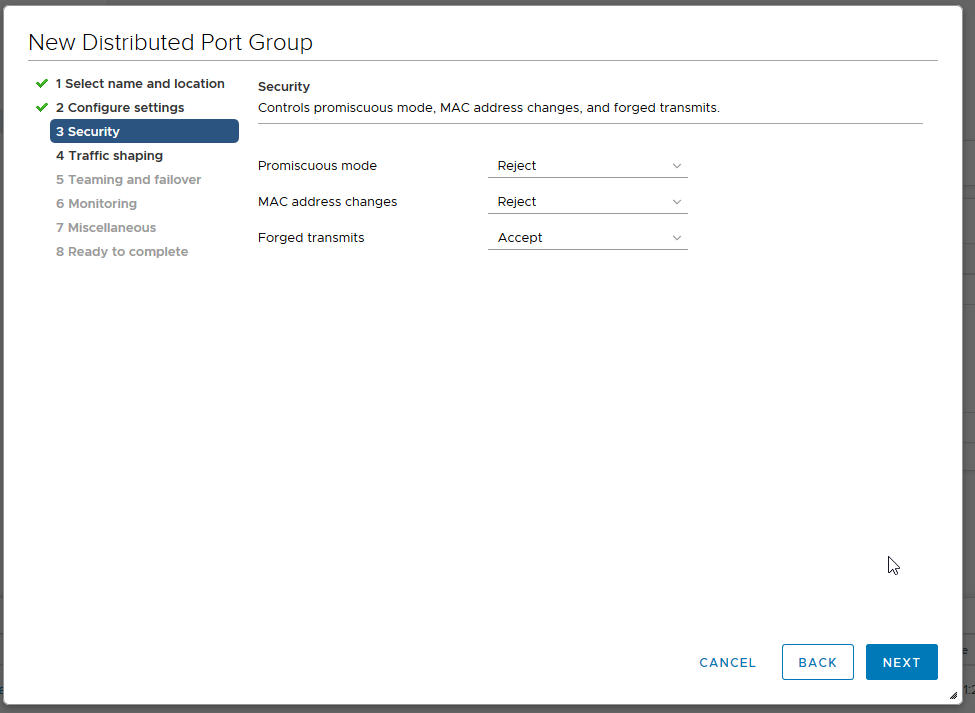
You have 3 security settings that can be activated according to your needs:
- Promiscuous mode: eliminates any filtering that the VM adapter can perform so that the guest operating system receives all observed traffic on the network.
- MAC address changes: when set to Accept, ESXi will accept requests to change the effective MAC address to an address other than the initial MAC address.
- Forged transmits: affects traffic transmitted from a virtual machine. When set to Accept, ESXi does not compare the source and effective MAC addresses.
The most frequent use of these 3 parameters is the CARP, especially used on pfSense.
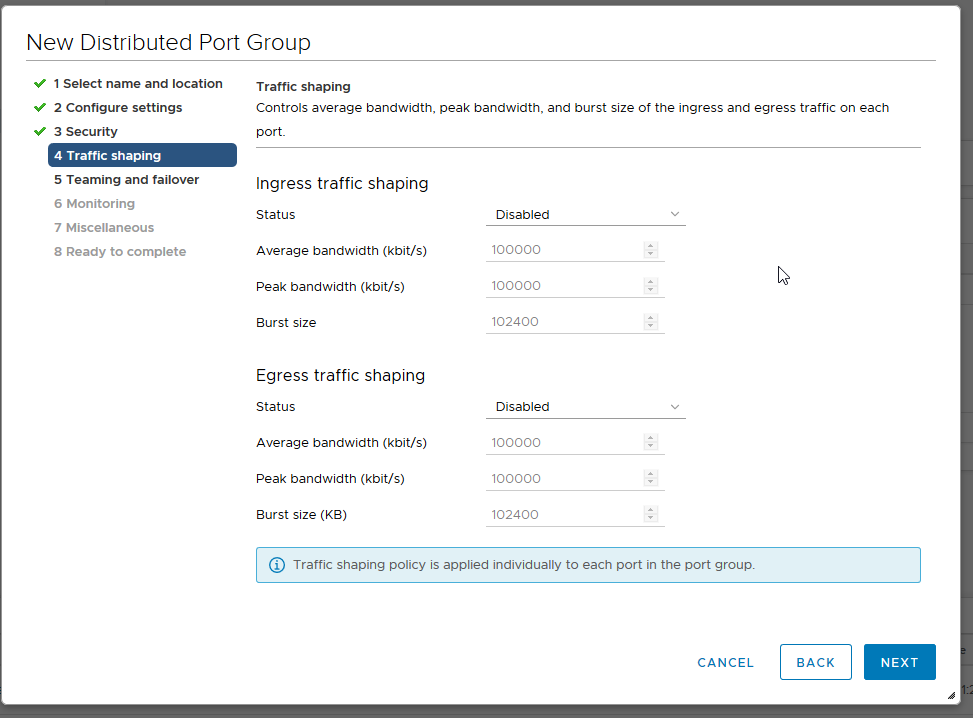
Leave Traffic shaping disabled.
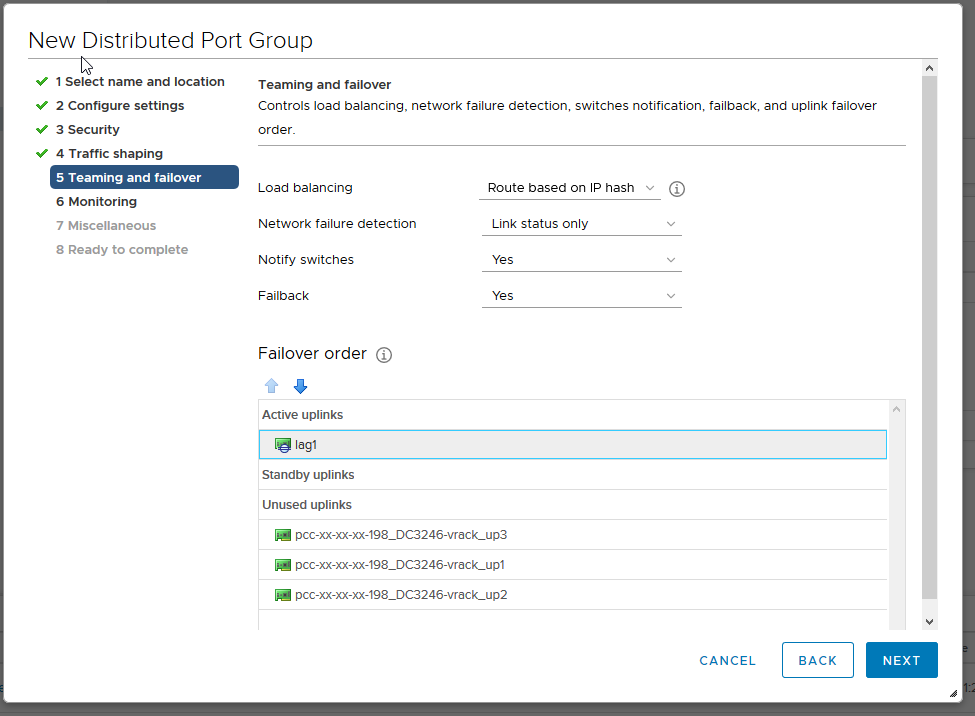
In terms of load balancing, select Route Based on IP hash, which is the best method for redundancy and load balancing.
Be careful when configuring the failover order: It is necessary to set the lag1 uplink to Active (connection between the virtual network and the physical network), otherwise no communication between the hosts will be possible.
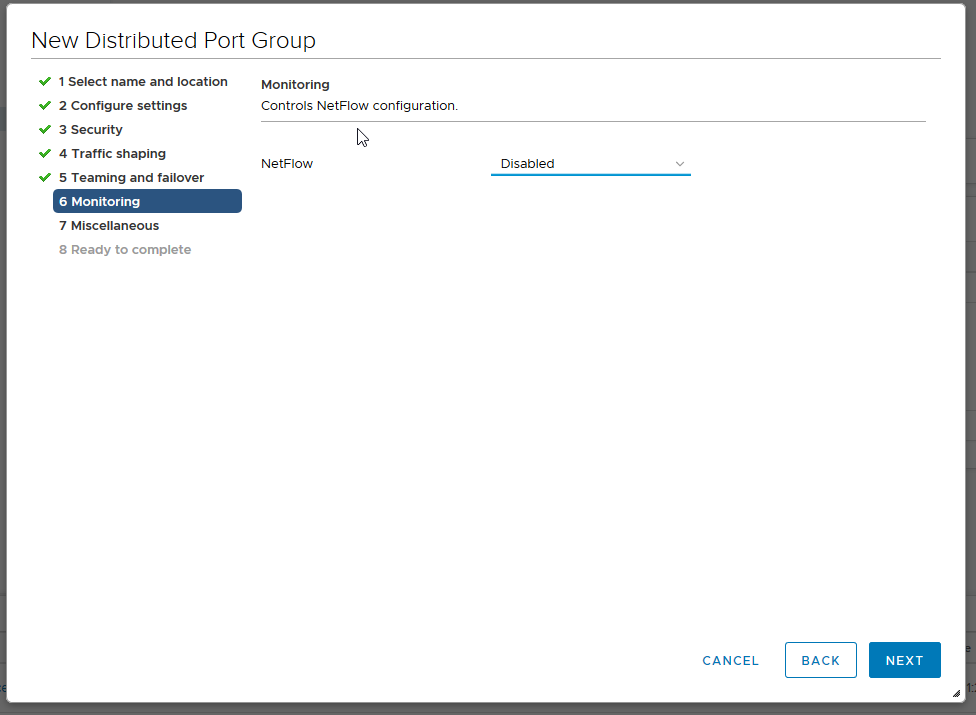
The NetFlow is disabled (traffic flow activity report).
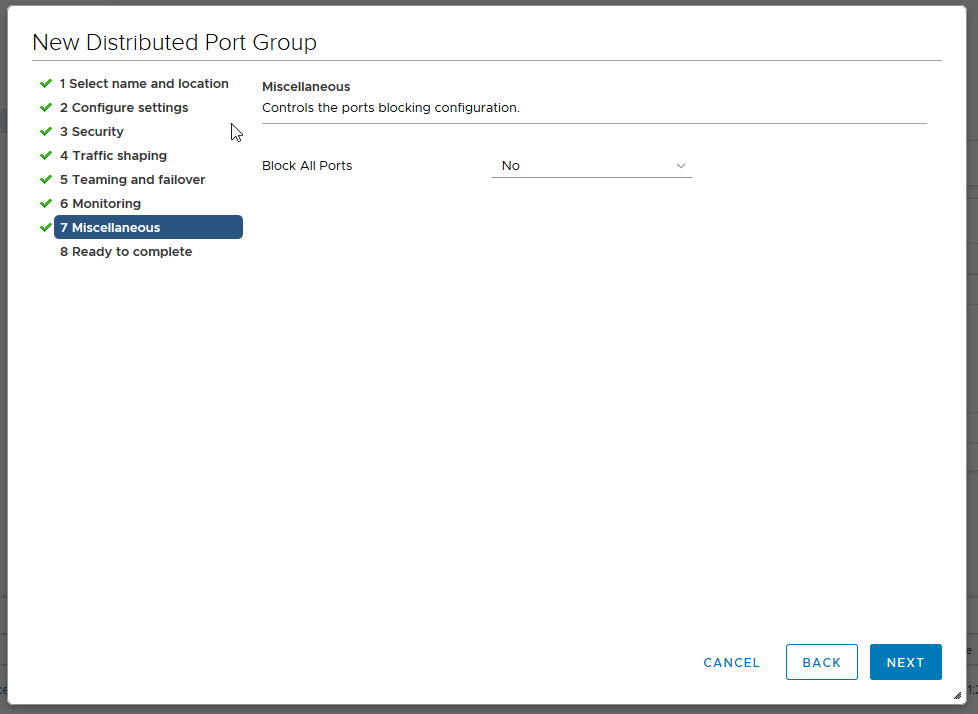
Leave the Block All Ports value at "No".
You will then be presented with a summary of the changes. Click Finish to confirm the creation.
Here we can see that VLAN21 is available and functional.
Go further
Join our community of users on https://community.ovh.com/en/.

