Creating and using a Docker image stored in an OVHcloud Managed Private Registry
572 viste
Objective
OVHcloud Managed Private Registry service provides you a managed, authenticated Docker registry where you can privately store your Docker images. This guide will explain how to create a Docker image, store it in the OVHcloud Managed Private Registry service and using it from a Docker client.
Requirements
- An OVHcloud Managed Private Registry (see the creating a private registry guide for more information)
- An access to the Harbor UI to operate the private registry (see the connecting to the UI guide for more information)
- A private project and an user with the right to read and write on the project (see the managing users and projects guide for more information)
Instructions
Get your OVHcloud Managed Private Registry API URL
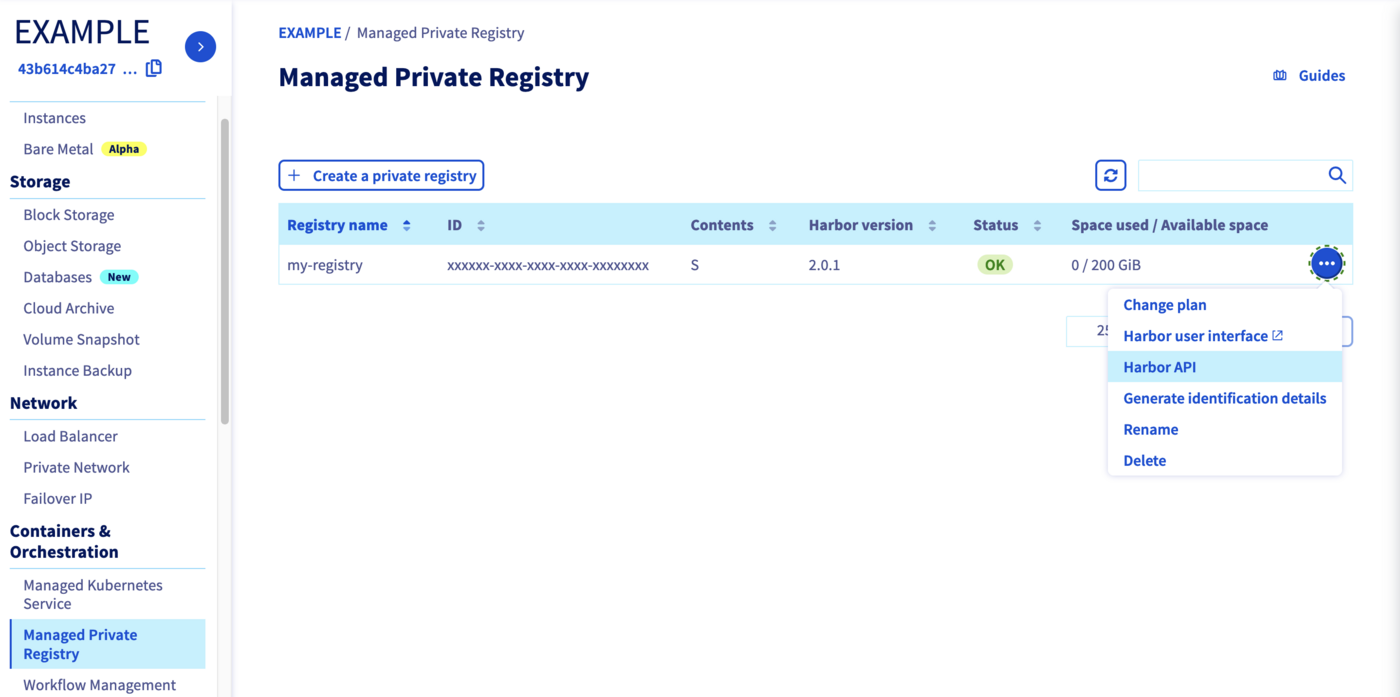
Go to your private registry section on the OVHcloud Public Cloud Manager, and in the more options (...) button at the right, click on Harbor API.
Copy the URL of the API Harbor, it's the URL of your private registry and we are going to use it several times in this guide.
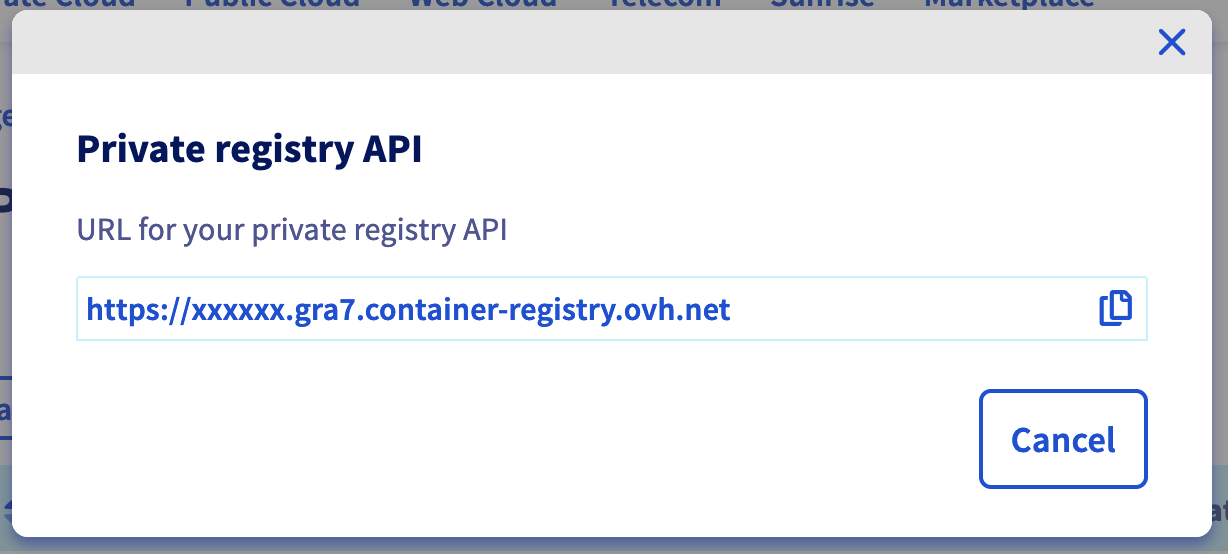
In fact, when you click the copy button as indicated by a hand icon in the image, the copied string starts with
https://. Please remove thehttps://part.
Creating a Docker image
You're going to create a Docker image using a very simple Dockerfile and some resource files.
Create a hello-ovh/ folder and inside create:
- A
Dockerfilefile:
FROM nginx:1.15-alpine

COPY index.html /usr/share/nginx/html/index.html
COPY ovh.svg /usr/share/nginx/html/ovh.svg- A
index.htmlfile:
<!doctype html>
<html>
  <head>
    <title>OVHcloud K8S</title>
  </head>
  <body>
    <div class="title">
      <p>Hello from Private Registry!</p>
      <img src="./ovh.svg">
    </div>
  </body>
</html>-
A
ovh.svgfile (right click and save it):
You should have these files in your hello-ovh directory:
- Go into the
hello-ovhfolder, containing the three files, and do adocker build. You will need to tag your build using your private registry URL, the project within the registry (private if you followed the managing users and projects guide), and the image name (hello-ovh):
Here is the result of running the command for my private registry in the private project:
- Login to your private registry, using a user with write rights to the project (private-user if you followed the managing users and projects guide)
In my private registry:
- Upload the image to the private registry
In my private registry example:
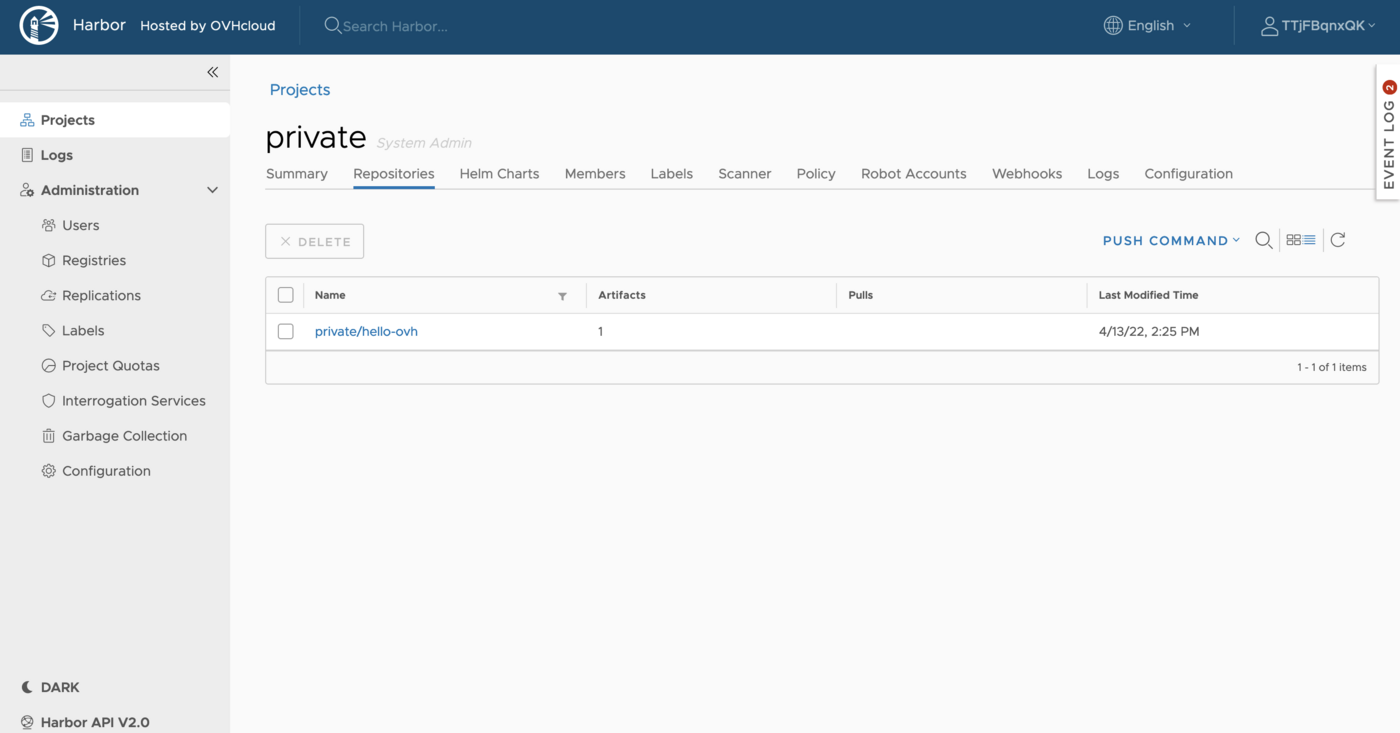
If you go to your Harbor UI, you will see that a hello-ovh repository in the private project:
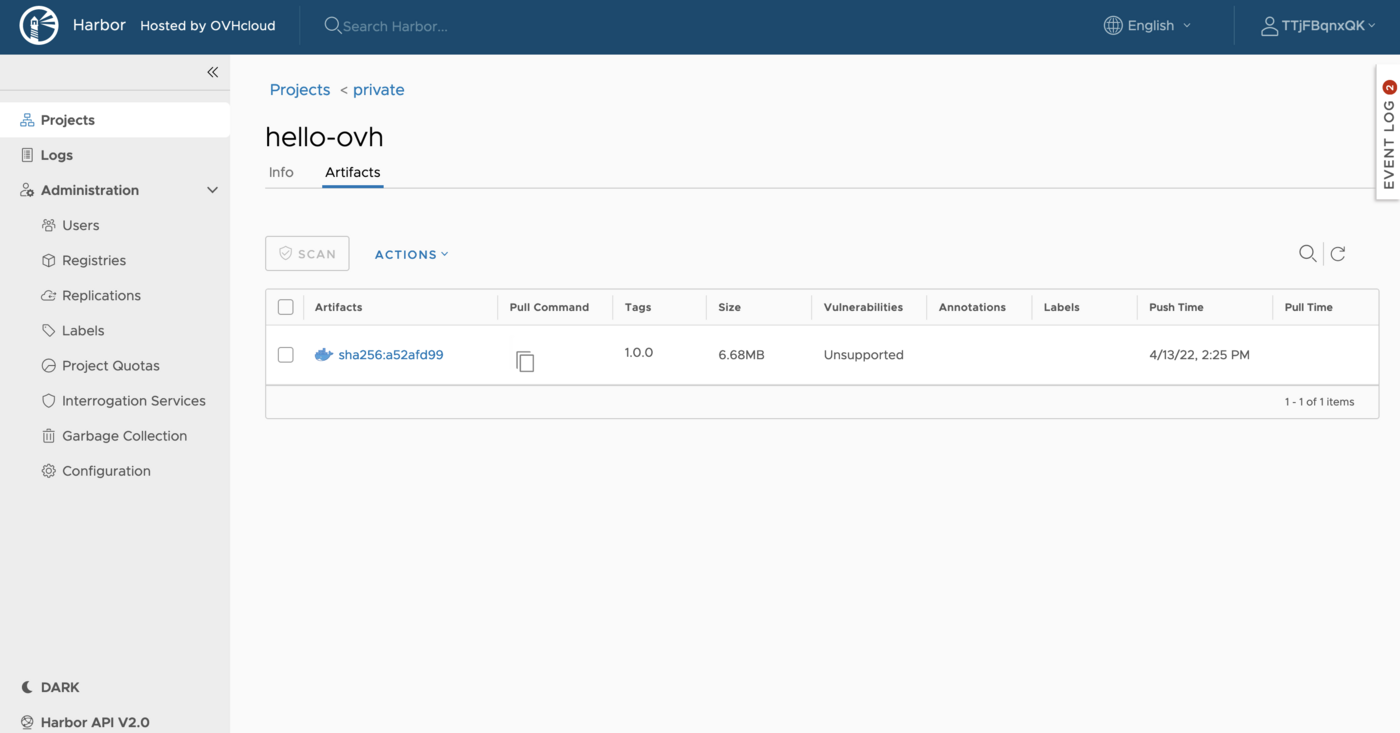
This repository will store all the versions of the hello-ovh image (right now only the 1.0.0):
Deploy the private image
Now you can use docker pull (preceded by a docker login on your private registry if you're doing it from a different computer) to deploy the image from the OVHcloud Managed Private Registry.
In my private registry example:
And then you can run it:
In my private registry example:
And now you can test it with the curl command:
Or in your browser:
Go further
To go further you can look at our guide on Using your private registry with Kubernetes.

