Configuring kubectl on an OVHcloud Managed Kubernetes cluster
2599 vues
Objective
The OVHcloud Managed Kubernetes service gives you access to Kubernetes clusters, without the hassle of installing or operating them.
This guide will cover how to retrieve the kubectl configuration file to interact with an OVHcloud Managed Kubernetes cluster.
Requirements
- A Public Cloud project in your OVHcloud account.
- You must have an OVHcloud Managed Kubernetes cluster.
- You must have the
kubectlcommand-line tool installed.
You can find the detailed installation instructions for kubectl in Kubernetes' official documentation.
OVHcloud Control Panel Access
- Direct link: Public Cloud Projects
- Navigation path:
Public Cloud> Select your project
Instructions
Step 1 - Configure the default settings for kubectl
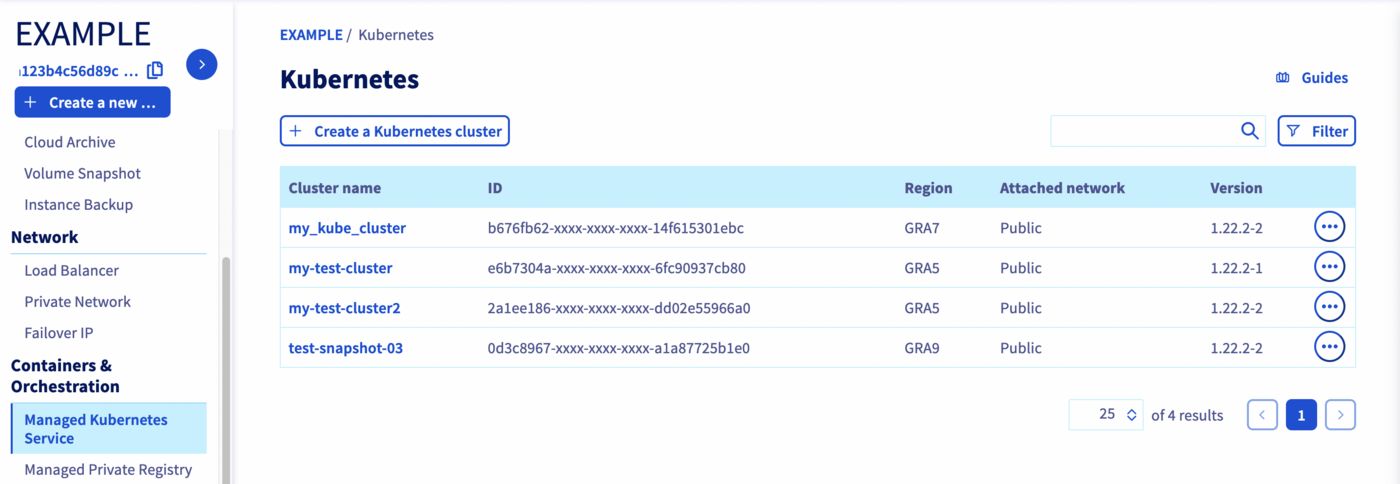
Access the administration UI for your OVHcloud Managed Kubernetes clusters by clicking on Managed Kubernetes Service in the left-hand menu.
Then, click on one of your Kubernetes cluster in the tab.
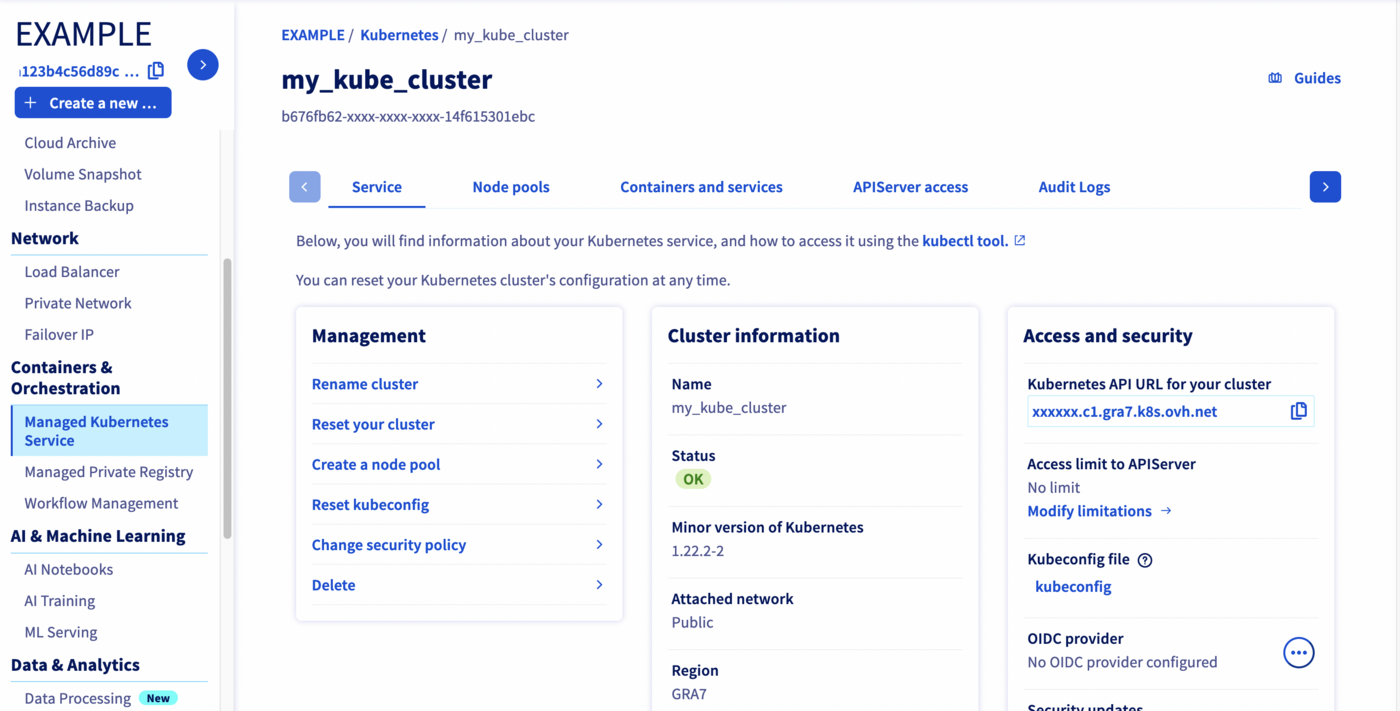
Then, click on kubeconfig to download the kubectl configuration file:
How kubeconfig files are loaded?
-
- from the
--kubeconfigflag, is specified
- from the
-
- from the
KUBECONFIGenvironment variable, if set
- from the
-
- from the
$HOME/.kube/configfile, by default
- from the
So, after downloading it, if you want to use this configuration file by default in kubectl, you can save it with the filename config in the $HOME/.kube/ directory. Alternatively, you can place it in your working directory, with either the KUBECONFIG environment variable or the --kubeconfig flag.
In this example, we are using the KUBECONFIG environment variable method.
For MacOS or Linux:
Type the following command into your terminal:
export KUBECONFIG=/Users/myuser/.kube/my-test-cluster.ymlFor Windows 7, 10 and 11 :
- From the Windows menu or Cortana search bar, search for "Modify system environment variables".
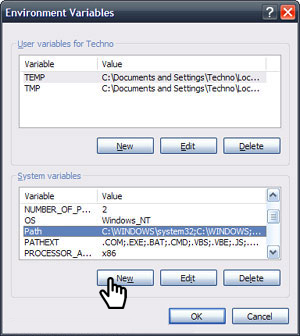
- In the System Properties window, click on the Advanced tab, then click the Environment Variables button near the bottom.
- In the window that opens (pictured below), add a new variable,
KUBECONFIG, with the path to thekube-configfile as its value.
You can also add the variable for the current shell process with this command :
set KUBECONFIG=my-test-cluster.ymlStep 2 - Verify that kubectl can connect to the cluster
You can verify that kubectl is able to interact with the cluster by using it to send a cluster-info command:
kubectl cluster-infoThe cluster should return a response with some key information about itself:
Define the access for several Kubernetes clusters
You can also specify several kubeconfig files in your KUBECONFIG environment variable, separated by a colon (:).
export KUBECONFIG=/Users/myuser/.kube/my-test-cluster.yml:/Users/myuser/.kube/my-test-cluster2.ymlSwitch to a different cluster
You can switch between different clusters by using the kubectl config command.
Or you can install and use kubectx.
Go further
To deploy your first application on your Kubernetes cluster, we suggest you refer to our guide to Deploying an application.
-
If you need training or technical assistance to implement our solutions, contact your sales representative or click on this link to get a quote and ask our Professional Services experts for assisting you on your specific use case of your project.
-
Join our community of users.

