AI Endpoints - Développer un chatbot en Python avec LangChain (EN)
361 vues
AI Endpoints is covered by the OVHcloud AI Endpoints Conditions and the OVHcloud Public Cloud Special Conditions.
Introduction
LangChain is one of the most popular frameworks for building LLM-powered applications like virtual assistants and chatbots. It provides structured abstractions and tooling to easily orchestrate prompts, memory, chains, and agents.
In this tutorial, we’ll use LangChain (Python edition) with OVHcloud AI Endpoints to create a command-line chatbot, starting with a simple blocking mode, then enabling streaming for real-time feedback.
Objective
This tutorial demonstrates how to:
- Build a chatbot using LangChain and FastAPI
- Connect to OVHcloud AI Endpoints to access LLMs
- Enable streaming to improve UX
- Execute the chatbot from the command line
Definitions
- Streaming LLM Response: Instead of waiting for a full response from the model, streaming allows the application to start processing output tokens as they’re generated. This creates a smoother, faster user experience—especially useful for chatbots.
- LangChain4j: Java-based framework inspired by LangChain, designed to simplify the integration of LLMs (Large Language Models) into applications. It offers abstractions and annotations for building intelligent agents and chatbots. Note that LangChain4j is not officially maintained by the LangChain team, despite the similar name.
- Quarkus: A Kubernetes-native Java framework designed to optimize Java applications for containers and the cloud. In this tutorial we will use the quarkus-langchain4j extension.
- AI Endpoints: A serverless platform by OVHcloud providing easy access to a variety of world-renowned AI models including Mistral, LLaMA, and more. This platform is designed to be simple, secure, and intuitive, with data privacy as a top priority.
Requirements
- A Public Cloud project in your OVHcloud account
- Python 3.8 or higher
- An access token for OVHcloud AI Endpoints. To create an API token, follow the instructions in the AI Endpoints - Getting Started guide.
Instructions
Set up the environment
In order to use AI Endpoints APIs easily, create a .env file to store environment variables:
Make sure to replace the token value (OVH_AI_ENDPOINTS_ACCESS_TOKEN) by yours. If you do not have one yet, follow the instructions in the AI Endpoints - Getting Started guide.
Then, create a requirements.txt file with the following libraries:
Then, launch the installation of these dependencies:
Create a blocking chatbot
Create a new file named chat-bot.py and paste the following code:
You can test your new assistant with the following command:
Which will give you an output similar to:
Enable streaming mode
Now you have a chatbot, what do you think about adding the streaming feature? The streaming gives your chatbot the ability to display the information when it’s ready, and to not wait for the whole message to be processed on the server side.
To do this you can update the previous Python script as following:
Run it with:
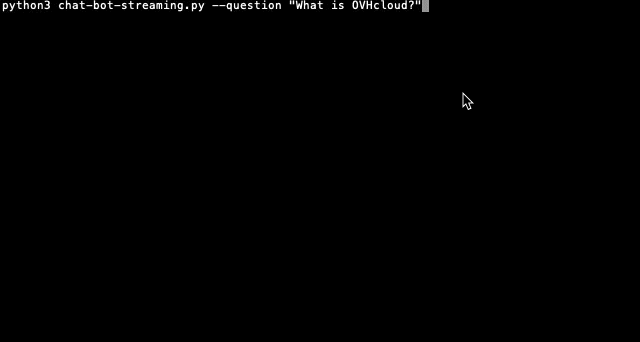
You should now see the chatbot typing its response in real time! 💬✨
Conclusion
With only a few lines of Python code, you now have a working chatbot connected to powerful LLMs hosted on OVHcloud AI Endpoints. You’ve also enhanced it with streaming for real-time UX.
Going further
You can then build and deploy a web app in the cloud, making your interface accessible to everyone. To do so, refer to the following articles and tutorials:
- AI Deploy – Tutorial – Build & use a custom Docker image
- AI Deploy – Tutorial – Deploy a Gradio app for sketch recognition
If you need training or technical assistance to implement our solutions, contact your sales representative or click on this link to get a quote and ask our Professional Services experts for a custom analysis of your project.
Feedback
Please feel free to send us your questions, feedback, and suggestions regarding AI Endpoints and its features:
- In the #ai-endpoints channel of the OVHcloud Discord server, where you can engage with the community and OVHcloud team members.

