Taint, cordon and drain specific Nodes and Nodes Pools
260 vues
Objective
We previously showed you how to deploy your applications to specific Nodes and Nodes Pools, with labels and NodeAffinity Kubernetes concepts. In this new tutorial we will show you how to do some common operations on Nodes and Nodes Pools like taint, cordon and drain, on your OVHcloud Managed Kubernetes Service.
Thanks to the Node Pool's labels propagation to Nodes, you will:
- create a Managed Kubernetes cluster
- create a node pool
- create another node pool, with a different configuration and with autoscaling activated
- taint a node
- cordon a node
- drain a node
Why?
A node is a virtual (VM) or physical machine.
Your applications, your workloads will run on Pods, and Pods are running on Nodes.
But sometimes, Kubernetes scheduler can't deploy a Pod on a Node, for several reasons:
- Node is not ready
- Node is unreachable
- Out of disk
- Network is unavailable
- …
For these use cases, and other ones as well, you can do operations on Nodes. And thanks to the Node Pool's labels propagation to Nodes, you can target only Nodes within a particular Node Pool.
Requirements
- a Public Cloud project in your OVHcloud account
OVHcloud Control Panel Access
- Direct link: Public Cloud Projects
- Navigation path:
Public Cloud> Select your project
Instructions
Cluster creation
Follow the cluster creation step by step guide.
Second node pool creation
Now, your Kubernetes cluster is up and running. You can see it in your OVHcloud Control Panel.
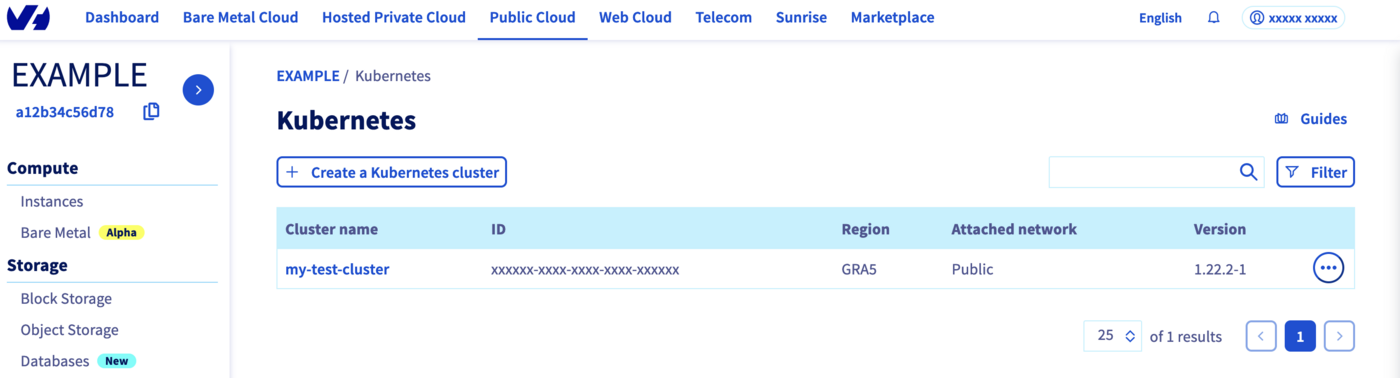
Click on your cluster, then on the Node pools tab.
We will create our second Node pool.
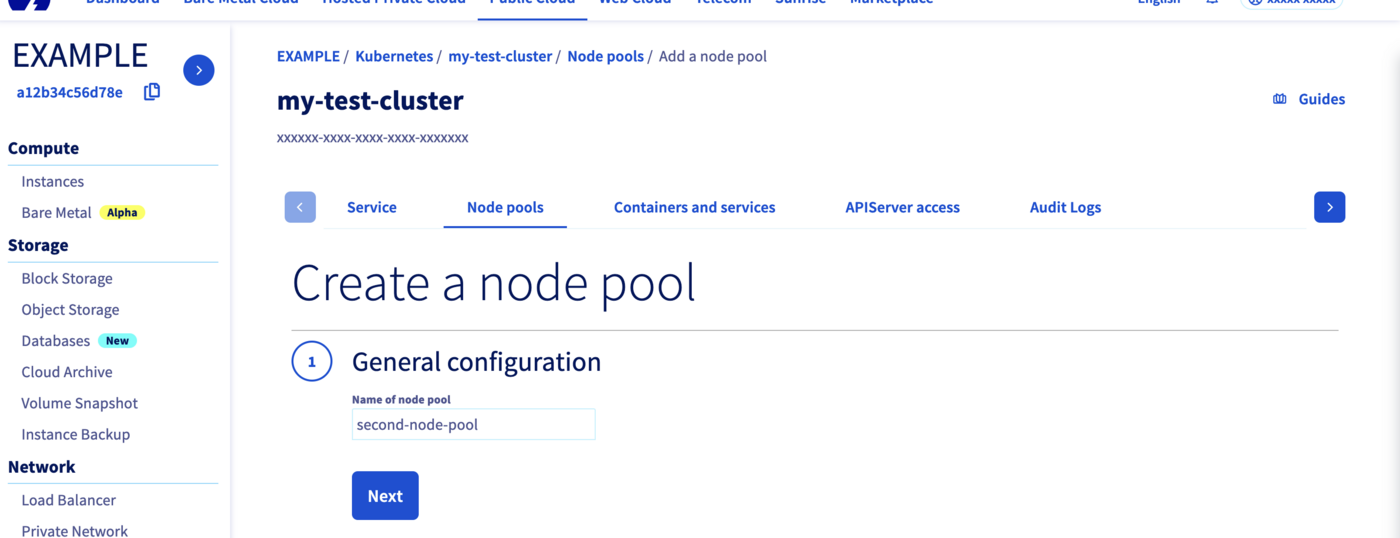
Click on the Add a node pool button.
Then enter a name for your second node pool, second-node-pool for example.
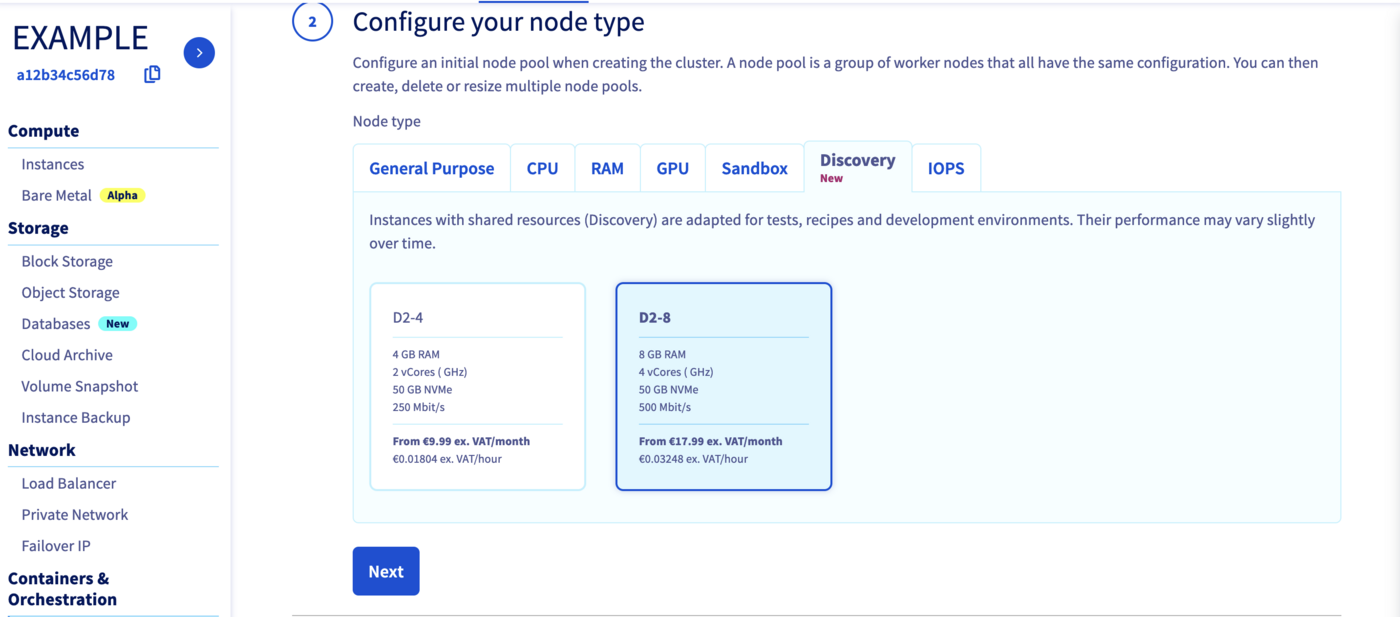
Select a flavor for your new node pool, we can choose "D2-8", a different flavor than our other node pool.
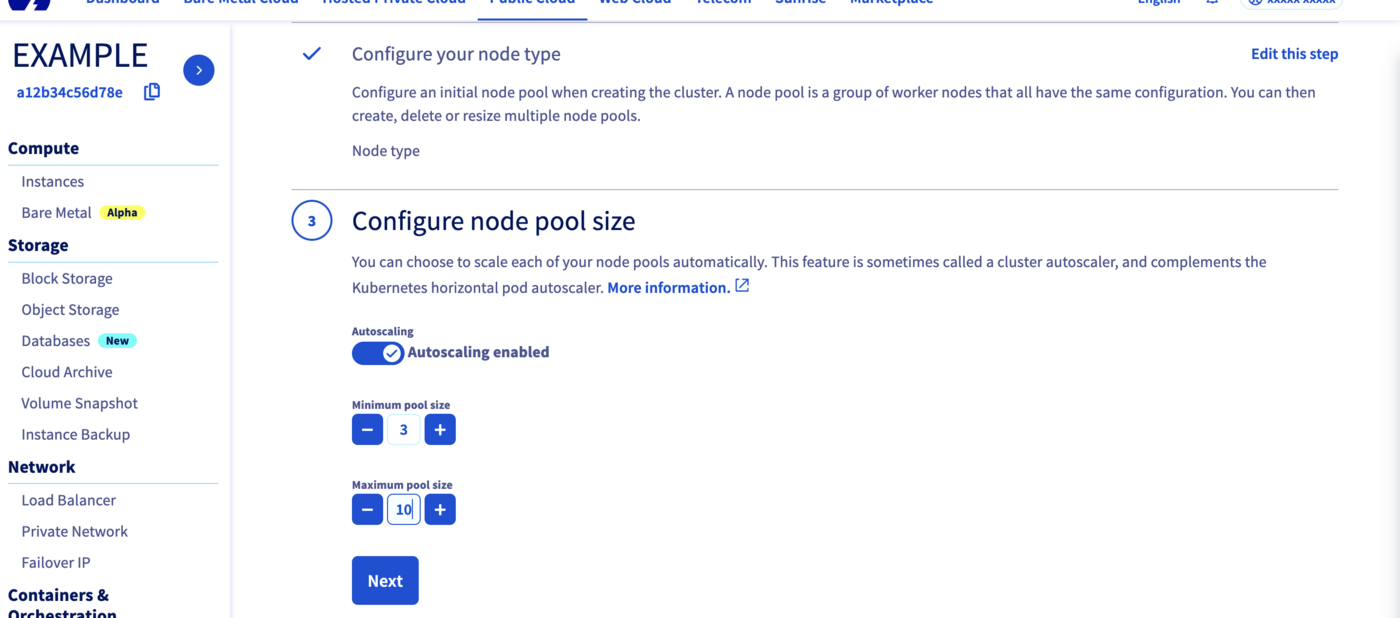
In the next step, define the size of your second node pool.
This time, we can enable the Autoscaling feature.
Define the minimum and maximum pool size in that case, 3 in minimum and 10 in maximum, for example.
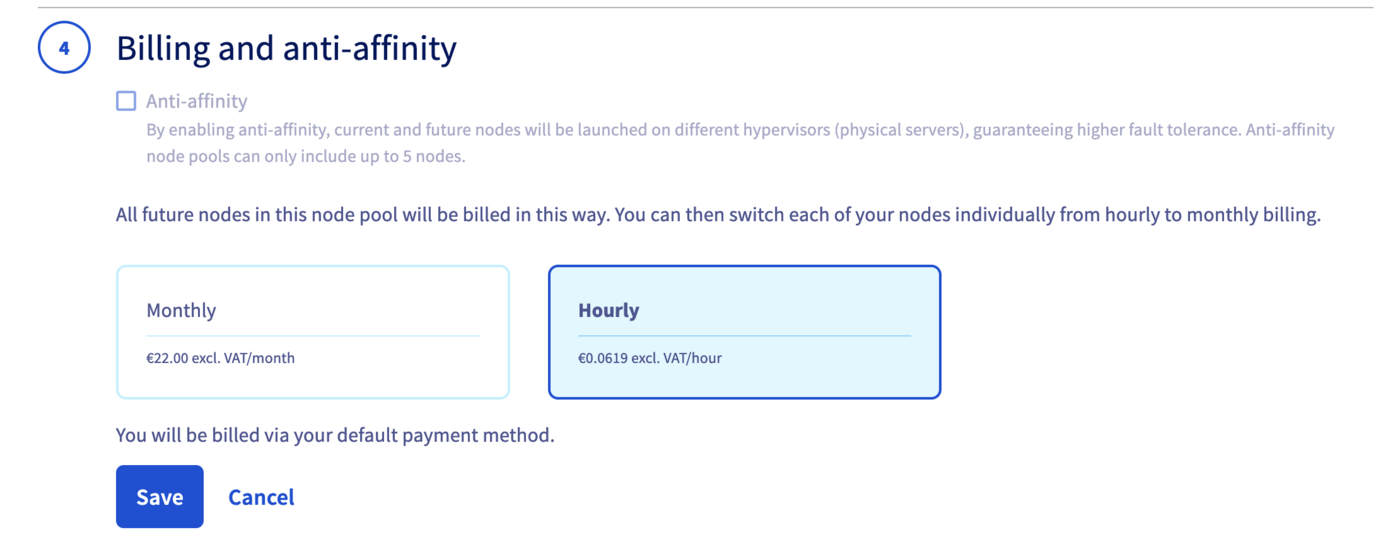
By enabling anti-affinity, current and future nodes will be launched on different hypervisors (physical servers), guaranteeing higher fault tolerance.
Choose Hourly billing mode for this second node pool.
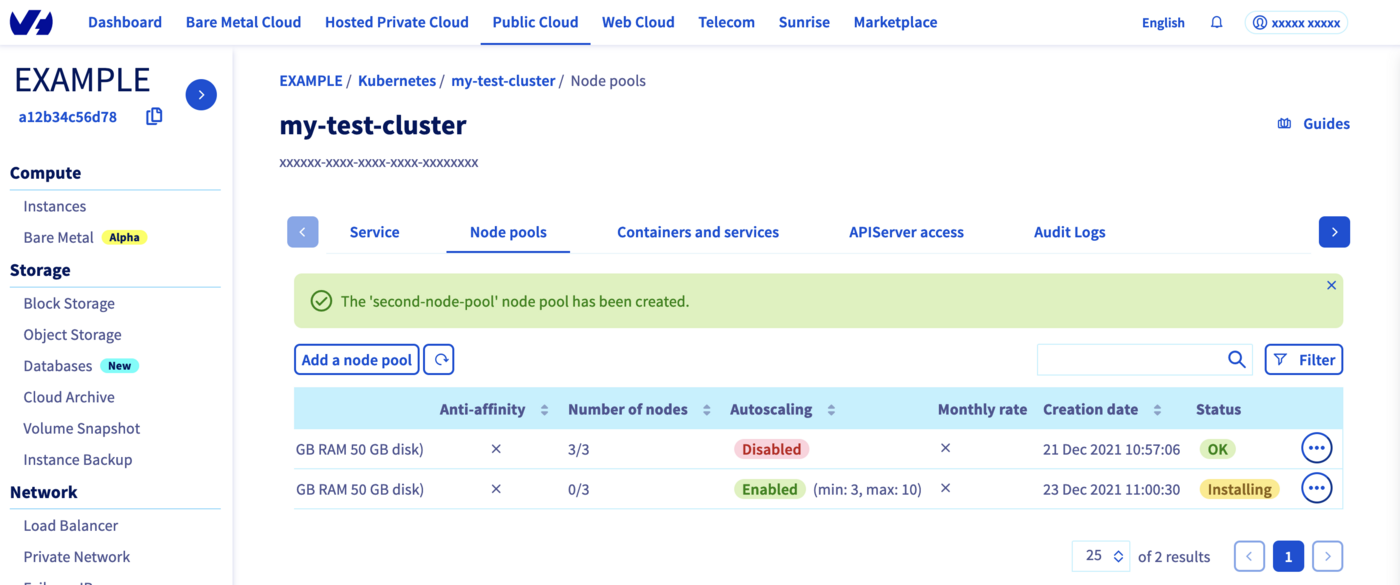
The node pool creation is now in progress. It should be available within a few minutes in your OVHcloud Control Panel.
The second node pool will be first in Installing status.
Wait until its status changes to OK.
Check everything is correctly configured
To do some operations on your Nodes, through kubectl CLI, we invite you to follow our guide to configuring default settings.
When you can access the cluster through kubectl command, let's display our node pools:
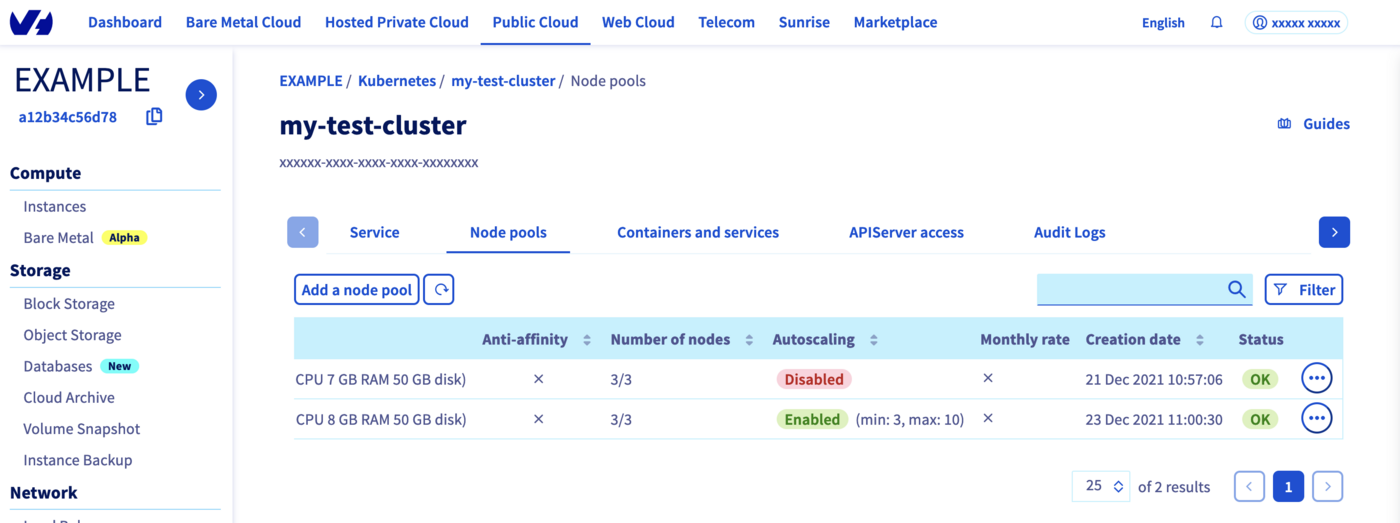
Our two node pools exist and we can see the different configuration and autoscaling mode.
Let's display our nodes. We should have 3 nodes running in our first node pool and 3 nodes in our "second-node-pool" node pool:
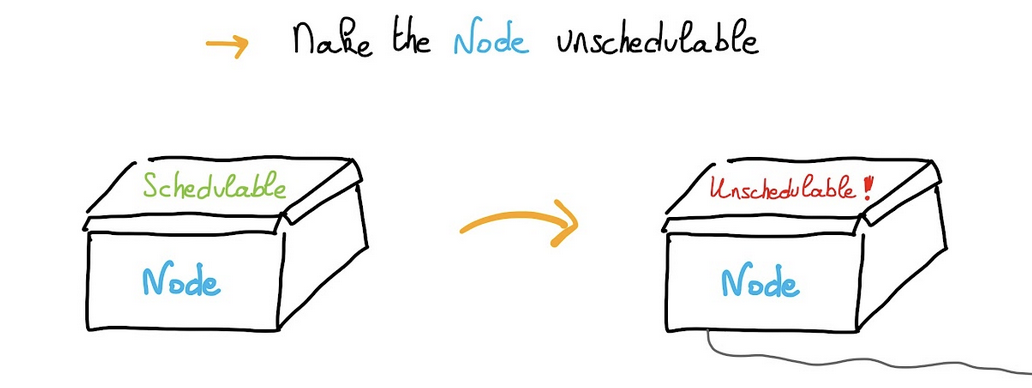
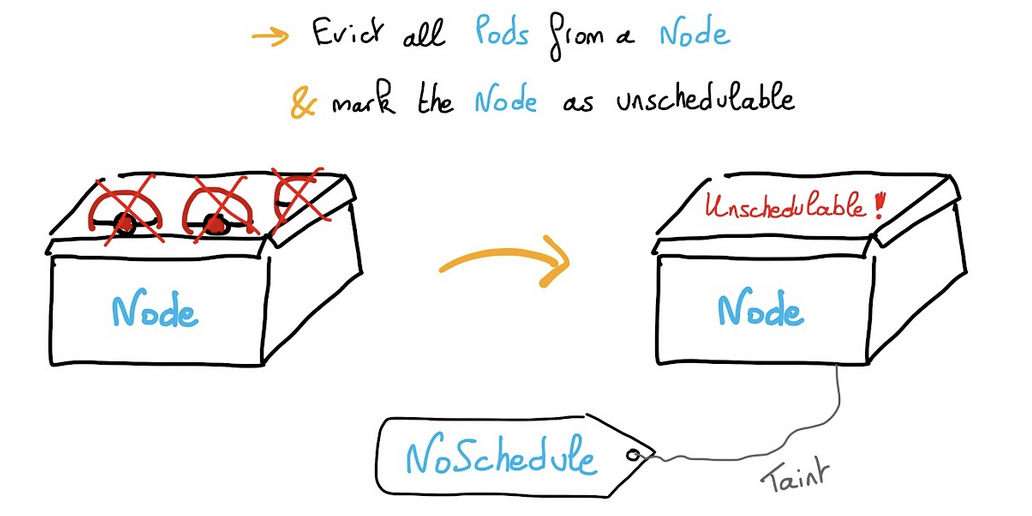
Cordon a Node
Cordoning a node means making the node unschedulable. This means that this node cannot accommodate any more pods as long as it is marked as Unschedulable.
Instead of cordoning each node manually:
You can cordon all the nodes in a node pool. We will show you how to cordon all nodes for second-node-pool for example thanks to label.
In our example, here is the result we got:
All the nodes in second-node-pool are now marked as Unschedulable.
This means you can't deploy Pods on these nodes, on this node pool.
UnCordon a Node
You can also undo your action with theuncordon command.
In our example:
Nodes are in Ready state again.
Drain a Node
You can use kubectl drain command to safely evict all of your pods from a node before you perform maintenance on the node or reduce the number of nodes for example. Safe evictions allow the pod's containers to gracefully terminate and will respect the PodDisruptionBudgets you have specified (if relevant).
A PDB limits the number pods of a replicated application that are down/terminated simultaneously from voluntary disruptions, allowing for higher availability while permitting the cluster administrator to manage the clusters nodes. If you are interested about this topic, we recommend you to read the Kubernetes official documentation: Specifying a Disruption Budget for your Application.
You can drain all the nodes for second-node-pool thanks to label.
In our example:
As you can see, Kubernetes can't remove DaemonSet objects, so in order to not have this error message, you can add the --ignore-daemonsets option:
As shown in the console output, draining a node also cordons it. You can do whatever you want on Nodes as you are sure they do not run any workloads. Do not forget to uncordon the Nodes of the node pool, to allow workloads to be run again:
Nodes are again in Ready state.
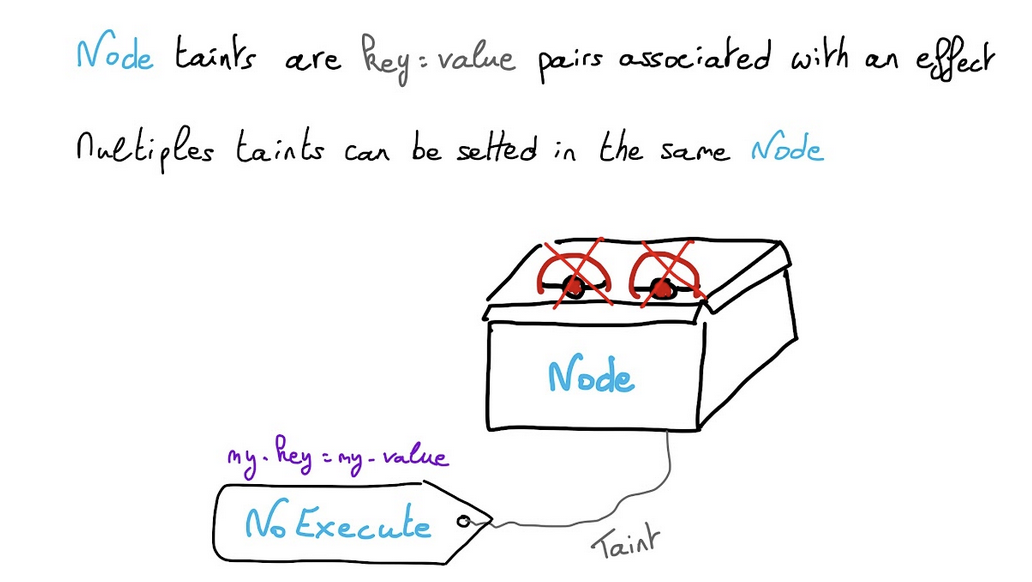
Taint a Node
Node taints are key:value pairs associated with an effect.
Multiple taints can be setted in the same Node.
- With
NoScheduletaint, pods that don’t tolerate the taint can’t be scheduled on the node. - With
PreferNoScheduletaint, Kubernetes avoid scheduled Pods that don’t tolerate the taint. - With
NoExecutetaint, Pods are evicted from the Node if they are already running, additionally to not being schedulable.
You can add a taint in all the nodes for second-node-pool thanks to label.
Pause a node, don’t accept new workloads on it:
You can display the taints for all nodes:
In our example:
You can unpause a node:
In our example:
Taint a Node and create a pod only on these tainted Nodes
Another useful feature could be to taint a Node and to deploy an application only on particular nodes. For example you can dedicate a set of nodes for exclusive use by a particular set of users or define a subset of nodes with specialized hardware.
In order to do that, you can taint second-node-pool nodes with a particular key and value flavor=d2-8 for example:
In our example:
And then you can create a Pod that can be scheduled only on Nodes which have the taint flavor=d2-8:NoSchedule.
Create a my-pod.yaml YAML manifest file with the following content:
Then deploy it:
And check your new Pod is running in a second-node-pool's Node:
In our example:
Thanks to the -o wide option, you can verify that your Pod is running on second-node-pool-node-519613 node.
Where do we go from here?
In this tutorial you saw how to do some operations on Nodes, taint, drain, cordon, uncordon and how to deploy Pods on particular nodes in your OVHcloud Managed Kubernetes cluster.
To learn more about using your Kubernetes cluster the practical way, we invite you to look at our OVHcloud Managed Kubernetes documentation site.
-
If you need training or technical assistance to implement our solutions, contact your sales representative or click on this link to get a quote and ask our Professional Services experts for assisting you on your specific use case of your project.
-
Join our community of users.

