Installing Keycloak, an OIDC Provider, on OVHcloud Managed Kubernetes
302 vues
Objective
The main objective of this tutorial is to secure your OVHcloud Managed Kubernetes Cluster with OpenID Connect (OIDC) and RBAC.
First of all, what is OIDC?

OIDC stands for OpenID Connect. It is an open standard and decentralized authentication protocol.
This protocol allows verifying the user identity when a user is trying to access a protected HTTPs endpoint.
Several OpenID Connect providers exists like Dex, Keycloak or a SaaS provider and today we will use Keycloak for our use case.
What is Keycloak?

Keycloak is an open source Identity and Access Management solution aimed at modern applications and services.
It makes it easy to secure applications and services with little to no code.
More information can be found here: Official Keycloak documentation
Why are we talking about OIDC and Keycloak?
That's because in this tutorial we want to:
- easily secure applications and services deployed in a Kubernetes cluster
- be able to configure a working Keycloak deployment on top of a Managed Kubernetes Service provided by OVHcloud
- configure the
OpenIdConnectflags available for thekube-apiservercomponent of a Managed Kubernetes Service through the OVHcloud Control Panel - be able to use the
kubectlcommand line with the Keycloak OpenIdConnect provider configured
In this tutorial we are going to:
- install Keycloak on a freshly created OVHcloud Managed Kubernetes Service cluster
- configure a Keycloak instance in our Kubernetes cluster as an OIDC provider
You can use the Reset cluster function in the Public Cloud section of the OVHcloud Control Panel to reinitialize your cluster before following this tutorial.
Requirements
This tutorial presupposes that you already have a working OVHcloud Managed Kubernetes cluster, and some basic knowledge of how to operate it. If you want to know more on those topics, please consult the deploying a Hello World application documentation.
This tutorial has been written to be fully compliant with the release v1.22 of Kubernetes.
You may need to adapt it to be able to deploy a functional Keycloak instance in Kubernetes release prior to the v1.22.
Dependencies
A cert-manager to enable HTTPS connection through Keycloak
- More information can be found here: Official cert-manager documentation
- Helm chart description: cert-manager Helm chart
- Helm Chart used for the deployment:
jetstack/cert-manager
How to add the cert-manager Helm repository:
Then install the cert-manager operator from its Helm chart:
This command will install the cert-manager with the values we defined, create a new cert-manager namespace, and install the new CRD (CustomResourceDefinitions):
Check cert-manager have been deployed correctly with kubectl get all -n cert-manager command:
You should have new Deployments, Services, ReplicaSets and Pods running in your cluster.
Then, we will create an ACME ClusterIssuer used by the cert-manager operator to request certificates from ACME servers, including from Let’s Encrypt.
During this lab, we will use the Let's Encrypt production environment to generate all our testing certificates.
Warning! Using the Let's Encrypt Staging environment is not recommended and not compliant with this tutorial.
Create a ClusterIssuer in a file named issuer.yaml with the following content:
apiVersion: cert-manager.io/v1
kind: ClusterIssuer
metadata:
name: letsencrypt-production
spec:
acme:
# You must replace this email address with your own.
# Let's Encrypt will use this to contact you about expiring
# certificates, and issues related to your account.
email: [YOUR_EMAIL]
server: https://acme-v02.api.letsencrypt.org/directory
privateKeySecretRef:
# Secret resource that will be used to store the account's private key.
name: acme-production-issuer-http01-account-key
# Add a single challenge solver, HTTP01 using nginx
solvers:
- http01:
ingress:
class: nginxDo not forget to replace [YOUR_EMAIL] by a real value, it will be used for ACME challenges.
Apply the YAML manifest:
You should have a new ClusterIssuer deployed in your cluster:
Warning! You can use the neat kubectl plugin in order to remove useless information in Kubernetes manifest files.
An Ingress Nginx to publicly expose Keycloak
- More information can be found here: Official ingress-nginx documentation
- Helm chart description: ingress-nginx Helm chart
- Helm Chart used for the deployment:
ingress-nginx/ingress-nginx
How to add ingress-nginx Helm repository:
Then install the ingress-nginx controller:
This command will install the ingress-nginx and create a new ingress-nginx namespace:
You should have new resources in ingress-nginx namespace:
If you need to customize your ingress-nginx configuration, please refer to the following documentation: ingress-nginx values
Installing this ingress-nginx controller will order a LoadBalancer provided by OVHcloud (this load balancer will be monthly billed).
For more information, please refer to the following documentation: Using the OVHcloud Managed Kubernetes LoadBalancer
To check if the LoadBalancer is up and running, execute the following CLI in a console:
You should obtain a result similar to this:
Once your LoadBalancer is up and running, get its IP address to configure your domain name zone:
You should obtain a result similar to this:
If you are using the OVHcloud Domain name product, you can follow this documentation to configure your DNS record to link it to the public IPv4 address associated to your LoadBalancer: Editing an OVHcloud DNS zone.
If you are using an external DNS provider, please configure your domain before reading the rest of this tutorial.
In our case, we have an example.com domain name.
The nslookup command output of our domain entry shows the following information:
Instructions
How to configure and deploy the Codecentric Keycloak provider?
- More information can be found here: Official Keycloak documentation
- Helm chart description: codecentric Keycloak Helm chart
- Helm Chart used for the deployment:
codecentric/keycloak
A PersistentVolume will be created to host all PostgreSQL data.
This PersistentVolume will be provided through the Cinder storage class which is the default storage class used by Managed Kubernetes Service at OVHcloud (this volume will be billed).
For more information, please refer to the following documentation: Setting-up a Persistent Volume on OVHcloud Managed Kubernetes
Keycloak installation
How to add the codeCentric repository:
Create a file called keycloack-values.yaml with the following content:
# Keycloak chart configuration
replicas: 1
restartPolicy: "Always"
serviceAccount:
create: true
name: "sa-keyclok-lab"
prometheus:
enabled: false
rbac:
create: true
extraEnv: |
- name: KEYCLOAK_USER
value: "ovhcloud_keycloak_adm" # CHANGEME
- name: KEYCLOAK_PASSWORD
value: "ThisIsNotAsecuredPassword" # CHANGEME
- name: KEYCLOAK_LOGLEVEL
value: INFO
- name: PROXY_ADDRESS_FORWARDING
value: "true"
service:
httpPort: 8080
httpsPort: 8443
ingress:
enabled: false
# PostegreSQL sub-chart configuration
postgresql:
# This will create a Cinder volume to store the Keycloak PG data
enabled: true
persistence:
enabled: true
postgresqlUsername: "ovhcloud_postgresql_adm" # CHANGEME
postgresqlPassword: "ThisIsNotAsecuredPassword" # CHANGEME
volumePermissions:
enabled: trueReplace all values with the comment CHANGEME with strong usernames and passwords.
Then install the codecentric/keycloak Helm chart:
You should obtain the following result:
Check if the Keycloak StatefulSet is in Ready state:
In our example, after waiting a few minutes, our StatefulSets are in Ready state:
When they are ready, create a file nginx-ingress-definition.yaml with the following content:
# Keycloak ingress route configuration
apiVersion: networking.k8s.io/v1
kind: Ingress
metadata:
annotations:
kubernetes.io/ingress.class: nginx
# This annotation indicates the issuer to use
cert-manager.io/cluster-issuer: letsencrypt-staging
acme.cert-manager.io/http01-edit-in-place: "true"
name: ovh-keycloak-lab
namespace: keycloak
spec:
rules:
- host: keycloak.example.com # CHANGEME
http:
paths:
- path: /
pathType: Prefix
backend:
service:
name: ovh-keycloak-lab-http
port:
number: 8080
tls:
- hosts:
- keycloak.example.com # CHANGEME
secretName: keycloak-tlsReplace example.com by your domain name
Then apply the YAML file to configure the Ingress route required to expose Keycloak on the Internet:
Keycloak configuration
If you are reading this chapter, it indicates that your Keycloak is now up and running.
Let's go and open the Keycloak Web console: https://keycloak.your-domain-name.tld/.
In our example, the URL to our installed keycloak is https://keycloak.example.com/.
If you change it with your custom URL, you should see the Keycloak UI like this:
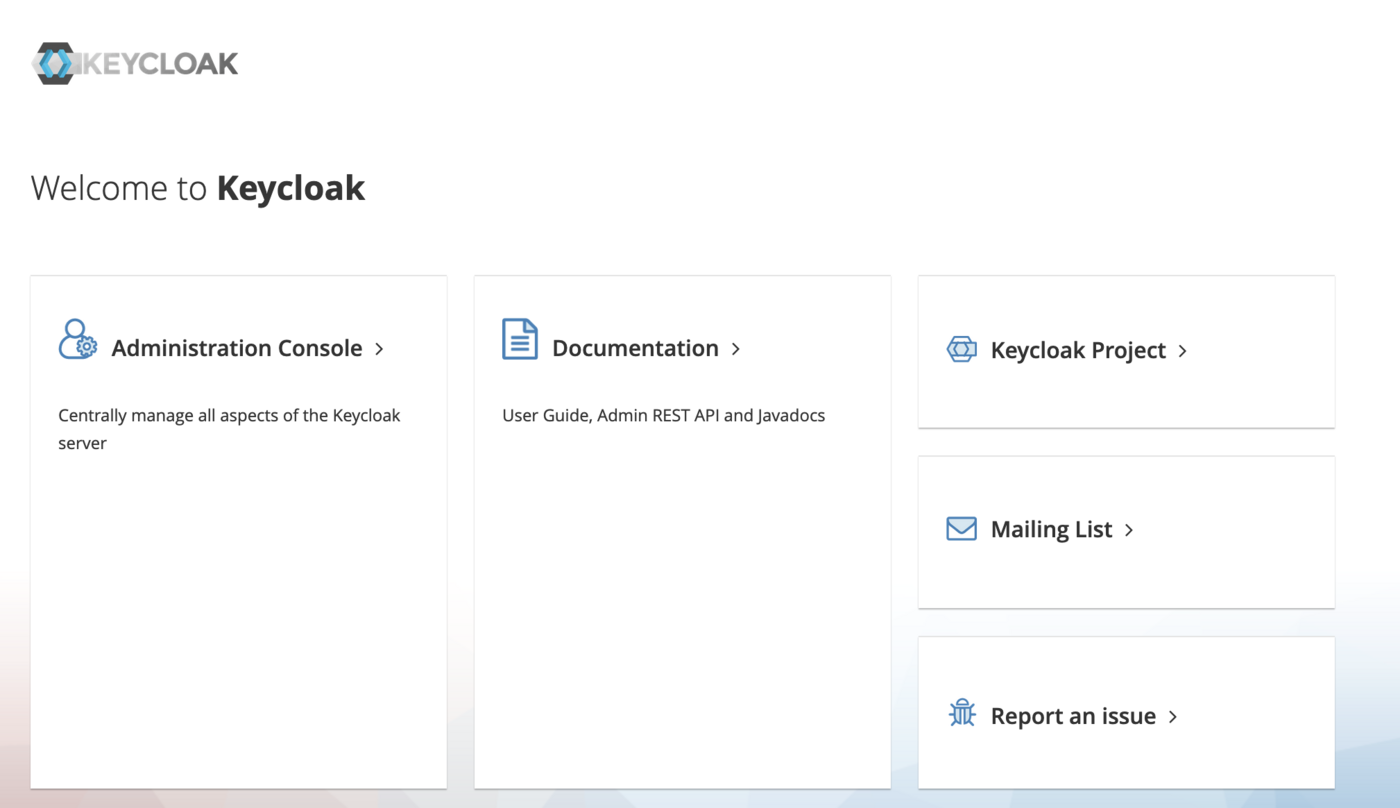
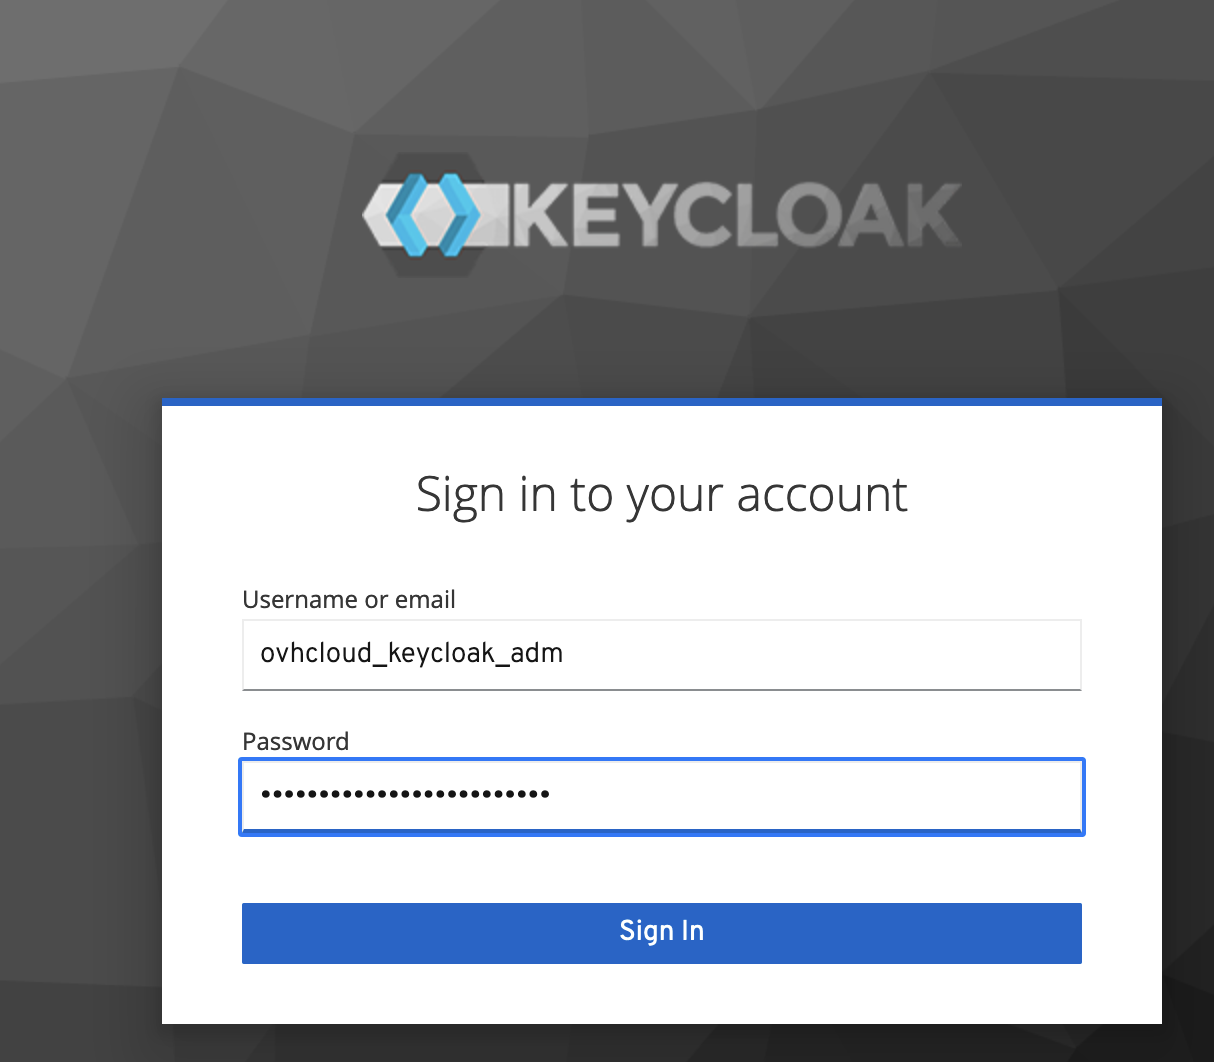
Then, click in Administration Console and login with the username and password configured in the keycloack-values.yaml file you filled and modified in Keycloak installation section of this guide.
Create a REALM
A realm in Keycloak is the equivalent of a tenant or a namespace. It allows creating isolated groups of applications and users.
By default, there is a single realm in Keycloak called Master. It is dedicated to manage Keycloak and should not be used for your own applications.
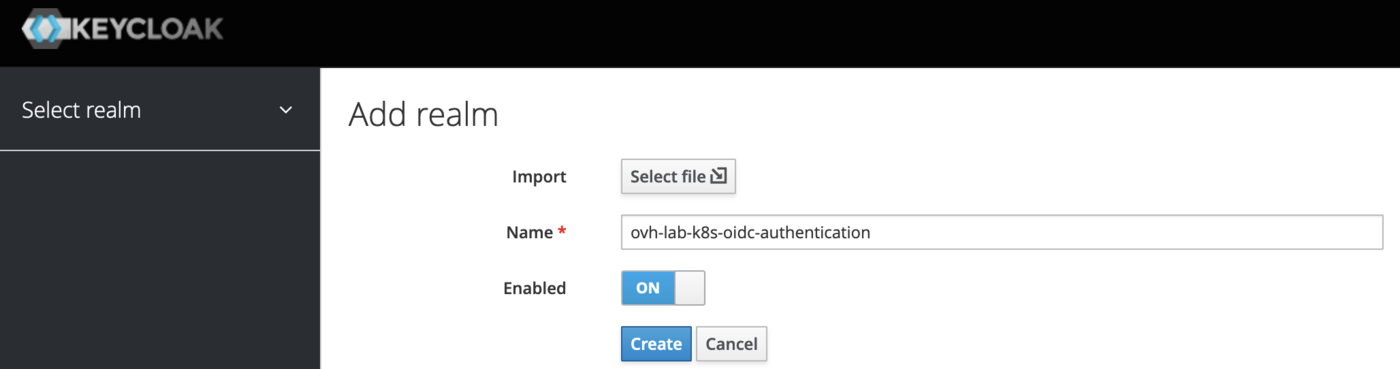
Let's create a dedicated realm for our tutorial:
- Display the dropdown menu in the top-left corner where it is indicated
Master, then click on theAdd realmblue button. - Fill in the form with this name:
ovh-lab-k8s-oidc-authentication, then click on theCreateblue button.
Create a CLIENT
A client in Keycloak is an entity that can request a Keycloak server to authenticate a user.
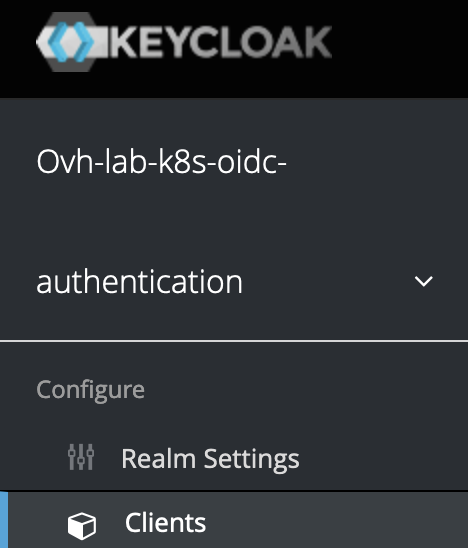
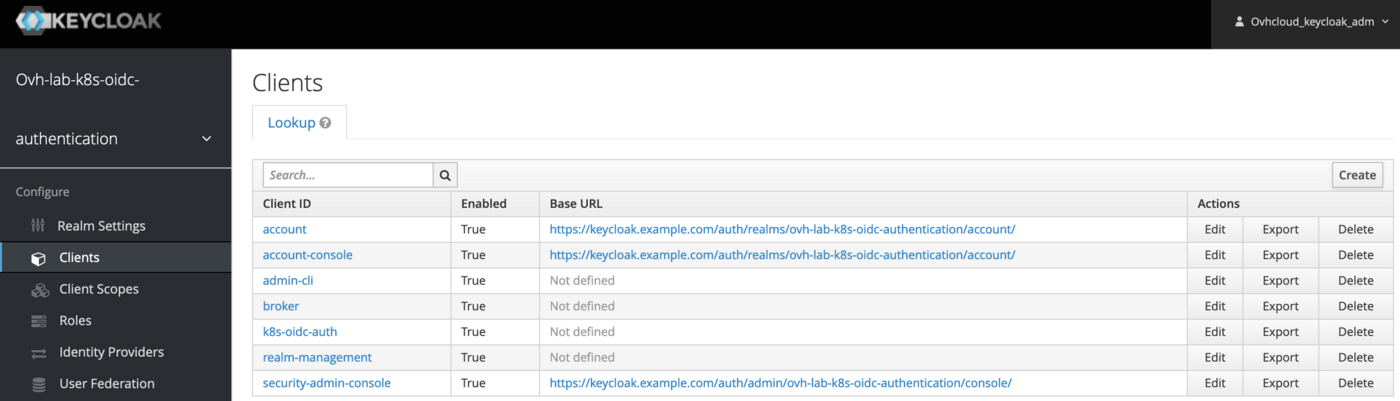
- From the previously created realm, click on the left-hand menu
Clientsunder theConfigurecategory:
- Click on
Createin the top-right corner of the table. - Fill in the form with the following parameters:
In our example, the new Client informations are:
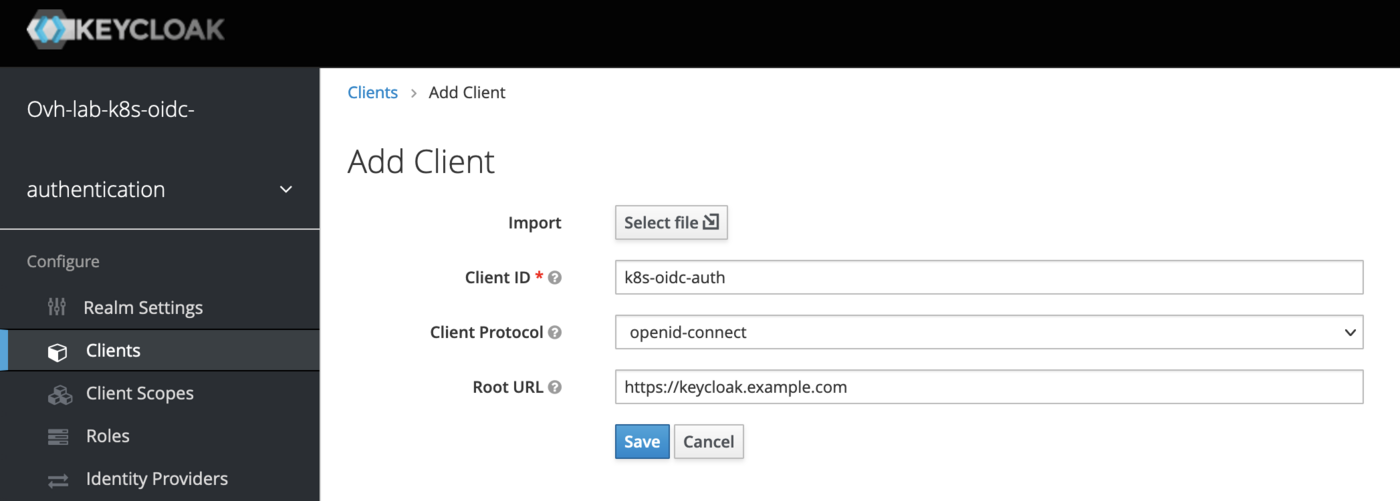
- Then click on the
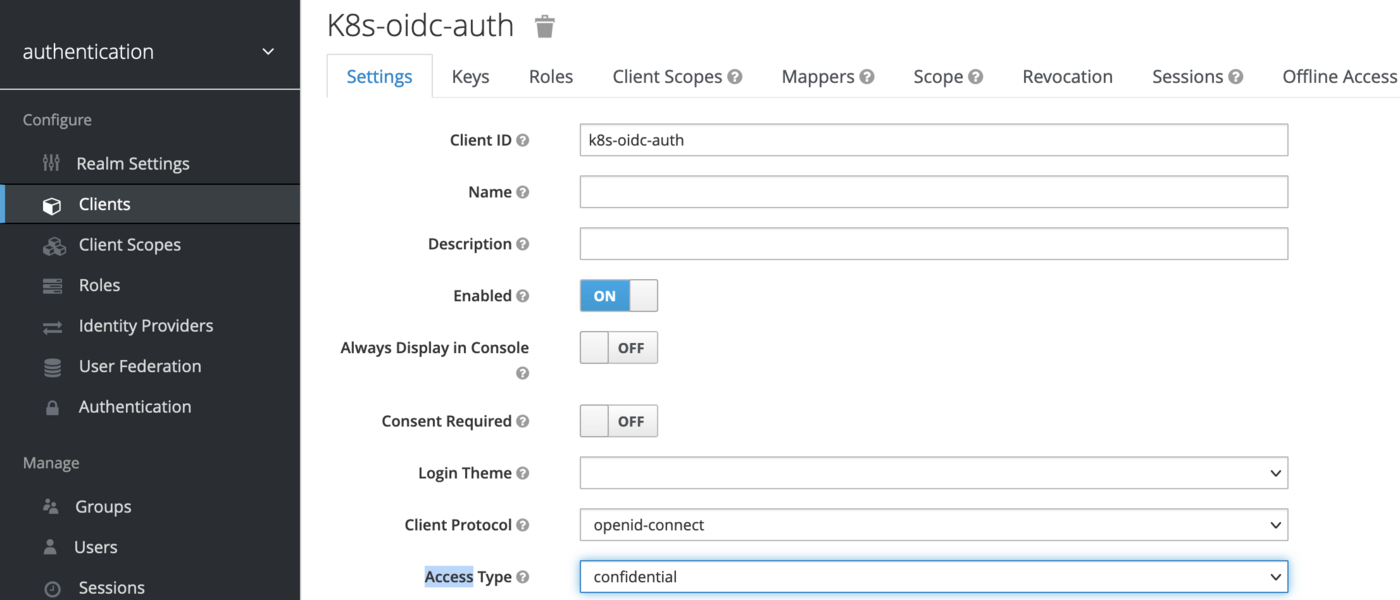
Savebutton. - In the new created client, Find the
Access Typefield and set its value toconfidentialto require a secret to initiate the login protocol. Then click on theSaveblue button to save the change.
- Then click on the
Credentialstab. Find theValid Redirect URIsfield and set the following value:* - Find the
Admin URLand theWeb Originsfields and set their values to your defined domain name if it is not already done.
In our example:https://keycloak.example.com/.
__\/!\ Be careful to use the HTTPS schema only /!\\__ - Save your changes.
Create a USER
- From the previously created realm, click on the left-hand menu
Usersunder theManagecategory. - Click on
Add userin the top-right corner of the table. - Fill in the form. Only the
Usernamefield is required, it's enough for this tutorial.
In our example, we created the following user:
- Then click on the
Savebutton.
The first user connection required an initial password, so let's create it:
- Click on the
Credentialstab - Fill in the
Set Passwordform - Disable the
Temporaryflag to prevent having to update the password on first login - Then click on the
Set Passwordbutton and confirm your choice
Configure Keycloak instance in your Kubernetes cluster as an OIDC provider
Now that you have a working keycloak, your Provider URL is https://keycloak.example.com/auth/realms/ovh-lab-k8s-oidc-authentication, and since you created a User, you can read the Configuring the OIDC provider on an OVHcloud Managed Kubernetes cluster guide to configure the OIDC provider on your Kubernetes cluster via the OVHcloud Control Panel, the OVHcloud API or via Terraform.
Explanations:
- In
Provider URLfield you should copy/paste the URL to access to the previously defined realm: https://${your-configured-root-url}/auth/realms/${your-configured-realm-name}
In our example we used the ovh-lab-k8s-oidc-authentication realm
issuerUrl: https://keycloak.example.com/auth/realms/ovh-lab-k8s-oidc-authentication.
- In
Client IDyou should copy/paste the name of the Keycloak client previously defined.
In our example we defined the client named: k8s-oidc-auth.
Our Kubernetes cluster is now configured with our Keycloak instances, both are linked.
OIDC integration and configuration
If it is not already done, you must install the kubectl plugin manager named Krew.
Then, install the oidc-login plugin to extend the capacity of the kubectl command line and easily configure your environment to be able to use your Keycloak server.
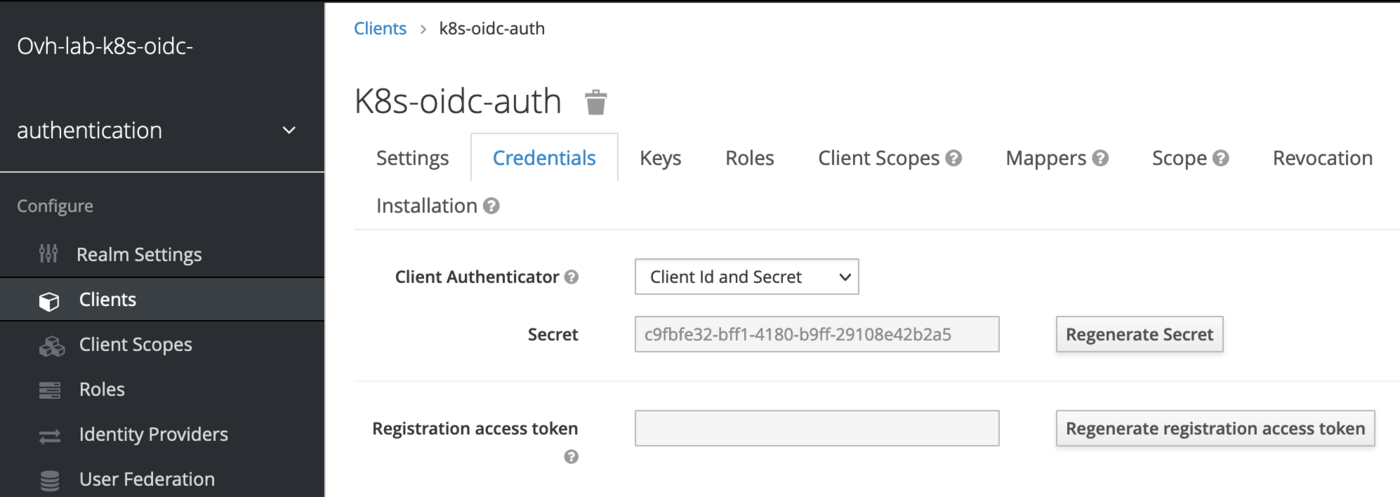
Once oidc-login is installed, go back to the Keycloak web interface to get your client secret.
You can find this information here:
- Click on the
Clientsmenu in the left column - Click on your previously created client (
k8s-oidc-authin my example) - Go to the
Credentialstab ang get yoursecretvalue
Then, customize the following command line, with your information and execute it to be able to:
- Log in to your Keycloak provider through your browser
- Generate a token from it
- Configure your Kubectl context to access to Kubernetes APIs with the freshly generated token
Here with the information related to our example:
Your favorite browser will display an authentication page to your Keycloak server.
Log in with the credentials defined during the user creation step of this tutorial.
Once the authentication succeeded, you can close your browser tab on go back to your console where a message is displayed.
The oidc-login plugin has given you some instructions to follow to finalize the configuration of your Kubectl environment.
In step 3 of the oidc-login output, you must create a ClusterRoleBinding:
You can ignore the step 4, because we already configured the kube-apiserver through the OVHcloud Control Panel.
Then, for the step 5, configure your kubeconfig:
And verify your cluster access (step 6 of the oidc-login output) with the following command:
For example:
If you can see the nodes of your Managed Kubernetes Service, congratulations, your Keycloak instance is up and running!
Upgrade the Keycloak deployment if needed
Enter the following command:
Rollout restarts the Keycloak StatefulSets if needed
Various troubleshooting
If the cert-manager namespace is stuck in deleting state, see the following documentation: namespace-stuck-in-terminating-state
Cleanup
To clean up all existing resources related to the Keycloak Helm chart, you can execute the following command lines:
To clean up all existing resources related to the ingress-nginx Helm chart, execute the following command lines:
To clean up all existing resources related to the cert-manager Helm chart, execute the following command lines:
Useful resources
- Keycloack documentation
- ArtifactHUB keycloack
- Cert-manager Securing Ingress Resources
- Keycloak on Kubernetes
- Kubernetes API Access Control documentation
Go further
-
If you need training or technical assistance to implement our solutions, contact your sales representative or click on this link to get a quote and ask our Professional Services experts for assisting you on your specific use case of your project.
-
Join our community of users.

