CLI - Utiliser vos données dans un notebook (EN)
242 vues
Objective
This guide shows how to access Object Storage data from your notebooks.
Requirements
- a working
ovhaiCLI (how to install ovhai CLI)
Upload data to your Object Storage
First, we need to push some data to the Object Storage before accessing it from the notebook.
Assuming a file named my-dataset.zip exists in your current working directory, you can use the following command
to create a data container named my-dataset in the GRA region that will contain your my-dataset.zip file.
This file can now be accessed from your notebooks, either with read-only or read-write permissions.
Access with Read-Only permissions
In order to access your dataset, you can use the --volume option.
This command can be read as "Load the container my-dataset from the GRA region, in the /workspace/datasets directory,
with ro (read-only) permissions".
Wait a few seconds for the notebook to start, then you should see its URL in the output that you can access from your browser. You can read the Getting started page to know how to find this URL.
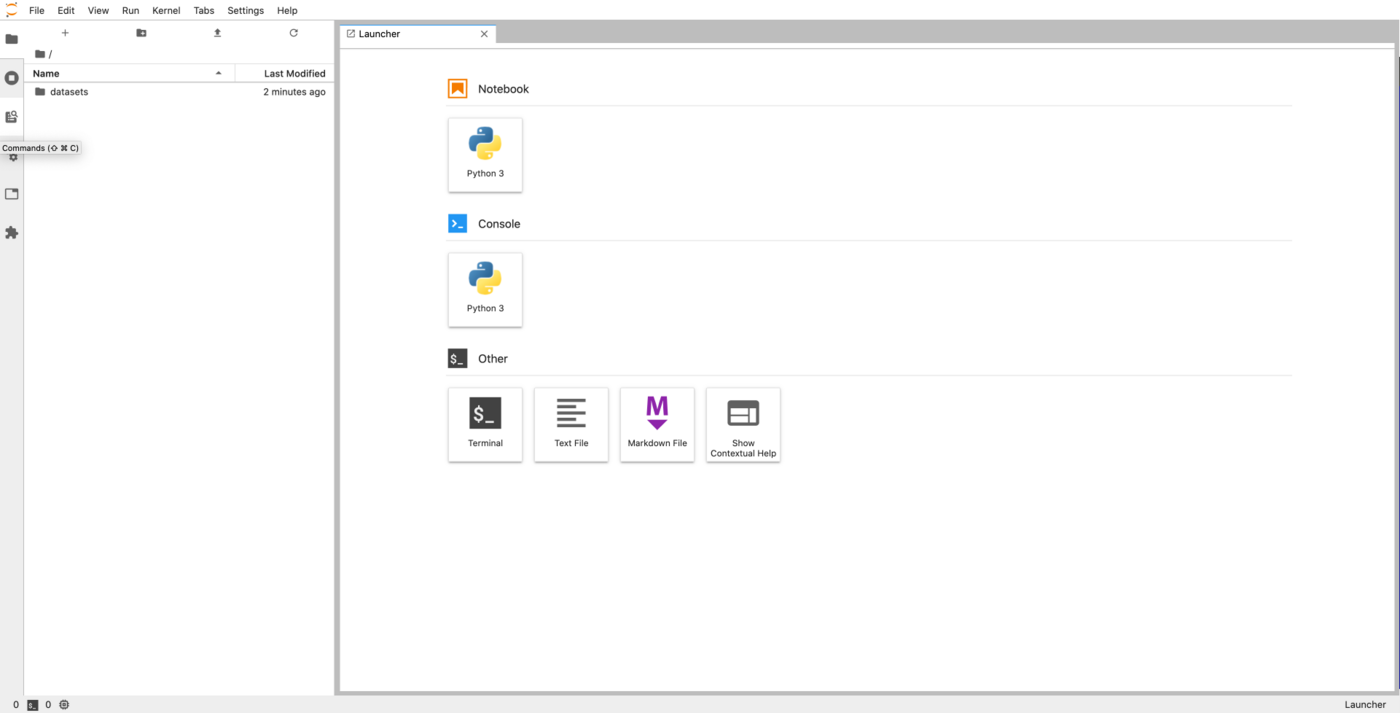
You should get a page like this, showing your dataset in the file explorer:
You will not be able to modify the dataset from this notebook because you loaded it with read-only permissions.
Read-only permissions are to ensure you don't modify your data by mistake. If you want to modify data from your notebooks, to store a trained neural network for example, you can use the read-write permission instead.
Access with Read-Write permissions
Similarly to the read-only mode, you can use the --volume option to load data with read-write permission.
The only difference is that you specify rw instead of ro in the command:
Once you have some data that you want to save (a trained neural network in this example), you can simply write it
to the /workspace/neural-networks folder.
This folder will be uploaded to your Object Storage when you stop your notebook.
As long as your notebook is in the STOPPING state, this means that the upload is still in progress. Once the state
changes to STOPPED, it means all the data were uploaded to your Object Storage.
With the RW permission, you can add or modify data but you cannot permanently delete it from your Object Storage.
If you want to add, modify or delete data, connect your volume with Read-write-delete specifying RWD instead of RW.
Attach a public Git repository
If Python code, notebooks or other files are available on a public GitHub repository, you can attach them to your notebook with the --volume option.
To be able to edit it and make changes easily, use the read-write permission (shorten by: rw).
The command is as follows:
To make your command valid, don't forget to add a .git at the end of the GitHub repository URL.
Access multiple volumes
In many cases you need at least one volume for your dataset, and another to store your results. You can load as many
volumes as you want by chaining the --volume options:
In this case, we loaded my-dataset in read-only, and my-neural-networks and the GitHub repository in read-write mode.
Using cached volumes
When loading large files from the Object Storage, it can take some time to download to your notebooks. In these cases, you can cache the volumes so that it does not need to be downloaded again when you start new notebooks that use the same data.
To do so, you can append :cache after the permissions when specifying volumes:
Cached volumes will be deleted at least 72 hours after the last notebook using it has stopped. Note that the cache is shared with all users in your project. The main consequence you need to be careful about is the fact that if someone else modifies the data in your cached volume, you will also see the modifications on your side.
Update volume configuration
It's possible to update the volumes configuration of a notebook with the patch command.
It can be convenient if you need afterward a new object storage and don't want to recreate the whole notebook.
To do so, use the patch command with the --volume option:
This is the same option as the run command above. You can choose to mount the volume in read-only or read & write mode and mount multiple volumes.
If you need training or technical assistance to implement our solutions, contact your sales representative or click on this link to get a quote and ask our Professional Services experts for a custom analysis of your project.
Feedback
Please send us your questions, feedback and suggestions to improve the service:
- On the OVHcloud Discord server

