Configuring the API server flags on an OVHcloud Managed Kubernetes cluster
252 visualizaciones
Objective
The OVHcloud Managed Kubernetes service provides you with Kubernetes clusters without the hassle of installing or operating them. At OVHcloud, we like to provide you with the best products and services, which is why we give you the ability to customize the managed components of your Kubernetes: CoreDNS, IPVS, and even API server admission plugins to enable and disable on your OVHcloud Managed Kubernetes clusters.
In this guide, we will show you how to enable and disable API server admission plugins, but you can follow the guide for other customizations to the OVHcloud Managed Kubernetes cluster configuration.
Requirements
- An OVHcloud Managed Kubernetes cluster
Instructions
Only the AlwaysPullImages admission plugin is customizable for the moment. It is enabled by default for security purposes, but can be disabled to prevent overuse of docker registries (e.g. to avoid reaching the Docker Hub download rate limit).
The NodeRestriction admission plugin is enabled by default and must stay enabled for security purposes.
Configure the API server admission plugins through the API
The API Explorer
To simplify things, we are using the API Explorer, which allows to explore, learn and interact with the API in an interactive way.
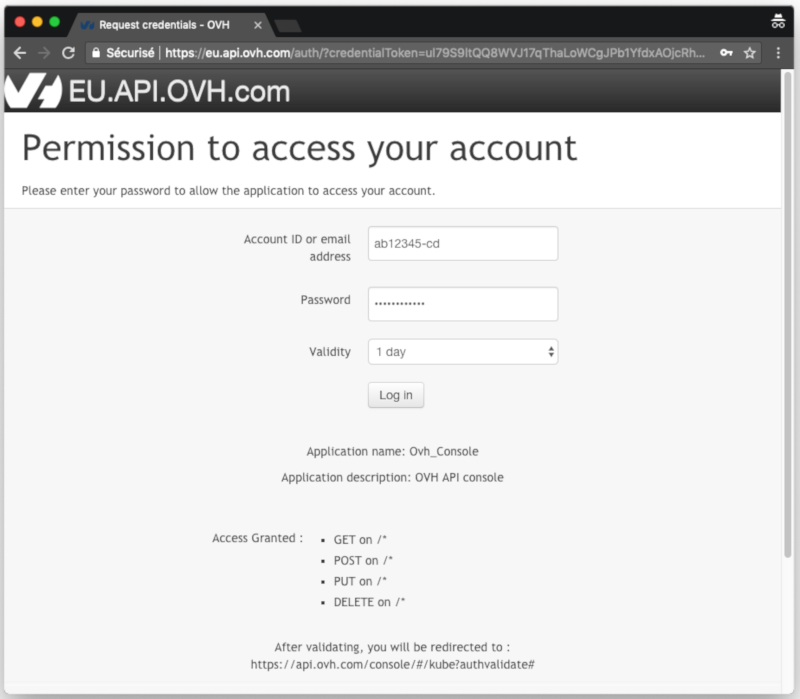
Log in to the API Explorer using your OVH NIC.
If you go to the Kubernetes section of the API Explorer, you will see the available endpoints:
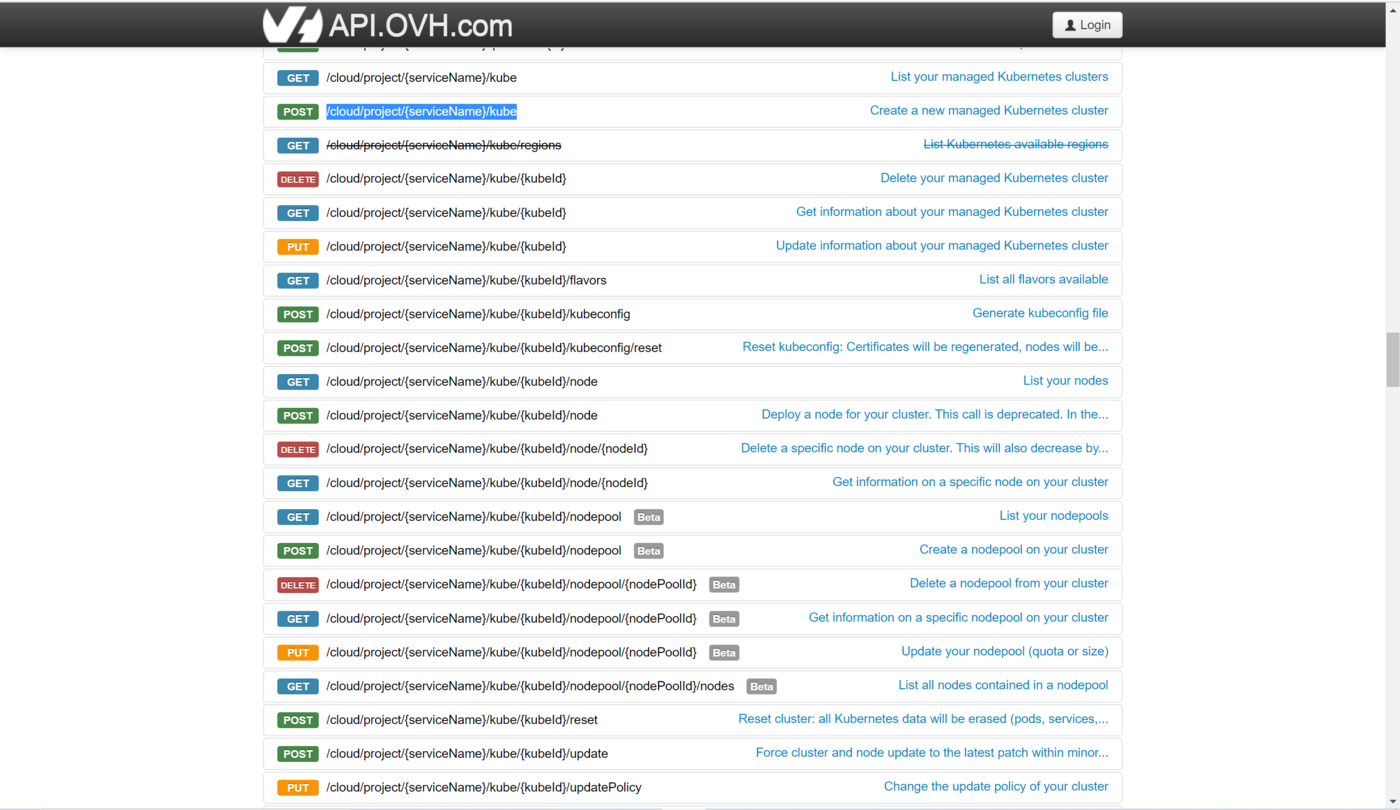
API endpoints
- Get an existing cluster's customization:
Result:
- Update an existing cluster's customization to disable the "AlwaysPullImages" admission plugin (e.g. in order to avoid our kubelet agents from reaching the Docker Hub download rate limit):
kubeProxy can't be edited. You can define it only at the cluster creation step.
- Create a Kubernetes cluster in the GRA5 region while disabling the "AlwaysPullImages" admission plugin:
- Reset an existing cluster while disabling the "AlwaysPullImages" admission plugin:
Configure the API server admission plugins through Terraform
Since the version 0.21+ of our OVH Terraform provider, you can configure your Kubernetes cluster (API server flags, CoreDNS, IPVS ...) through Terraform.
Getting your cluster/API tokens information
The "OVH provider" needs to be configured with a set of credentials:
- an
application_key - an
application_secret - a
consumer_key
Why?
Because, behind the scenes, the "OVH Terraform provider" is doing requests to OVHcloud APIs.
In order to retrieve this necessary information, please follow our First steps with the OVHcloud APIs tutorial.
Specifically, you have to generate these credentials via the OVHcloud token generation page with the following rights:
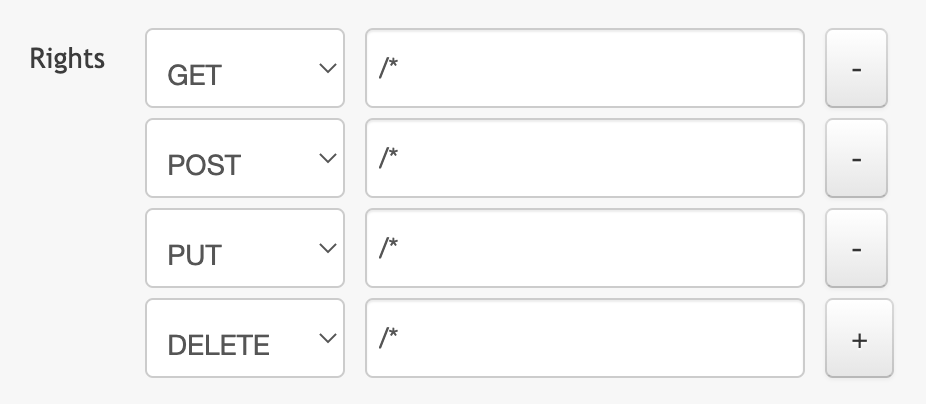
When you have successfully generated your OVHcloud tokens, please save them as you will need to use them very soon.
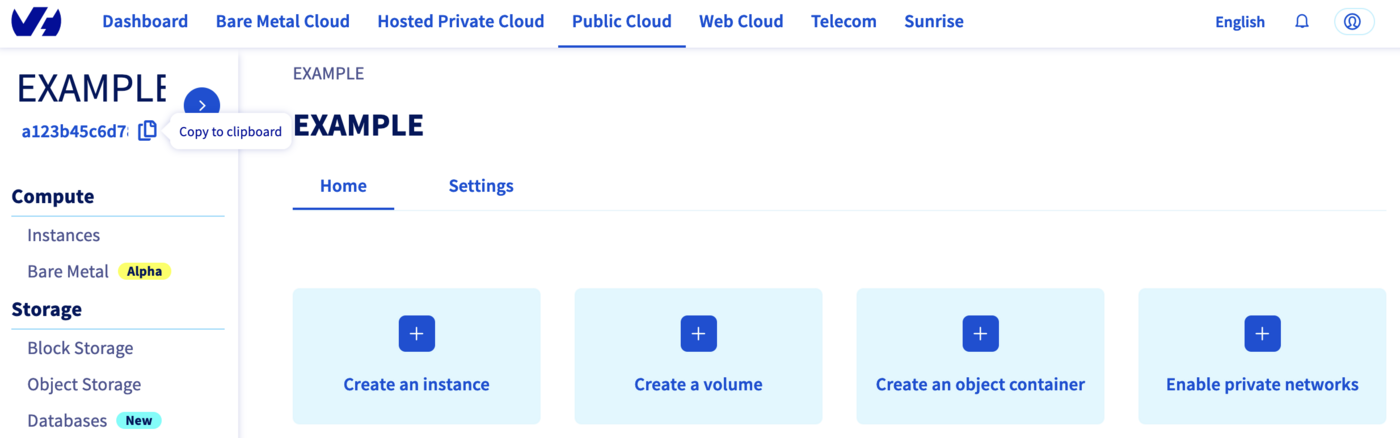
The last needed information is the service_name: it is the ID of your Public Cloud project.
How to get it?
In the Public Cloud section, you can retrieve your service name ID thanks to the Copy to clipboard button.
You will also use this information in Terraform resources definition files.
Terraform instructions
First, create a provider.tf file with the minimum version, european endpoint ("ovh-eu") and the keys previously retrieved in this guide.
Terraform 0.13 and later:
Terraform 0.12 and earlier:
Alternatively the secret keys can be retrieved from your environment.
OVH_ENDPOINTOVH_APPLICATION_KEYOVH_APPLICATION_SECRETOVH_CONSUMER_KEY
This later method (or a similar alternative) is recommended to avoid storing secret data in a source repository.
Here, we defined the ovh-eu endpoint because we want to call the OVHcloud Europe API, but other endpoints exist, depending on your needs:
ovh-eufor OVHcloud Europe APIovh-usfor OVHcloud US APIovh-cafor OVHcloud North-America API
Then, create a variables.tf file with service_name:
Define the resources you want to create in a new file called ovh_kube_cluster.tf:
In this resources configuration, we ask Terraform to create a Kubernetes cluster, in the GRA5 region, using the Kubernetes version 1.31, while disabling the "AlwaysPullImages" admission plugin (e.g. in order to avoid our kubelet agents from reaching the Docker Hub download rate limit).
Now we need to initialise Terraform, generate a plan, and apply it.
The init command will initialize your working directory which contains .tf configuration files.
It’s the first command to execute for a new configuration, or after doing a checkout of an existing configuration in a given git repository for example.
The init command will:
- Download and install Terraform providers/plugins
- Initialize the backend (if defined)
- Download and install modules (if defined)
Now, we can generate our plan:
Thanks to the plan command, we can check what Terraform wants to create, modify or remove.
The plan is OK for us, so let's apply it:
Destroy
If you want to delete the Kubernetes cluster you added through Terraform, you have to execute the terraform destroy command:
Go further
To have an overview of the OVHcloud Managed Kubernetes service, you can go to the OVHcloud Managed Kubernetes page.
To learn more about how to use your Kubernetes cluster the practical way, we invite you to look at our tutorials.
-
If you need training or technical assistance to implement our solutions, contact your sales representative or click on this link to get a quote and ask our Professional Services experts for assisting you on your specific use case of your project.
-
Join our community of users.

