Install Django on your POWER web hosting plan
69 visualizaciones
Objective
You've subscribed to a Web POWER web hosting plan to deploy Python applications, and you want to deploy Django on it.
This guide will explain how to do it.
Find out how to install Django on your POWER web hosting plan.
Requirements
- A Node.js POWER web hosting plan
- access to the OVHcloud Control Panel
If you have just started to use your Web POWER web hosting plan, we suggest to have a look at our Getting started with a POWER web hosting plan guide before going further.
Instructions
Let's suppose you have the default configuration for Python hosting:
- Runtime: Python 3.8
- Entrypoint: app.py
- DocumentRoot: www
To verify your configuration, you can use the Retrieve active configuration API endpoint.
To use Python WSGI frameworks, using virtualenv is the simplest choice.
Connect via SSH to your POWER web hosting and activate virtualenv:
Update pip:
Install Django:
Create the new Django project:
By default, Django's wsgi application is located in config/wsgi.py. As our configured hosting entrypoint is app.py, we can create the following symlink:
As Django is installed inside a virtualenv, we should tell the app to use it. We can do so by adding these 2 lines in app.py before Django import:
The complete app.py file:
Django needs to declare the allowed hosts used for the website. It's configured in config/settings.py, for example:
Then restart your instance and your Django will be online.
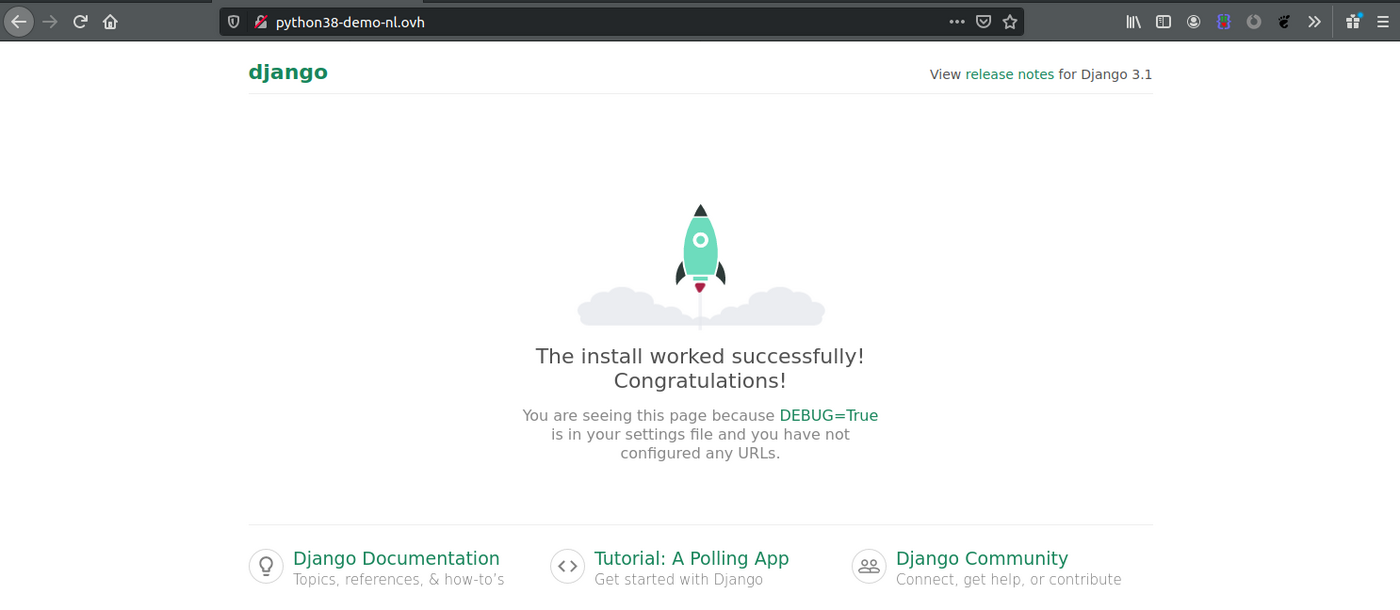
Terminal output:
More information on Django
To get more information on Django, go to the official documentation site.
Go further
Join our community of users on https://community.ovh.com/en/.
Join our Discord on our web-hosting-power channel to discuss directly with the team and other users of this lab.

