Tutorial - Using Cyberduck with a web hosting plan
1764 Ansichten
Objective
Available for macOS and Windows, Cyberduck is an open-source file transfer application. You can use it to log in to your web hosting plan’s FTP storage space (using FTP or SFTP protocol).
To download Cyberduck, go to the official website of the application.
![]()
- Cyberduck is an application available on macOS and Windows. Because Cyberduck's interface and features are similar on both operating systems, the tutorial can be applied universally, even though it relies on screenshots from the Windows verion.
- This guide has been created with a free version of the application, version 8.7.2, downloaded from the official website.
OVHcloud provides services for which you are responsible with regard to their configuration and management. It is therefore your responsibility to ensure that they function correctly.
This guide is designed to help you with common tasks. Nevertheless, we recommend contacting a specialist provider or the software publisher if you encounter any difficulties. OVHcloud cannot provide you with technical support in this regard. You can find more information in the Go further section of this guide.
Requirements
- An OVHcloud web hosting plan
- The Cyberduck application downloaded and installed
For web hosting plans, you can no longer log in to your FTP storage space via the FTP Explorer/Net2FTP online tool. To continue connecting to your web hosting plan via FTP, use the Filezilla or Cyberduck software.
Instructions
Interface
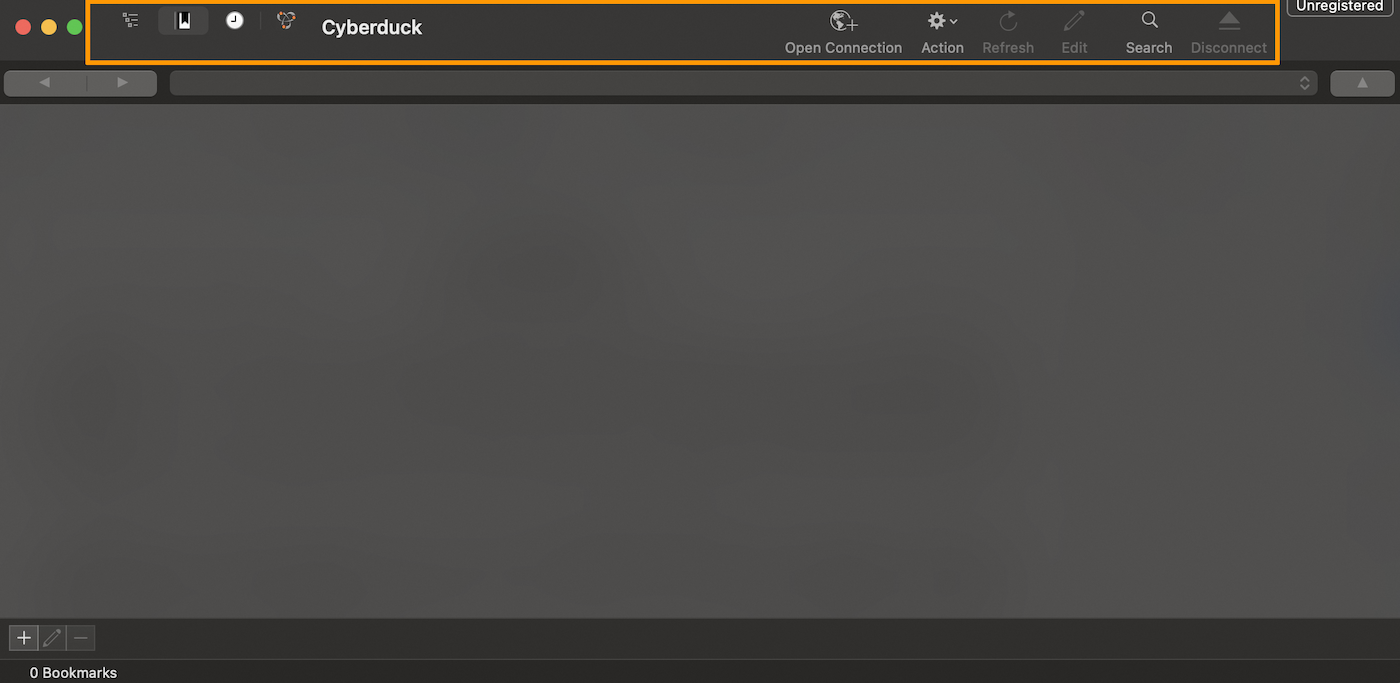
When you start the application, the interface below will appear.
- The top part, highlighted in orange, corresponds to the toolbar. You can use it to establish a connection to your hosting space, browse the tree-view of your folders and files, view the history of your actions, and many other actions.
- The lower section shows the content you want to view. For example, if you click on the
Historyicon, the list of your actions will appear.
Customize the Cyberduck display
You can customize the display of Cyberduck to make it more efficient and personal.
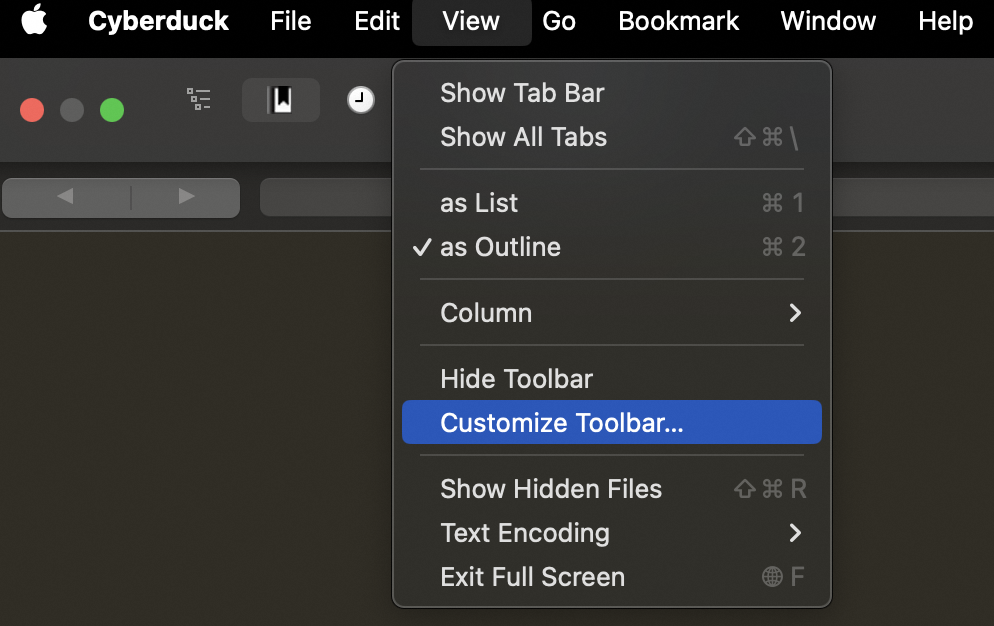
In the main menu, at the top of the interface, click View then Customize Toolbar....
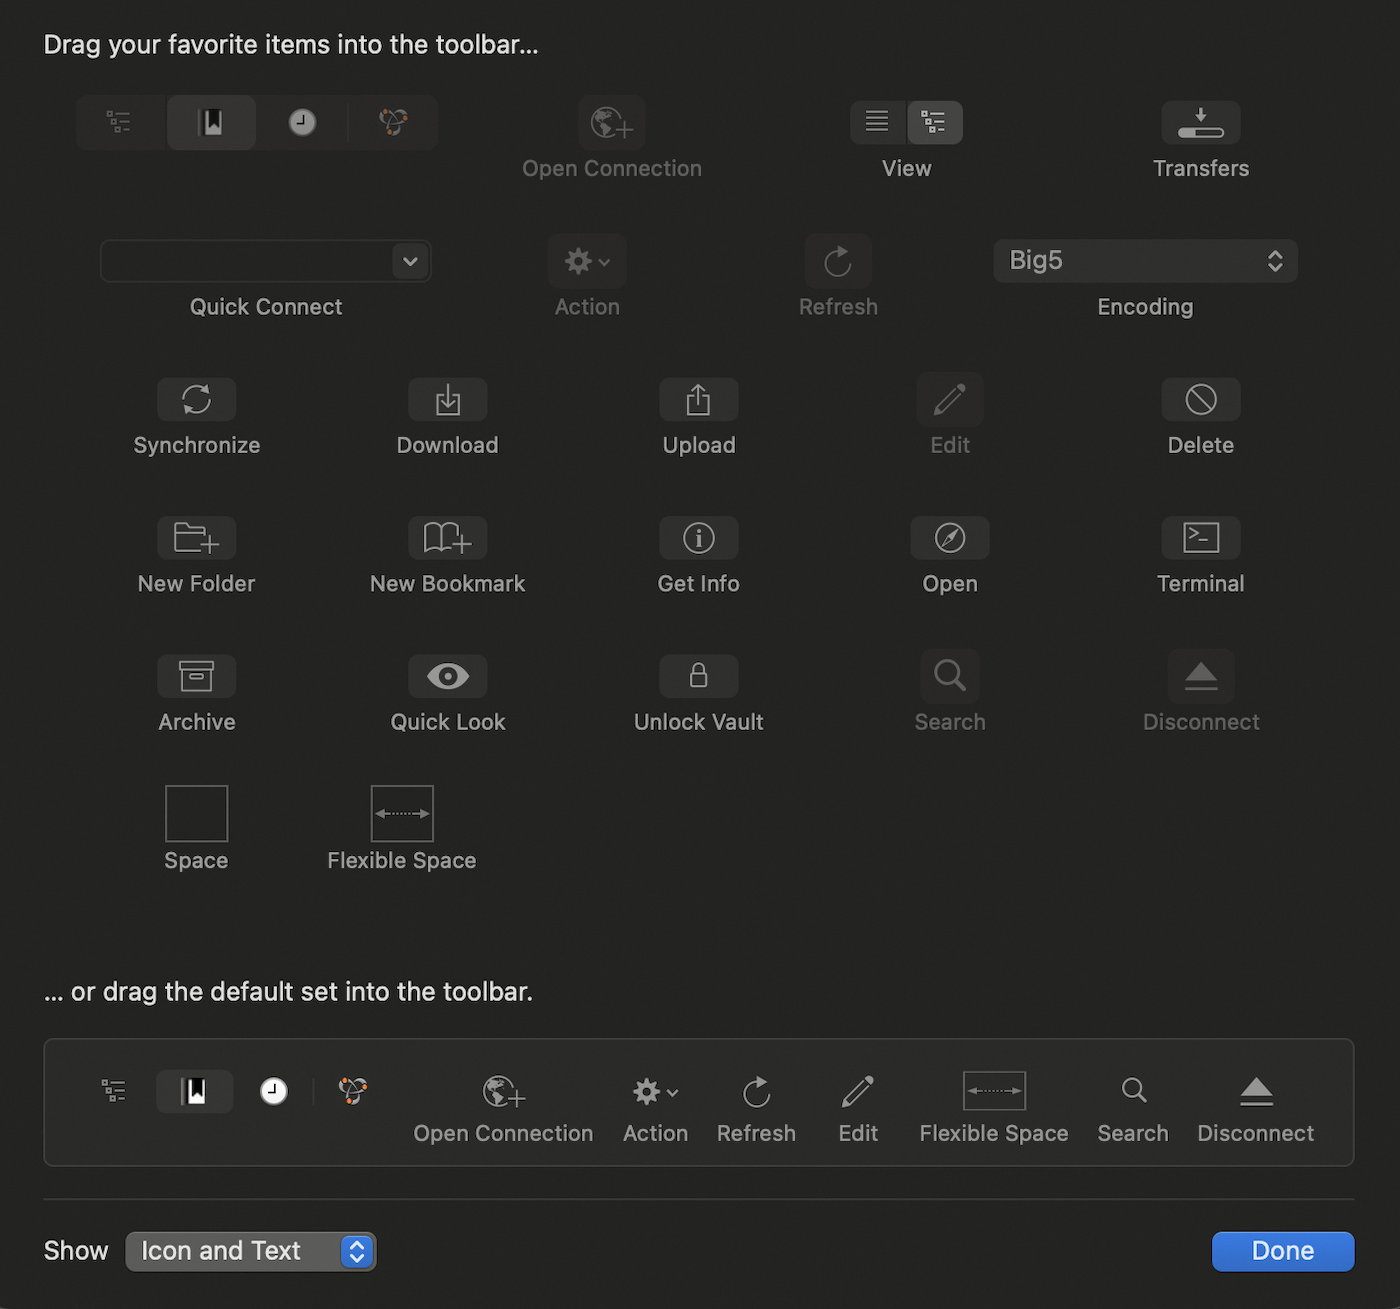
In the window that appears, drag the elements you want onto the toolbar. For example, if you want to add the Download function to your toolbar, drag and drop the Download icon onto the toolbar. To confirm your changes, click Done.
Use Cyberduck
SFTP connection
For security reasons, logging in via FTP is not recommended. Most operating systems now prohibit the ability to connect via FTP. For this reason, we recommend an SFTP connection.
To log in to your web hosting space, follow the steps below:
1. In the toolbar, click Open Connection
2. In the drop-down menu (orange frame of the image), select SFTP (SSH File Transfer Protocol)
3. Enter the information for connecting to your FTP space:
- Server
- Username
- Password
- Port (22)
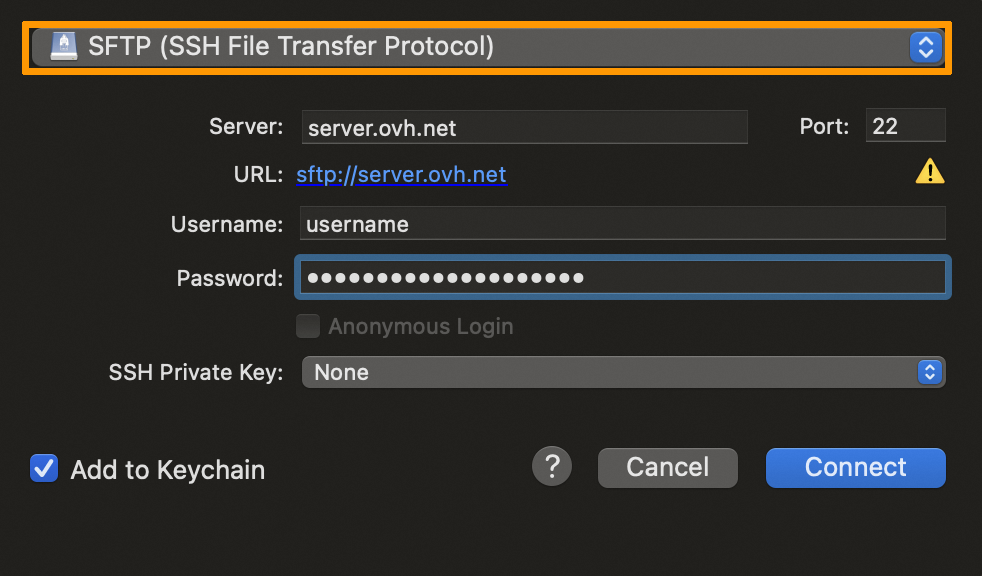
- You can save your password in Cyberduck by ticking
Add to keychain. If you do not tick the box, you will need to enter your password in order to log in to your web hosting space again. - If you do not know all of your FTP information (server, credentials, etc.), please refer to our guide on "Logging in to your web hosting plan’s FTP storage space".
When you log in to your web hosting space for the first time, a window with the title Modified fingerprint will appear. Tick the Always box, then confirm. This will allow you to permanently certify the connection host (OVHcloud).
- We recommend saving your login details via a bookmark. This will allow you to retain all information necessary for an individual connection.
- Read this part of the guide: What is a bookmark?
Connection errors
When you try to connect to your web hosting space, an error may occur. Here are the 2 most common errors you may encounter.
Connection failed (<server-SFTP>) - DNS lookup for <server> failed
In the majority of cases, this error is related to the credentials you have entered, which are probably incorrect. Check the login details you have entered.
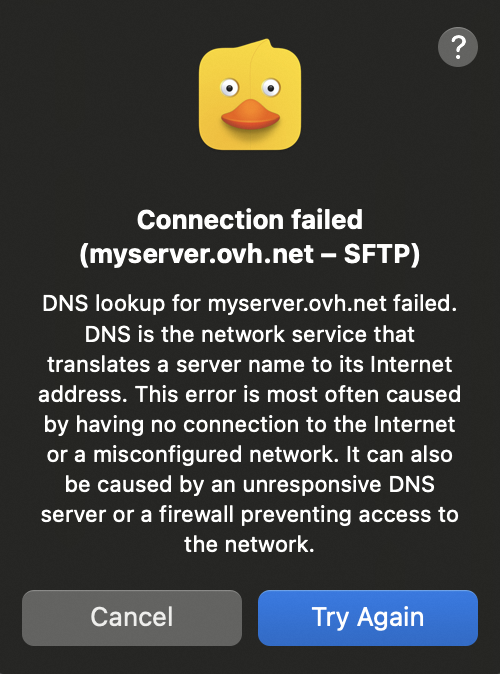
- If you do not know all of your FTP information (server, credentials, etc.), please refer to our guide on "Logging in to your web hosting plan’s FTP storage space".
Connection failed (<server-SFTP>) - Operation timed out
The message Operation timed out usually means that the host is unreachable or in error. Verify the login information you have entered.
This error can also be caused by a firewall or the local network blocking port 21 or 22 which are used to connect to the server. In this case, you will need to check your local configuration.
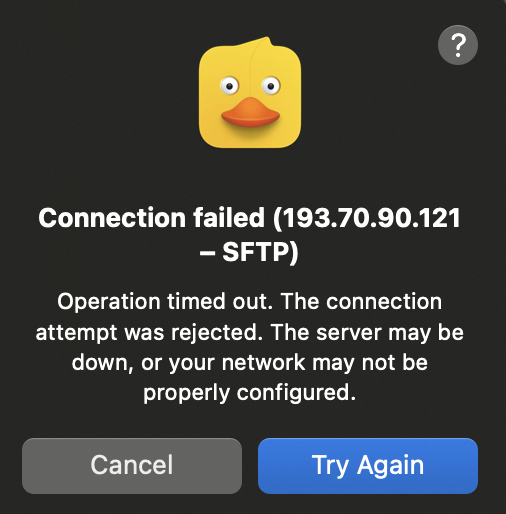
- As a reminder, the connection host for your hosting space is
ftp.cluster0XX.hosting.ovh.net(replace theXXXwith your cluster number). - If necessary, please refer to our guide on "Logging in to your web hosting plan’s FTP storage space".
What is a bookmark?
To facilitate access to your web hosting space, we recommend using bookmarks. They store your login details, so you don't have to enter them each time you log in.
To add it:
- Log in to your web hosting plan’s FTP space.
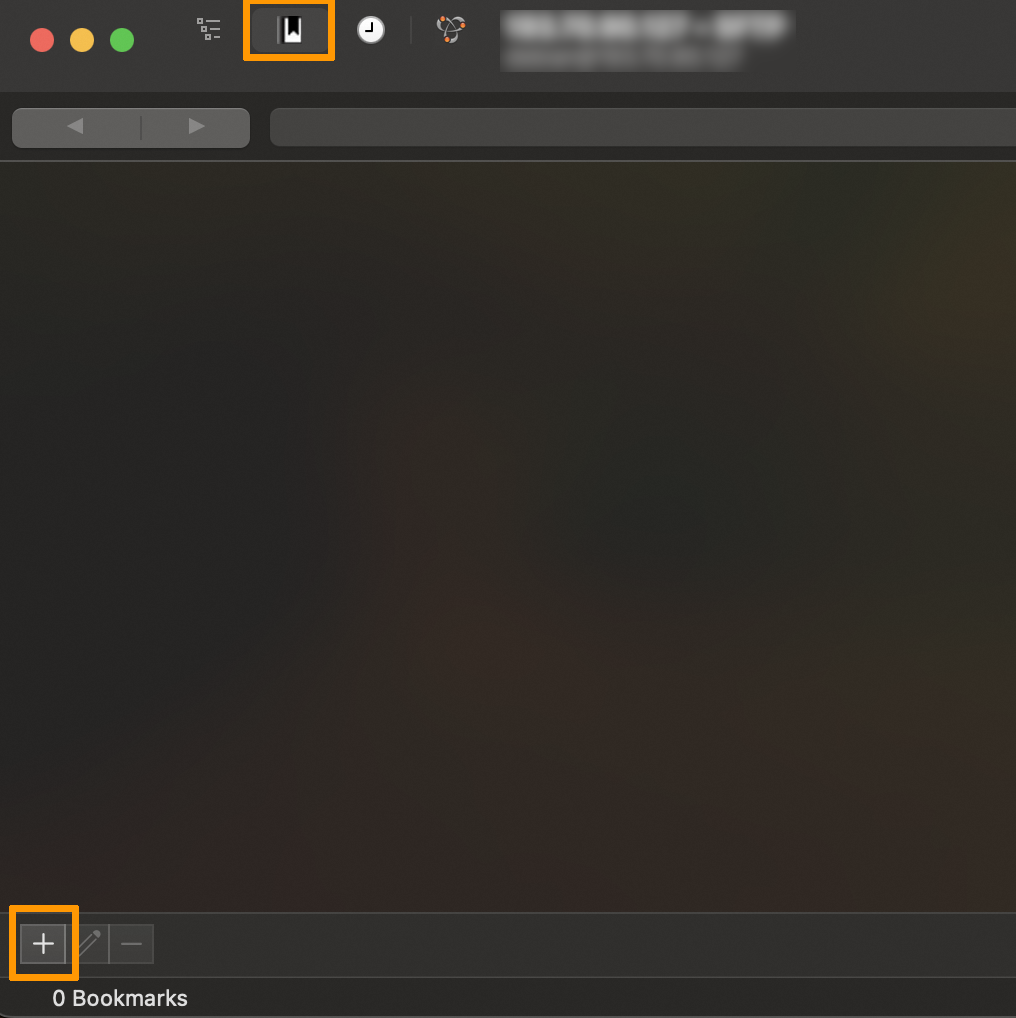
- At the top of the interface, in the toolbar, click on the
Bookmarkstab (orange box in the image below). - At the bottom left of the window, click on the icon
+to add a new bookmark.
A window will appear containing your login details, along with a new line in the bookmark list. The next time you start Cyberduck, you can double-click the bookmark to log in faster.
Transfer files
File transfers allow you to put your website on your web hosting space. By default, you must deposit your files in the directory (folder) www. You can transfer your files via several methods.
Via drag and drop
To transfer your files, select and drag and drop them from the local folder window (your files on your machine) to the Cyberduck window (FTP storage space on your web hosting plan). Once you have done this, your files will automatically queue up for upload. A window will then open.

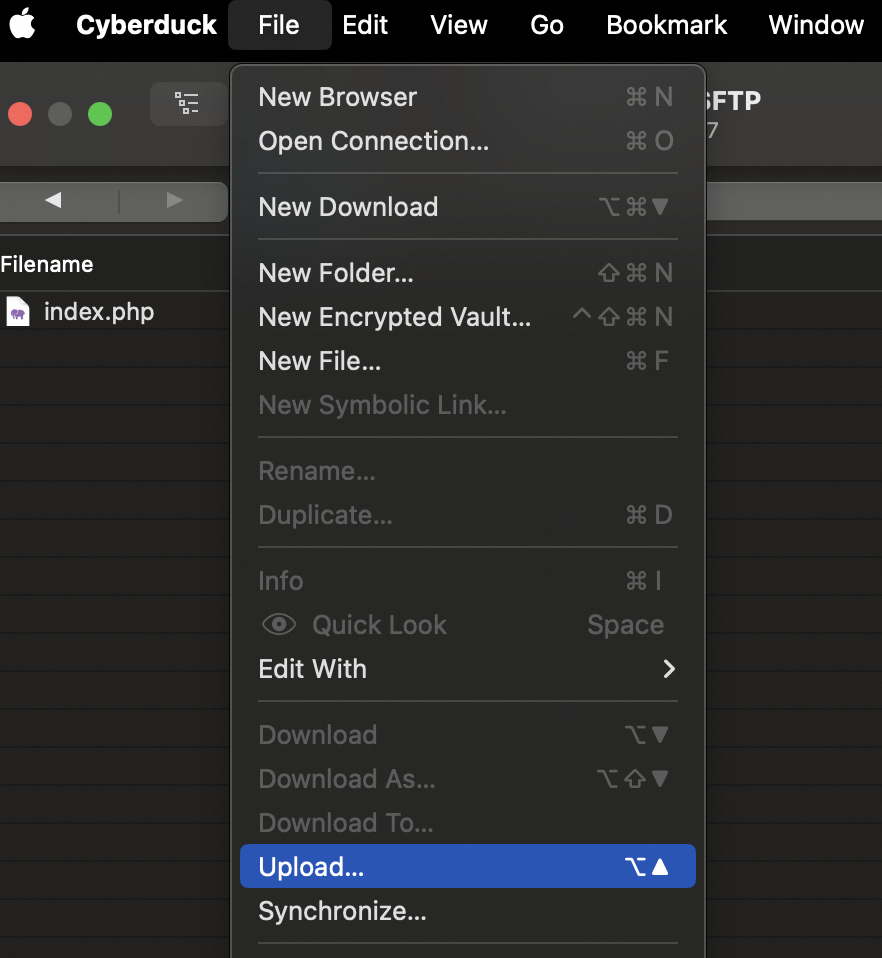
Via the main menu
In the Cyberduck menu, click File then Upload.... Select the files you want to transfer to the server, then click Upload.
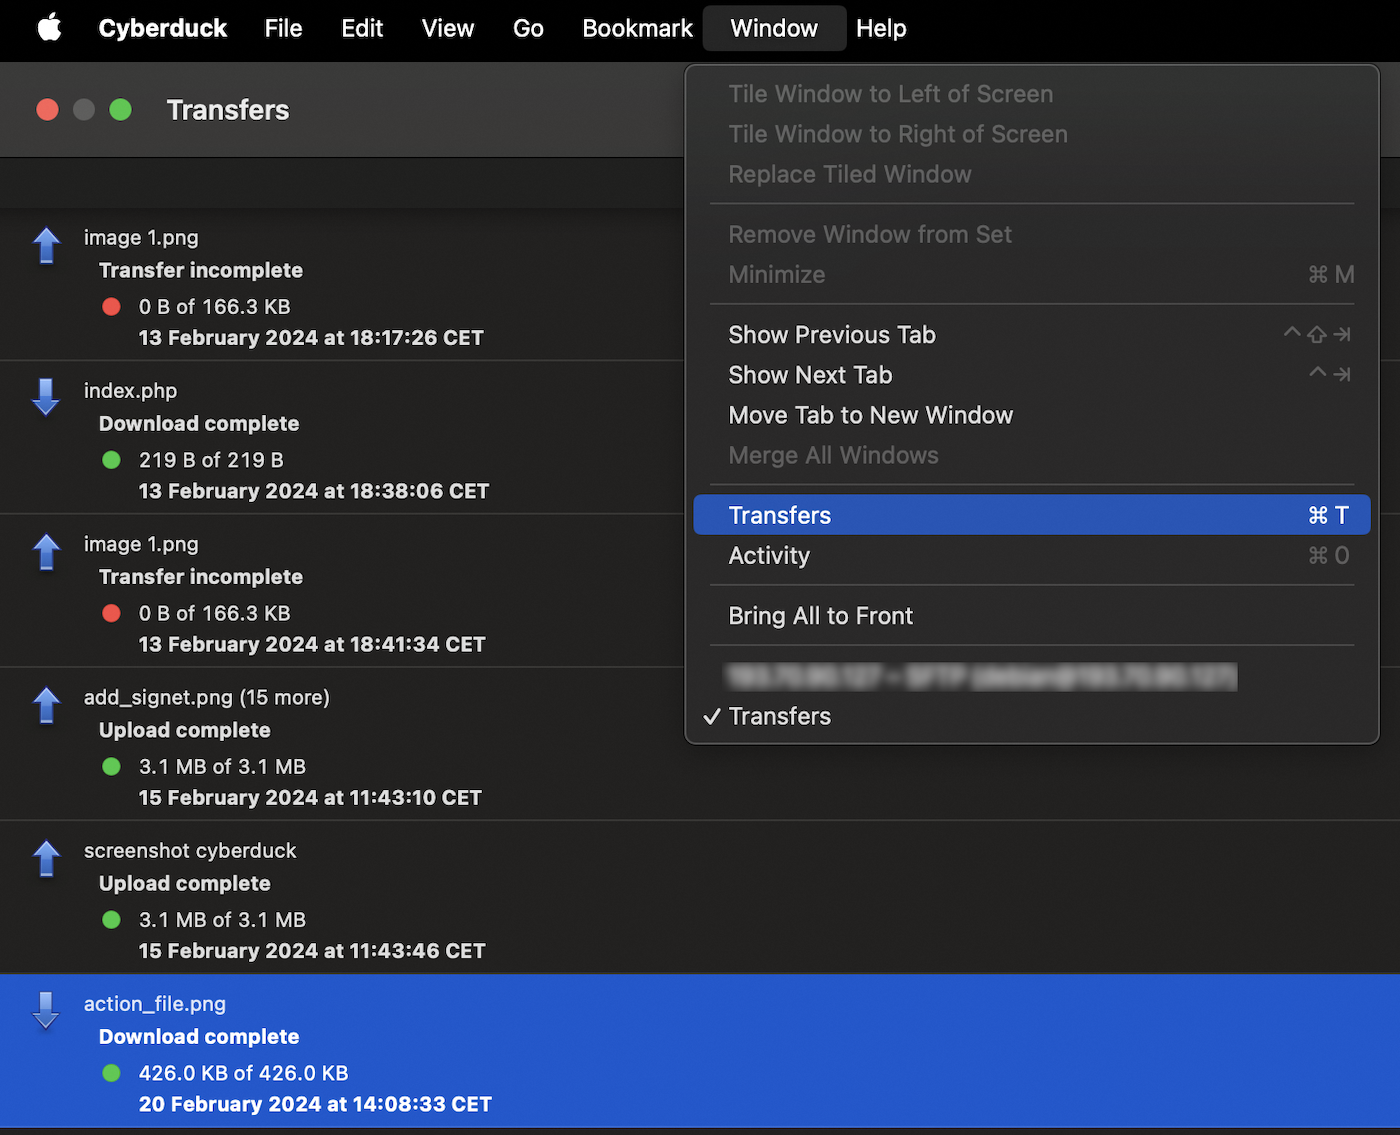
View transfers in progress
You can view the log of transfers made to your Web Hosting plan’s FTP storage space. You will find:
- Files waiting to be deposited on the remote server (still present in the queue or being sent).
- The files for which the transfer failed.
- Files that have been successfully transferred to the remote Web Hosting plan.
This window appears in two different ways:
- Automatically when a transfer is initiated
- By clicking
Window(in the main menu), thenTransfers
Possible actions on a file/folder
Double-click a file or folder to do the following:
- Read information from a file or folder and modify its permissions (CHMOD)
- Edit the file with the application of your choice
- Rename the file or folder
- Delete the file or folder
- Download the selected item(s)
- Create a new folder or file
The list above is not exhaustive. Other actions are possible. Visit the official website of Cyberduck if you need to.
Useful information
Rights of files and folders
You can modify the permissions (CHMOD) of your files and folders on the Web Hosting plan.
These are divided into 3 permission classes:
- Owner
- Group
- Others
Double-click on a file or folder, then select Info. The following window appears:
Click on the Permissions tab, then make the changes you want:
- UNIX Permissions: This value defines the rights of the permission triad (Owner, Group and Others).
- Select the desired check boxes: The value will update automatically for UNIX permissions.
Unlocking the website
You can reopen your website using a custom command.
In most cases, this action is necessary following the closing your web hosting plan’s FTP storage space by OVHcloud for security reasons, after a hack.
In the Cyberduck menu, click Go then Send command....
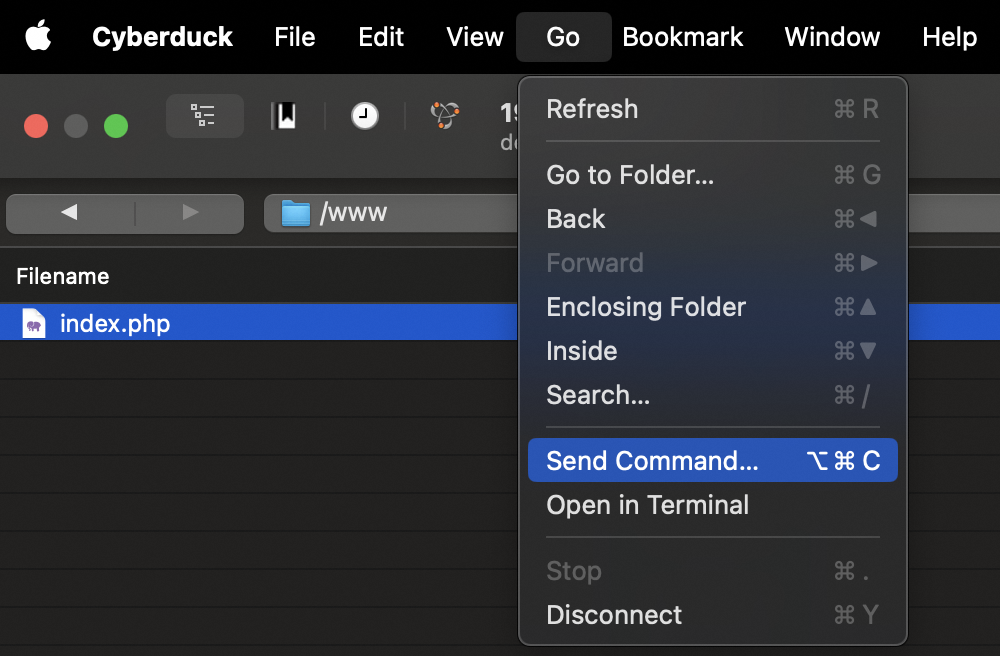
In the new window, insert the command CHMOD 705 / and then click Send to execute the command. In confirmation, the message 200 Permissions changed on / should appear in the box below.
To check that the reopening is effective, open your website in a web browser.

- This command does not work over SFTP. To do this, use an FTP connection.
- Our robots check every 3 hours for status changes; it is therefore not unusual that the unlocking does not come into effect immediately.
- If the 3 hour period has passed and your website is still not displayed online, please contact OVHcloud support.
Go further
Tutorial - Using FileZilla with your OVHcloud hosting plan
For specialised services (SEO, development, etc.), contact OVHcloud partners.
Join our community of users.

