Deploy an OVF template through content libraries
2417 Ansichten
Objective
OVHcloud offers OVF templates that you can deploy directly from your vSphere (version 7.0 or later) across content libraries.
This guide will explain how to deploy these templates.
Requirements
- Web client access (HTML5)
Instructions
Step 1 - Deploying a template
Deploy a template from a content library
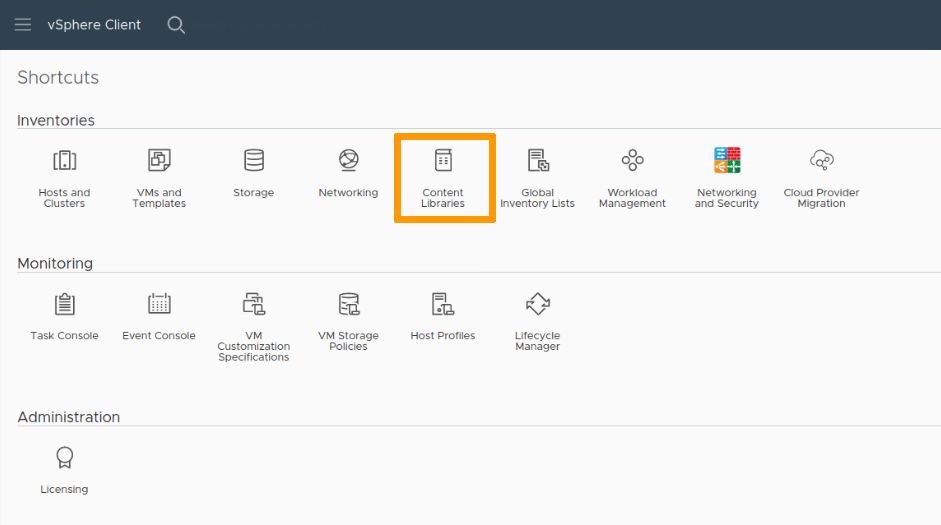
You can find the content libraries that your vSphere has signed up to via your vSphere homepage, by clicking the Content libraries icon.
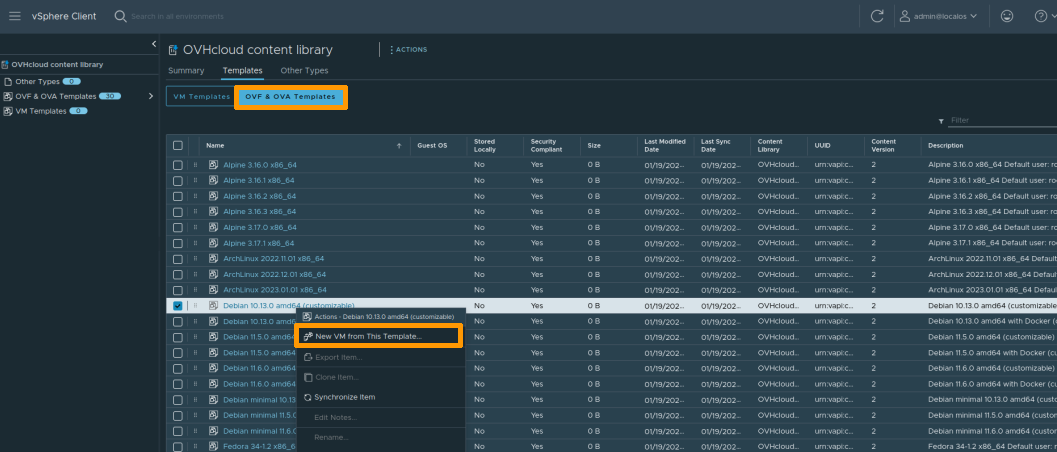
Then click on one of the libraries to view their contents and deploy a new virtual machine from the OVF & OVA Templates tab.
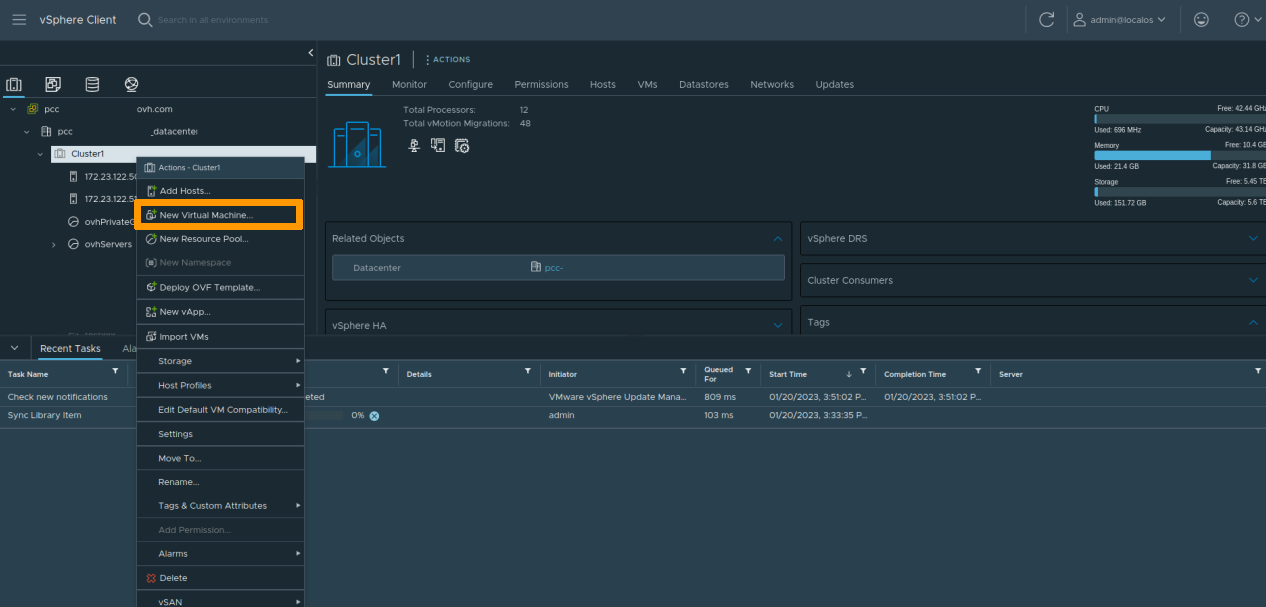
Deploy a template directly from the Cluster view
You can also deploy content from libraries directly from the Cluster view by right-clicking one of your clusters and selecting New Virtual Machine.
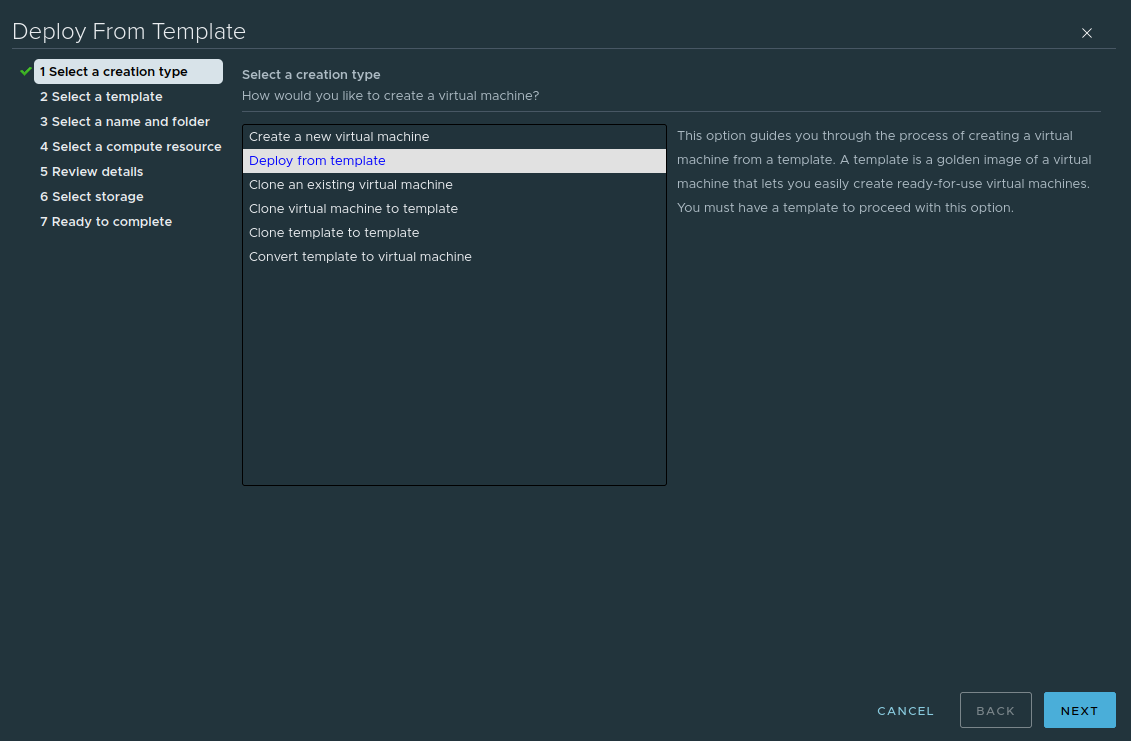
Then select the Deploy from template option.
Click on one of the templates offered by the content libraries installed on your vSphere.
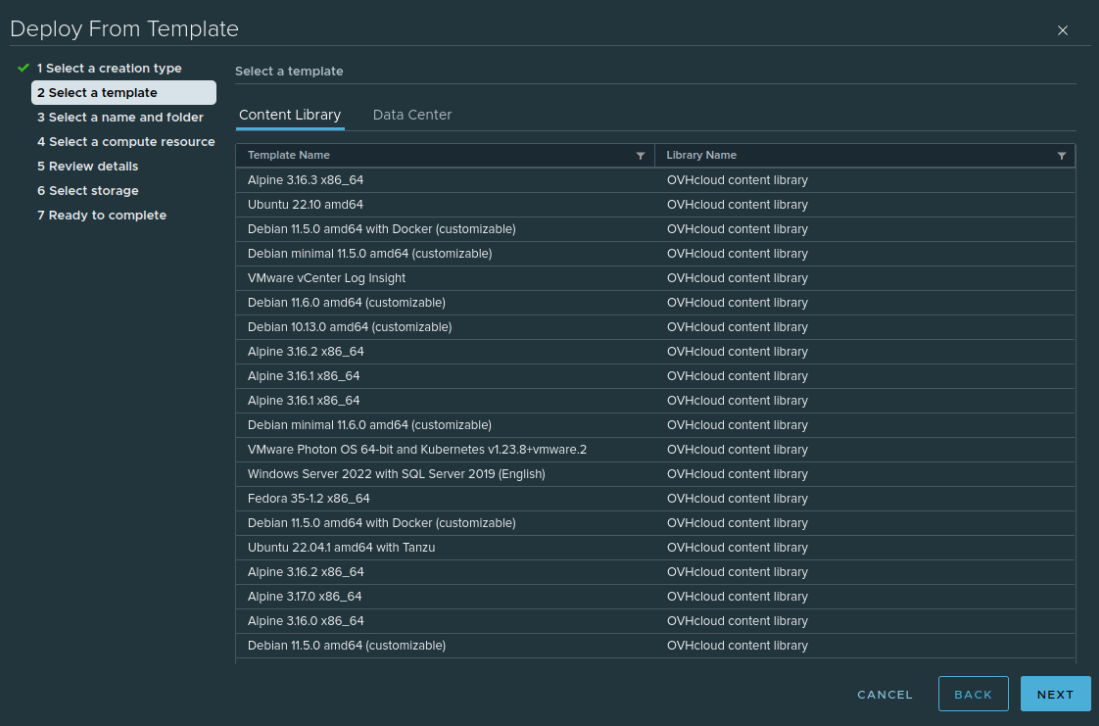
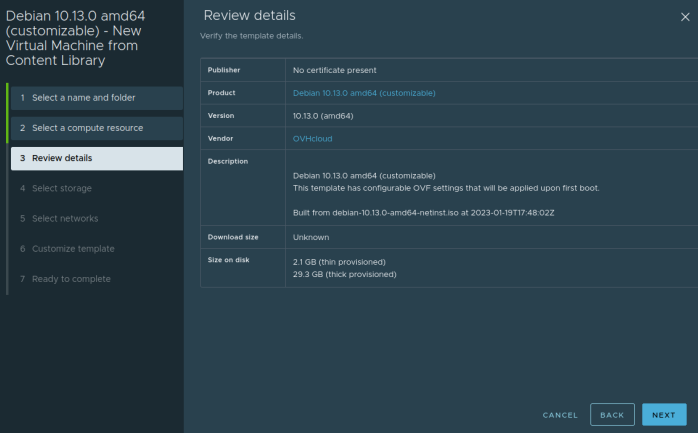
Step 2 - Configuring the template
The template deployment process will ask you to confirm the details, as well as a destination for the new virtual machine (datacentre, cluster, datastore, etc.).
Some templates accept deployment properties that allow you to quickly configure the new virtual machine by creating, for example, a privileged user or configuring the main network interface.
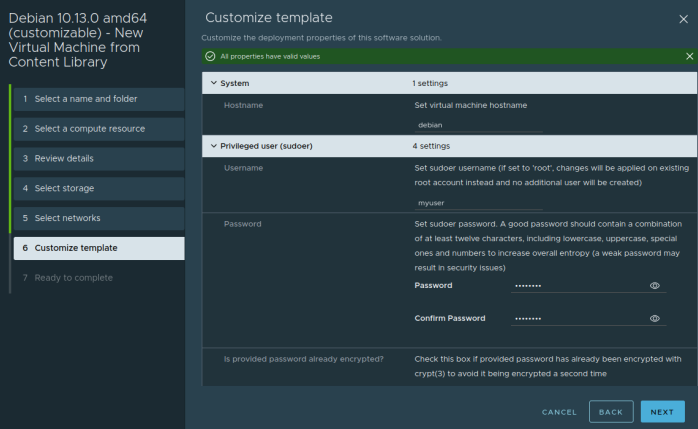
Templates that do not offer customisation will have the default credentials specified in the virtual machine notes.
Go further
If you need training or technical support to implement our solutions, contact your sales representative or click on this link to get a quote and request a customised analysis of your project from our Professional Services team experts.
Join our community of users on https://community.ovh.com/en/.

