Tutorial - Using WooCommerce with WordPress
226 Views
Objective
This tutorial explains how to create an online store with the open-source plugin WooCommerce for the Content Management System (CMS) WordPress.
OVHcloud provides services that you are responsible for with regard to their configuration and management. It is therefore your responsibility to ensure that they function properly.
This tutorial is designed to help you with common tasks. Nevertheless, we recommend contacting a specialist provider or the WordPress support or the publisher of WooCommerce if you encounter any difficulties. We will not be able to assist you. You can find more information in the Go further section of this guide.
Requirements
- An OVHcloud web hosting plan that contains at least one database
- A domain name.
- WordPress installed on your web hosting plan
If one is not already installed, add an SSL certificate for the domain name associated with your website before you continue.
Instructions
WooCommerce is an extension for WordPress and can be installed like any other plugin.
Installation
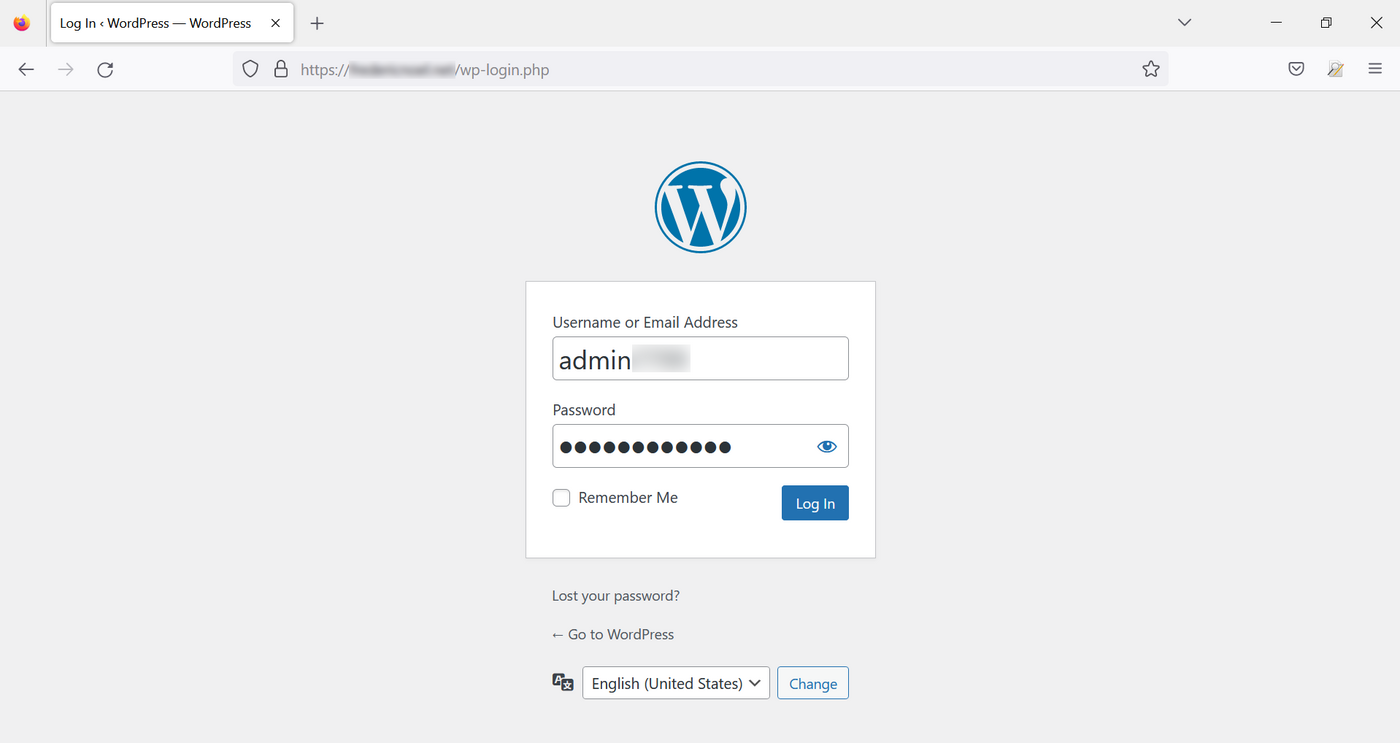
Log in to your admin interface by typing /wp-admin or /wp-login in your address bar after your domain name URL (redirection is done automatically):
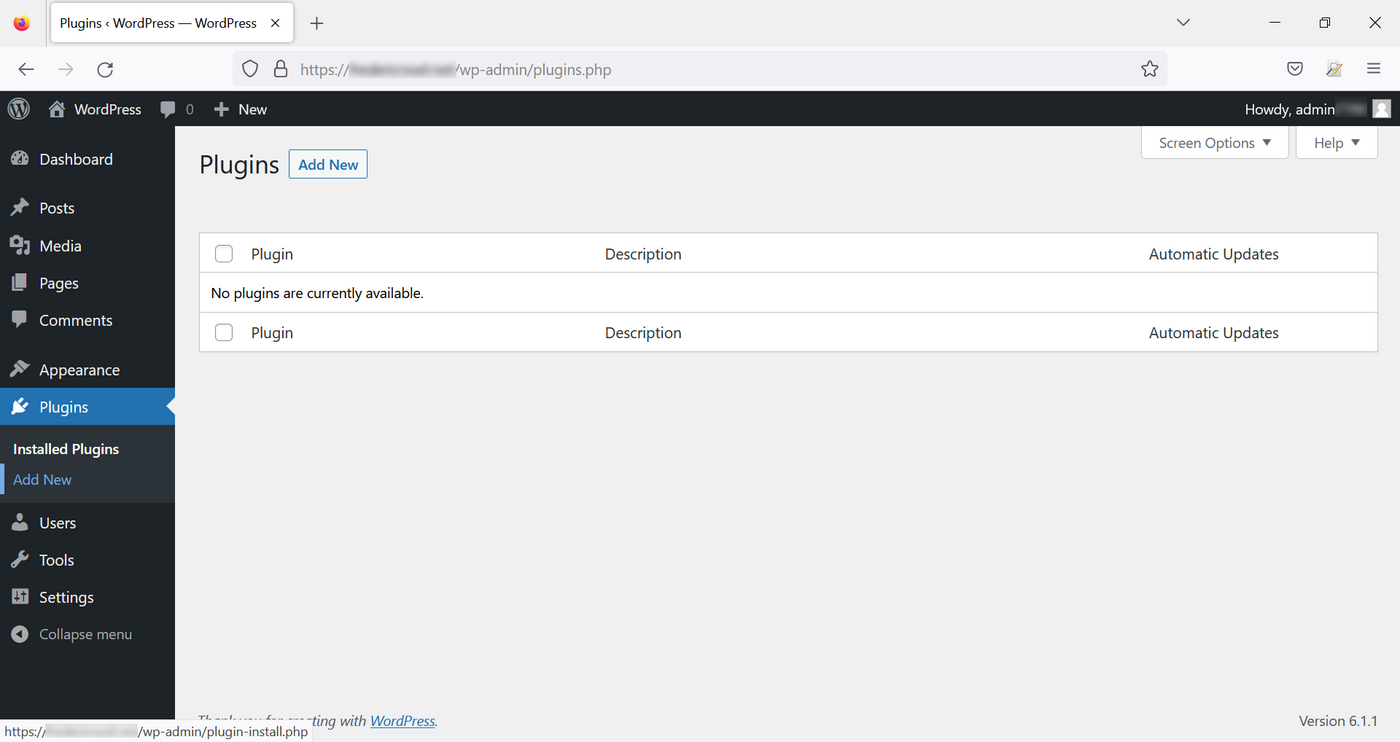
In the left-hand menu, go to Plugins then click on Add New:
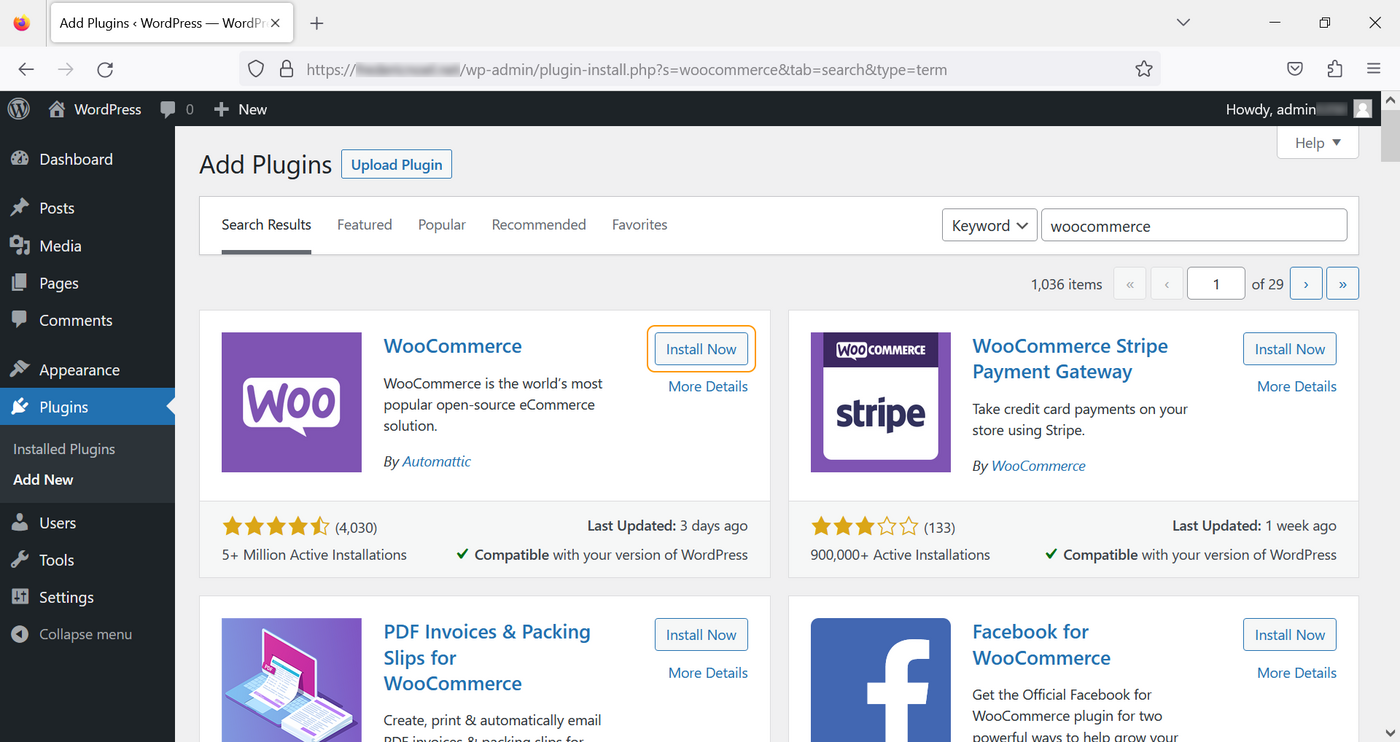
On the new Add Plugins page, type "woocommerce" in the search bar in the top right and click Install Now in the WooCommerce box:
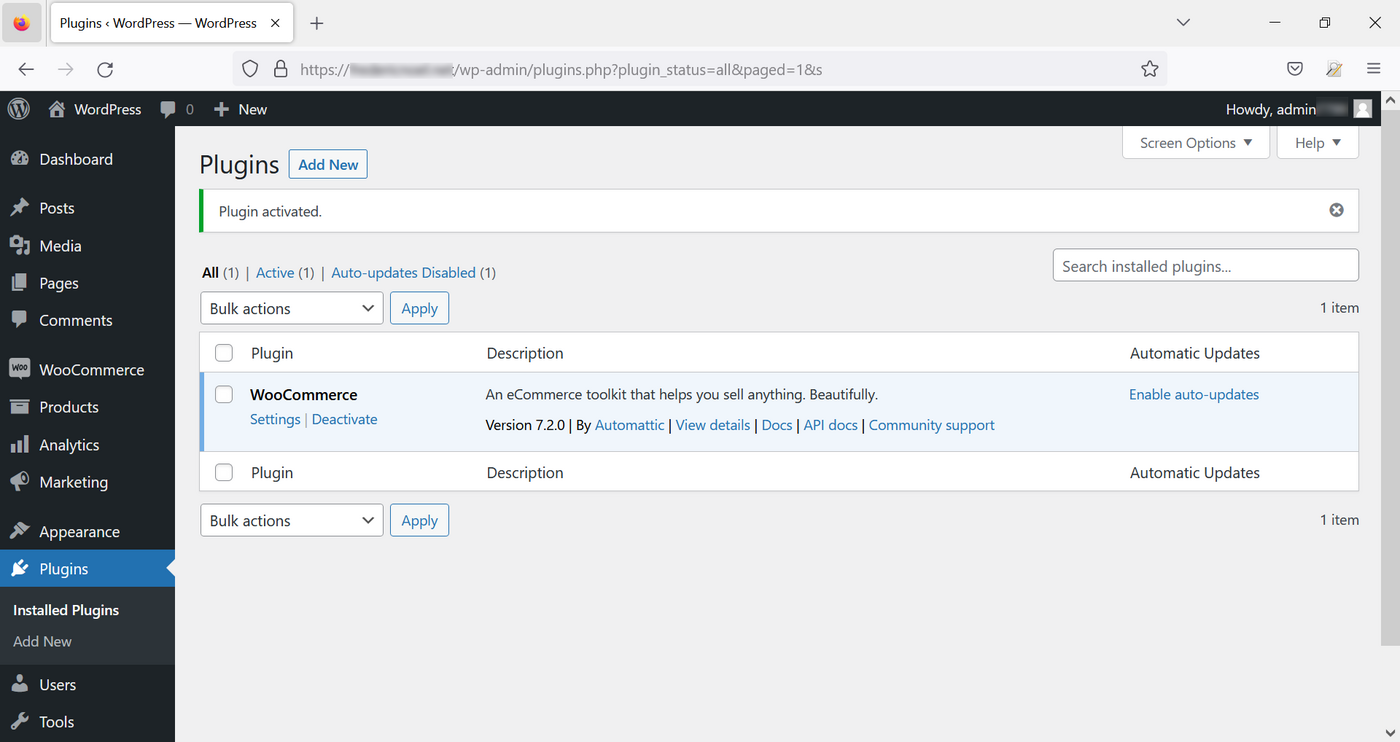
Now click on Activate:

Configuration
Method 1: Using the configuration wizard
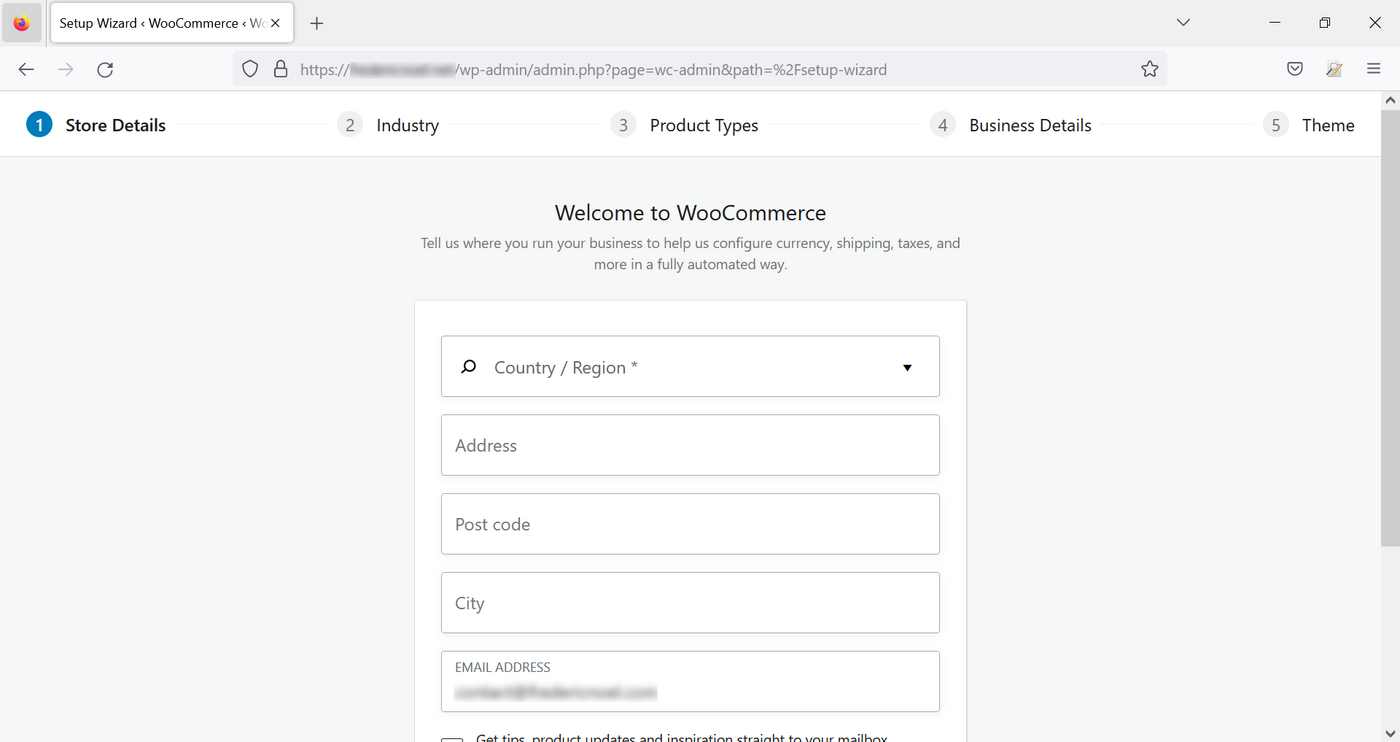
If you have not yet set up your WooCommerce plugin, a setup wizard will help you fill in the information for your online store. Fill in the form and click Continue:
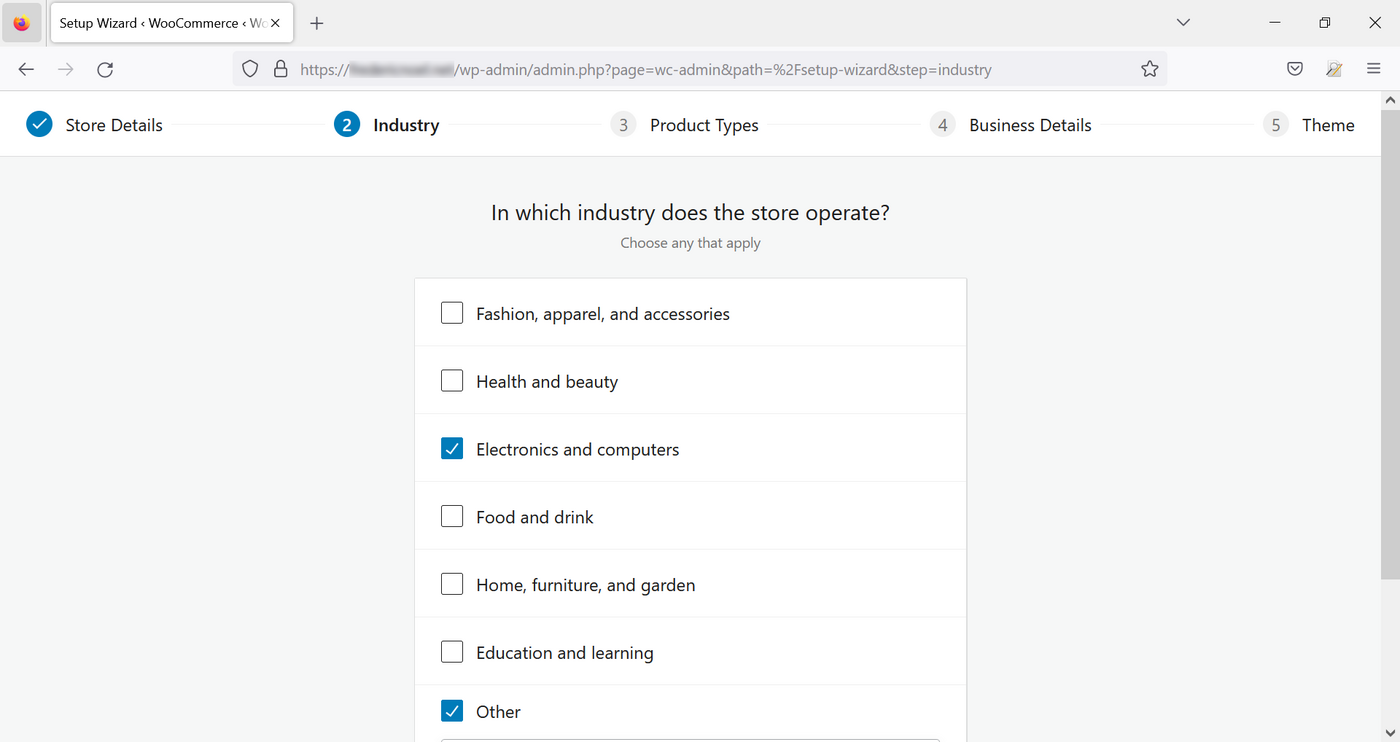
Then select your business domain(s):
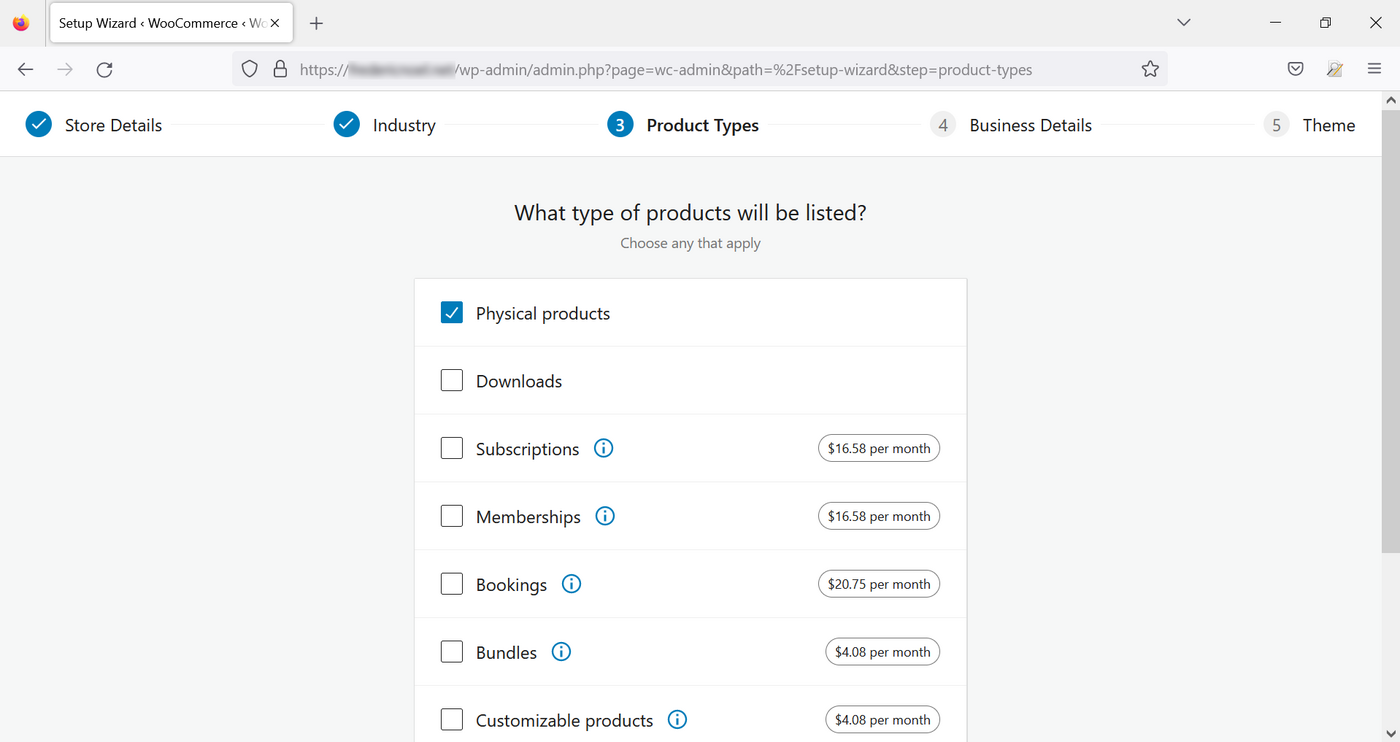
Choose the type of products you want to sell on your website (some options are not free):
Then enter the nature of your activity:

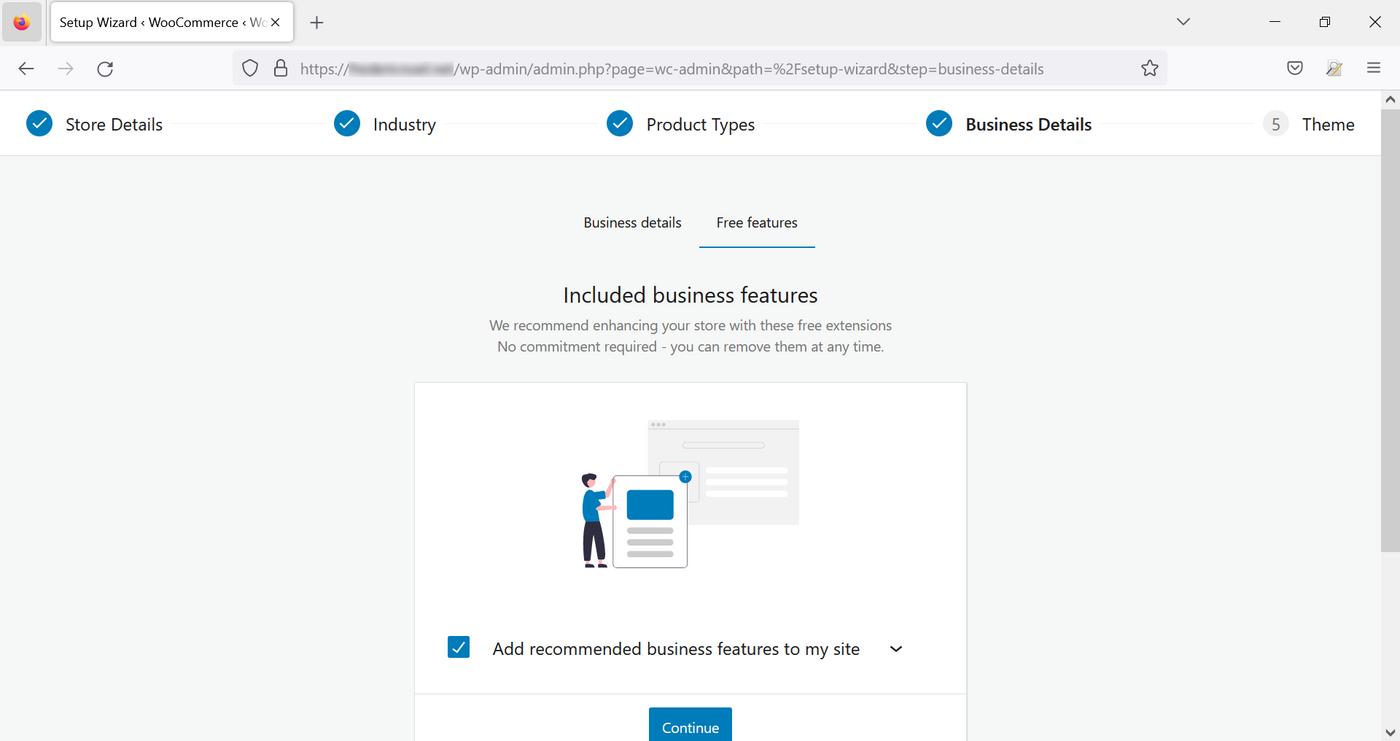
Add optional (and free) features if you want:
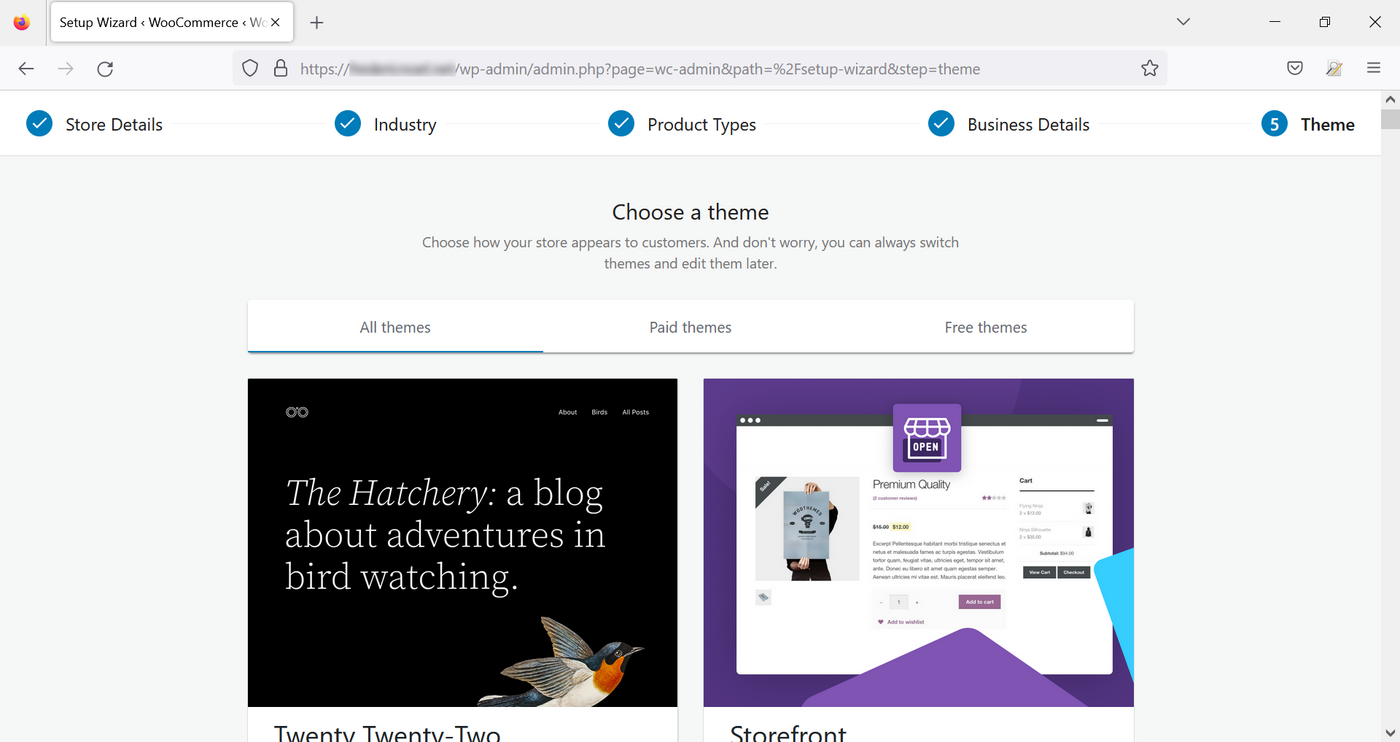
Finally, choose a theme from the list:
WooCommerce then prompts you to create an account to use the Jetpack plugin, which is automatically installed in addition to WooCommerce. This account creation is optional, you will have access to the limited functions of Jetpack without having to authenticate.
Your online store is now configured with the general settings.
Method 2: Manual configuration
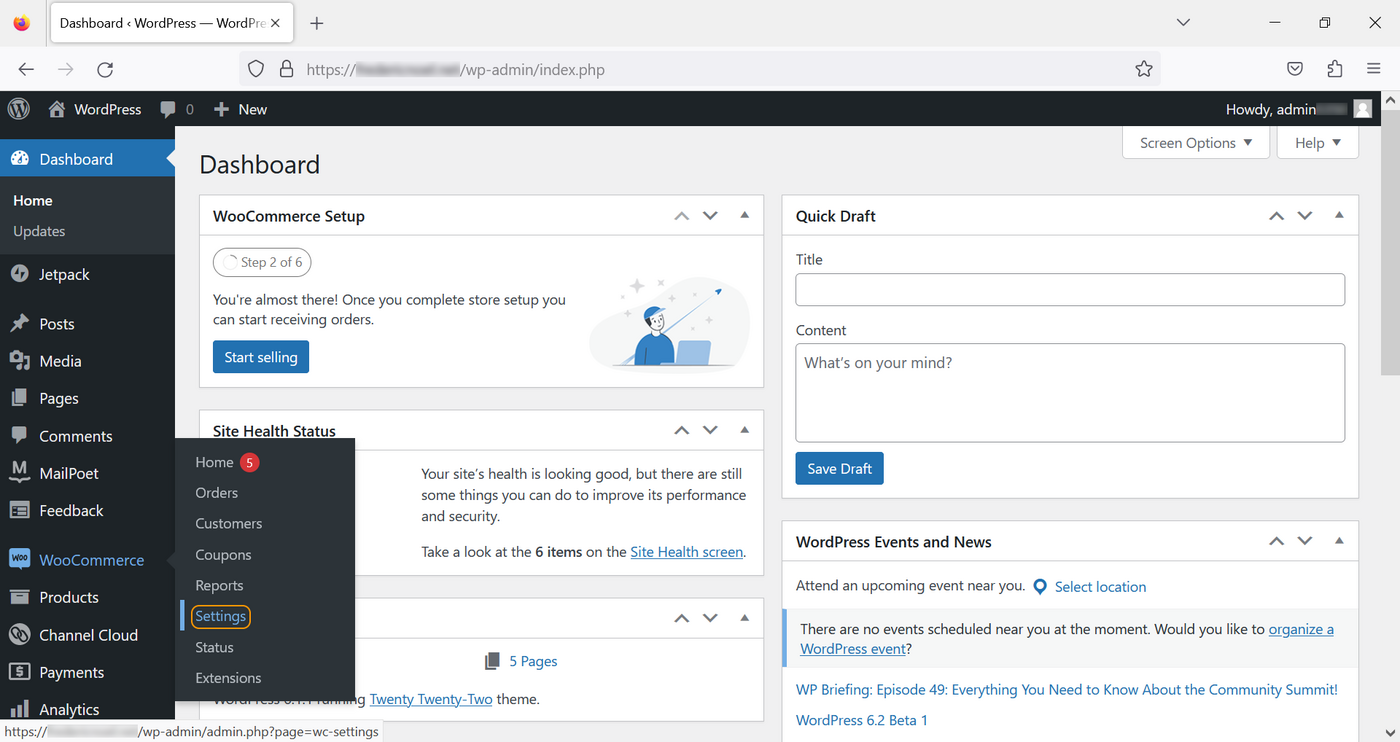
Click Plugins to list the installed extensions and then click Installed plugins. You will see a list of your plugins. Click Settings in the WooCommerce module:
You can also access these settings by clicking directly on WooCommerce, then Settings:
Settings
The settings page has several tabs:
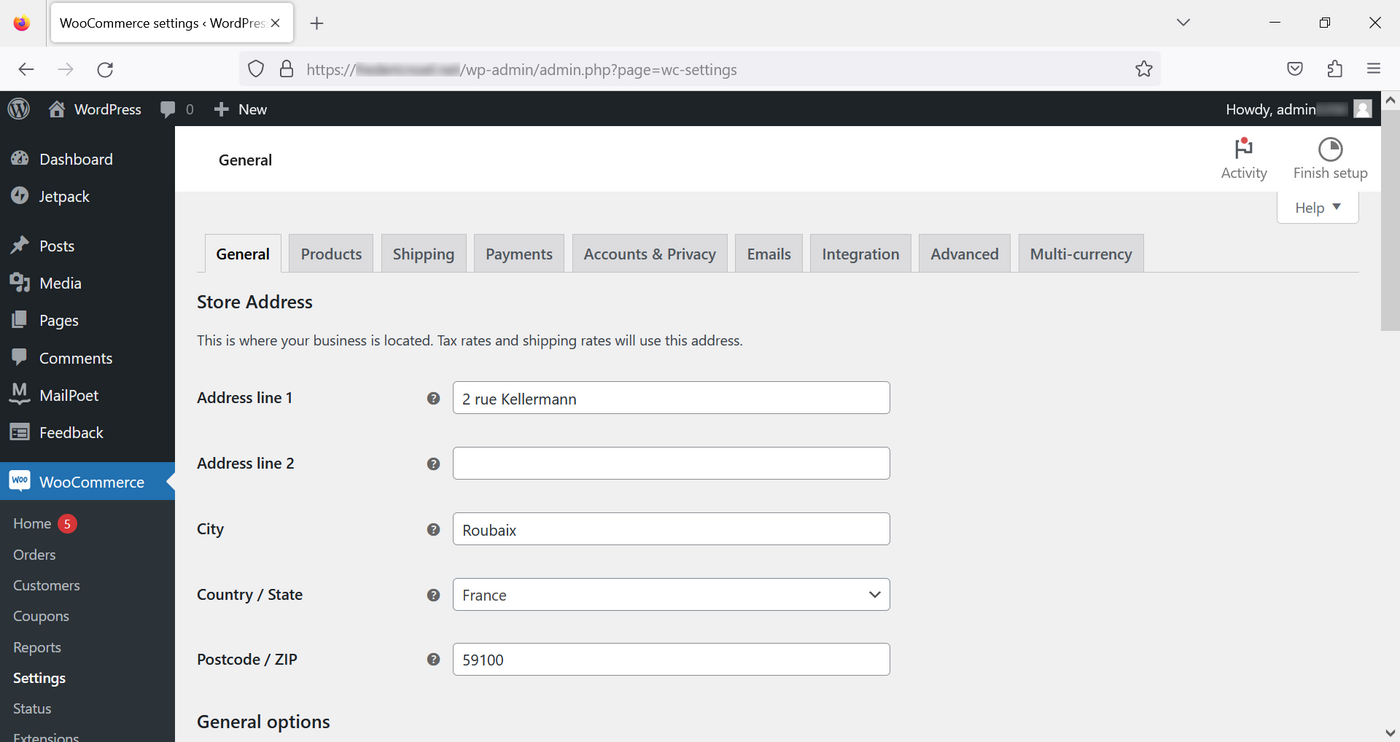
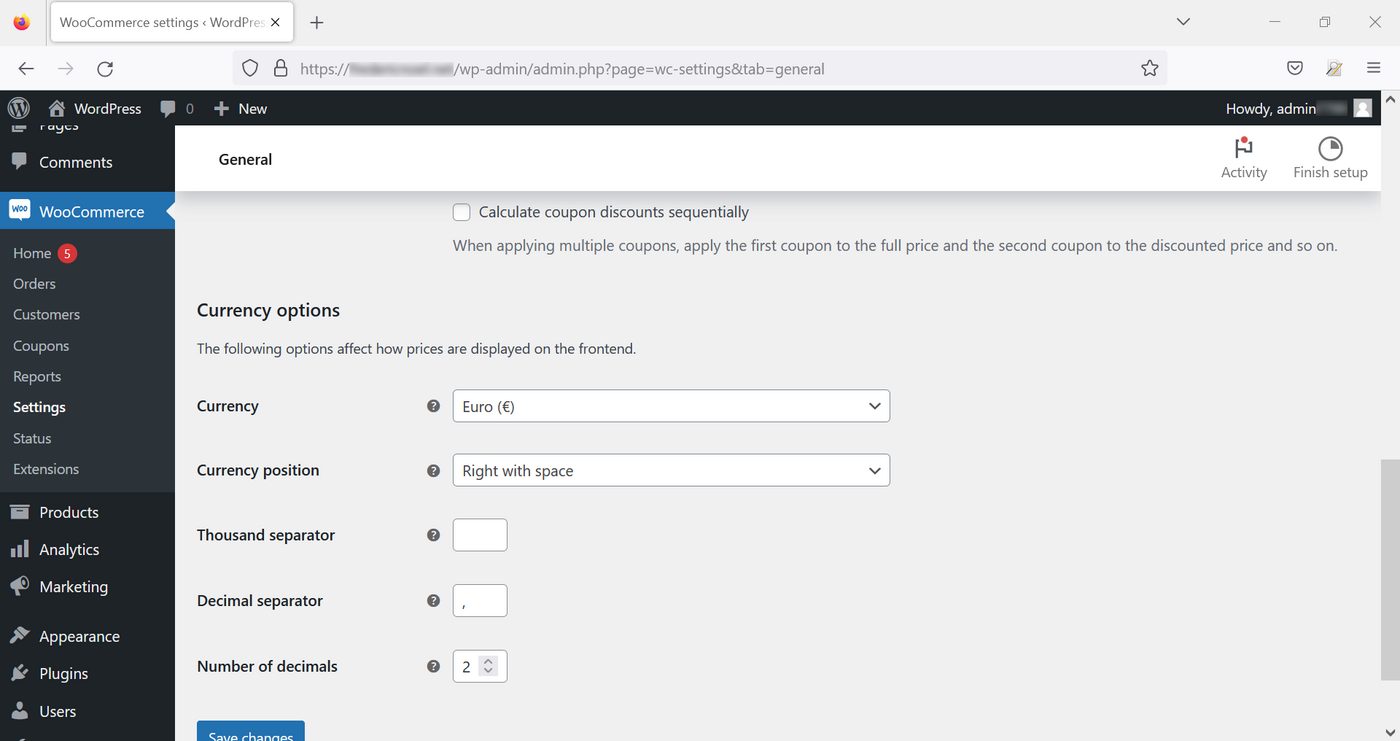
General
This tab allows you to define the following:
- Company address
- Sales and delivery areas
- Default customer location (optional)
- Activate/deactivate taxes
- Coupons
- Monetary data (site currency, display)
Products
Product management is done through a set of subcategories:
- General: Is used to define elements such as the home page that will be displayed by default (shop, legal notices, shopping cart, etc.), units of measure, whether or not to comment on products or notes.
- Inventory: Is used to configure or not the management of your stock and to configure the behaviour of the website (decremented stock when an object is in the basket, alert thresholds, possibility to hide products that are no longer in stock).
- Downloadable products: Concerns cases where documents are made available for download by users.
- Approved download directories: Specifies directories on the server where the files will be uploaded.
- Advanced: Is used to set product attributes more finely.
Shipping
If you enabled the default extensions that were free when you installed, you have the extension WooCommerce Shipping. Otherwise, you can install it by going to the Extensions submenu.
- Shipping zones: Allows you to define and configure shipping areas.
- Delivery options: Is used to set up the application for all shipping costs.
- Shipping classes: Can be used to group similar products by type of shipment.
Payments
Use this tab to enable/disable the payment methods offered on your website. Please refer to the official documentation to configure your payment methods.
Accounts and privacy
This section includes all features related to the management of accounts and personal data.
Allows you to configure the standard emails sent by the application (registration, orders, cancellations, etc.).
Integration
To geolocate your customers based on their IP addresses, you can enter the licence key for MaxMind, a paid geolocation service.
Advanced
- Installing pages: Useful for modifying the pages that users will be redirected to during the ordering process.
- REST API: Section that allows you to configure access to WooCommerce via its REST API.
- Webhook: Manage your HTTP callback functions.
- Ancient API: Reactivate the old WooCommerce API (disabled by default).
- WooCommerce.com: Enable or disable tracking of your online sales site activity by WooCommerce, suggestions for dedicated extensions (the majority are paid).
- Features: A page that lists features that are currently being tested on WooCommerce or recently added.
Go further
Some useful links:
For specialised services (SEO, development, etc.), contact OVHcloud partners.
If you would like assistance using and configuring your OVHcloud solutions, please refer to our support offers.
Join our community of users.

