Getting started with your SecNumCloud vSphere
90 Views
Objective
Once your vSphere SecNumCloud environment is delivered, you need to configure access to it while maintaining the security level.
This guide explains step by step what you need to do.
Requirements
- You must have a Hosted Private Cloud SecNumCloud solution.
- You must be logged in to the OVHcloud Control Panel.
- You must be logged in to the OVHcloud API.
- You must have created your OVHcloud API credentials.
Instructions
You have just received a delivery notification for your service.
This includes your login details, as in the example below:
You will note that there is no password in the email. You will define one at the end of step 2.
Step 1 - Granting IP addresses to connect to the vCenter
For security reasons, the management interfaces are restricted by default. You will need to authorize your private IP addresses (RFC1918) and public IP addresses to connect to vCenter.
The following guide will show you how to do this:
Step 2: Advanced security configuration
The following security measures are put in place when your service is delivered:
- All existing users of your Private Cloud will be disabled (during delivery, only the admin user is present)
- You will need to change the users' passwords so that they are re-enabled
- You will need to register for 2FA when changing users' passwords
- You will be able to change your users’ passwords only from the secure interface. You will no longer be able to do this via the OVHcloud Control Panel.
To do this, perform the following steps:
- The admin user must have up-to-date information and permission.
- In the
Userstab, check that the phone number and email address have been correctly set for the admin user. - The admin user must also have the 'token validator' permission.
- If necessary, to modify the user, click the
...button, thenEdit.
Please refer to our Introduction to the OVHcloud Hosted Private Cloud Control Panel guide.
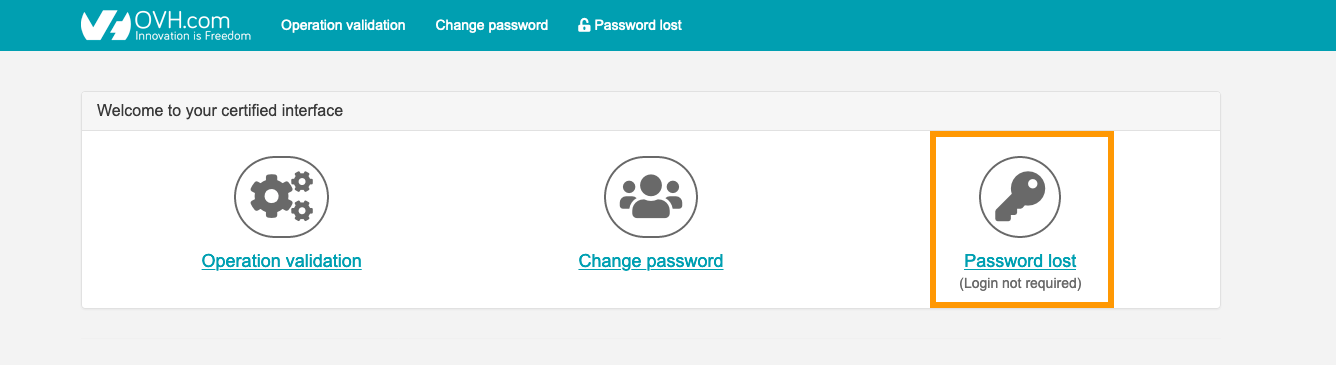
Access the service’s secure interface, e.g.: https://pcc-192-0-2-1.ovh.com/secure/ (be careful not to forget the final “/” of the address).
Click the Password lost button.
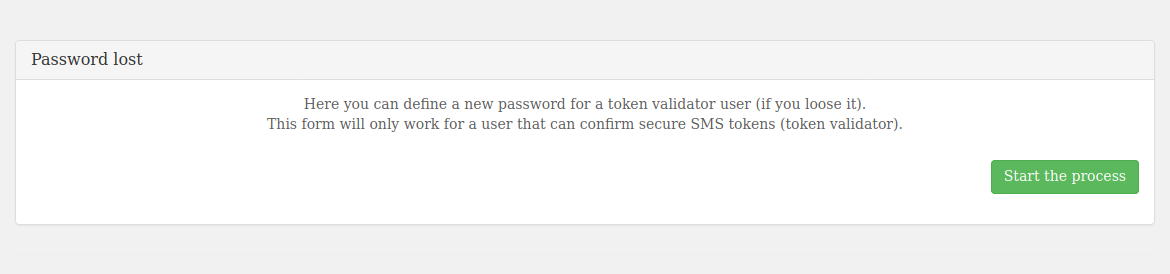
A message indicates that you must be able to receive SMS messages to continue.
Click start the process.
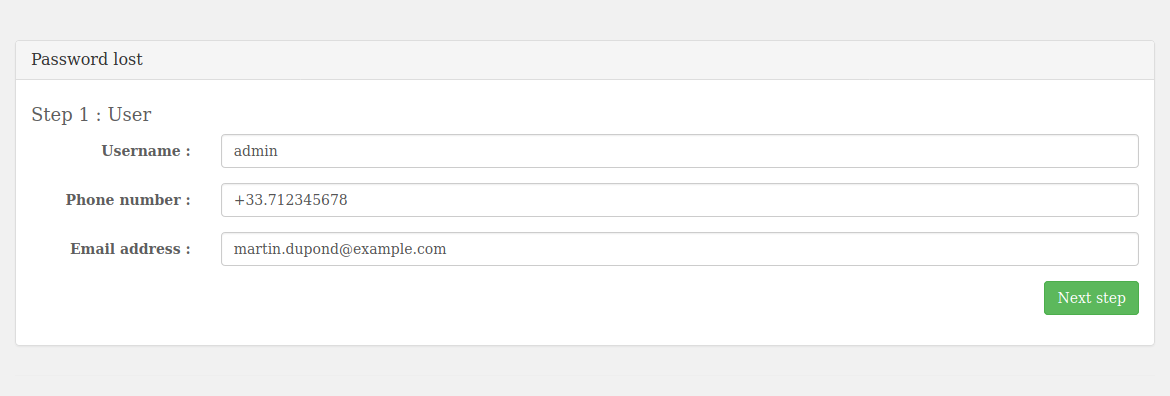
Enter the information requested for the admin account (it must be the same as the information previously added in the Control Panel) and click Next step.
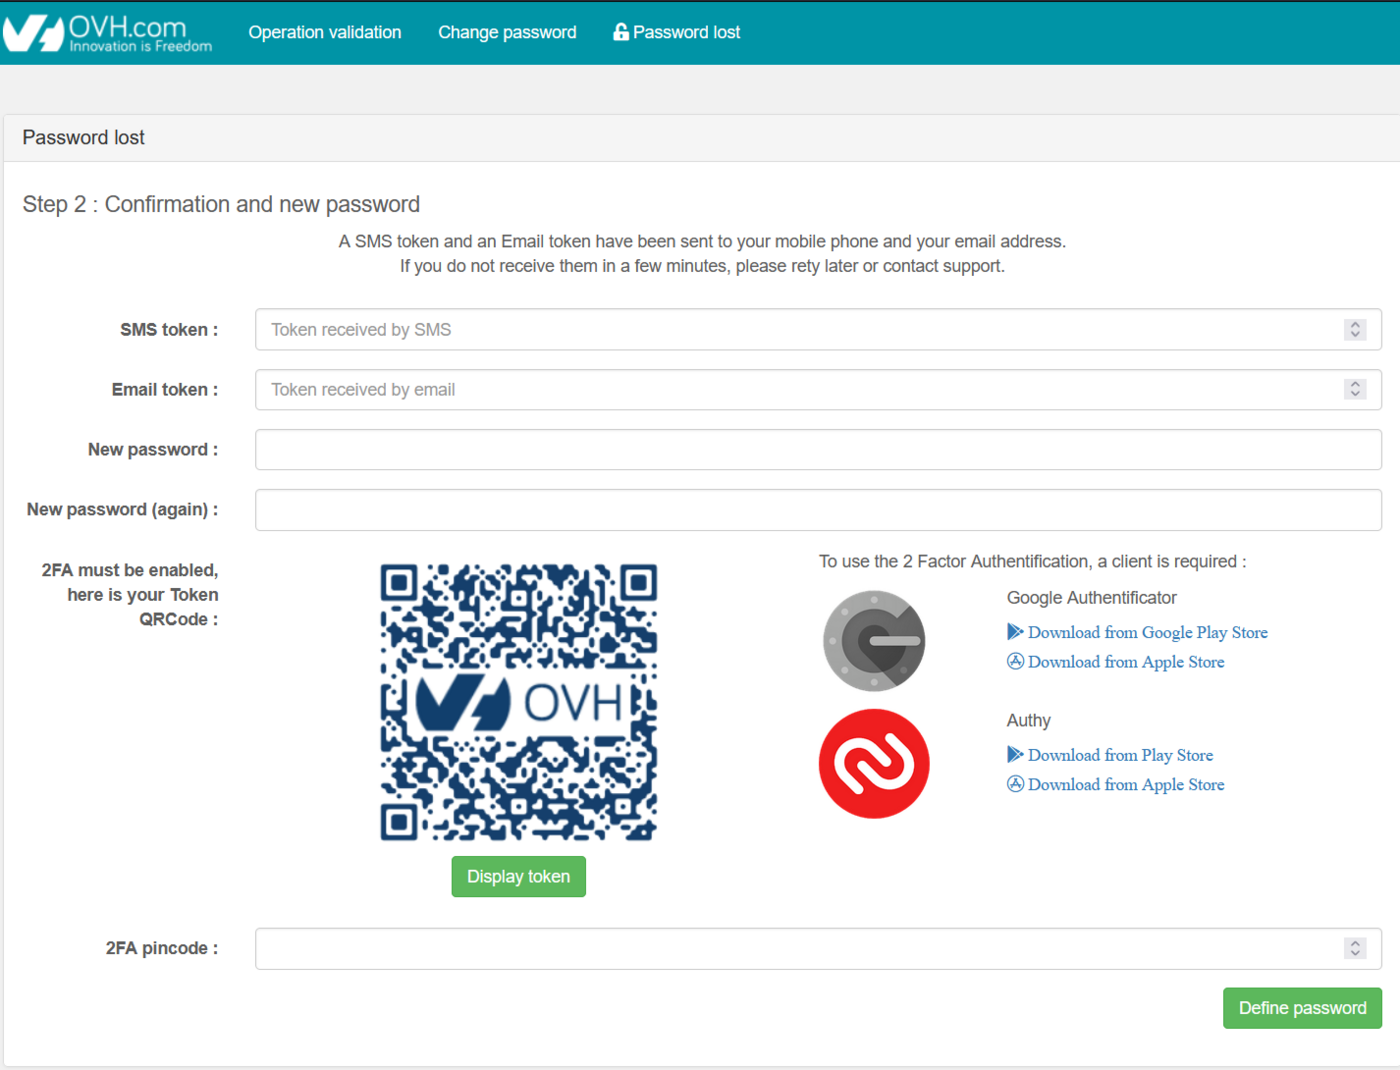
Within the interface, you will then need to:
- Enter the code received via SMS.
- Enter the code received by email.
- Enter a new password.
- Confirm it.
- Scan the QRcode with your preferred authentication application.
- Enter the code you have retrieved.
Finally, click the Define password button.
Once the account has been activated and secured (2FA & password), you will need to confirm this account as a token validator. This way, you can validate sensitive operations on the infrastructure.
To do this, you will need to confirm that you want to continue with the operations via the following API call:
By specifying:
- {serviceName}: the service name (e.g.: pcc-192-0-2-1)
- {option}: tokenValidation
You will then receive an SMS message to validate the token validator authorization on the phone number entered earlier.
Here is an example of an SMS sent:
The token generated is only valid for 15 minutes. The next actions must be performed within this time limit, otherwise the task will be canceled once this time has elapsed.
The following guide will show you how to do this:
At the end of this step, you will be able to log in to the vSphere interface and validate all sensitive operations on the infrastructure in the next steps.
Step 3: Configure an IPSec VPN with NSX
You need to set up a VPN to allow you to connect via the internet to the private networks in your SecNumCloud environment.
The following guide will show you how to do this:
Step 4: Enable the private gateway
We will now switch the vSphere management interface to one of the SecNumCloud environment’s private networks.
Once this step is complete, you can only connect to vCenter and the vSphere APIs via the private network in the SecNumCloud environment in which the Private Gateway has been deployed.
The following guide will show you how to do this:
Step 5: Set up the KMS for encryption
Next, we will set up encryption for the virtual machines that will be hosted.
The prerequisite is to have a KMS compatible with the VMware vSphere solution.
Configure the KMS (VNKP) in vSphere using the following guide:
Step 6: Verify SecNumCloud compliance
Once you have completed the steps to secure the infrastructure, you will need to finalize the SecNumCloud activation.
To do this, you will need to launch the operation via the following API call:
By specifying:
- {serviceName}: the service name (e.g.: pcc-192-0-2-1)
- {option}: snc
Return (truncated):
You will get a task that you can track using its taskId via the following API call:
By specifying:
- {serviceName}: the service name (e.g.: pcc-192-0-2-1)
- {taskId}: the task number (example: 4091062)
Once it is complete, you can check that there is no action left to do via the following API call:
An empty list in return, as below, confirms that all actions have been performed on the environment and that it is fully operational:
Go further
Our SecNumCloud Connectivity guides
Join our community of users.

