Creating a volume from a backup
576 Views
Objective
You can attach additional disks to your Public Cloud instances based on previously created volume snapshots.
This may be useful in the following cases:
- If you want to restore additional disk data.
- If you want to have a highly available, high-performance storage space with your data.
- If you want to move your data to another instance.
This guide explains how to create and configure an additional disk on one of your instances from an additional disk backup.
Requirements
- A Public Cloud instance in your OVHcloud account
- A volume snapshot in the same OpenStack region
- Administrative access (sudo) to your instance via SSH or RDP
OVHcloud Control Panel Access
- Direct link: Public Cloud Projects
- Navigation path:
Public Cloud> Select your project
Instructions
Creating the disk from a backup
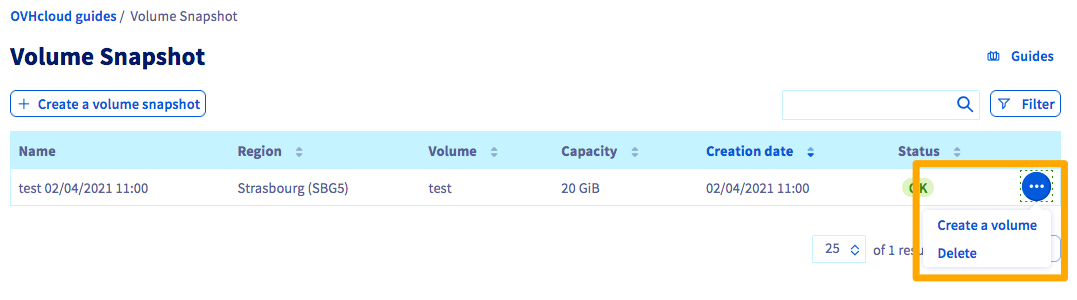
Click Volume Snapshot in the left-hand navigation bar under Storage & backup.
To the right of the backup you want to create a volume from, click the ... button, then Create a volume.
Then enter the name and capacity of the new disk, and click Create the volume.
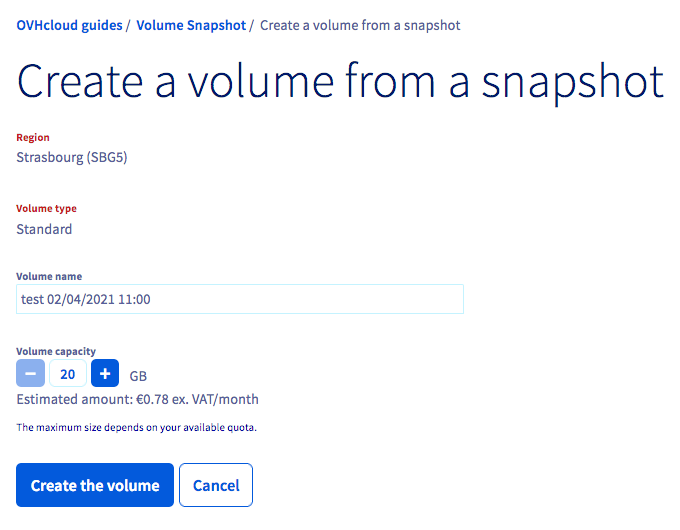
It may take a few minutes to create the disk, depending on its size.
Attaching the disk to an instance
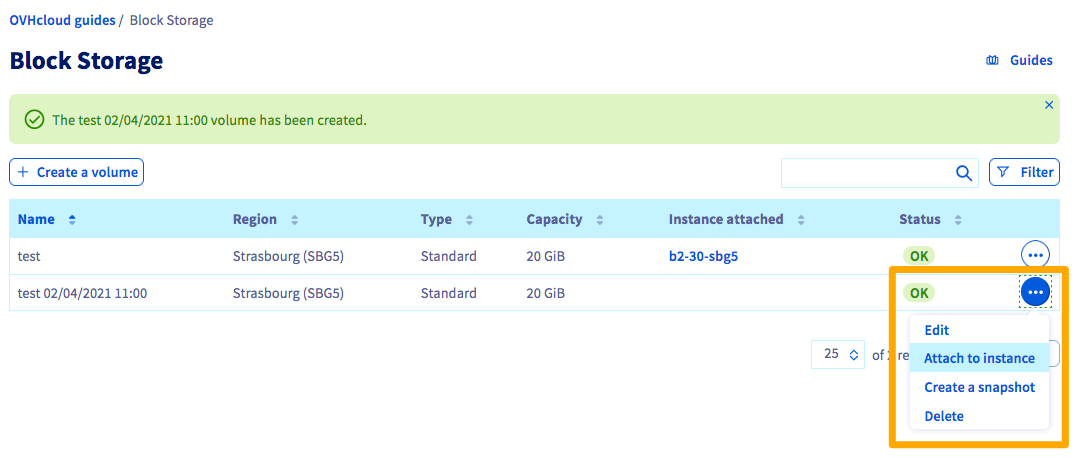
Once the disk has been created, you can choose to attach it to an instance. To do this, click Block Storage in the left-hand navigation bar under Storage & backup.
To the right of the volume of your choice, click on the ... button, then Attach to instance.
Now select the instance and click Confirm to attach the disk.
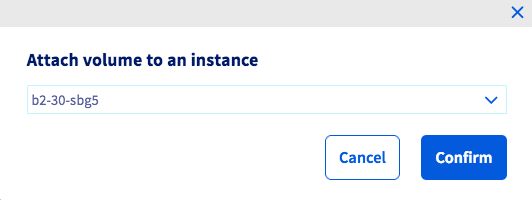
The process of attaching the disk to your instance will then begin, and this may take a few minutes.
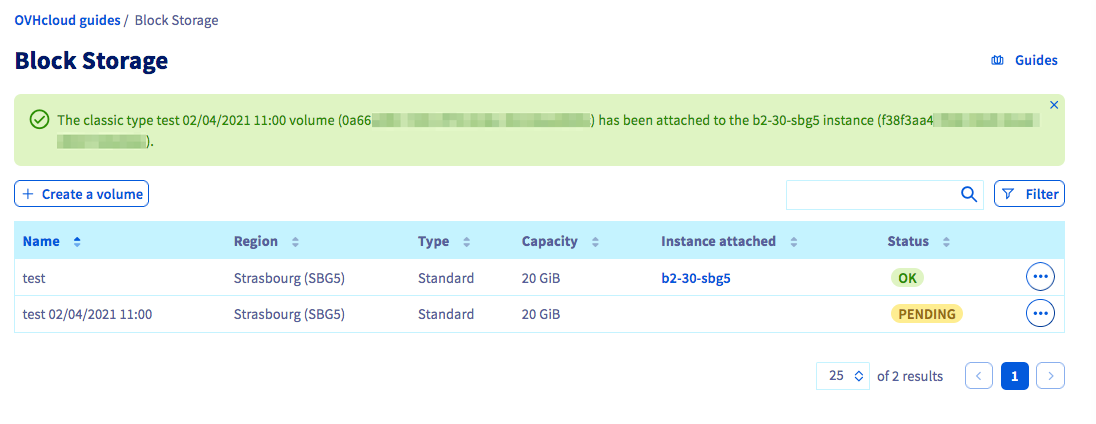
Make sure to not leave the current page in your OVHcloud Control Panel while the disk is being attached. This may interrupt the process.
Once the attachment is complete, you can follow these steps on how to configure the additional disk using Linux or using Windows.
Go further
Join our community of users.

