Enabling Active Directory Federation Services (AD FS) SSO connections with your OVHcloud account
460 Views
Objective
You can use Single Sign-On (SSO) to connect to your OVHcloud account. To enable these connections, your account and your Active Directory Federation Services (AD FS) have to be using SAML (Security Assertion Markup Language) authentications.
This guide explains how to link your OVHcloud account to an external Active Directory.
Requirements
- Active Directory Federation Services (AD FS) running on your server
- An OVHcloud account
OVHcloud Control Panel Access
- Direct link: SAML SSO
- Navigation path:
Identity, Security & Operations>Users>SSO connection
Instructions
In order for a service provider (i.e. your OVHcloud account) to perform an SSO connection with an identity provider (i.e. your AD FS), the essential part is to establish a mutual trust relationship.
Establishing AD FS trust
Your AD FS acts as your identity provider. Authentication requests by your OVHcloud account will only be accepted if it is declared as a trusted party first.
In the Active Directory context, this means adding it as Relying Party Trust.
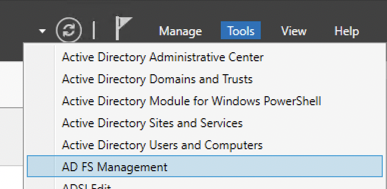
From your Server Manager, open the Tools menu and select AD FS Management.
Click on Relying Party Trusts.
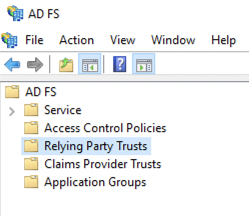
Then click on Add Relying Party Trust....

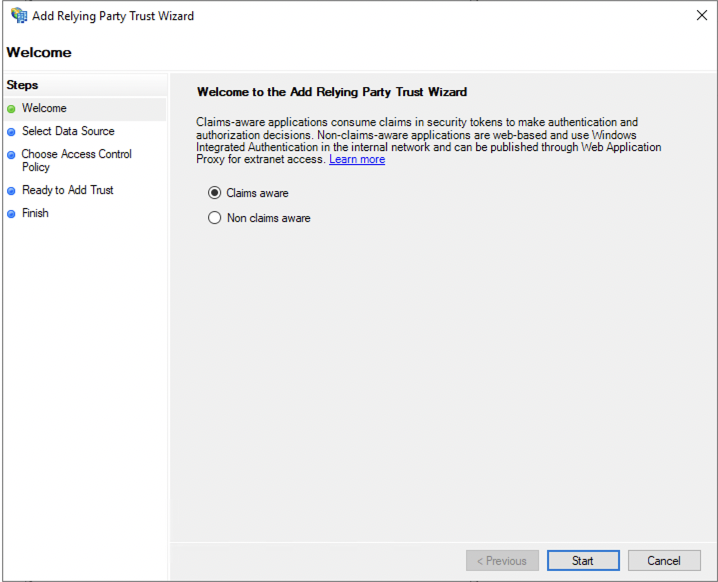
Select Claims aware and confirm with the Start button.
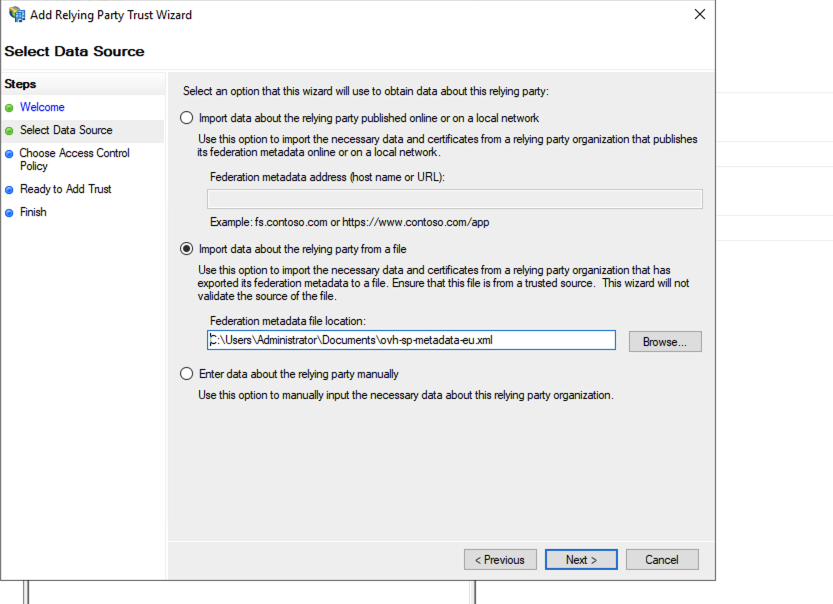
Here you can enter the relying party information manually or import it from a metadata file.
Importing the OVHcloud SP metadata
You can obtain the appropriate metadata file via the following links:
Select Import data about the relying party from a file and select your metadata file.
Then click the Next button.
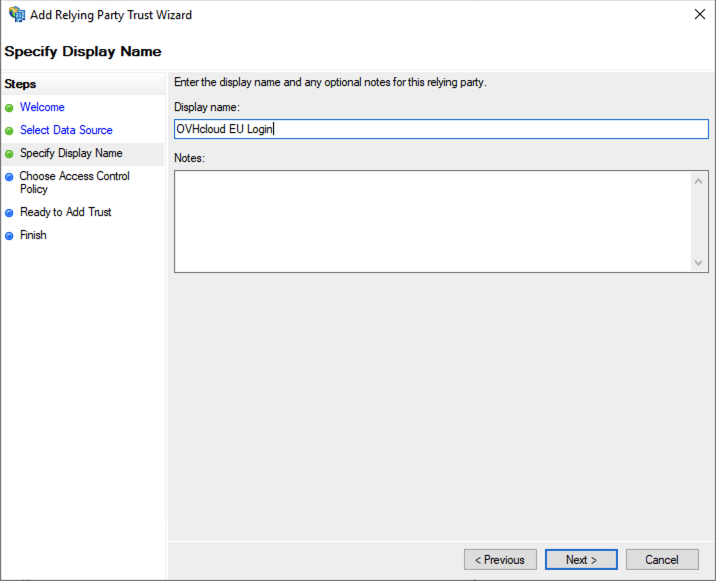
Enter a display name for the relying party and click the Next button.
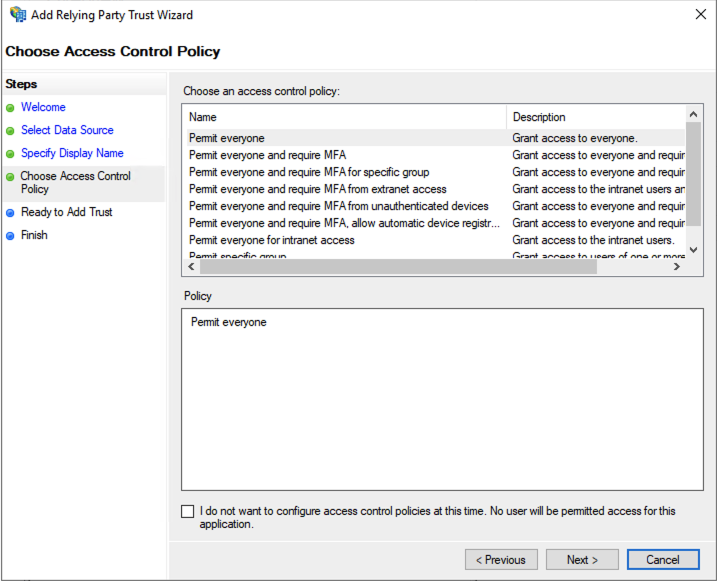
Click Next in the Access Control window.
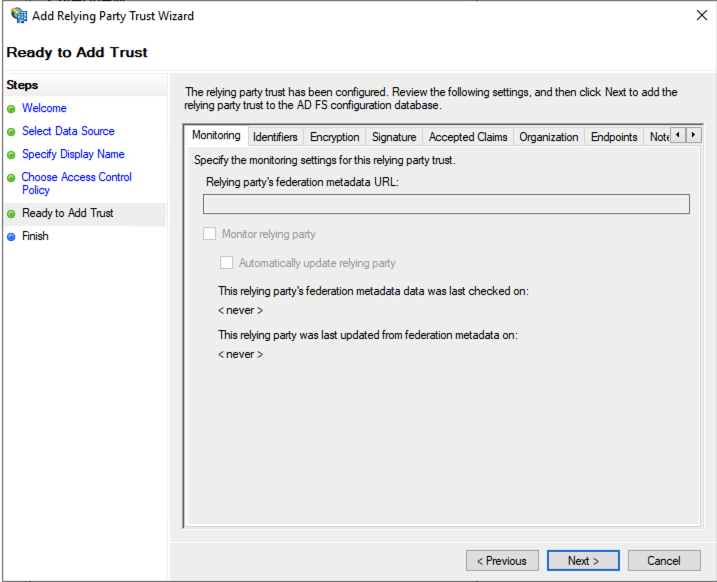
Click Next again to proceed.
Click the Close button in the last window. The OVHcloud relying party trust is now added to your AD FS.

With OVHcloud added as trusted relying party, you should be able to log in via an SSO connection already. However, any information about the identity of the user (in terms of the SAML "assertion") will remain unavailable until you configure a policy to map Active Directory LDAP fields to the attributes in the SAML assertion.
Mapping LDAP attributes to SAML attributes
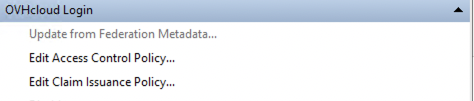
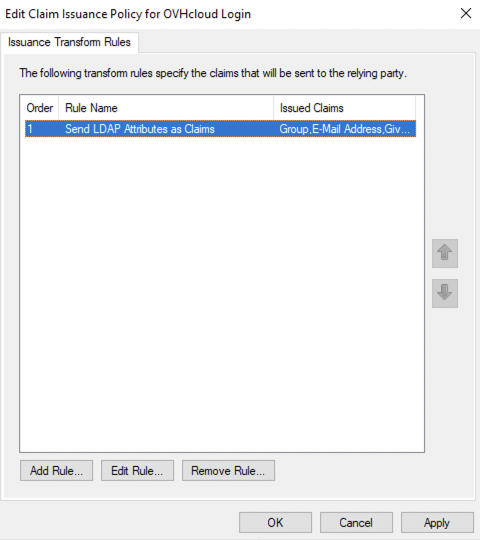
Click on the OVHcloud relying party trust entry.

Then click on Edit Claim Issuance Policy....
Click the Add Rule... button.

Click Next.
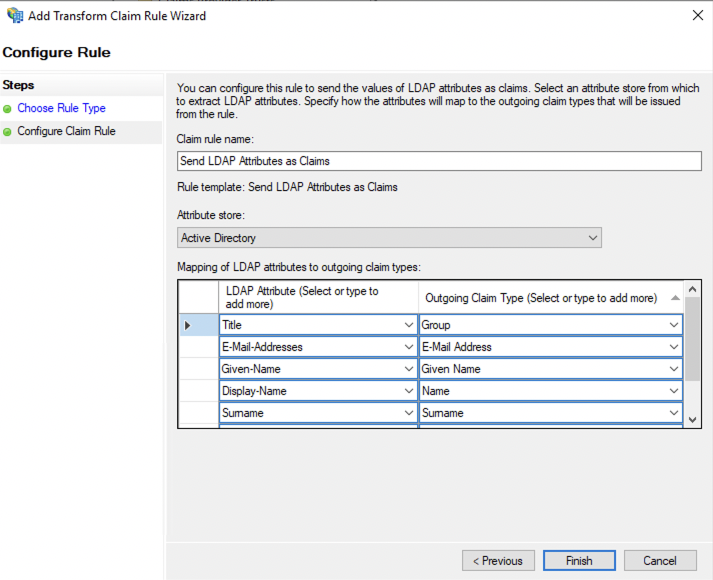
Enter a rule name, then define your mapping.
Select "Active Directory" as "Attribute store".
The following settings can be configured freely in order for the Active Directory LDAP data to be read correctly by the service provider. You can refer to the image below as an example.
When you are done, click the Finish button.
Click the Apply button and confirm with OK.
With the mapping completed, your AD FS now trusts OVHcloud as a service provider. The next step is to ensure that the OVHcloud account trusts your AD FS as identity provider.
Establishing OVHcloud account trust and configuring the connection
Adding your AD FS as a trusted identity provider is done in the OVHcloud Control Panel where you can provide the identity provider metadata.
Open the SAML SSO page.
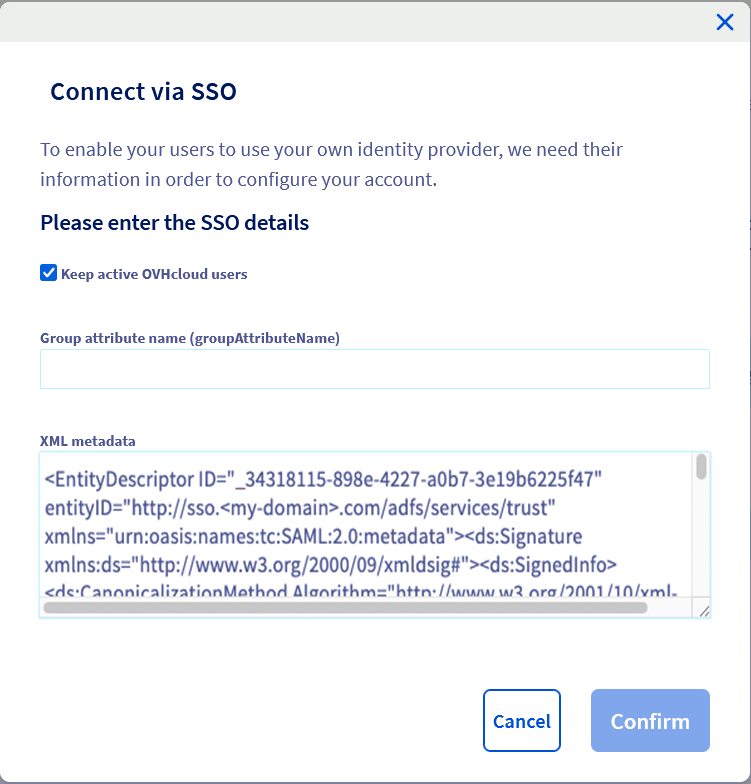
In the SSO connection section, fill in the XML metadata of your AD FS. The "Group Attribute Name" is optional in this case. Click on Confirm.
You can keep local users by ticking the Keep active OVHcloud users box.
You should now see your AD FS as identity provider, as well as the default groups.
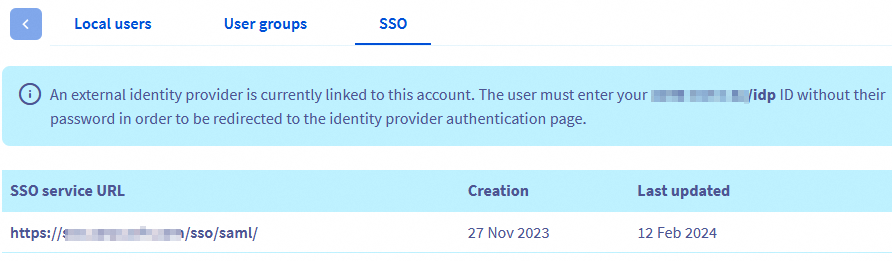
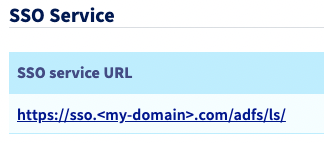
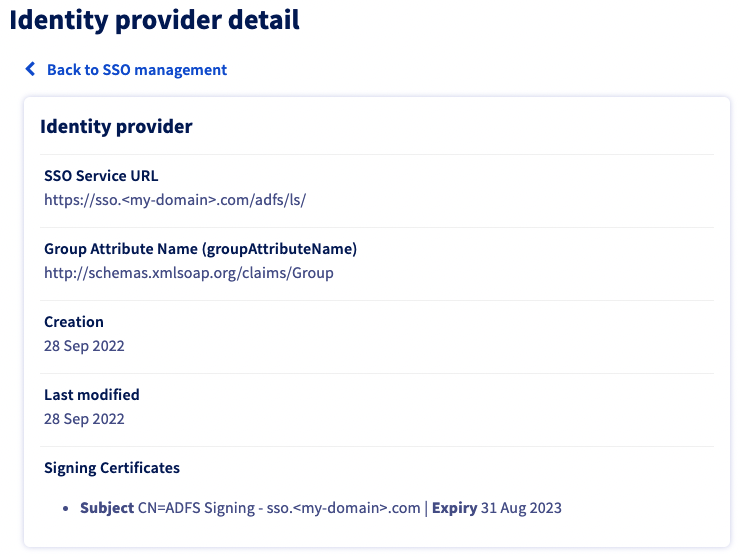
Click the link below SSO service URL to view more information on it.
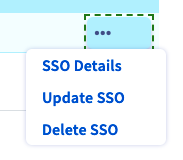
The ... button enables you to update or delete the SSO, and to see details.
The trust of your AD FS as identity provider is thus established but you still have to add groups to your OVHcloud account.
If you try to connect at this stage via SSO, you will probably receive a Not in valid groups error message.
That is because your OVHcloud account checks if the authenticating user belongs to a group that actually exists on the account.
To resolve this, verify which information is mapped to the "Group" attribute that your AD FS returns.
Consider the following example of the user "John Doe" from your Active Directory as shown in the image below.

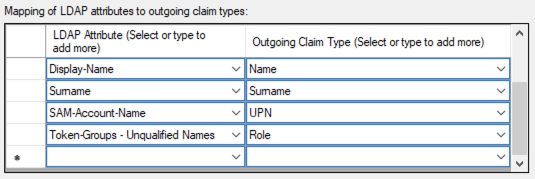
Next, check the mapping in AD FS:
In this example, the "Group" attribute sent back by the Active Directory for the user "John Doe" is "title". This corresponds to the "job title" which is manager@<my-domain>.com.
You can also verify this in the SAML assertion:
This means that you need to add the manager@<my-domain>.com group to your OVHcloud account, attaching a role to it. Otherwise, your OVHcloud account wouldn't know what is the user allowed to do.
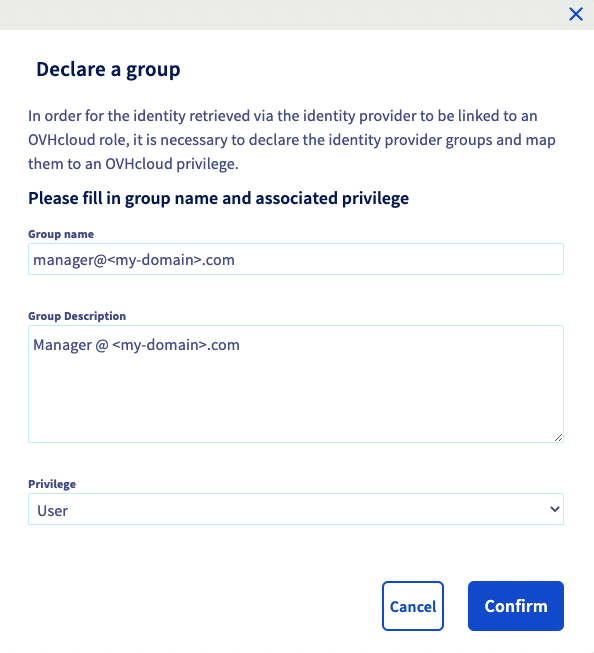
To add this group, go to the Identities section, then to the User groups tab. Then click the Declare a group button, enter the name of the group and select the associated role:

You can then check that the group is added to your OVHcloud account in the Groups section:
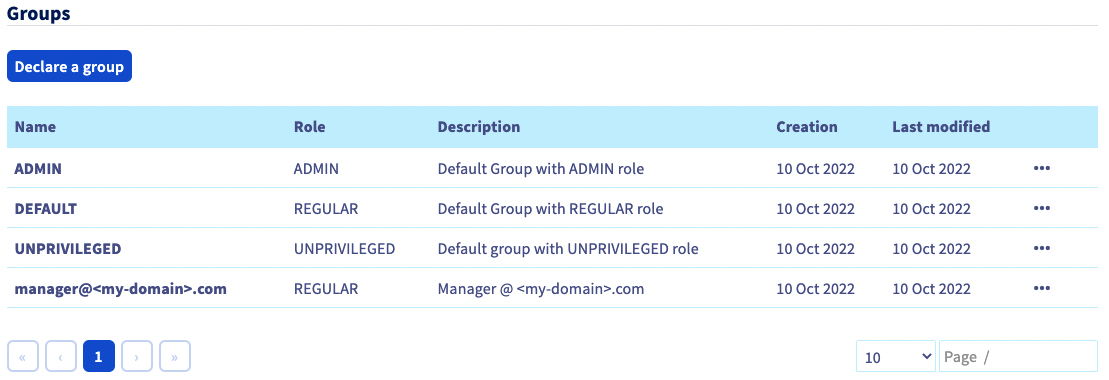
When you connect with the Active Directory user "johndoe" now, your OVHcloud account will recognize that the user has the "REGULAR" role, specified by its group.
Warning: if you give the NONE role, you will need to assign permissions to this group via the IAM policies.
You can then disconnect from your account and log in again with your AD FS as identity provider.
Connect via SSO
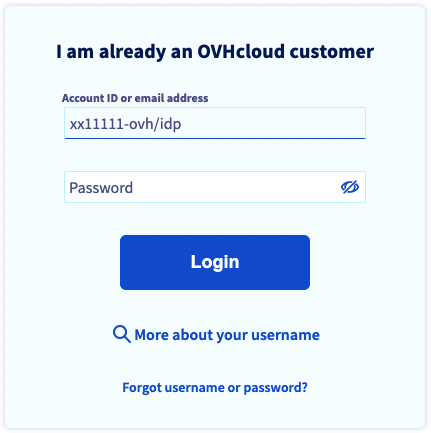
On the OVHcloud login page, enter your NIC handle followed by /idp without entering a password, and click the Login button.
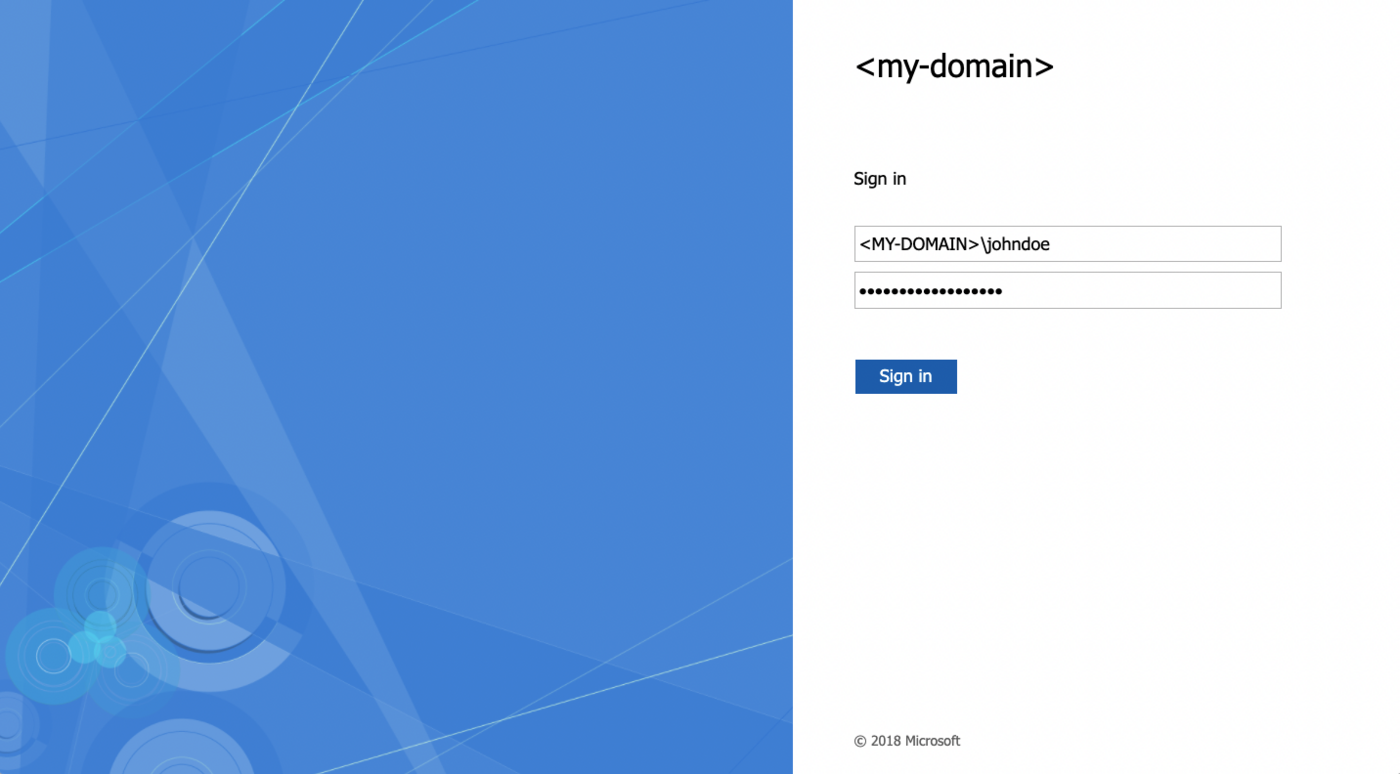
You are then redirected to your AD FS login page. Enter a login/password of a user of your LDAP Active Directory, then click the Sign in button.
You are now logged in with the same NIC handle, but via your Active Directory user and using your AD FS SSO.
Go further
Securing my OVHcloud account and manage my personal information
Setting and managing an account password
Securing your OVHcloud account with two-factor authentication
How to use IAM policies using the OVHcloud Control Panel.
Join our community of users.

