

Deploying Artifactory on an OVHcloud Managed Kubernetes cluster
635 Views
 17.10.2022
  Cloud / Managed Kubernetes Service
Objective
JFrog Artifactory is one of the major solution to manage dependencies and packaged binaries. All these objects are called artefacts.
Requirements
- An OVHcloud Managed Kubernetes cluster
- The Helm client installed and configured. For more information, follow this OVHcloud tutorial: Installing Helm on OVHcloud Managed Kubernetes.
- The
kubectlclient installed and configured. For more information, follow this OVHcloud tutorial: Configuring kubectl on an OVHcloud Managed Kubernetes cluster
Instructions
You can find more detailed steps about the different ways to install JFrog Artifactory in the official documentation.
The following tutorial explains how to install a single node installation. For a more advanced installation (such as HA), read the official documentation.
Configure Helm to use the JFrog Helm chart
In a terminal, add the JFrog Helm repository to your Helm installation:
Output should be like this:
Configure the master key and the join key
At this point, it is strongly recommended to configure your master key and your join key. Find more information on these keys in the official documentation.
In a terminal, configure the master key as follows:
Output should be like this:
Next, configure the join key as follows:
Output should be like this:
The two warning messages are not important and have no impact.
Install JFrog Artifactory with Helm
First, you need to create the artifactory namespace:
Next, you can install JFrog Artifactory with the following Helm command:
Output should be like this:
Next, wait until the status of all Pods status are Running and ready (i.e the number of Pods desired equals to the actual number in the Ready column):
Output should be like this:
Test the freshly installed JFrog artifactory
Get the URL of the administration console:
export SERVICE_IP=$(kubectl get svc --namespace artifactory artifactory-artifactory-nginx -o jsonpath='{.status.loadBalancer.ingress[0].ip}')
echo http://$SERVICE_IP/
Open the service URL in a browser and enter the default credentials: admin for Username and password for Password:
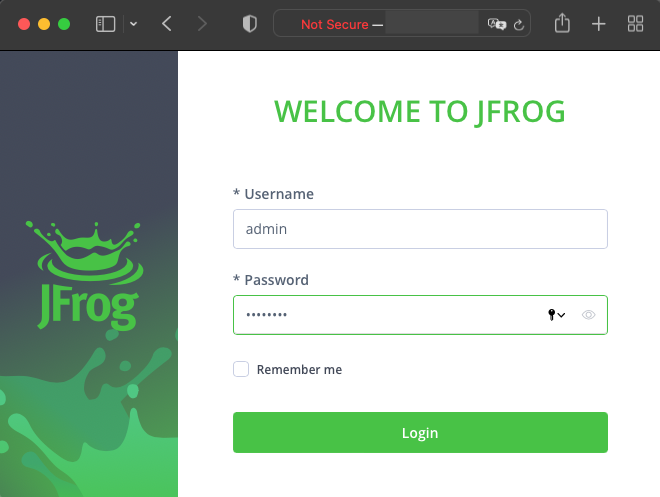
Do not forget to change the default password!
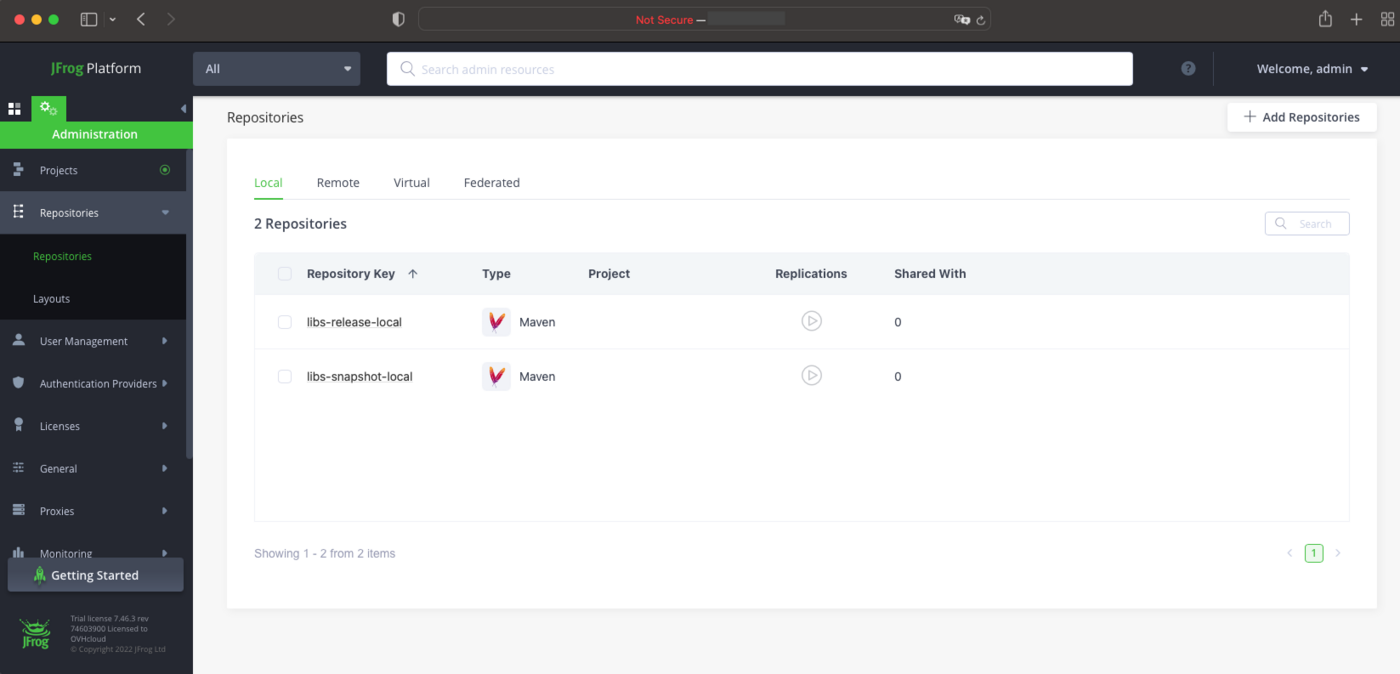
And that's it, you can start using your JFrog Artifactory instance:
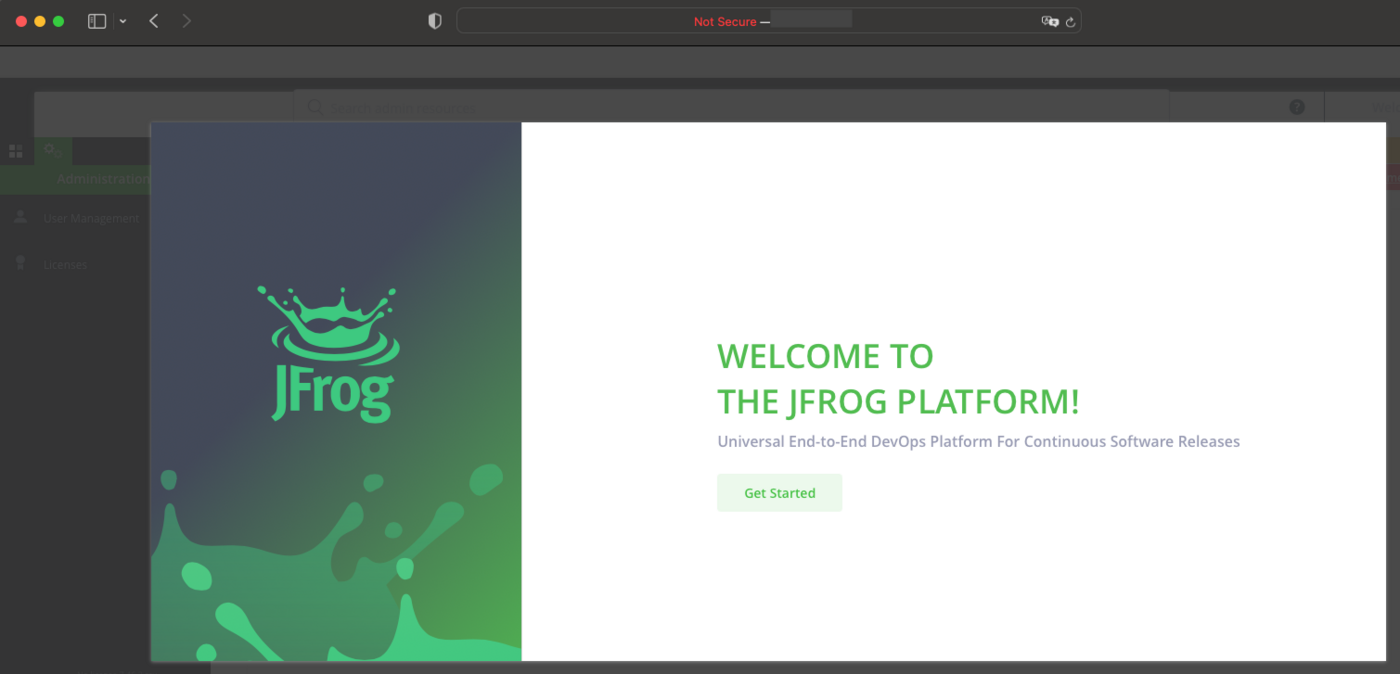
After completing the configuration steps (see the official documentation), your JFrog Artifactory is ready to use:
Uninstall JFrog Artifactory
Similarly to the other steps, the uninstallation is done with a Helm command:
Output should be like this:
Then delete the artifactory namespace:
Go further
For more details on how to use the JFrog Artifactory, read the official documentations.
To have an overview of the OVHcloud Managed Kubernetes service, you can go to the OVHcloud Managed Kubernetes page.
To learn more about how to use your Kubernetes cluster the practical way, we invite you to look at our tutorials.
-
If you need training or technical assistance to implement our solutions, contact your sales representative or click on this link to get a quote and ask our Professional Services experts for assisting you on your specific use case of your project.
-
Join our community of users.


 Installing cert-manager on OVHcloud Managed Kubernetes
 887
887