Installing Agones on OVHcloud Managed Kubernetes
795 Views
In this tutorial we are going to guide you with the install of Agones on your OVHcloud Managed Kubernetes Service. Agones is an open-source, multiplayer, dedicated game-server hosting built on Kubernetes.
And to test your install, you will install a Xonotic game server and playing some old-school deathmatches...
Before you begin
This tutorial presupposes that you already have a working OVHcloud Managed Kubernetes cluster, and some basic knowledge of how to operate it. If you want to know more on those topics, please look at the deploying a Hello World application documentation.
You also need to have Helm installed on your workstation and your cluster, please refer to the How to install Helm on OVHcloud Managed Kubernetes Service tutorial.
What is Agones?
One of the key advantages of using Kubernetes is the formidable ecosystem around it. From Rancher to Istio, from Rook to Fission, from gVisor to KubeDB, the Kubernetes ecosystem is rich, vibrant and ever-growing. We are getting to the point where for most deployment needs we can say there is a K8s-based open-source project for that.
One of the latests additions to this ecosystem is the Agones project, an open-source, multiplayer, dedicated game-server hosting built on Kubernetes, developed by Google in collaboration with Ubisoft. The project was announced in March, and has already made quite a bit of noise...

Why Agones?
Agones (derived from the Greek word agōn, contests held during public festivals or more generally "contest" or "competition at games") aims to replace the usual proprietary solutions to deploy, scale and manage game servers.
Agones enriches Kubernetes with a Custom Controller and a Custom Resource Definition With them, you can standardise Kubernetes tooling and APIs to create, scale and manage game server clusters.
What kind of game servers
Well, Agones's main focus is online multiplayer games such as FPSs and MOBAs, fast-paced games requiring dedicated, low-latency game servers that synchronize the state of the game between players and serve as a source of truth for gaming situations.
These kinds of games ask for relatively ephemeral dedicated gaming servers, with every match running on a server instance. The servers need to be stateful (they must keep the game status), with the state usually held in memory for the duration of the match.
Latency is a key concern, as the competitive real-time aspects of the games ask for quick responses from the server. That means that the connection from the player device to the game server should be the most direct possible, ideally bypassing any intermediate server such as a load-balancer.
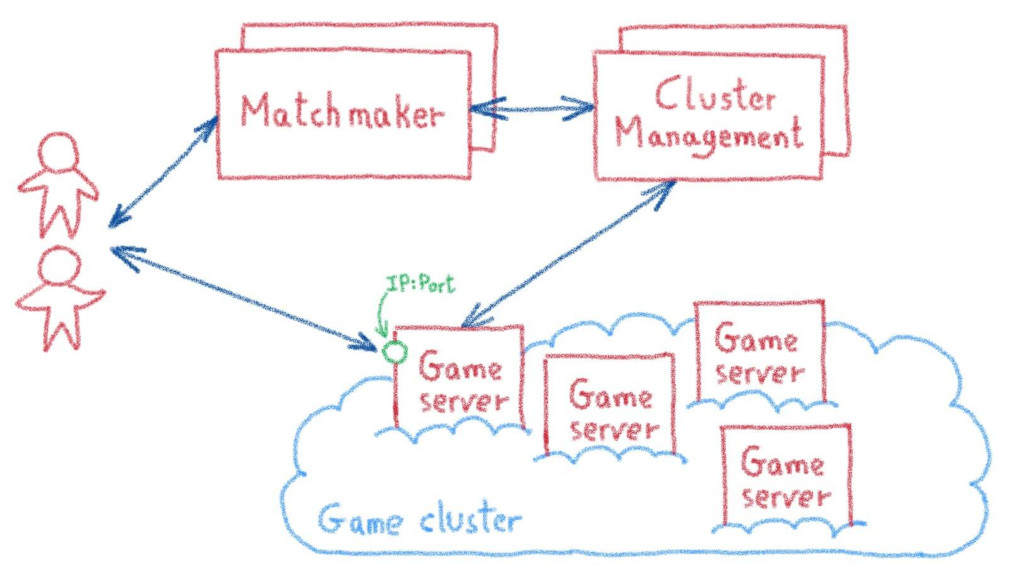
Connecting players to the right server
Every game publisher used to have their own proprietary solutions, but most on them follow a similar flow, with a matchmaking service that groups players into a match, deals with a cluster manager to provision a dedicated instance of game server and send to the players its IP address and port, to allow them to directly connect to the server and play the game.
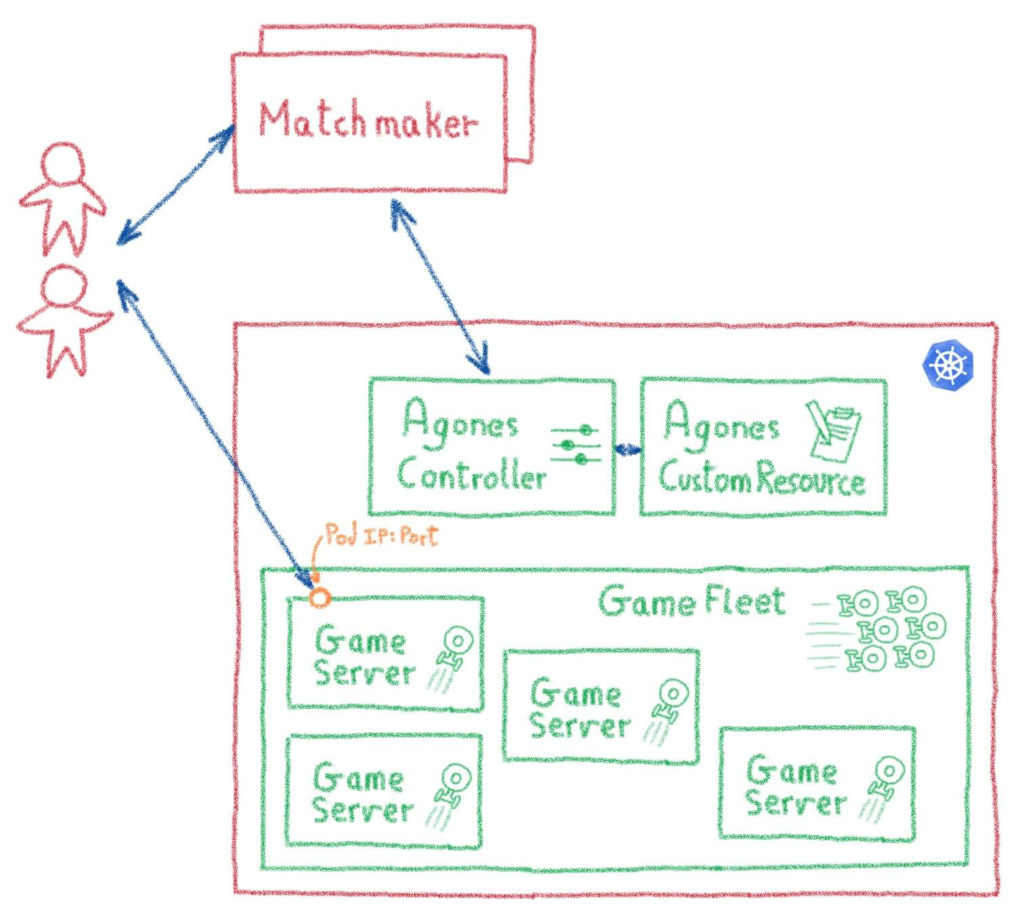
Agones and it's Custom Controller and Custom Resource Definition replaces the complex cluster management infrastructure with a standardised, Kubernetes-based tooling and APIs. The matchmaker services interact with these APIs to spawn new game server pods and get their IP address and ports to the concerned players.
The cherry on the cake
Using Kubernetes for these tasks also gives some nice additional bonus, like being able to deploy the full gaming infrastructure in a developer environnement minikube, or easily clone it to deploy in a new data center or cloud region, but also offering a whole platform to host all the additional services needed to build a game: account management, leaderboards, inventory...
And of course, the simplicity of operating Kubernetes-based platforms, especially when they dynamic, heterogeneous and distributed, as most online gaming platforms.
Deploying Agones on OVHcloud Managed Kubernetes
There are several ways to install Agones in a Kubernetes cluster. For our test we chose the easiest one: installing with Helm.
Enabling creation of RBAC resources
The first step to install Agones is to setup a service account with enough permissions to create some special RBAC resource types.
Now we have the Cluster Role Binding needed for the installation:
Installing the Agones chart
Now let's continue by adding Agones repository to Helm's repository list.
And then installing the stable Agones chart:
After some moments, Agones should we installed:
The installation we have just done isn't suited for production, as the official install instructions recommend running Agones and the game servers in separate, dedicated pools of nodes. But for the needs of our test, the basic setup is enough.
Confirming Agones started successfully
To verify that Agones is running on our Kubernetes cluster, we can look at the pods in the agones-system namespace:
If everything is ok, you should see an agones-controller pod with a Running status:
You can also see more details using:
Looking at the agones-controller description, you should see something like:
Where all the Conditions should have status True.
Deploying a game server
The Agones Hello world is rather boring, a simple Xonotic game server.
Xonotic is an open-source multi-player FPS, and a rather good one, with lots of interesting game modes, maps, weapons and customization options.
Deploying a Xonotic game server over Agones is rather easy:
This command installs Xonotic:
The game server deployment can take some moments, so we need to wait until its status is Ready or Unhealthy before using it. We can fetch the status with:
We wait until the fetch gives a Ready or Unhealthy status on our game server:
When the game server is ready, we also get the address and the port we should use to connect to our deathmatch game (in my example, 51.83.xxx.yyy:7410).
It's frag time
So now that you have a server, let's test it!
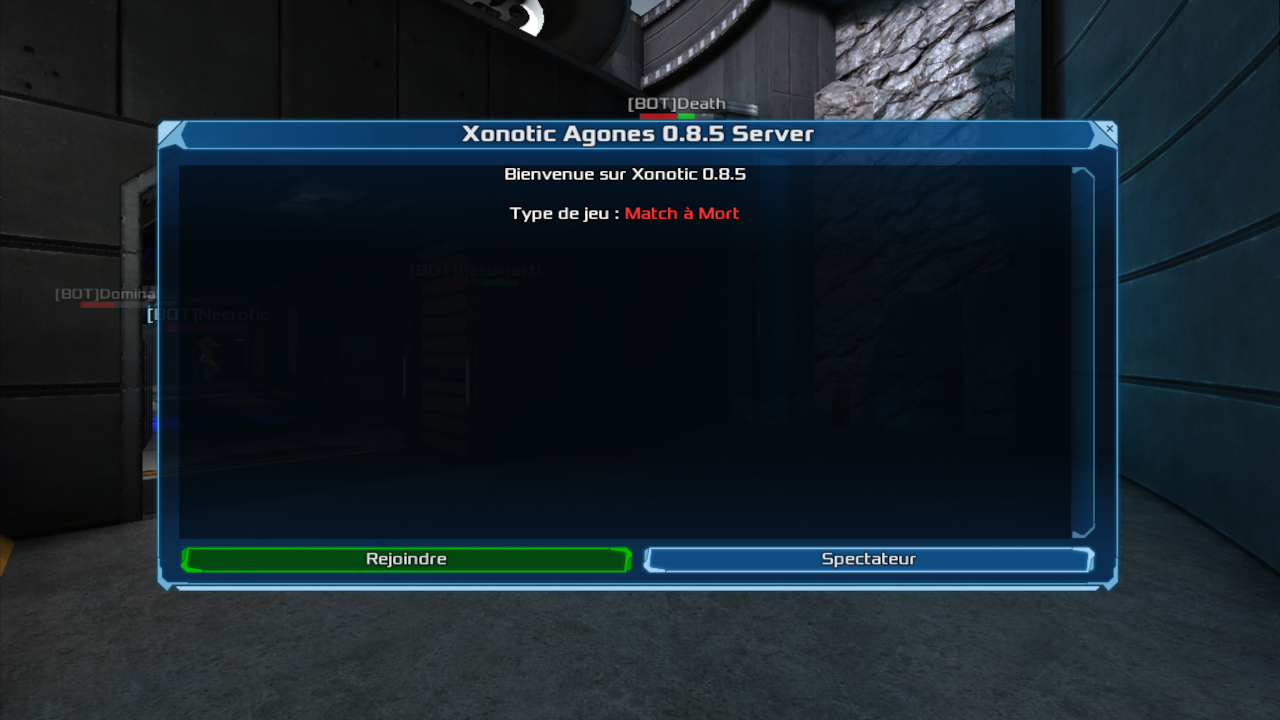
Download the Xonotic client (it runs on Windows, Linux and MacOS, so there is no excuse), and launch it:
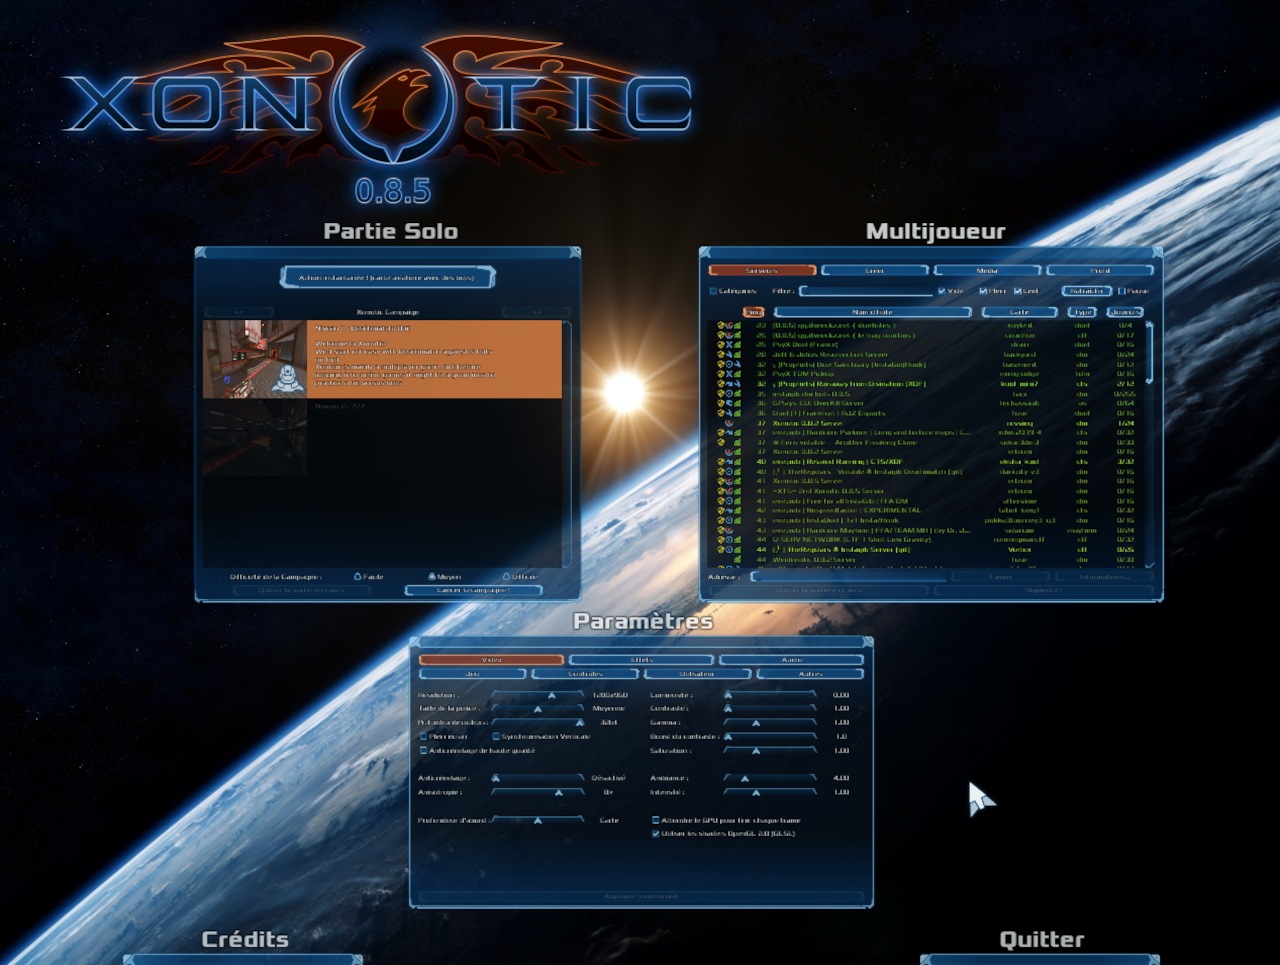
Then go to the Multiplayer menu and enter the address and port of our game server:
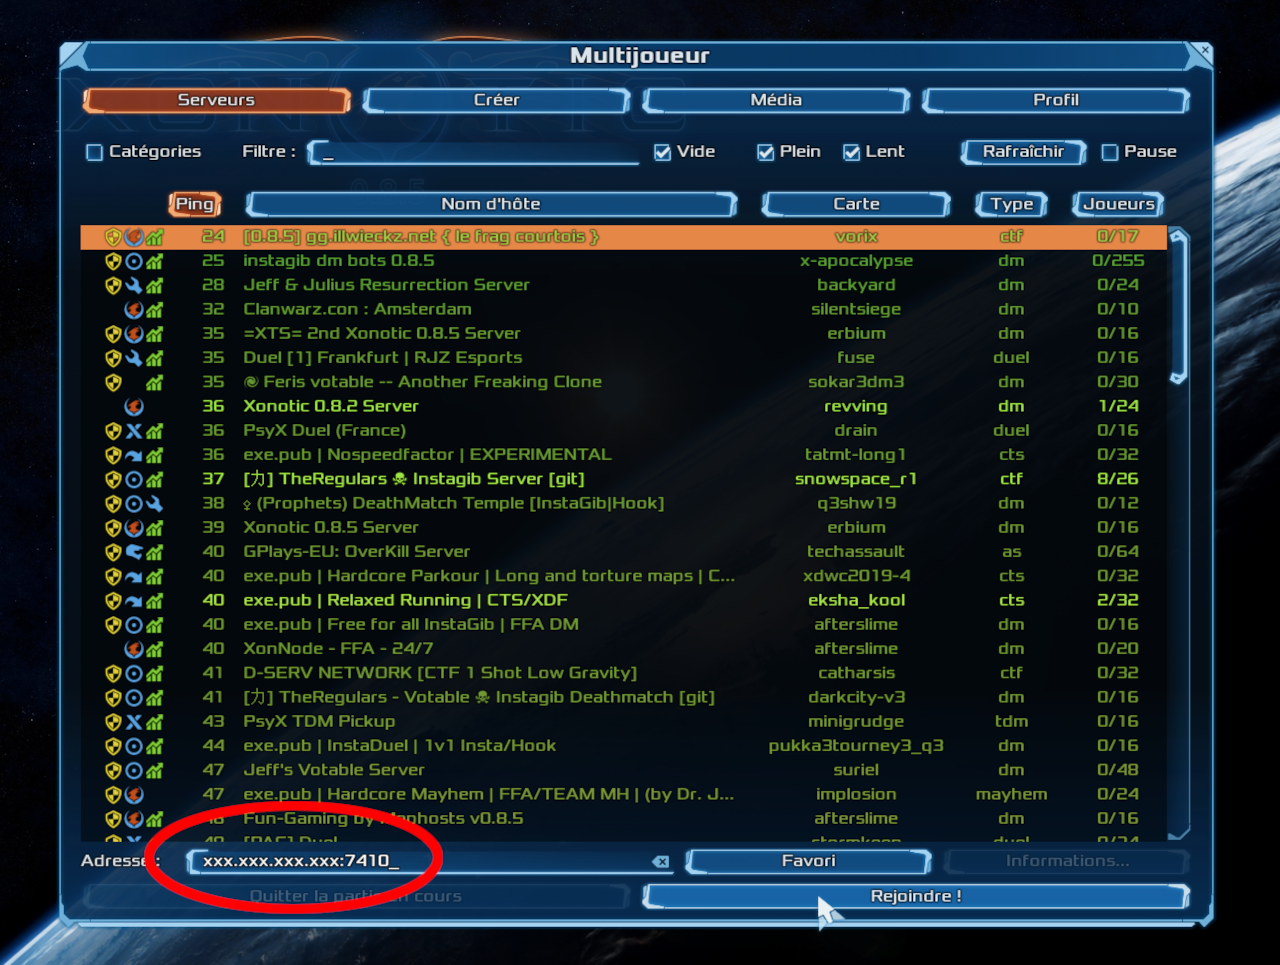
And you are ready to play!
And on the server side?
On the server side, you can spy how things are going for your game server, using kubectl logs. Let's begin by finding the pod running the game:
You will see that your game server is running in a pod called xonotic:
You can then use kubectl logs on it. In the pod there are two containers, the main xonotic one and a Agones sidecar, so we must specify that we want the logs of the xonotic container:
Add some friends
The next step is mostly enjoyable: ask some friends to connect to the server and do a true deathmatch like in Quake 2 times.
Cleanup
Uninstall Xonotic game server:
To uninstall Agones, as you installed it through Helm, you can use the helm uninstall command in order to delete the Agones Helm installed chart:
Remove installed ClusterRoleBinding:
Go further
-
If you need training or technical assistance to implement our solutions, contact your sales representative or click on this link to get a quote and ask our Professional Services experts for assisting you on your specific use case of your project.
-
Join our community of users on https://community.ovh.com/en/.

