Resize an instance via Horizon
1288 Views
Objective
As a result of increased activity, or simply new needs, your instance may not be able to meet this new burden due to a lack of resources. However, with the Public Cloud, you can increase the resources available to your instance, and this can be done with just a few clicks.
This guide will show you how to resize your instance using the OpenStack Horizon interface.
Only upscaling is possible for classic models. In addition, this manipulation causes the instance to be shut down for the time of the operation.
Metal instances can only be resized to and from other Metal flavors.
Flex instances allow resizing to higher or lower models due to a locked single disk size.
Requirements
Instructions
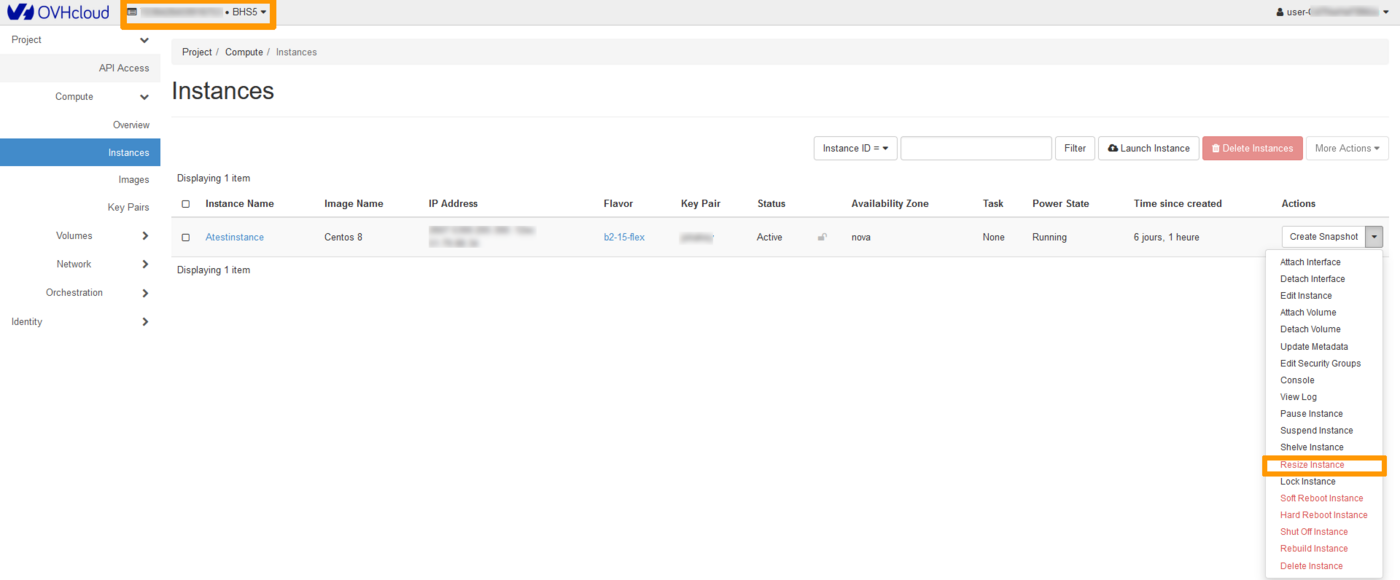
Log into the Horizon interface, and make sure you are in the correct region. You can verify this on the top left corner.
Next, click on the Compute menu on the left side and select Instances. Select Resize Instance in the drop list for the corresponding instance.
Template Selection Tab (Flavor Choice)
This section shows the current template (old flavor) and allows you to select a new template (new flavor) for the instance resource.
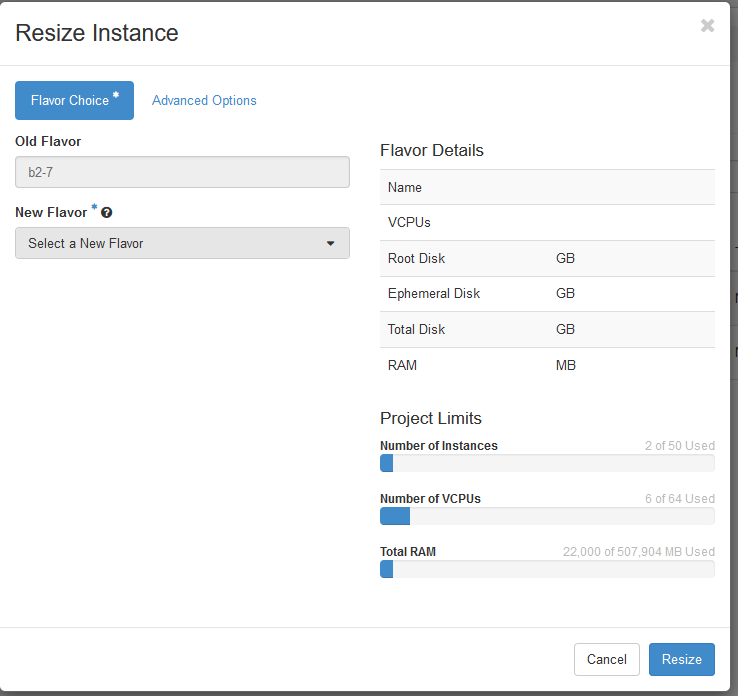
Flavor Details
In this section, you will see the resources associated with the new template you have chosen.
Project Limits
Under this section, you can view the occupied resources in relation to the total resources allocated to the project.
Please note that you cannot switch models when resizing an instance. A resizing can only be done from a Linux model to another Linux model or from a Windows model to another Windows model.
Advanced Options
Use this section to manage the Disk Partition and Server Group.
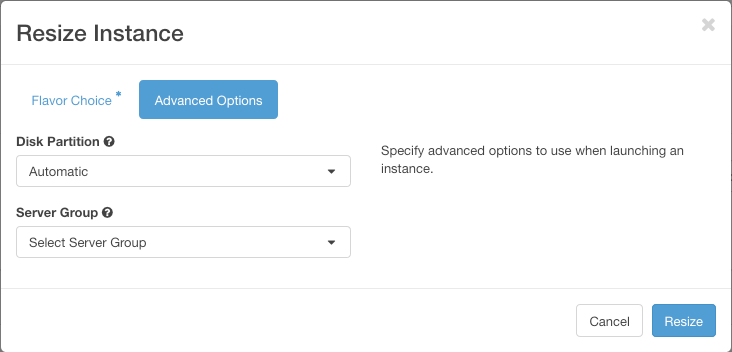
Once the configuration is complete, click on Resize.
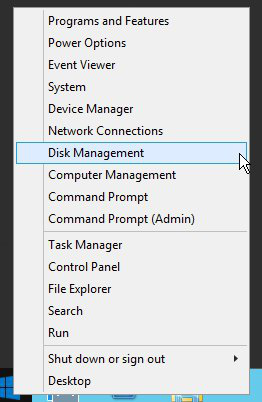
Resizing a disk in Windows
When performing a resize for a Windows Instance, please note that the partition size is not automatically updated, so you will have to extend it using the disk manager:
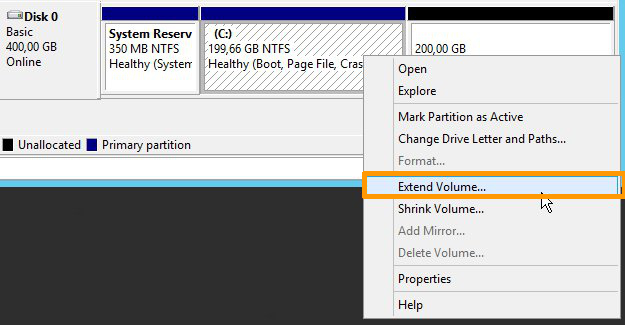
- Right-click on the
Startmenu and launch the disk manager by clicking onDisk Management:
- Right-click on the main partition, then click on
Extend Volume.
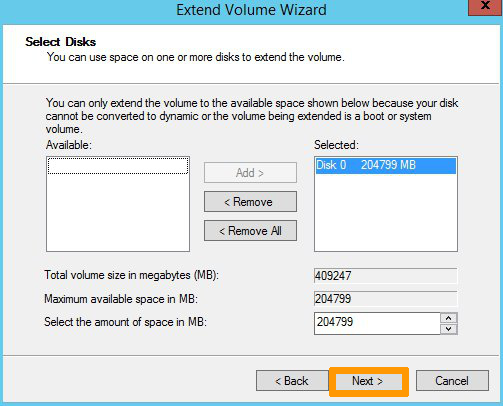
- In the
Extend Volume Wizardmenu, click onNextto proceed. In the next tab, choose the disk resources to extend and click onNext.
Once done, click on Finish to confirm your choice.
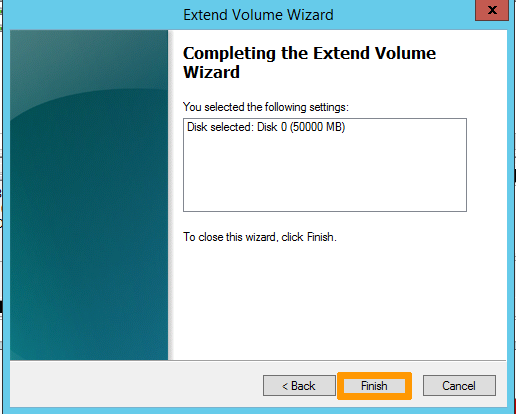
- The new disk size will then be displayed in the disk manager.

Go further
Join our community of users.

