MX Plan - Configuring your email address in Outlook for macOS
2504 Views
Objective
You can configure email addresses on email clients, if they are compatible. This means that you can send and receive messages from the application of your choice.
Requirements
- You need to have an MX Plan email address, available as part of our Web Hosting plans.
- You must have Microsoft Outlook installed on your Mac.
- You must have the login details for the email address you want to set up.
Are you using Outlook for Windows? Read our guide: Configuring your email address in Outlook for Windows.
Instructions
Step 1: Add the account
Once you have launched Outlook on your device, you can add an account in two different ways:
-
When you start the application for the first time: A setup wizard will appear and prompt you to enter your email address.
-
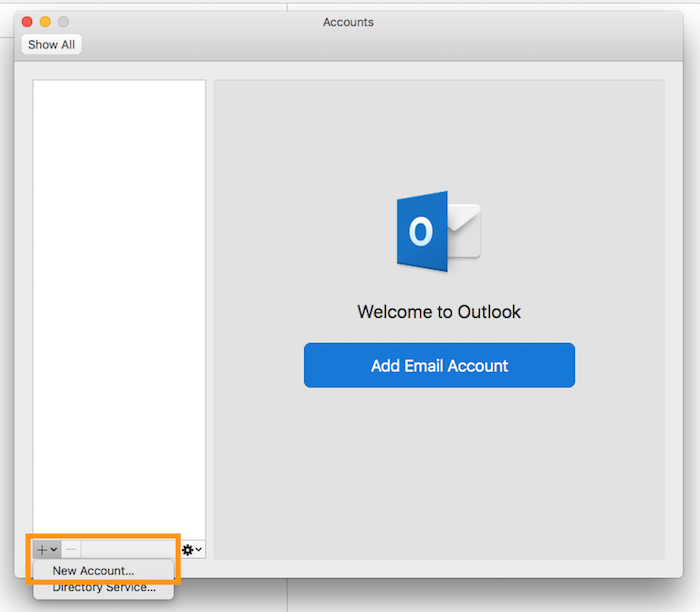
If you have already added an account: Click
Toolsin the menu bar at the top of your screen, thenAccounts. In the window that pops up, click on+then onNew account.
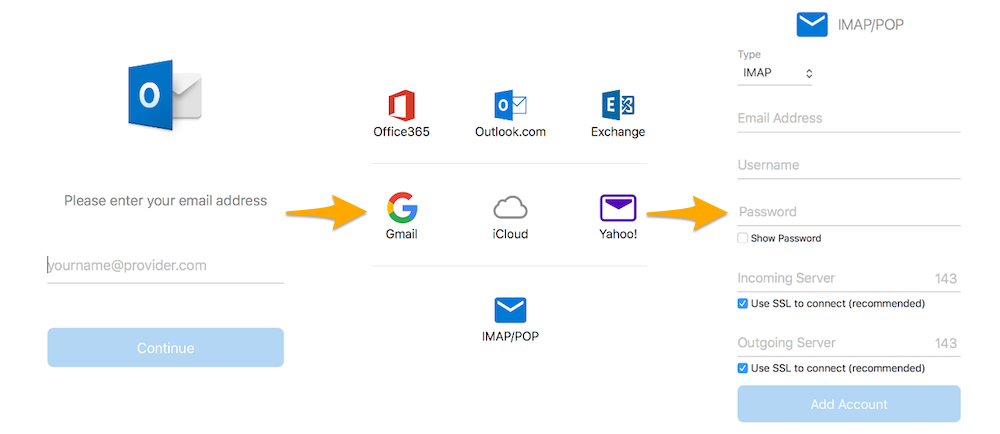
Enter your email address, then click Continue. For the provider, click on IMAP/POP, then enter the information requested.
| Information | Description |
|---|---|
| Account type | We recommend using IMAP (selected by default). You can also select POP (emails stored locally on your Mail app) in the drop-down menu. |
| Mail address | Enter a name that will distinguish this account from any other accounts added in your Outlook app. |
| Username | Enter your full email address. |
| Password | Enter the password for your email address. |
| Incoming server | Enter the server “imap.mail.ovh.ca”. Leave the Use SSL to connect box ticked. |
| Incoming port | Enter port 993. |
| Outgoing server | Enter the server “smtp.mail.ovh.ca”. Leave the Use SSL to connect box ticked. |
| Outgoing port | Enter port 465. |
Once you have entered this information, click Next. If the information is correct, Outlook will successfully connect to the account.
To check that the account has been correctly configured, you can send a test email.
If you need to enter any settings manually in your account preferences, the technical settings you will need to use are listed below:
- IMAP configuration
| Server type | Server name | SSL | Port |
|---|---|---|---|
| Incoming | imap.mail.ovh.ca | Yes | 993 |
| Outgoing | smtp.mail.ovh.ca | Yes | 465 |
- POP configuration
| Server type | Server name | SSL | Port |
|---|---|---|---|
| Incoming | pop.mail.ovh.ca | Yes | 995 |
| Outgoing | smtp.mail.ovh.ca | Yes | 465 |
Step 2: Use the email address
Once you have configured your email address, you can start using it! You can now send and receive messages.
OVHcloud also offers a web application that you can use to consult your email from a web browser. You can access this application at Webmail. Just log in using your email login details.
Go further
For more information on configuring an email address from the Outlook app on macOS, see the Microsoft Help Center.
Join our community of users.

