CephFS distributed filesystem
57 Views
Objective
This guide provides detailed instructions on how to create, manage, and mount a CephFS file system for your OVHcloud services. It covers the full setup process using the OVHcloud API, ensuring you can efficiently integrate CephFS into your cloud environment.
Requirements
- A Cloud Disk Array solution
OVHcloud Control Panel Access
- Direct link: Cloud Disk Array
- Navigation path:
Bare Metal Cloud>Cloud Disk Array> Select your service
What is CephFS?
CephFS is a distributed POSIX-compliant file system built on top of Ceph. To use CephFS, you need a client that supports it—modern Linux distributions include the CephFS driver by default.
You can enable and manage CephFS on your Cloud Disk Array (CDA) via the OVHcloud API. Once enabled, CephFS functions like a private, dedicated file system for your use. You can use both RBD and CephFS simultaneously, but note that they share the same underlying hardware.
Instructions
Enabling CephFS
Enabling and managing CephFS is only possible through the OVHcloud API.
If you are not familiar with the OVHcloud API, see our First Steps with the OVHcloud API guide.
Currently, only a single file system can be enabled, and it must be named fs-default.
The first step is to list your existing CephFS instances. Here, serviceName corresponds to the fsid of your cluster:
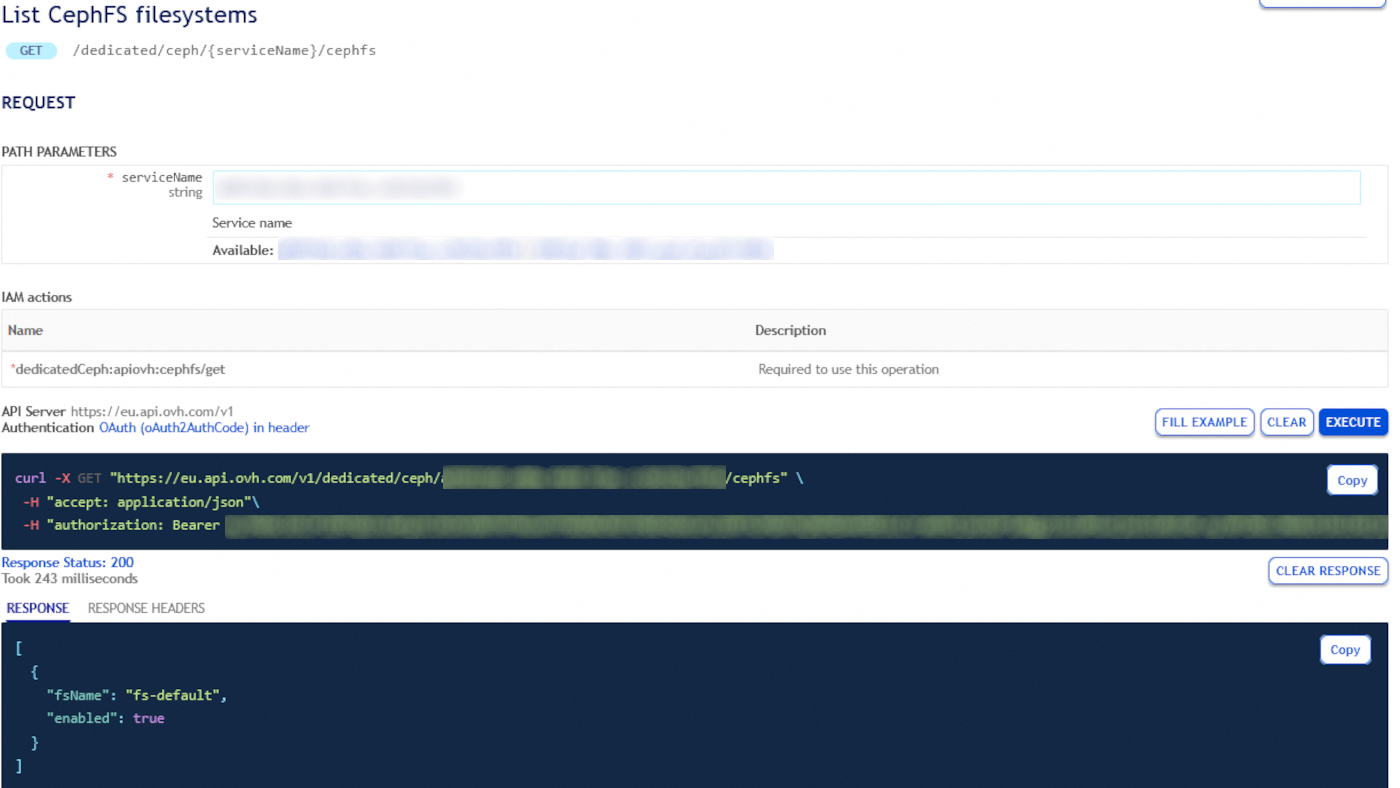
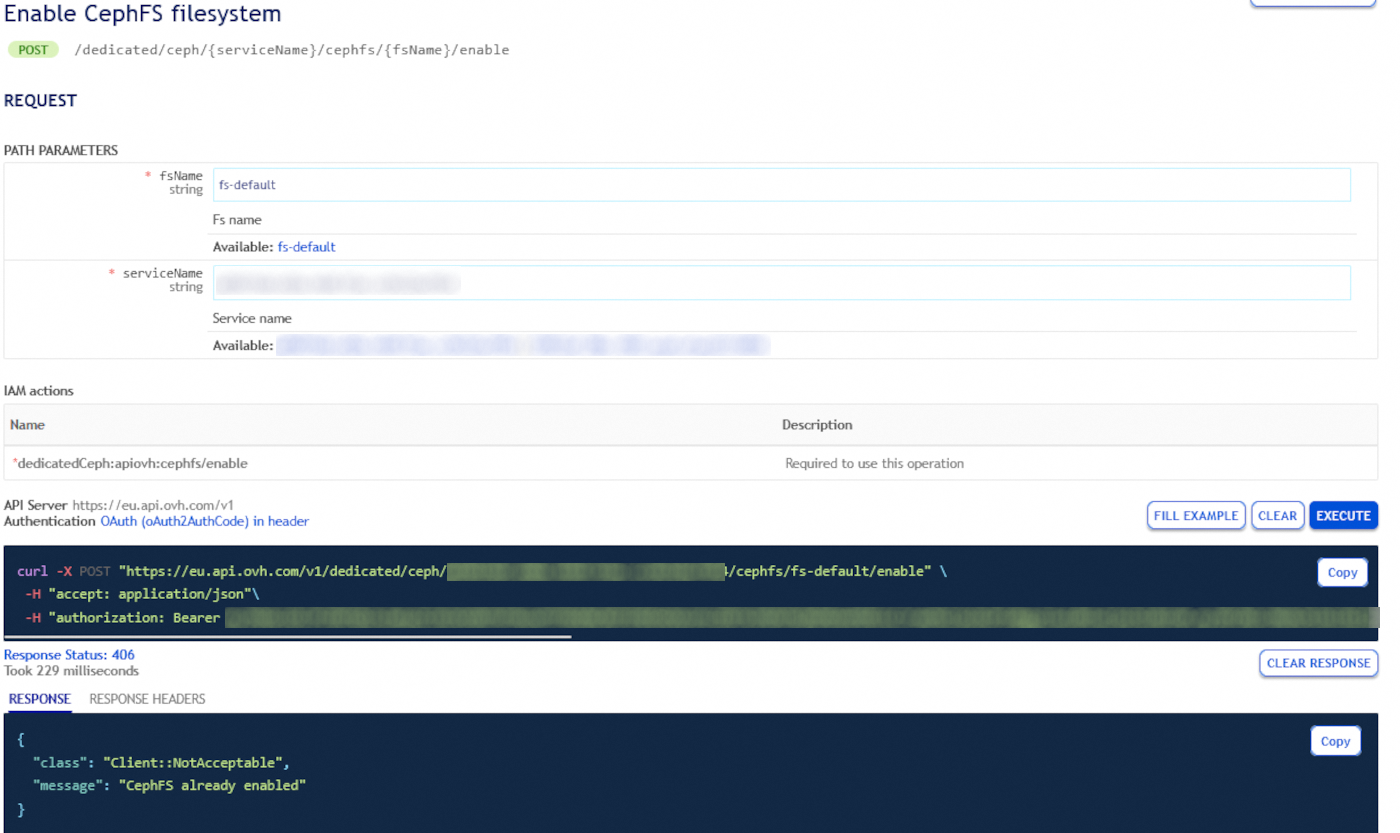
By default, this request returns an empty list. To create your first file system, you need to enable it:
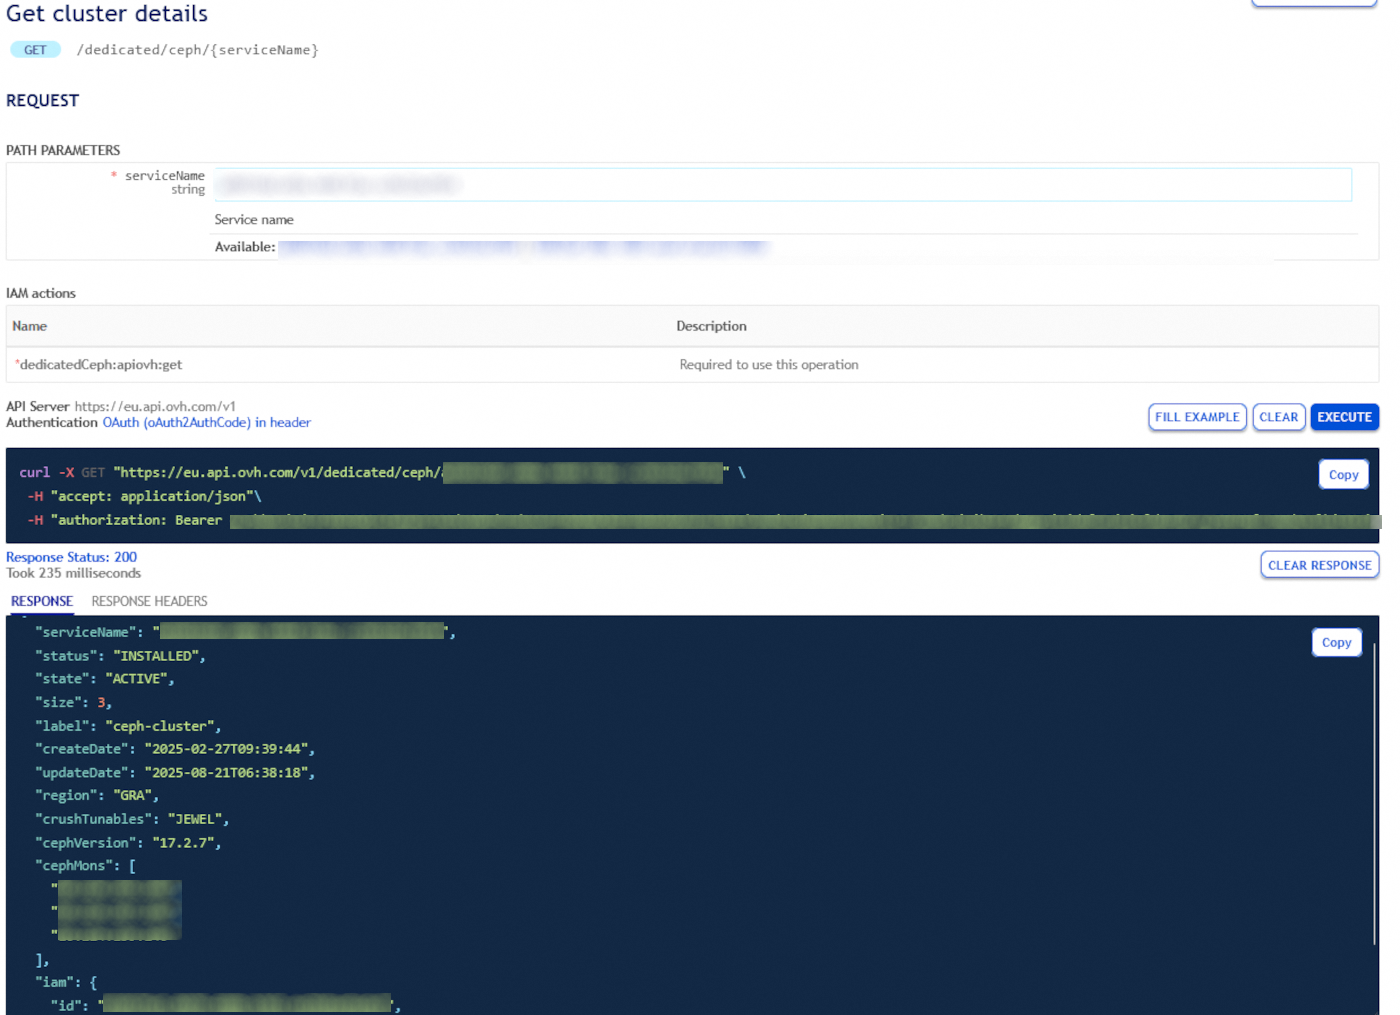
Your CephFS should be available within a few minutes. You can verify its status directly on your cluster by running:
To access your Ceph cluster directly, please refer to this guide.
The result should look similar to:
If you want to retrieve more details about your CephFS, run:
The result should look similar to:
Disabling and removing CephFS
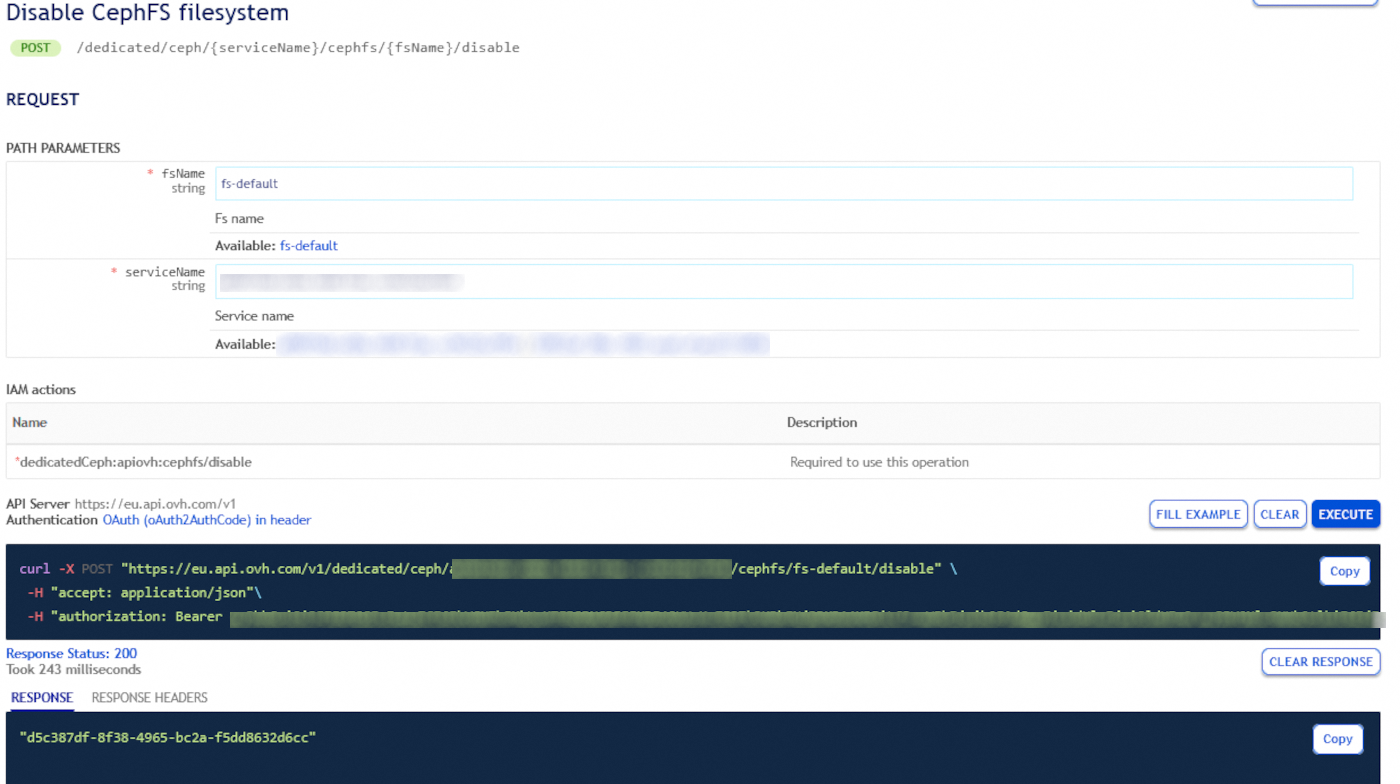
When your file system is no longer needed, you can remove it in two steps:
- Disable your file system - This blocks access to CephFS, but your data remains intact. If needed, you can re-enable it later.
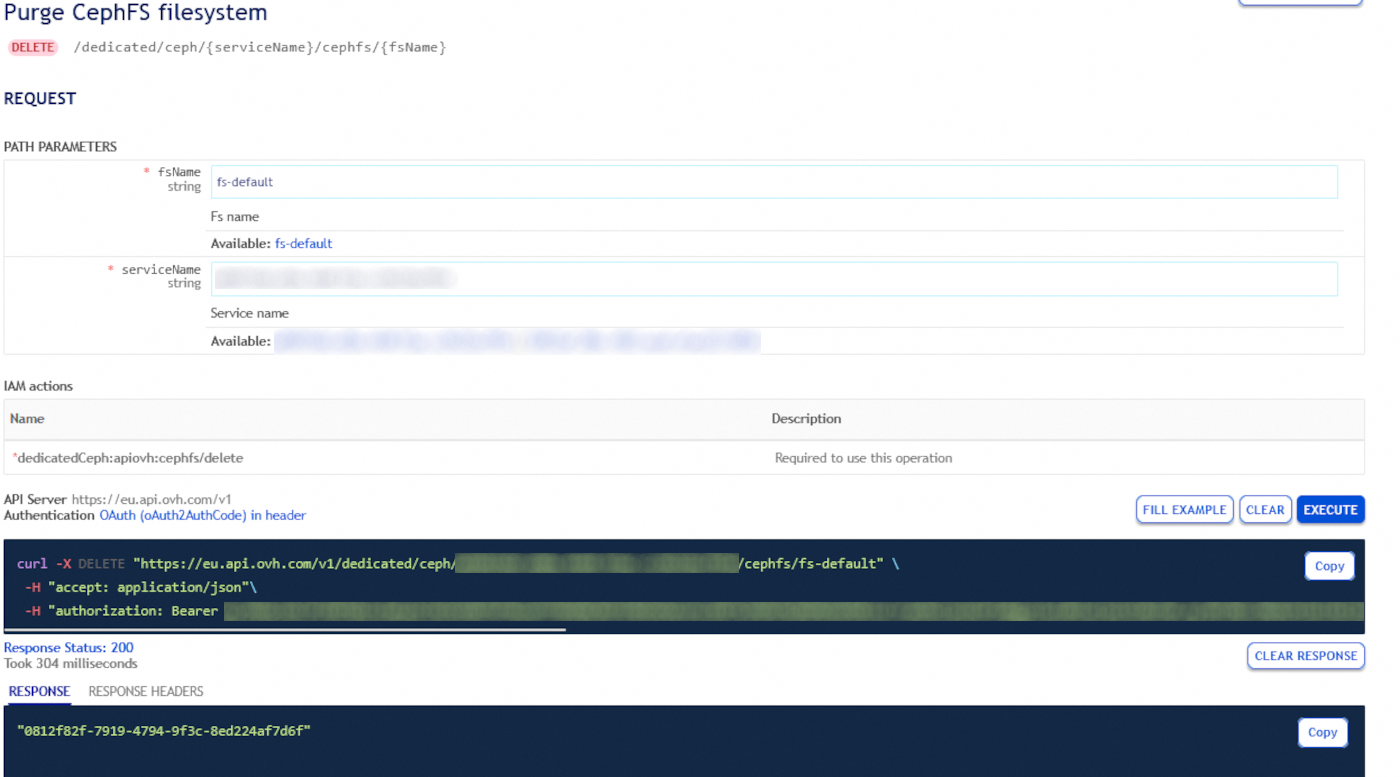
- Purge file system data – This permanently deletes all data, and can only be done on a disabled file system.
CephFS access management
To manage access to CephFS, the same IP ACL rules used for your CDA apply. However, to write to CephFS, you must create a dedicated user. You can follow this guide.
Next, grant this user read and write access to the CephFS data and metadata pools:
- cephfs.fs-default.data
- cephfs.fs-default.meta
For details, see this guide.
Required permissions: read and write on both the data and metadata pools.
Mounting CephFS on your host
Install the ceph-common package, which provides the /sbin/mount.ceph binary. The package name may vary depending on your Linux distribution.
In the example below, we use a Debian-based system:
Next, configure your client to connect to the CDA cluster by editing (or creating) the /etc/ceph/ceph.conf file.
1. Create the Ceph configuration directory:
2. Create and edit the ceph.conf file:
3. Add the [global] section with the public IP addresses of your monitors. You can find these IPs on the main page of your Cloud Disk Array in the OVHcloud Control Panel.
The FSID corresponds to the service name of your CDA. The monitor host IPs can be retrieved using the following API call:
4. Save and close the file.
You will also need a second file containing the key for the user that connects to the cluster. Fetch the user key with the following API call:

Then, create a secret file for this user:
1. Create a file called /etc/ceph/[USERID].secret
2. Add the user key to the file in the correct format:
3. Set strict permissions on the secret file to ensure security:
Finally you can mount your filesystem:
Go further
Visit our dedicated Discord channel: https://discord.gg/ovhcloud. Ask questions, provide feedback and interact directly with the team that builds our Storage and Backup services.
If you need training or technical assistance to implement our solutions, contact your sales representative or click on this link to get a quote and ask our Professional Services experts for assisting you on your specific use case of your project.
Join our community of users.

