Adding cloud credit
91 Views
Objective
With the cloud credit option you can allocate a specific amount to your Public Cloud project which will serve as the default payment method for the billing of the project.
This means that cloud credit is debited first and any outstanding amount will be then be paid by other available payment methods. (Please consult the Public Cloud billing guides to learn more about this topic.)
This guide explains how to add credit on to your Public Cloud account using a voucher, or by generating a purchase order.
Requirements
- A Public Cloud project in your OVHcloud account
OVHcloud Control Panel Access
- Direct link: Public Cloud Projects
- Navigation path:
Public Cloud> Select your project
Instructions
Open Credit & Vouchers in the left-hand menu under Settings.
Note that credit added in this section cannot be transferred or refunded. It does not have monetary value, and any credit that has not been used within 13 months of purchase will be lost.
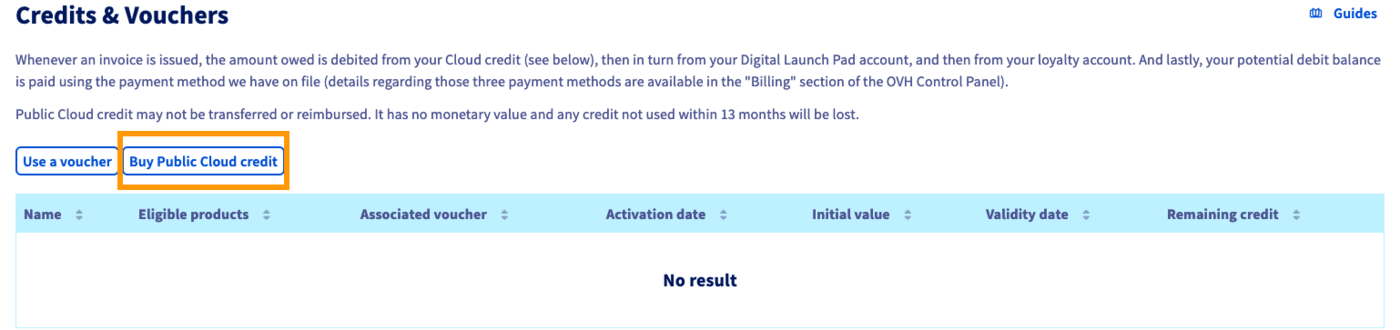
Adding credit
Click on the button Buy Public Cloud credit.
Enter the amount you wish to add, in your currency (ex VAT). Click on Generate a purchase order to confirm.

A purchase order will then be generated. Click on the link in the green notification box to view it and initiate the payment.

Once the payment is processed, your credit will appear in the Credits & Vouchers list.
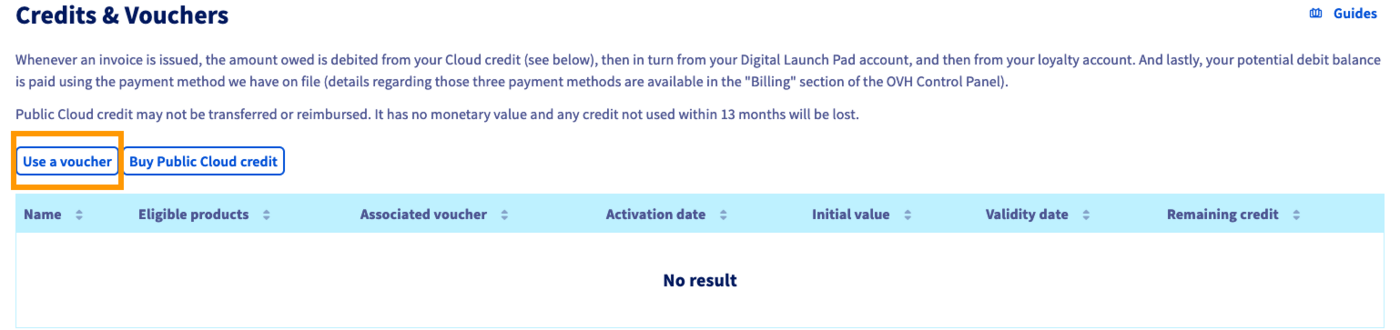
Redeeming a voucher
Click on the button Use a voucher.
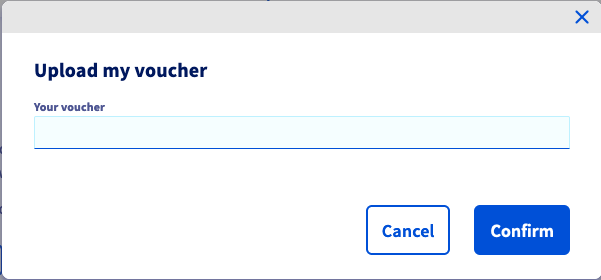
Enter your voucher code in the window that appears and click on Confirm.
The voucher balance will appear in the Credits & Vouchers list.
Since the validity periods of vouchers are usually more limited, the voucher balance will be used before the regular Public Cloud credit.
Go further
Join our community of users.

