Getting started with OVHcloud Key Management Service (KMS)
84 Views
Objective
The purpose of this guide is to show you the steps you need to take to set up your first Key Management Service (KMS), create a key, and an access certificate.
Requirements
OVHcloud Control Panel Access
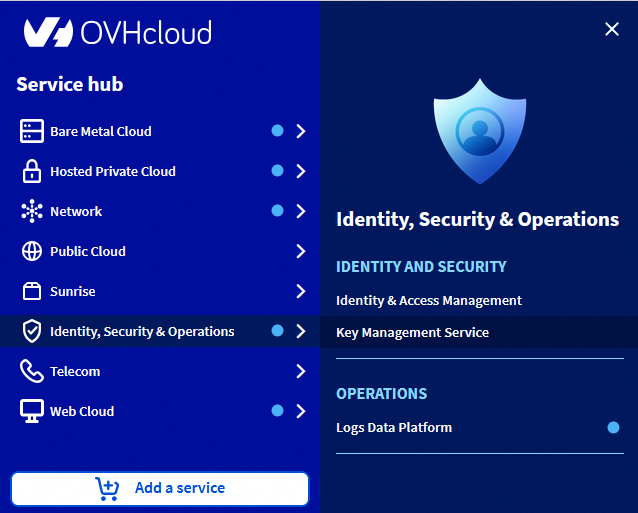
- Direct link: Key Management Service
- Navigation path:
Identity, Security & Operations>Key Management Service> Select your OKMS domain
Instructions
Ordering your KMS
Each KMS is associated with a region, so the keys stored in that region are guaranteed to stay in that region.
You can order multiple KMSs, either in different regions or in the same region.
Since the billing for a KMS is based on the number of keys stored on it, ordering a KMS does not generate billing per se.
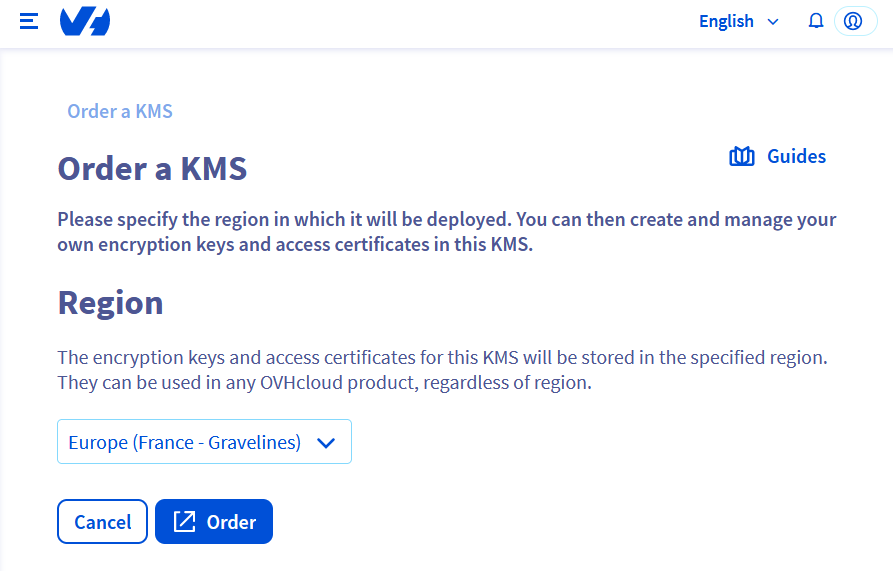
Click the Order an OKMS domain button.
Enter the region of your KMS.
You can then finalize the command in another tab. If it has not opened automatically, the command link is displayed:
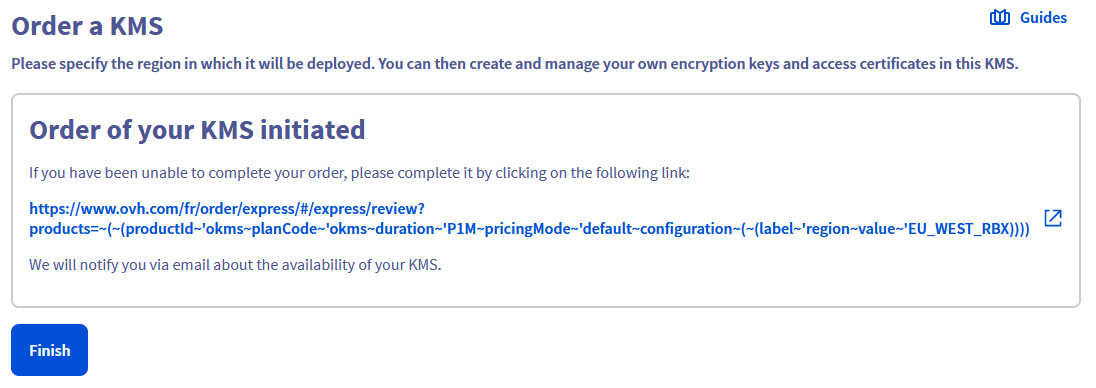
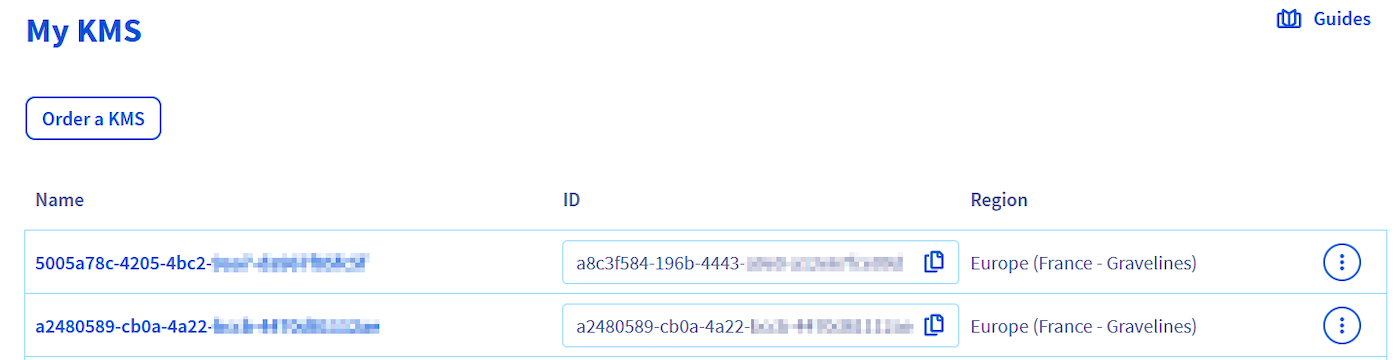
After a few seconds, the KMS will be available in your Control Panel.
Via the administration console
Create an encryption key
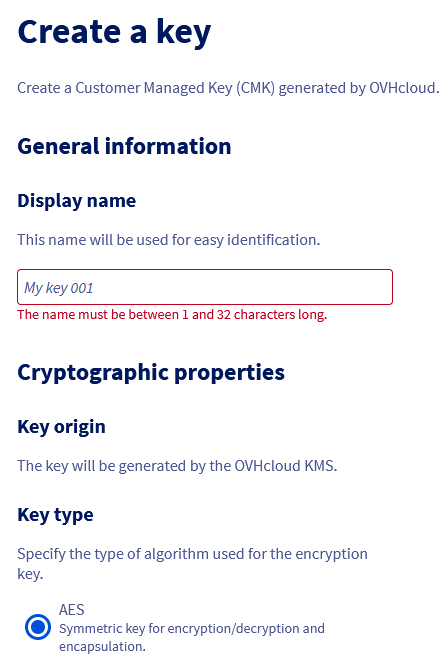
In the Service Keys tab, click the Create a Service Key button.
A form allows you to configure the key and select its type, size and usage.
Only key creation through regionalized APIs is covered by PCI-DSS certifications.
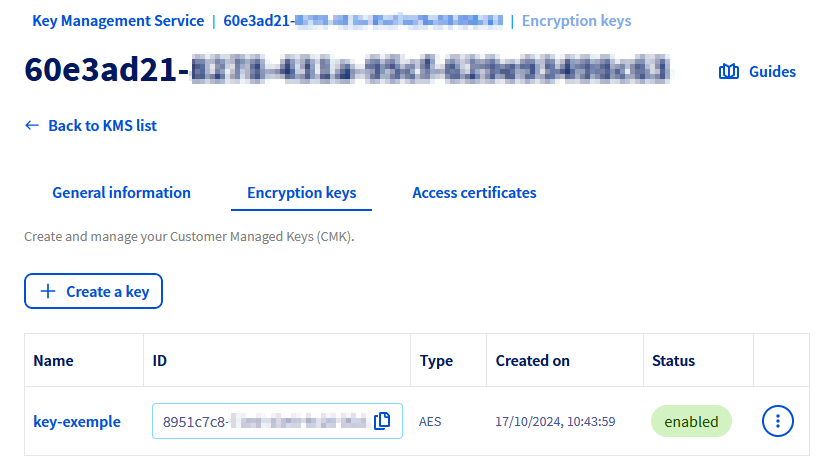
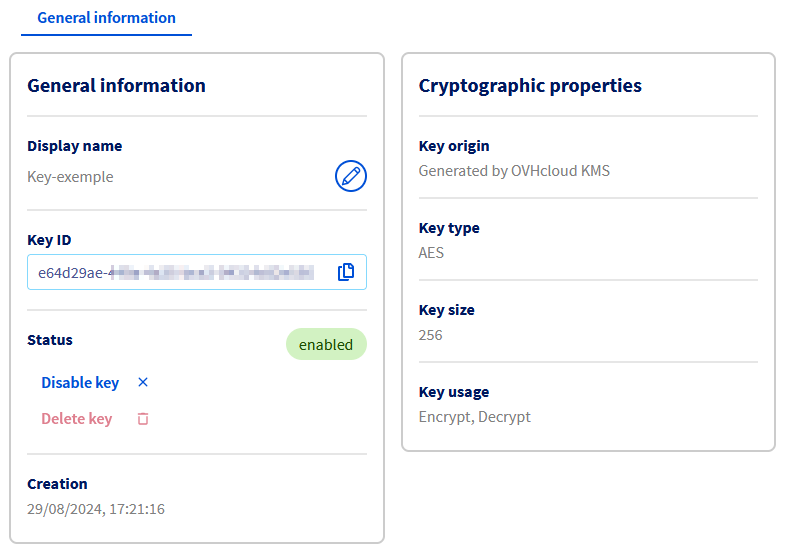
Once the key is created, click it to access its details.
The dashboard displays the cryptographic properties of the key, and the actions for renaming, disabling or deleting it.
To reduce the risks of an unwanted deletion, it is mandatory to disable a key before deleting it.
A deleted key is not recoverable by any means and such deletion involves the loss of any data encrypted with it. Any deletion should be performed with great caution.
Create an access certificate
To communicate with your KMS, you will need to create an access certificate. This will be used for any interaction with the KMS, either to create encryption keys or to carry out operations with them.
Necessary steps to create an access certificate are available on the dedicated documentation.
Via the API
Create an encryption key
You can create a key using the following API:
| Method | Path | Description |
|---|---|---|
| POST | /okms/resource/{okmsId}/serviceKey | Create or import a CMK |
The API expects the following values:
| Field | Value | Description |
|---|---|---|
| name | string | Key name |
| context | string | Additional credential to verify key authenticity |
| type | oct, RSA, EC | Key type: Byte sequence (oct) for symmetric keys, RSA (RSA), Elliptic Curve (EC) |
| size | Integer | Key size - see lookup below |
| operations | Array | Key Usage - see lookup below |
| curve | P-256, P-384, P-521 | (optional) Cryptographic curve for EC type keys |
Example of symmetric key creation:
Example of asymmetric key creation:
Example of EC key creation:
Depending on the key type, the possible sizes and operations are:
- Oct:
- size: 128, 192, 256
- operations:
- encrypt, decrypt
- wrapKey, unwrapKey
- RSA:
- size: 2048, 3072, 4096
- operations: sign, verify
- EC:
- size: do not specify
- curve: P-256, P-384, P-521
- operations: sign, verify
Only key creation through regionalized APIs is covered by PCI-DSS certifications.
Create an access certificate
To communicate with your KMS, you will need to create an access certificate. This will be used for any interaction with the KMS, either to create encryption keys or to carry out operations with them.
Necessary steps to create an access certificate are available on the dedicated documentation.
Use the OVHcloud KMS
Once your OVHcloud KMS is set up, there are two different ways to use it:
- Using the Rest API if you want to manually use the API to encrypt or sign your data.
- Using the KMIP protocol if you want to connect any KMIP compatible product with your OVHcloud KMS.
Go further
Using the OVHcloud KMS with your data Join our community of users.

