Configuring MegaRAID for RAID Level 0
73 Views
Objective
Redundant Array of Independent Disks (RAID) is a utility that mitigates data loss on a server by replicating data across two or more disks.
The default RAID level for OVHcloud server installations is RAID 1, which doubles the space taken up by your data, effectively halving the usable disk space.
This guide explains how to configure your server’s disks with RAID 0, which will allow you to use all your disks' usable space.
Please note: RAID 0 provides NO FAULT TOLERANCE and NO DATA REDUNDANCY, making data loss in the event of disk failure highly likely.
Requirements
- A dedicated server with hardware RAID
- Administrative (sudo) access to the server via SSH
OVHcloud Control Panel Access
- Direct link: Dedicated Servers
- Navigation path:
Bare Metal Cloud>Dedicated servers> Select your server
Instructions
Using the OVHcloud Control Panel
From the General information tab, click on ... next to the operating system and then click Install.
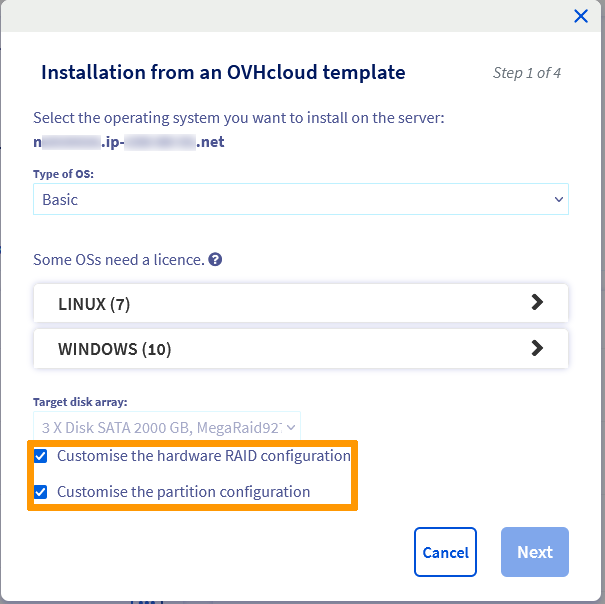
Select the operating system you want to install and then click Next.
Tick the boxes for Customise the hardware RAID configuration and Customise the partition configuration, then click Next.
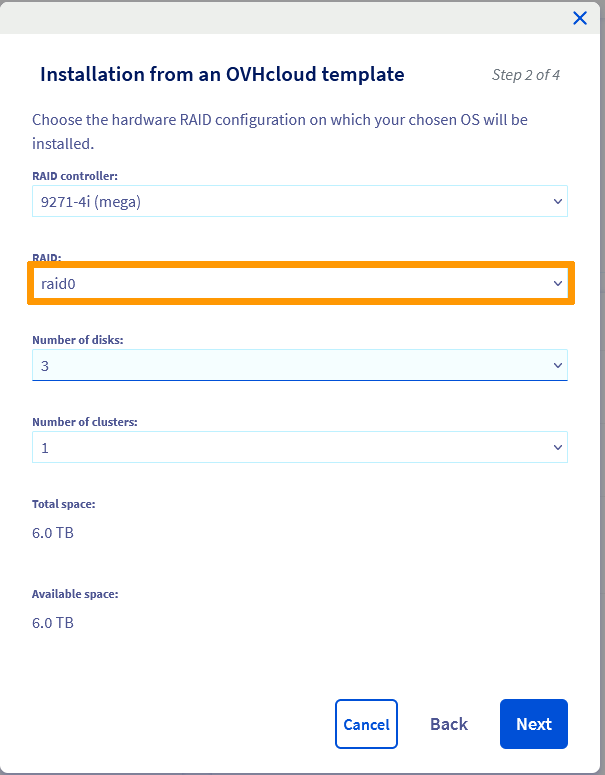
Select raid0 from the RAID drop-down list and click Next.
Configure the partitions as you see fit and then click Next.
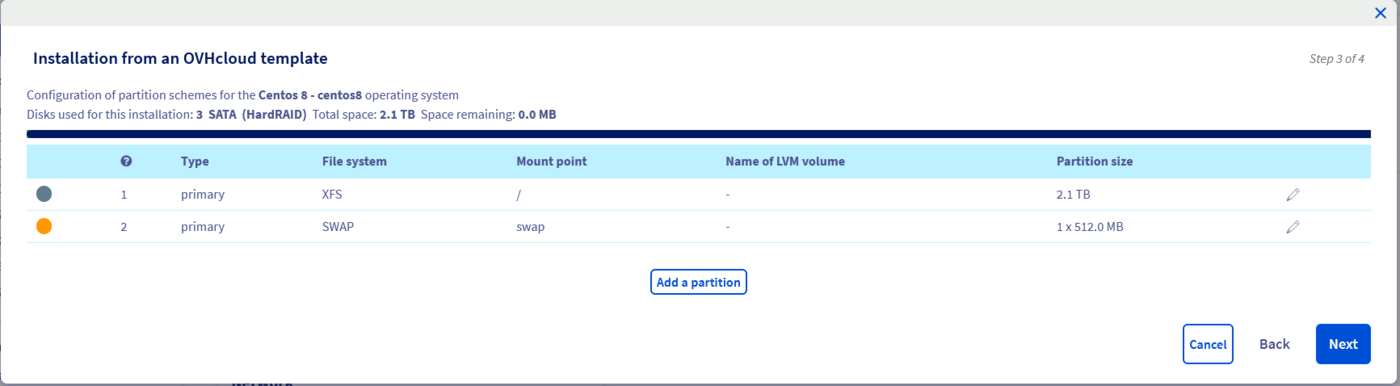
Finally, click Confirm.

After your server has been installed, check the partition sizes by logging on to the server via SSH and running the following command:
Using rescue mode
In the General Information tab, look for Boot and click on .... Then click the Edit button to change the boot system.
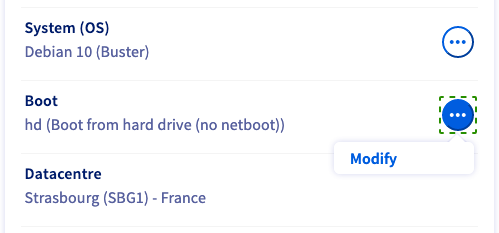
Next, select Boot in rescue mode then select rescue-customer from the drop-down list.
In the field "Send new login details to the following email address:", specify an alternative email address if you do not want the login credentials sent to your customer account’s primary address.
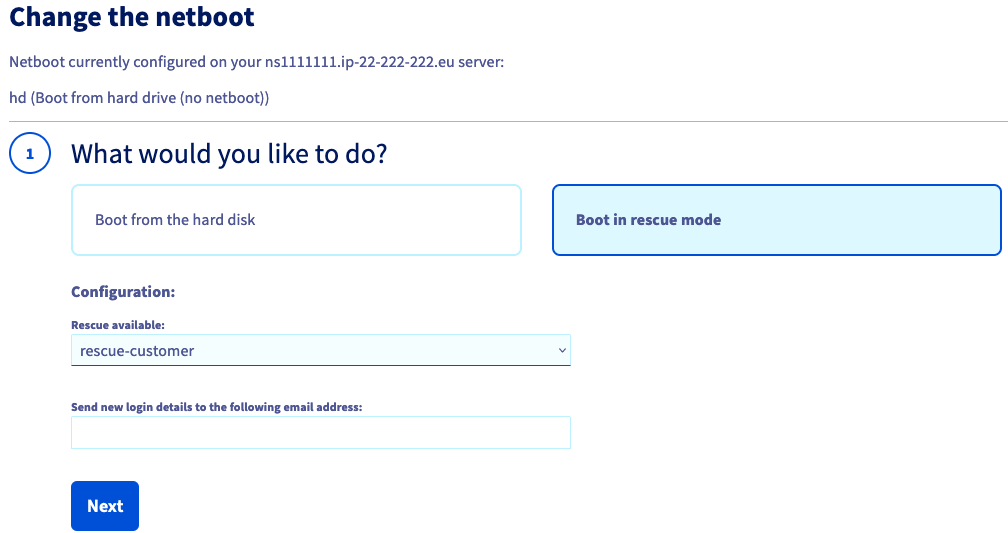
Click Next in the } and then Confirm`{.actionSummary.
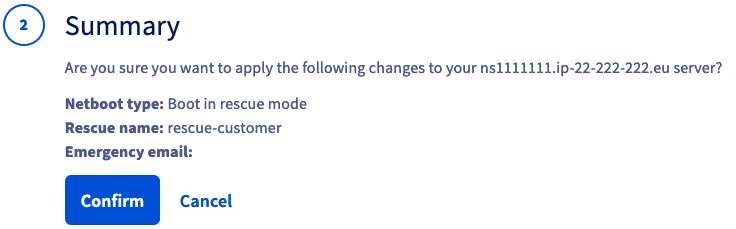
Once the change is completed, click on ... next to “Status” in the box labelled Service status. Select Restart and the server will restart into rescue mode.

When your server reboots, log in to it via SSH using the rescue mode credentials that were emailed to you.
From the command line, type the following commands to delete the existing RAID settings. All data in the RAID will be deleted:
Type the following command to retrieve the slot device IDs of your disks:
Type the following commands to configure RAID level 0:
In this example, 252 is the ID of the drive enclosure.
After setting the new RAID level you can check the settings with the following command:
Go further
Join our community of users.
-
Secure Shell (SSH) : un protocole de réseau sécurisé utilisé pour établir des connexions entre un client et un serveur. Il permet d'exécuter des commandes à distance de manière sécurisée. ↩

