How to deploy cPanel on a VPS
2576 Views
Objective
cPanel is a control panel that facilitates the management of web hosting. It makes complex tasks more accessible, especially to new users. It offers a wide range of features, such as:
- Emails
- Domain names
- Databases
- Security
- etc.
This simplifies website hosting, thanks to a graphical interface for automating settings.
This guide explains how to deploy cPanel with preinstalled applications on a VPS.
Requirements
- A VPS solution with a compatible distribution
OVHcloud Control Panel Access
- Direct link: VPS management
- Navigation path:
Bare Metal Cloud>Virtual private servers> Select your VPS
This feature is currently unavailable for Virtual Private Servers in Local Zones.
Instructions
If you already have a VPS and want to have cPanel on it, you can reinstall the VPS from your OVHcloud Control Panel via a cPanel-compatible OS.
If you reinstall a VPS, all data stored on the VPS will be lost.
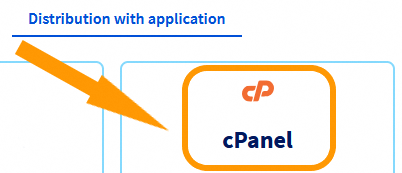
To install your cPanel server, order a VPS with the cPanel distribution.
When your VPS is ready, you will receive an email providing the information to connect to your cPanel server:
 |    Your applications:
 |    Application: cpanel
 |    - URL https://<vps_server_name>:2087/<session_parameters>
First login
Once you receive the email with the unique link, click it to perform the initial configuration. If the link has already expired, connect to the server via SSH and run the command sudo whmlogin to generate a new link.
The URL generated by the command sudo whmlogin lets you log in to WHM without credentials. WHM is a server management tool used with cPanel. You will be able to access cPanel after completing the following steps.
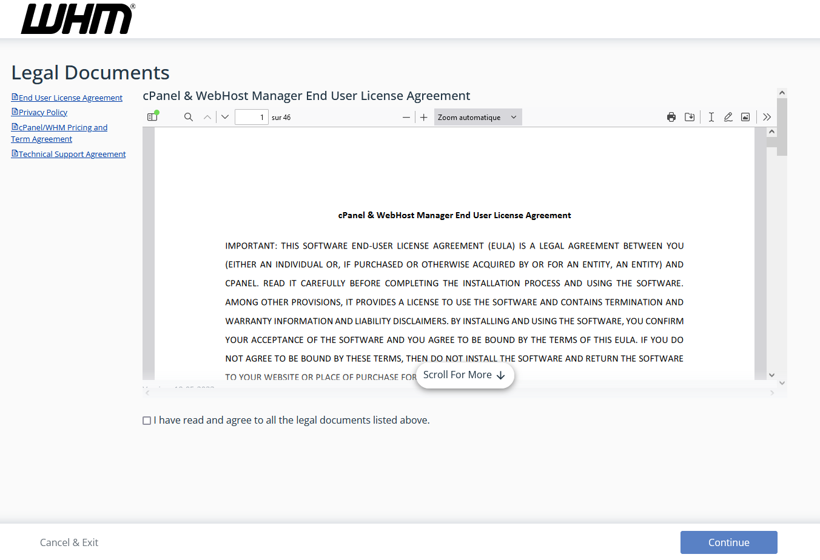
Step 1: Read and accept the cPanel Terms of Use
Read and accept the cPanel Terms of Use.
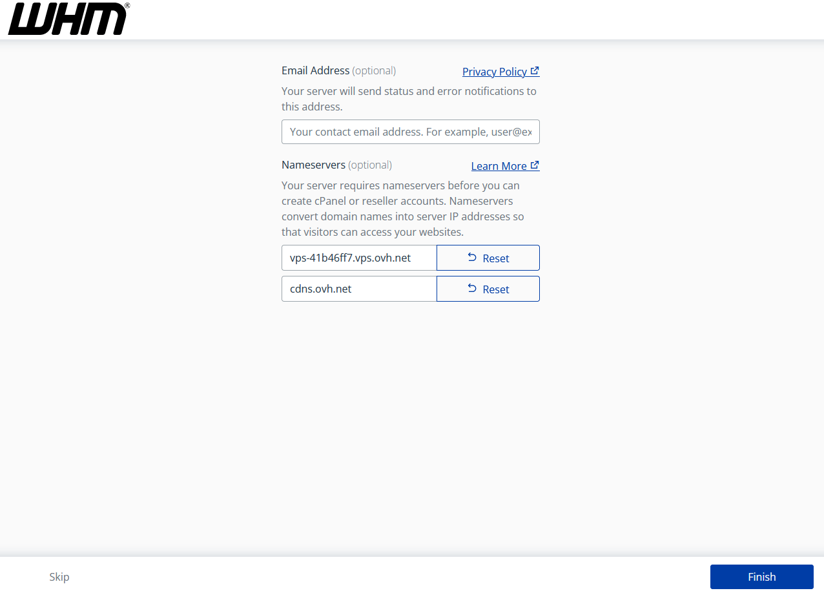
Step 2: Provide your email and nameservers you wish to set on the VPS
Step 3: Set the root password
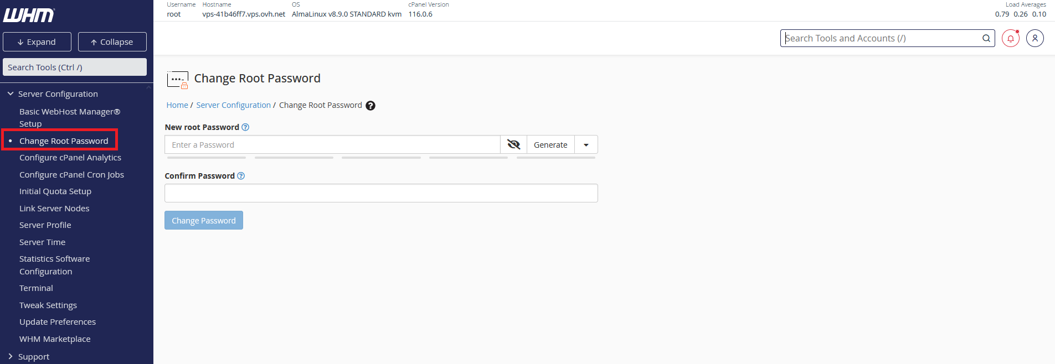
You can now log in to your server via SSH, using the root user password you have just set.
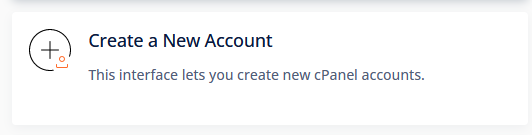
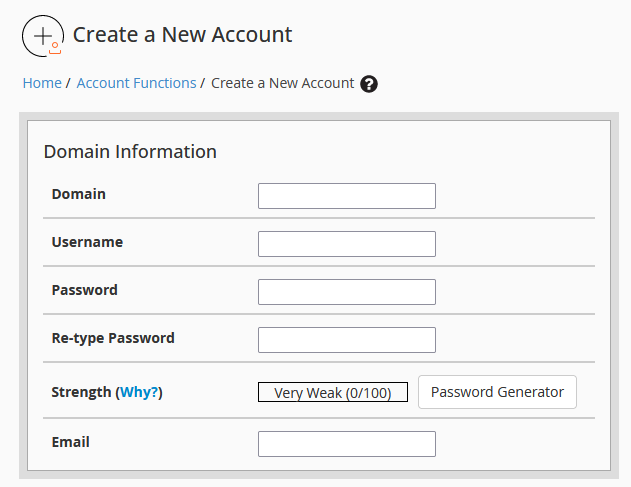
Create a cPanel account from the WHM interface
Once you have logged in to your WHM interface, click Create a New Account to create a cPanel account.
Fill in the form, then confirm to create your cPanel account.
On the new screen that pops up, click the Go to cPanel button to the right of the screen.

You are redirected to your cPanel interface.
You can now use cPanel. For more information about cPanel, see the official documentation.
In your browser's navigation bar, enter the following URLs to connect:
- To cPanel: https://<IP_V4>:2083/ (use the credentials that have just been created in the WHM interface)
- To WHM: https://<IP_V4>:2087/ (use the root username and password received in the service purchase email or the SSH password that has been changed in the WHM interface)
Find your IPv4 address in the email you received when ordering your VPS with the cPanel distribution.
Securing your service
We recommend taking all the necessary measures to secure your WHM and VPS by following the cPanel recommendations.
We also recommend reading our guide to securing a VPS, using our backup solutions and configuring the Edge Network Firewall.
Go further
Join our community of users.

