How to configure an additional disk
1210 Views
Objective
With OVHcloud Virtual Private Servers you have the possibility to add a secure storage space as a service option. This storage is separated from the internal storage capacity of the VPS solution which makes it a secure place for your backups or other static data. The additional disk will only be accessible from the server's IP address and data stored on it will remain unaffected, even if the VPS is reinstalled or should suffer data loss.
This guide explains how to enable the additional disk option and configure the storage space for use with the VPS.
Requirements
- A VPS in your OVHcloud account
- Administrative access via SSH or RDP to your VPS
OVHcloud Control Panel Access
- Direct link: VPS management
- Navigation path:
Bare Metal Cloud>Virtual private servers> Select your VPS
This feature is currently unavailable for Virtual Private Servers in Local Zones.
Instructions
Subscribing to the additional disk option
After selecting your VPS, click on the Additional disk tab in the horizontal menu. Click on Order an additional disk and choose a disk size from the selection that appears.
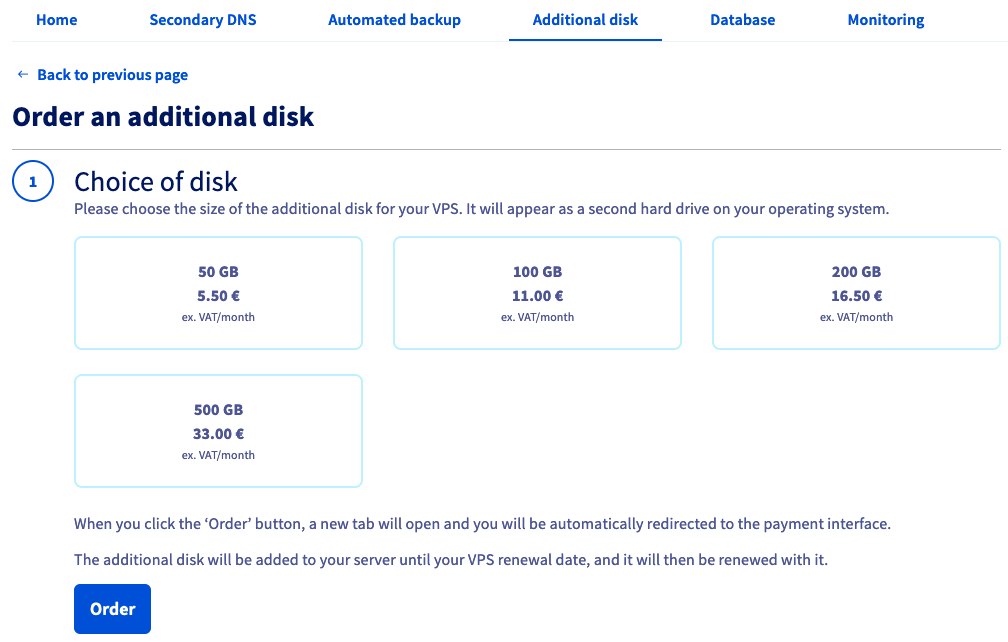
Take note of the pricing information, then click on Order. You will be guided through the order process and receive a confirmation email as soon as the disk is installed.
Mounting the new storage space
OVHcloud provides services for which you are responsible with regard to their configuration and management. It is therefore your responsibility to ensure that they function correctly.
This guide is designed to assist you in common tasks as much as possible. Nevertheless, we recommend contacting a specialist service provider or reaching out to our community of users if you experience any issues.
On a Linux VPS
If a GNU/Linux distribution is installed on your VPS, establish an SSH connection to your server from the command line terminal or by using a SSH client application.
The examples below presume you are logged in as a user with elevated permissions.
You can use the following command to verify the name of the new device:
In this example, the additional disk is named sdb.
Execute fdisk to create a partition on the disk; when prompted, enter n for a new partition and accept the subsequent defaults by pressing Enter. Finally, use the w command to write the changes to the disk.
Now that the partition sdb1 is created, you can format it with ext4:
The final step is to mount the disk:
You can see in the last line that the additional disk is now mounted at /mnt/disk:
This previous step is not persistent because the disk will be detached if the VPS is restarted. In order to automate the mounting process, the fstab file needs to be edited.
First, retrieve the UUID (block ID) of the device:
Open /etc/fstab with a text editor:
Add the line below to the file and replace the UUID with your own:
Save and exit the editor. The disk should be automatically mounted after every reboot from now on.
On a Windows VPS
If a Windows OS is installed on your VPS, establish a remote desktop (RDP) connection to your server.
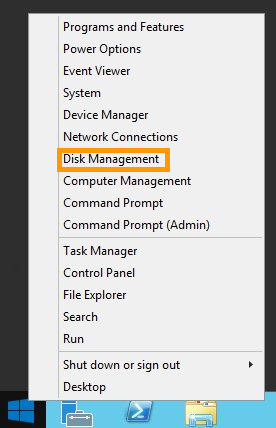
Once logged in, right-click on the Start Menu button and open Disk Management.
The new disk will be displayed as an unknown volume with unallocated space.
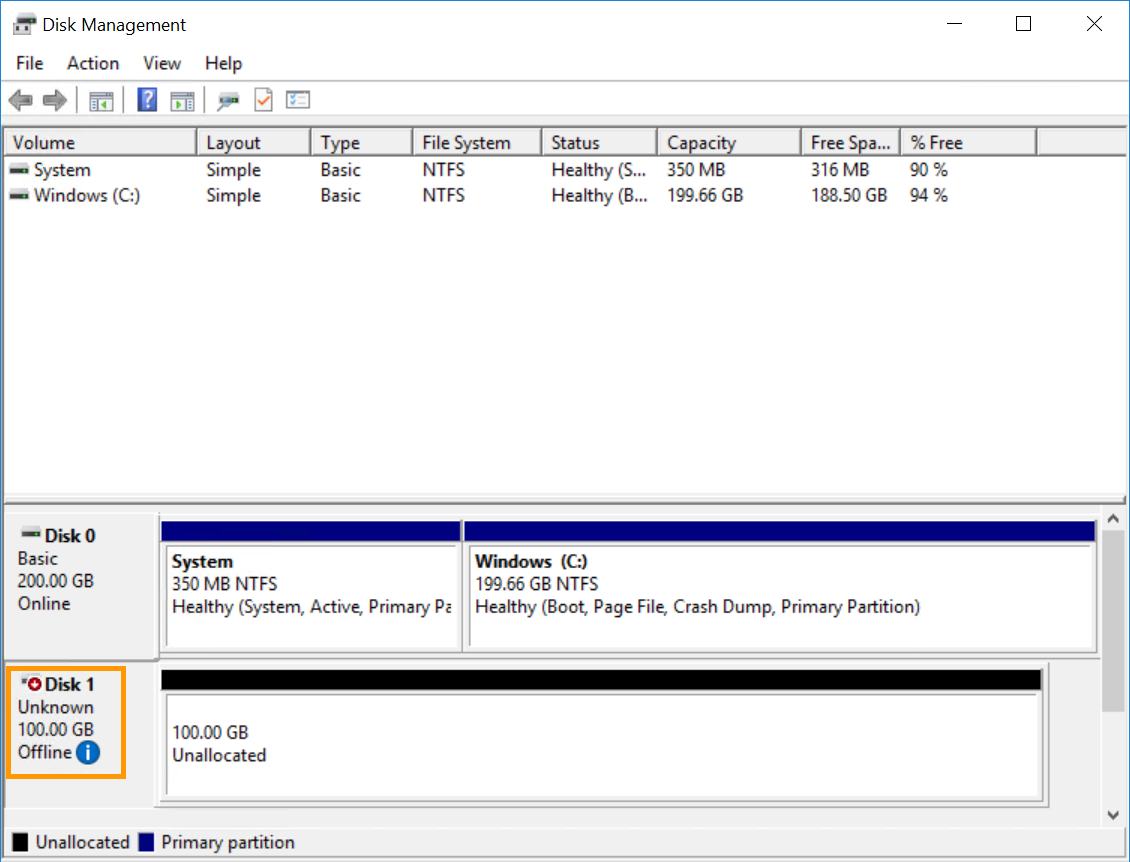
If the disk is marked as offline here, it needs to be initialised first. You can use the Windows GUI or the DISKPART utility to achieve this. Otherwise, proceed with formatting the disk in Disk Management.
Initialising the disk in Disk Management
Right-click on the disk and select Online.

Then right-click on the disk again and this time select Initialise Disk.
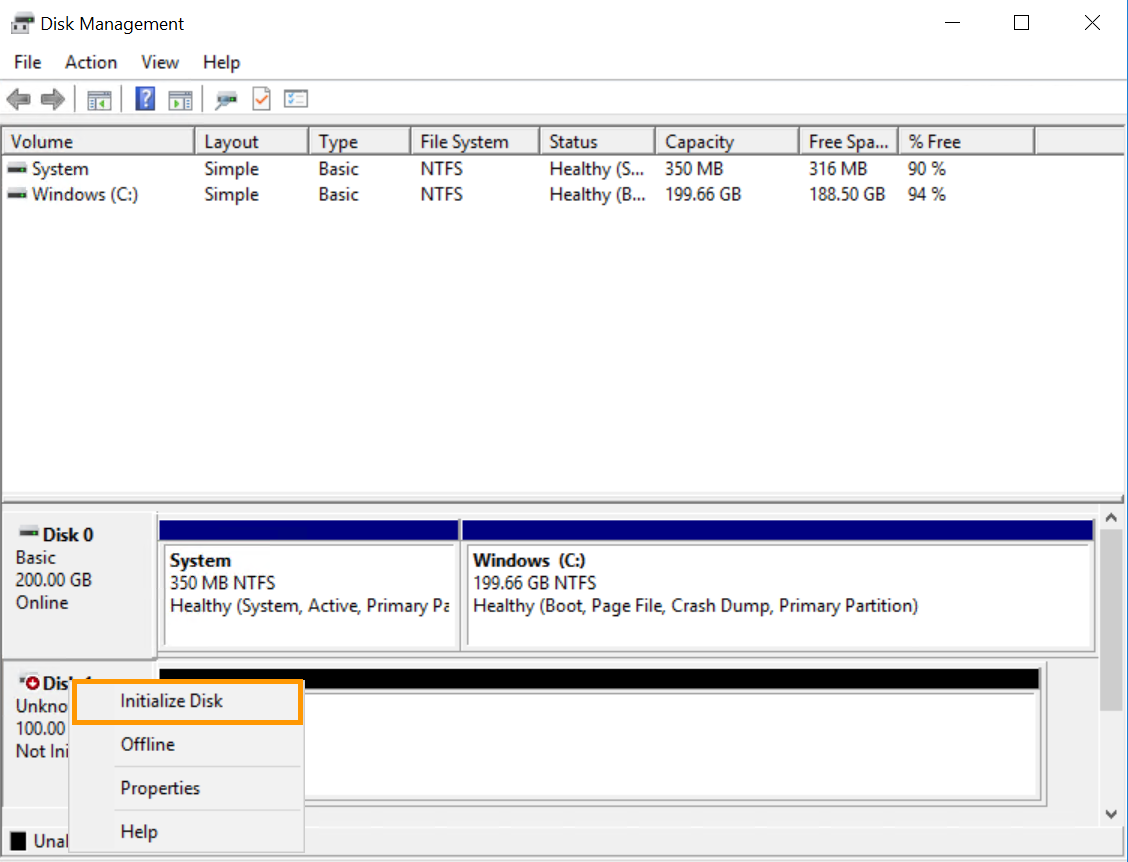
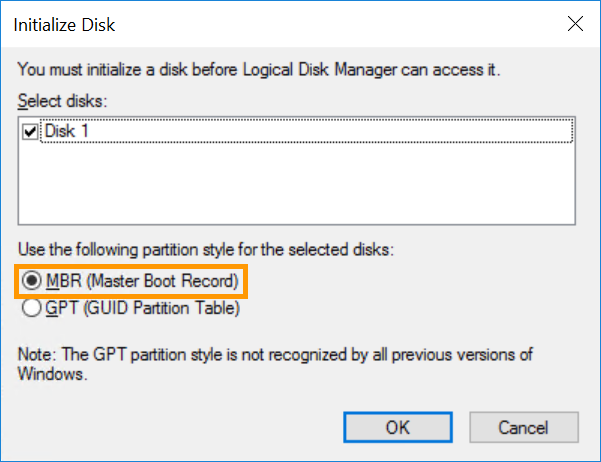
Select MBR in the new window and click OK.
Initialising the disk with DISKPART
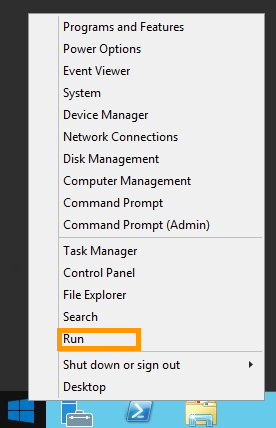
Right-click on the Start Menu button and open Run.
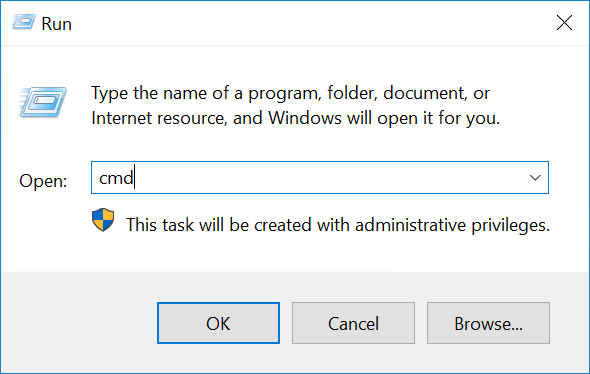
Type cmd and click OK to open the command line application.
At the command prompt, open DISKPART:
Use the following series of DISKPART commands to set the disk to online:
Formatting the disk
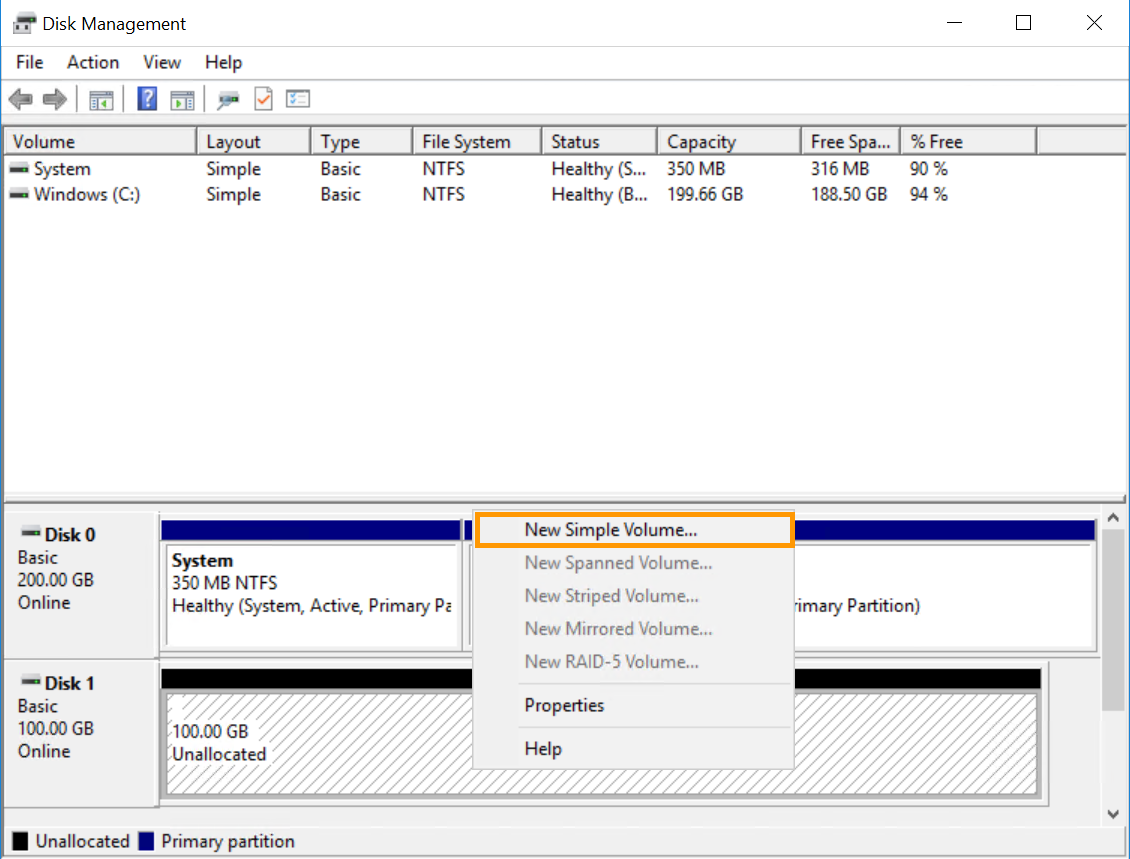
In Disk Management, right-click on the new disk and select New Simple Volume....
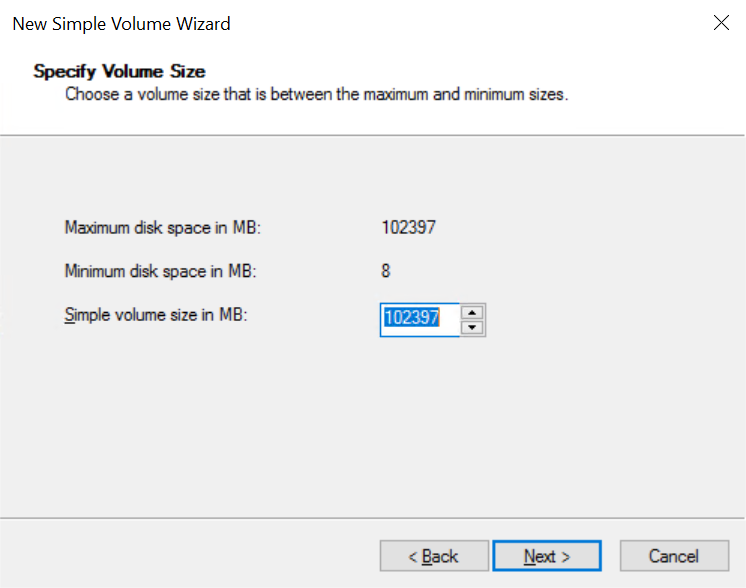
In the wizard, click Next to specify the volume size. It should be set to maximum by default. Click Next to continue.
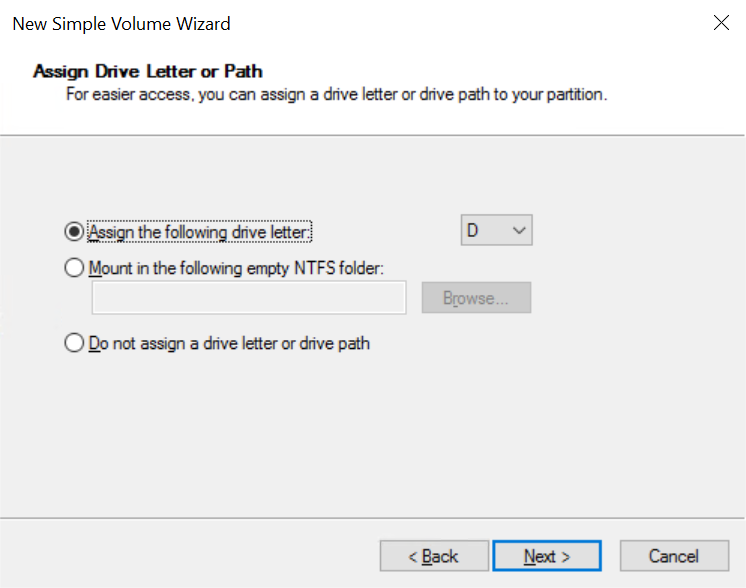
Leave the new drive letter at default or select a different one, then click Next.
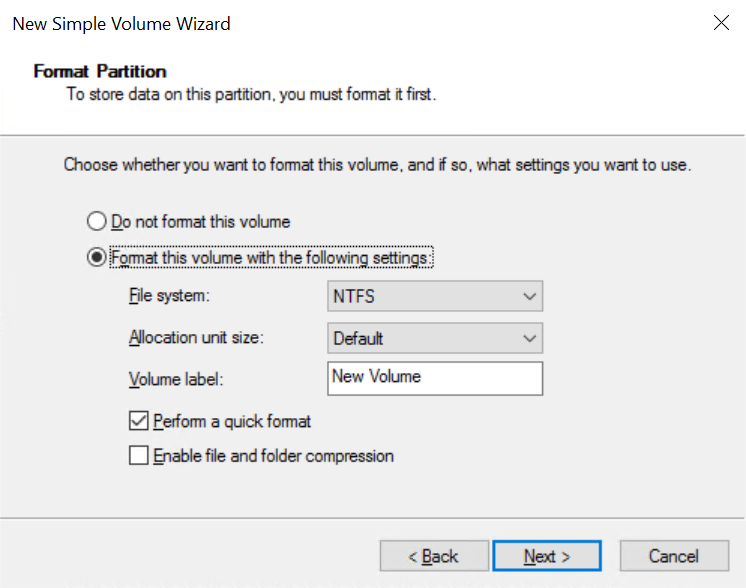
Label the volume (optional) and confirm the formatting options by clicking Next.
In the last window, click Finish to format the disk. It will be available as a drive in File Explorer after the operation.
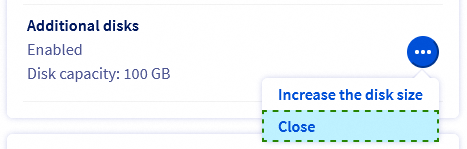
How to cancel the additional disk option
In the Home tab, in the Your configuration section, click ... next to the Additional disks option, then click Close.
Go further
Join our community of users.

