KB0063117
How to enable NSX-T in a VMware on OVHcloud Hosted Private Cloud
322 Views
Objective
This guide explains how to add a user access for the NSX-T web console of your VMware on OVHcloud Hosted Private Cloud.
Requirements
- You have a Hosted Private Cloud service with the option "Network Security Virtualization" or "Software-Defined Datacenter".
- You are the administrator on your VMware on OVHcloud infrastructure, with the login credentials to create NSX-T user access.
- You have followed the steps in the guide: Getting started with NSX.
OVHcloud Control Panel Access
- Direct link: VMware vSphere
- Navigation path:
Hosted Private Cloud>Managed VMware vSphere> Select your vSphere service
Instructions
Step 1 - Enable NSX-T
In the OVHcloud Control Panel
How to enable the NSX-T web console for a user
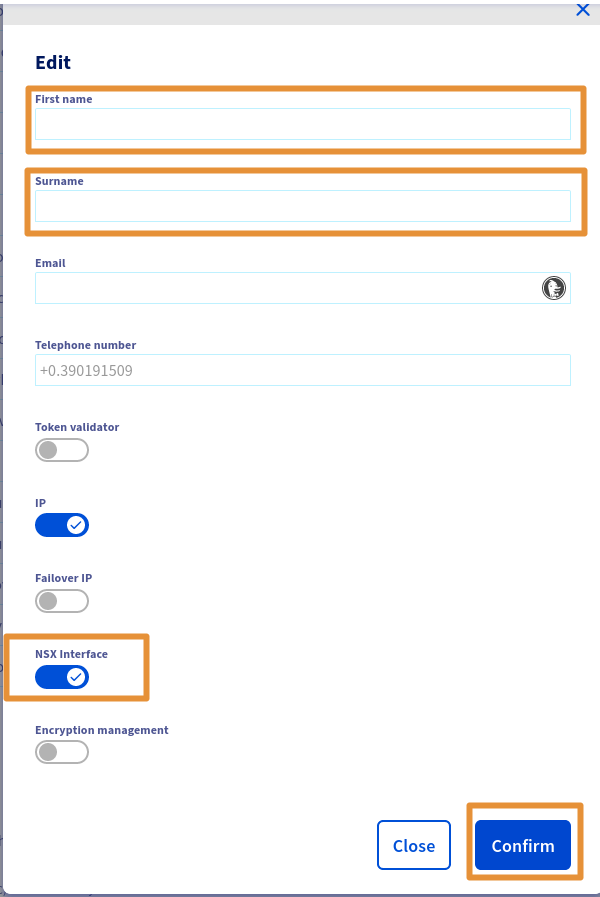
Click [this link](https://manager.eu.ovhcloud.com/#/dedicated/dedicated_cloud) to access the `VMware vSphere`{.action} section, then select your service and go to `Users`{.action} > `Edit`{.action}. Activate the button `NSX Interface`{.action}.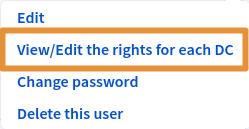
Step 2 - Add NSX-T permissions
In the OVHcloud Control Panel
How to grant permissions to a user
Click [this link](https://manager.eu.ovhcloud.com/#/dedicated/dedicated_cloud) to access the `VMware vSphere`{.action} section, then select your service and go to `Users`{.action} > `Edit`{.action}.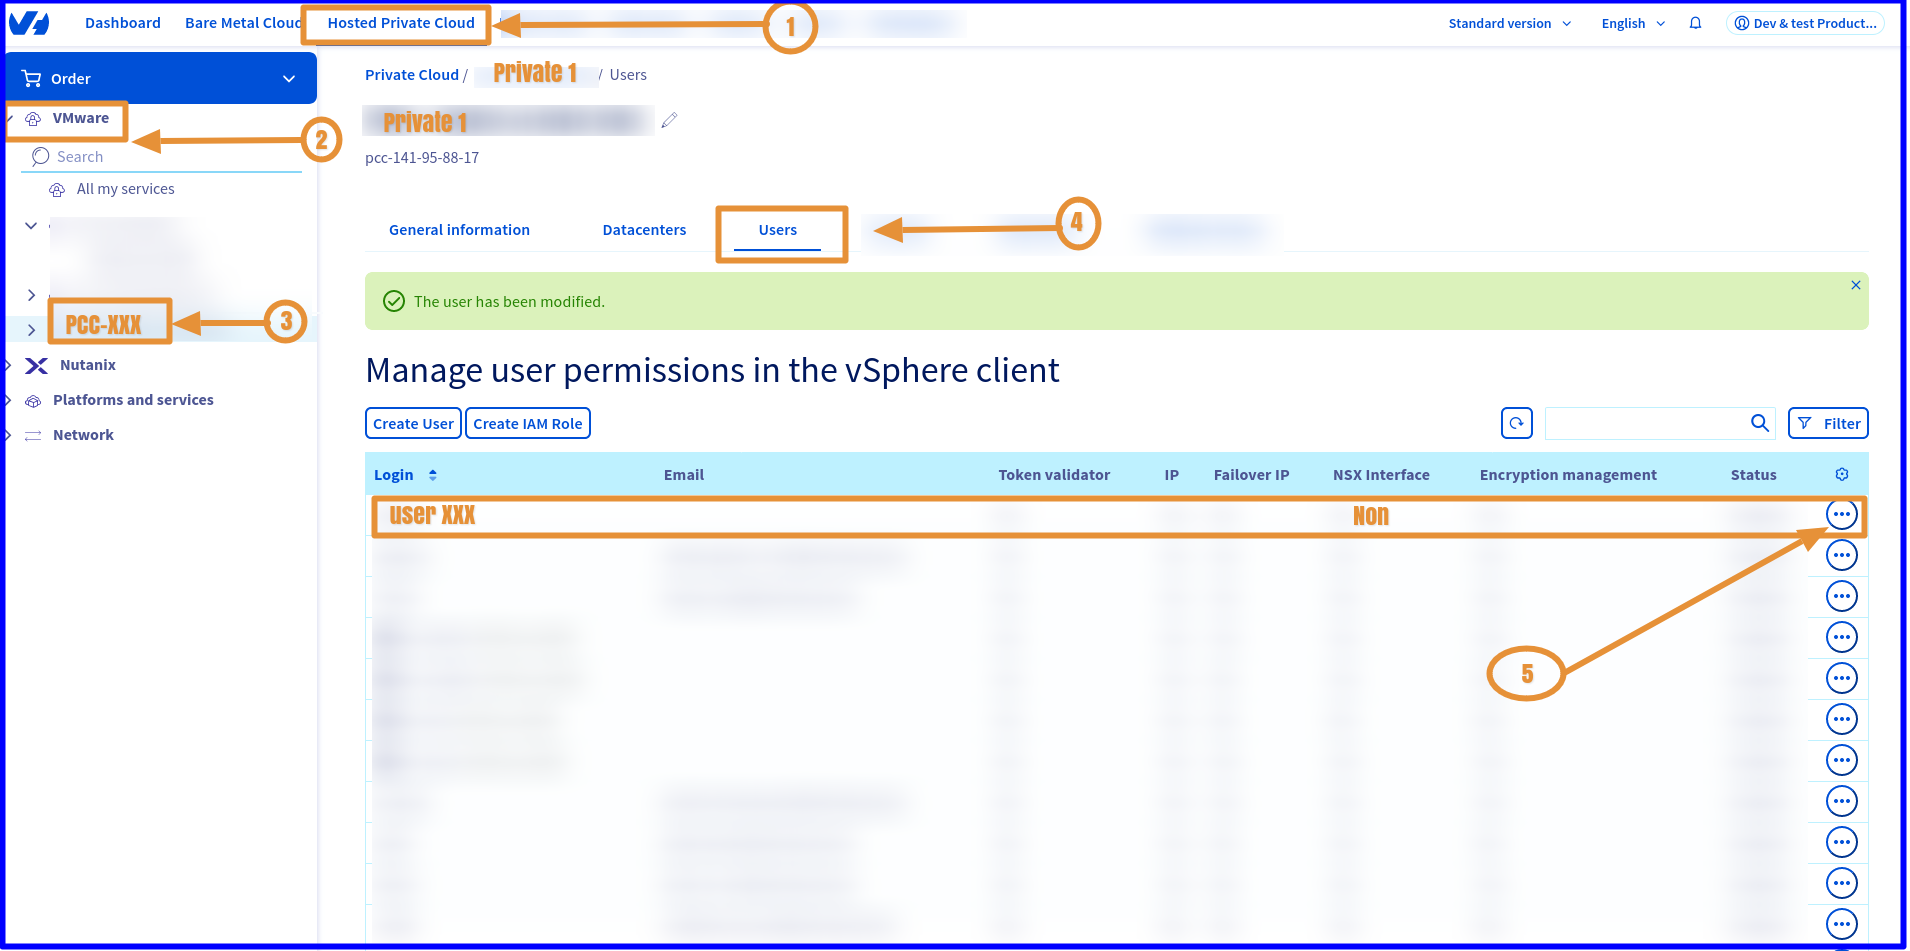
Step 3 - Add NSX-T permissions to a Datacenter
In the OVHcloud Control Panel
How to add permissions to a Datacenter
At this stage, you just need to modify the permissions for each Datacenter.Click [this link](https://manager.eu.ovhcloud.com/#/dedicated/dedicated_cloud) to access the `VMware vSphere`{.action} section, then select your service and go to `Users`{.action} > `View / Edit rights for each DC`{.action} > `Modify rights`{.action}.
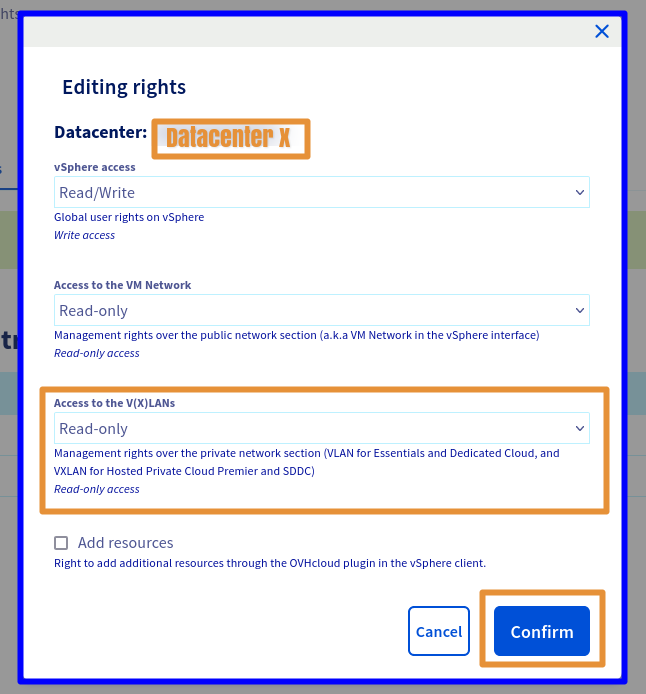
In the new window, choose the required permissions from the 3 main sections:
Vsphere access > Access to vmNetwork > Access to the V(X)LANs.
The following rights are available: Operator / Administrator / None / Read-only
Only access to
V(X)LANs in Read-only is necessary to access the NSX-T web console.
Select
Read-only mode.
If you want to make changes in the NSX-T web interface, then additional rights will be required, such as Operator or Administrator.
Step 4 - Access NSX-T
In the OVHcloud Control Panel
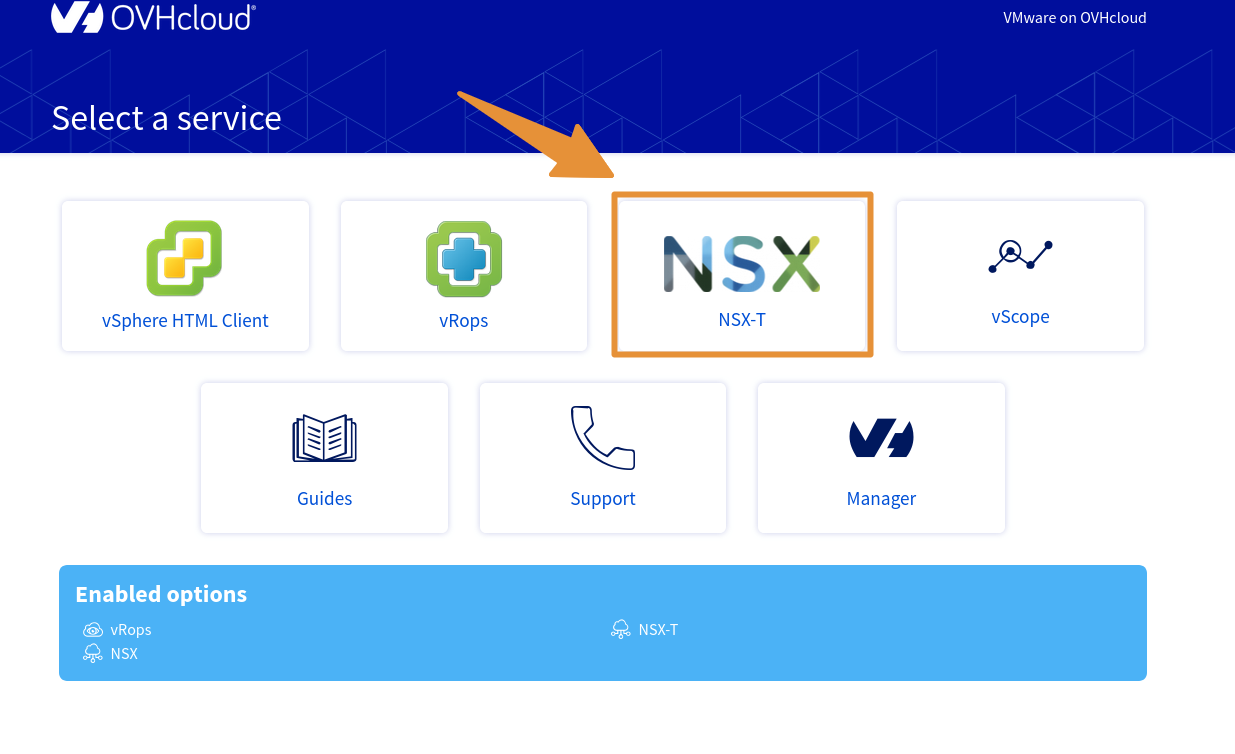
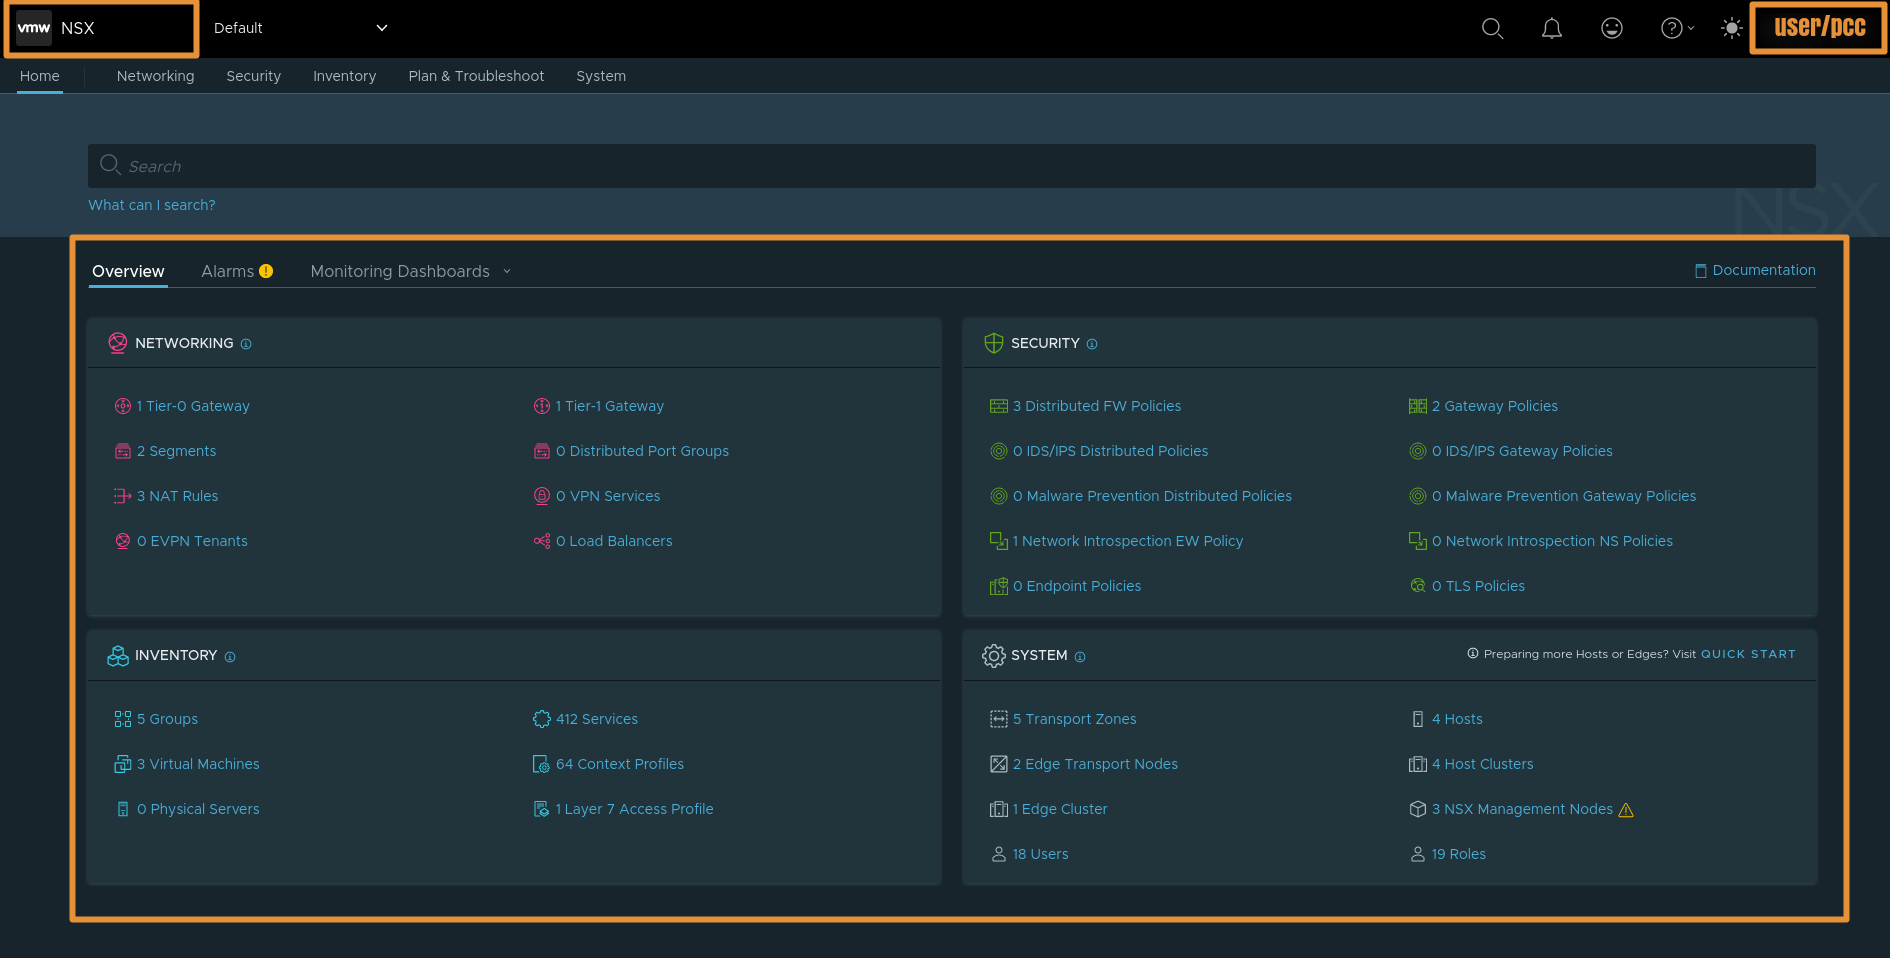
How to access the NSX-T web console
Click [this link](https://manager.eu.ovhcloud.com/#/dedicated/dedicated_cloud) to access the `VMware vSphere`{.action} section, then select your service.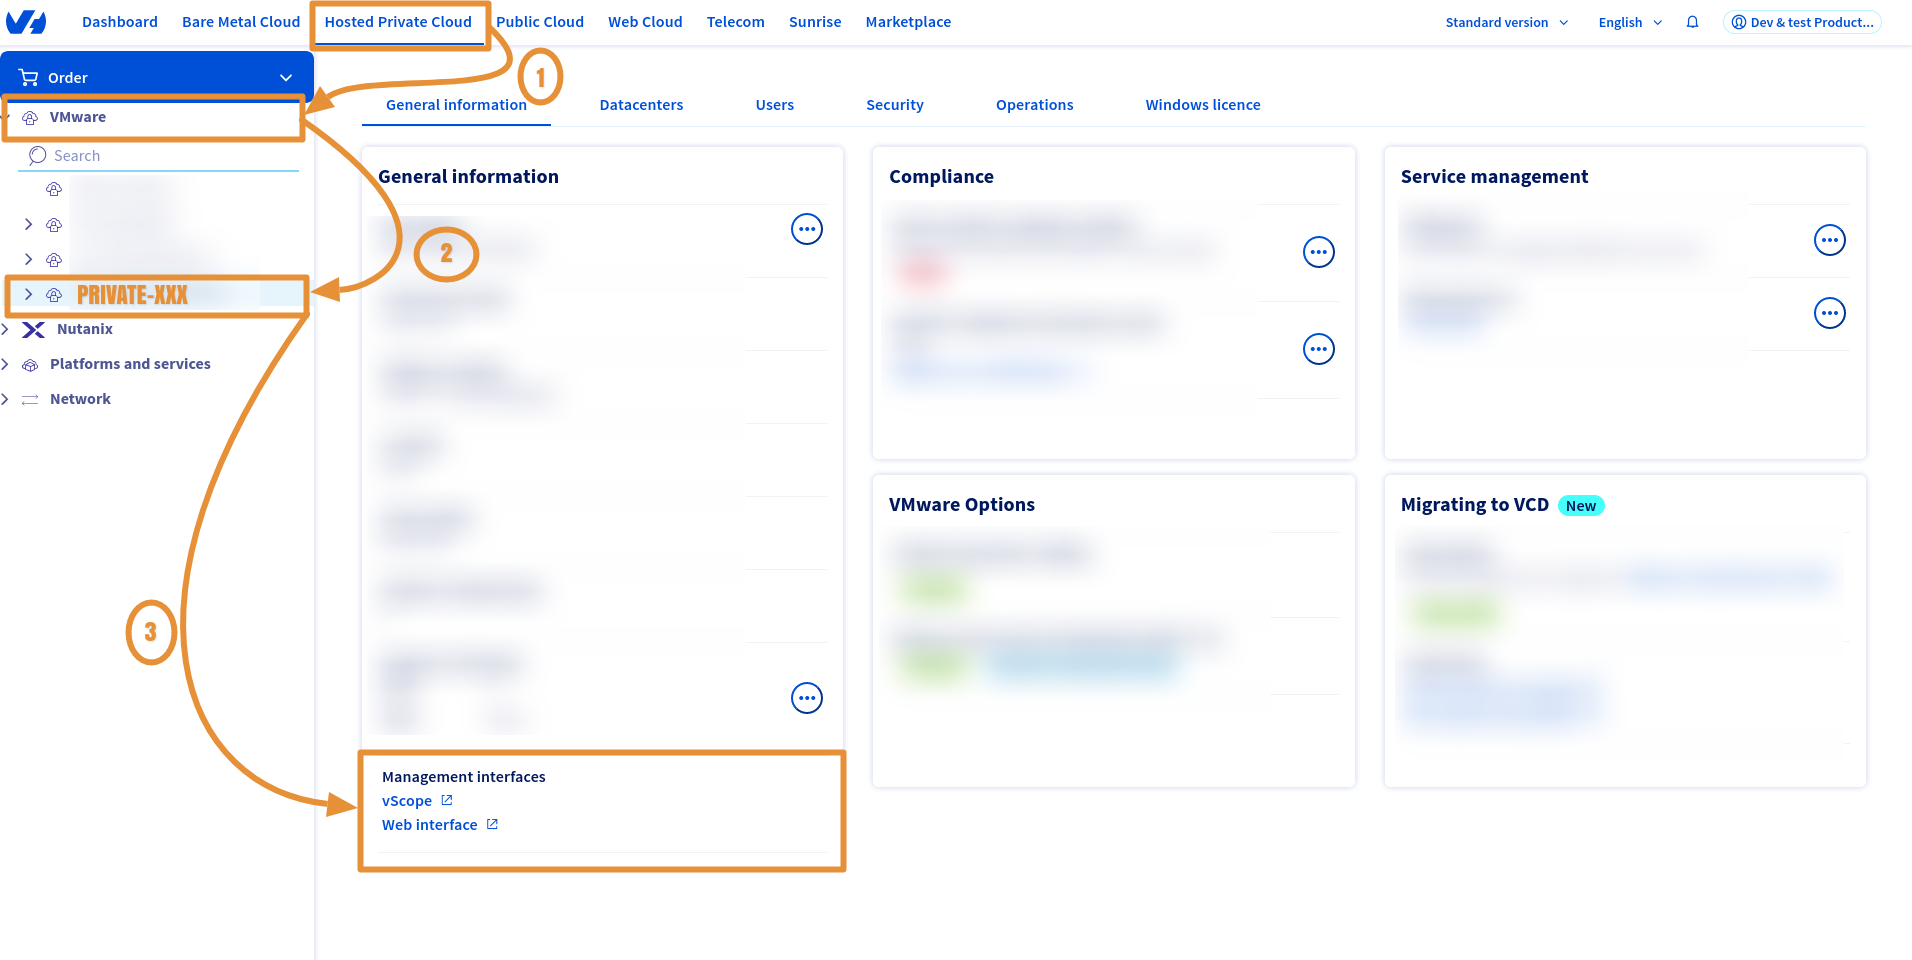

Step 5 - Useful information
You can check if NSX-T is enabled on your Datacenter. You can also find your NSX-T URL and version:
Via the OVHcloud API
Parameters:
serviceName: The reference for your PCC as
pcc-XX-XX-XX-XX.
Response example:
Find more information on the OVHcloud API in our guide on Getting started with the OVHcloud API.
Go further
Read our guides to go further with NSX:
If you need training or technical assistance to implement our solutions, contact your sales representative or click on this link to get a quote and ask our Professional Services experts for a custom analysis of your project.
Join our community of users on https://community.ovh.com/en/.

