Creating a private network with Gateway
2805 Views
Objective
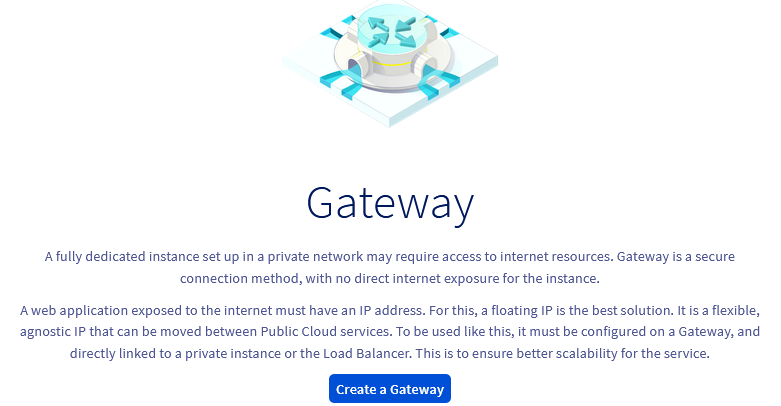
A Gateway offers a secure outbound connection method from your private network instances or the ability to use Floating IPs with your instance or Load Balancer for service exposition.
This can be created via the OVHcloud Control Panel, the OpenStack API or the OVHcloud API.
Learn how to create a private network with a gateway.
Requirements
- A Public Cloud project in your OVHcloud account
- Access to the OVHcloud API or the OpenStack command line environment (Tutorial)
- The OpenStack Command Line Interface tool installed on your working environment (optional)
Instructions
OVHcloud Control Panel Access
- Direct link: Public Cloud Projects
- Navigation path:
Public Cloud> Select your project
Via the OVHcloud Control Panel
Click on the tabs below to view each of the 6 steps in turn.
Click on Gateway in the left-hand menu under Network.
Please note that you need to have activated the vRack before proceeding, if you do not have a vRack, please consult this section of the relevant guide.
Next, click on Create a Gateway.
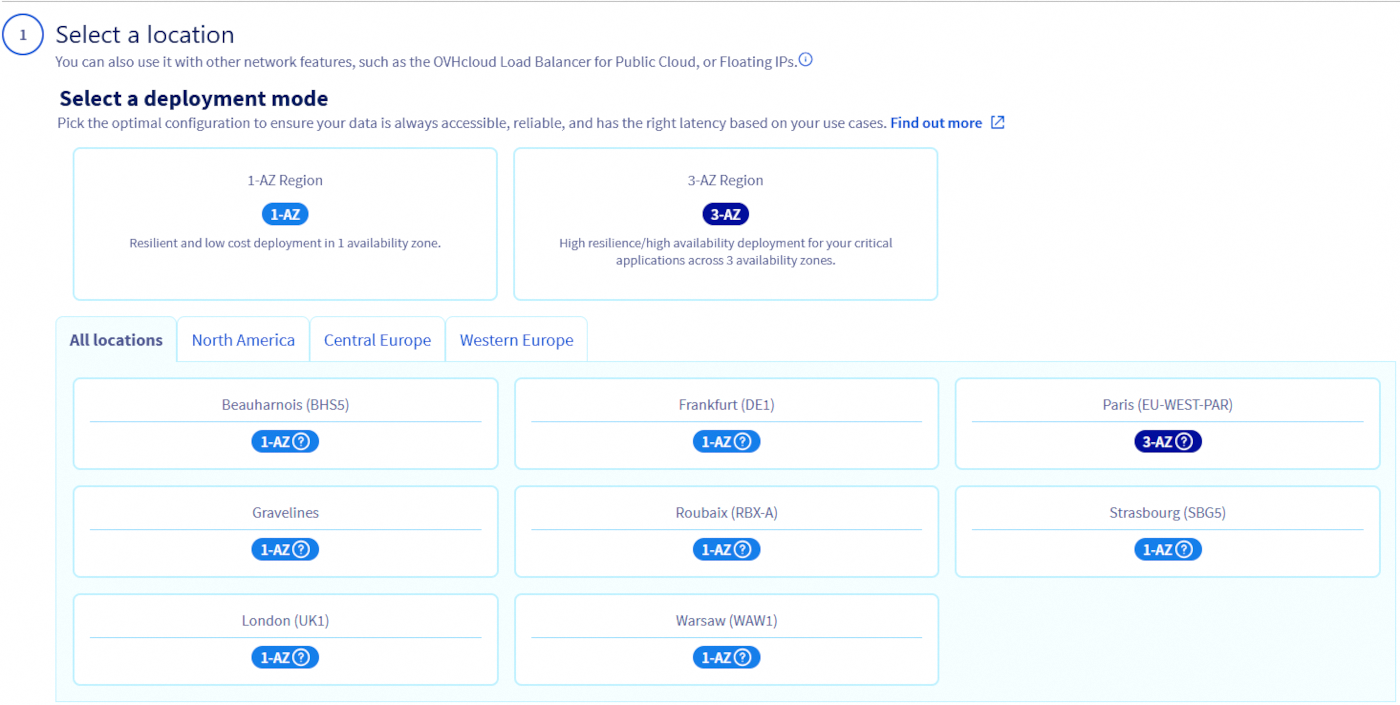
First, select a location. It is best to create a Public Gateway in the region where you intend to deploy your private instances.
In the next step, select your gateway size.
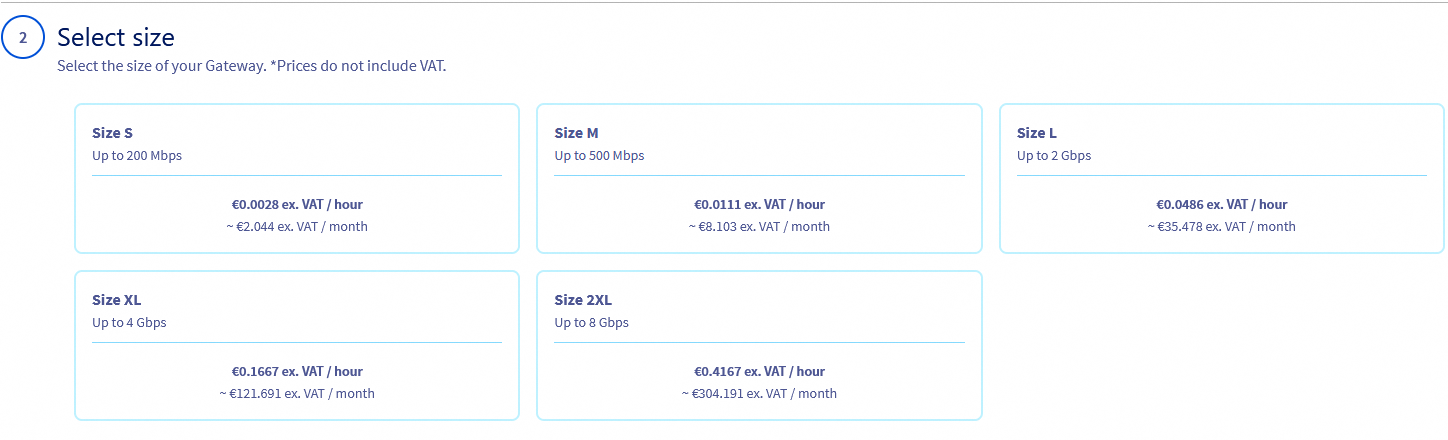
| Size | Bandwith | Cost |
|---|---|---|
| S | up to 200Mbps | 2€/month, excluding tax |
| M | up to 500Mbps | 8€/month, excluding tax |
| L | up to 2Gbps | 35€/month, excluding tax |
| XL | up to 4Gbps | 121€/month, excluding tax |
| 2XL | up to 8Gbps | 304€/month, excluding tax |
The next step allows you to edit the default name of your gateway and attach a private network to it. You can use the drop down list to select an existing private network. Be aware that only single-region private networks are supported by Gateway.
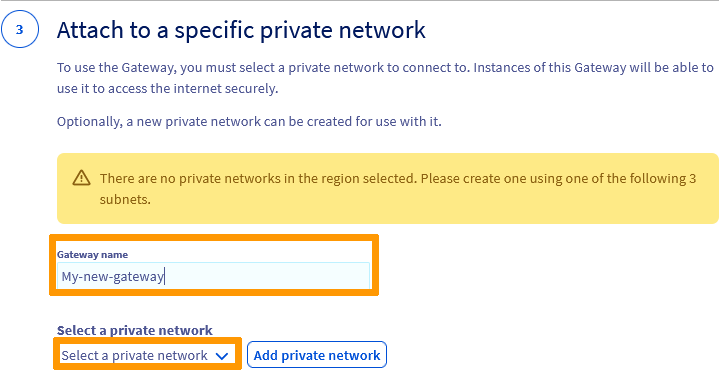
Otherwise, click on Add a private network to create a new one (in simplified dialog box with predefined values).
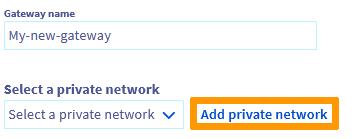
In our example, a private network does not exist yet in the region we selected, so we create a new one.
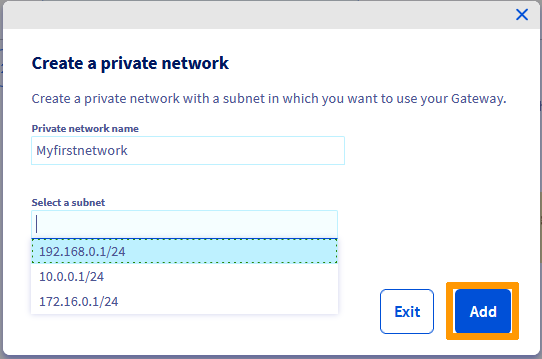
In the popup window, enter a name for your private network, select a subnet and click on Add.
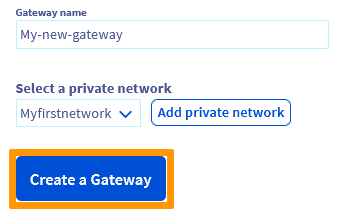
Once the network has been added, click on Create a gateway.
The creation may take several minutes, you may need to refresh the page after a couple of minutes to display the new service.
Once the creation is done, you now have a private network linked to a public gateway.
To view your newly created private network, click on Private Networks in the left-hand menu under Network.

You can view the new gateway in the Gateway section.

Via Terraform
Before proceeding, it is recommended that you consult this guide:
Once your environment is ready, you can create a Terraform file called 'private_network_simple.tf' and write the following:
You can create your resources by entering the following command:
Via the OpenStack API
Before proceeding, it is recommended that you consult these guides:
Once your environment is ready, type the following at the command line to create a network and subnet:
List the quality of service available:
If you omit the --qos-policy parameter the "small" quality of service will be applied.
Via the OVHcloud API
Log in to the OVHcloud APIv6 interface according to the relevant guide (First steps with the OVHcloud API).
In case the project ID is unknown, the calls below allow you to retrieve it.
This call retrieves the list of projects.
This call identifies the project via the "description" field.
Create your private network and gateway
Fill in the fields according the following table.
| Field | Description |
|---|---|
| serviceName | 'The ID of your project' |
| regionName | Example: GRA9 |
| model | size of your gateway (l, m ,s) depending on your needs |
| name | set a name for your gateway, you can click on the dropdown arrow and select "null" for a default one |
| name | set a name for your private network, you can click on the dropdown arrow and select "null" for a default one |
| cidr | IP block for your subnet |
| enableDhcp | check the box for yes |
| ipVersion | 4 |
The VLAN identifier (vlanId) is required if you want to create a specific VLAN. You can enter a value (between 2 - 4000) or leave it empty. If left empty, the system will automatically assign one by default.
This is the step of creating the private network and gateway by region.
You will need to do the same for each region where your private instances are present.
The creation will take a few minutes.
To verify the details of your gateway, you can use the following API call:
Go further
Learn more about Gateway and its scenarios on our dedicated page.
If you need training or technical assistance to implement our solutions, contact your sales representative or click on this link to get a quote and ask our Professional Services experts for assisting you on your specific use case of your project.
Join our community of users.

