Creating, updating and accessing a Managed Rancher Service
293 Views
Objective
Container orchestration has become a cornerstone of modern application deployment, offering scalability, flexibility, and resource efficiency. Rancher is an open-source container management platform that simplifies the deployment and management of Kubernetes clusters. Managed Rancher Service by OVHcloud provides a powerful platform for orchestrating Kubernetes clusters seamlessly. This guide will cover the creation of a Managed Rancher Service.
Requirements
- A Public Cloud project in your OVHcloud account
OVHcloud Control Panel Access
- Direct link: Public Cloud Projects
- Navigation path:
Public Cloud> Select your project
Instructions
Creating a Managed Rancher Service
In the left-hand menu under Containers & Orchestration, click on Managed Rancher Service. You can trigger the creation of a Rancher which will be operated and managed by OVHcloud.
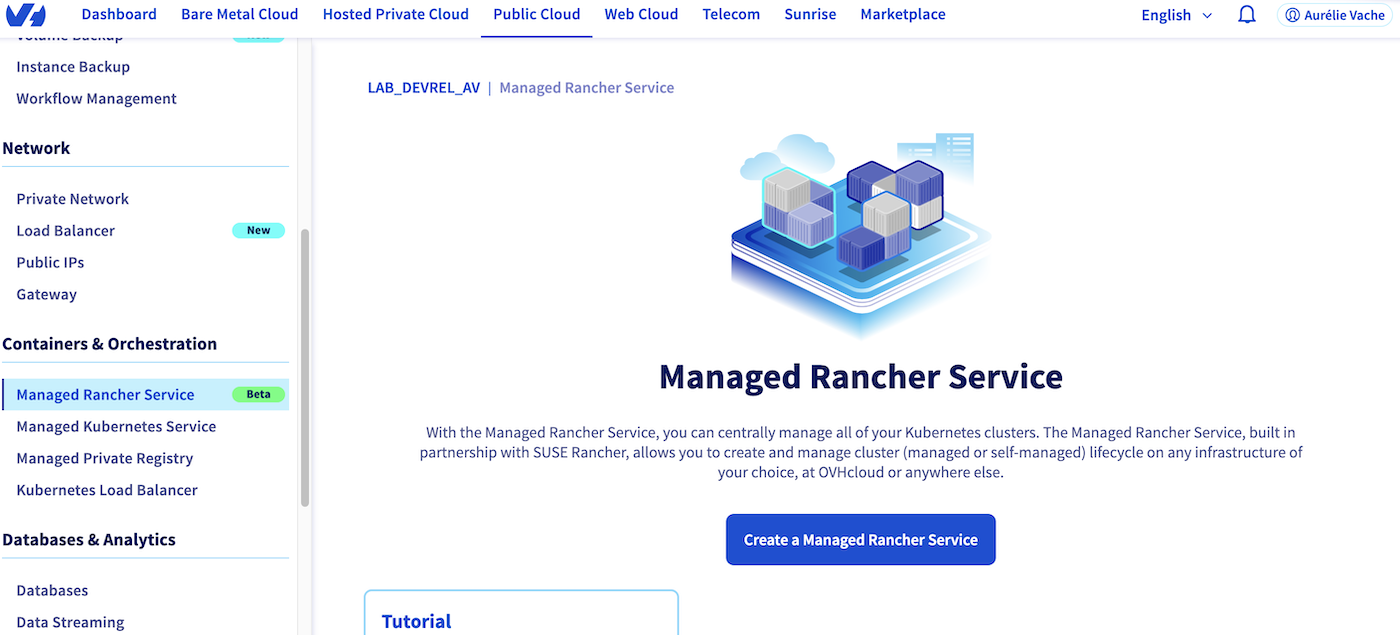
Click on the Create a Managed Rancher Service button.
Fill in the name:

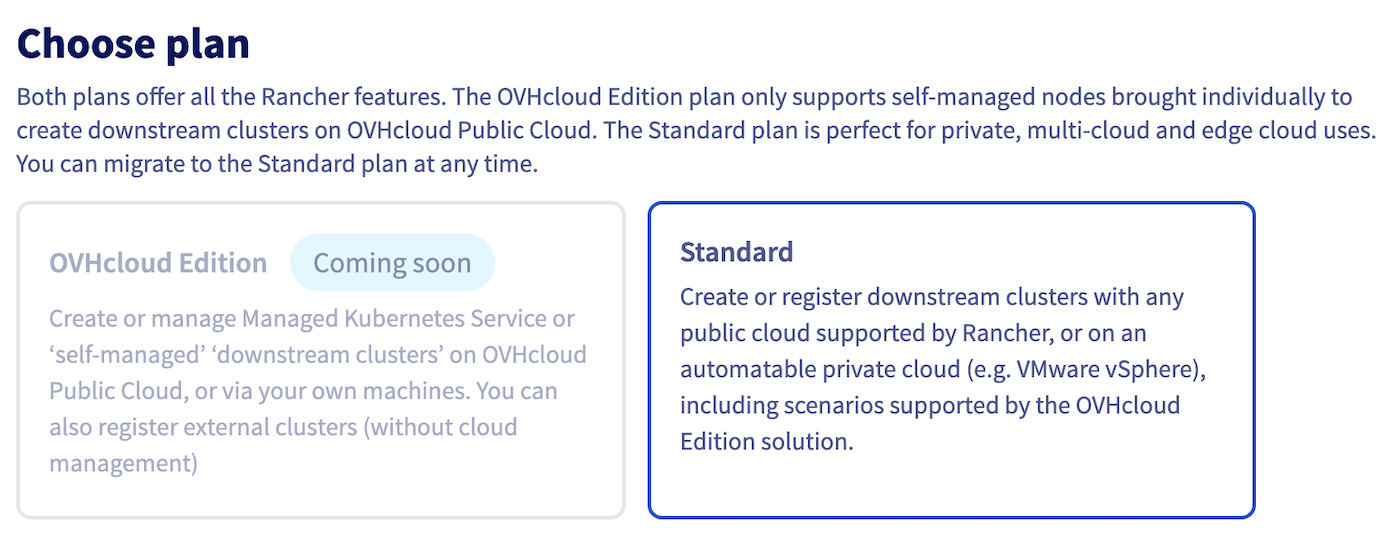
Choose your plan between OVHcloud Edition and Standard.
Choose the Rancher version and then click on Create a Managed Rancher Service button.
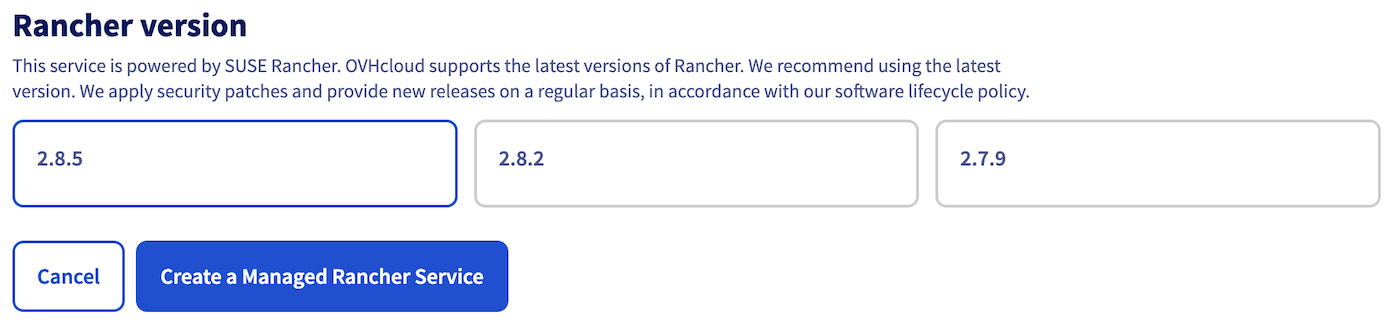
The Rancher creation is now in progress. It should be available within a few minutes in your OVHcloud Control Panel.
Updating a Managed Rancher Service
Access the administration UI for your OVHcloud Managed Rancher instances by clicking on Managed Rancher Service in the left-hand menu.

Click on the ... button to the right of your Rancher instance and choose Manage or click on the name of your Rancher instance.
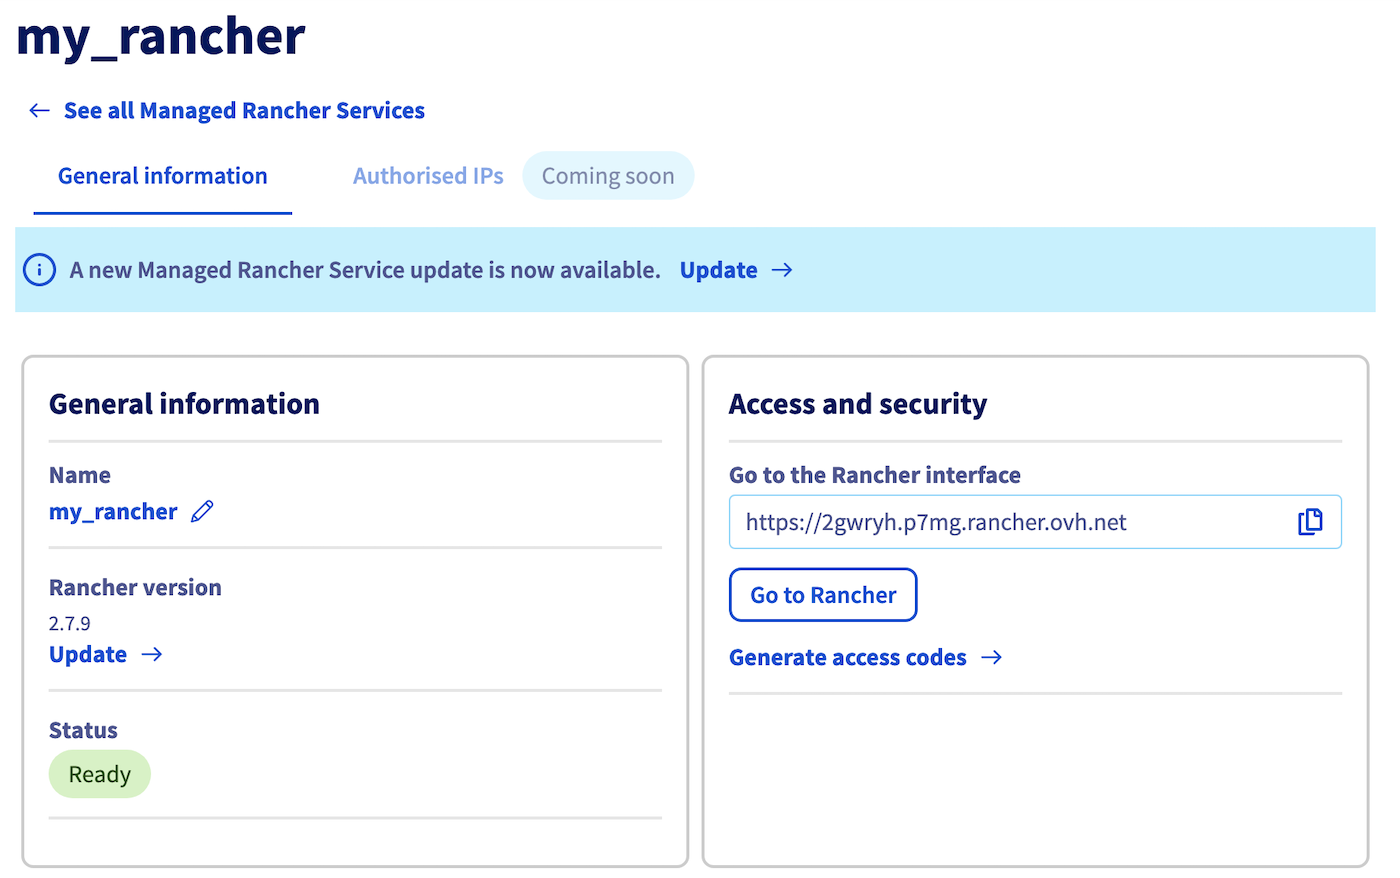
If the Rancher instance needs to be updated, the information message A new Managed Rancher Service update is now available. is displayed.
Click on the Update button.
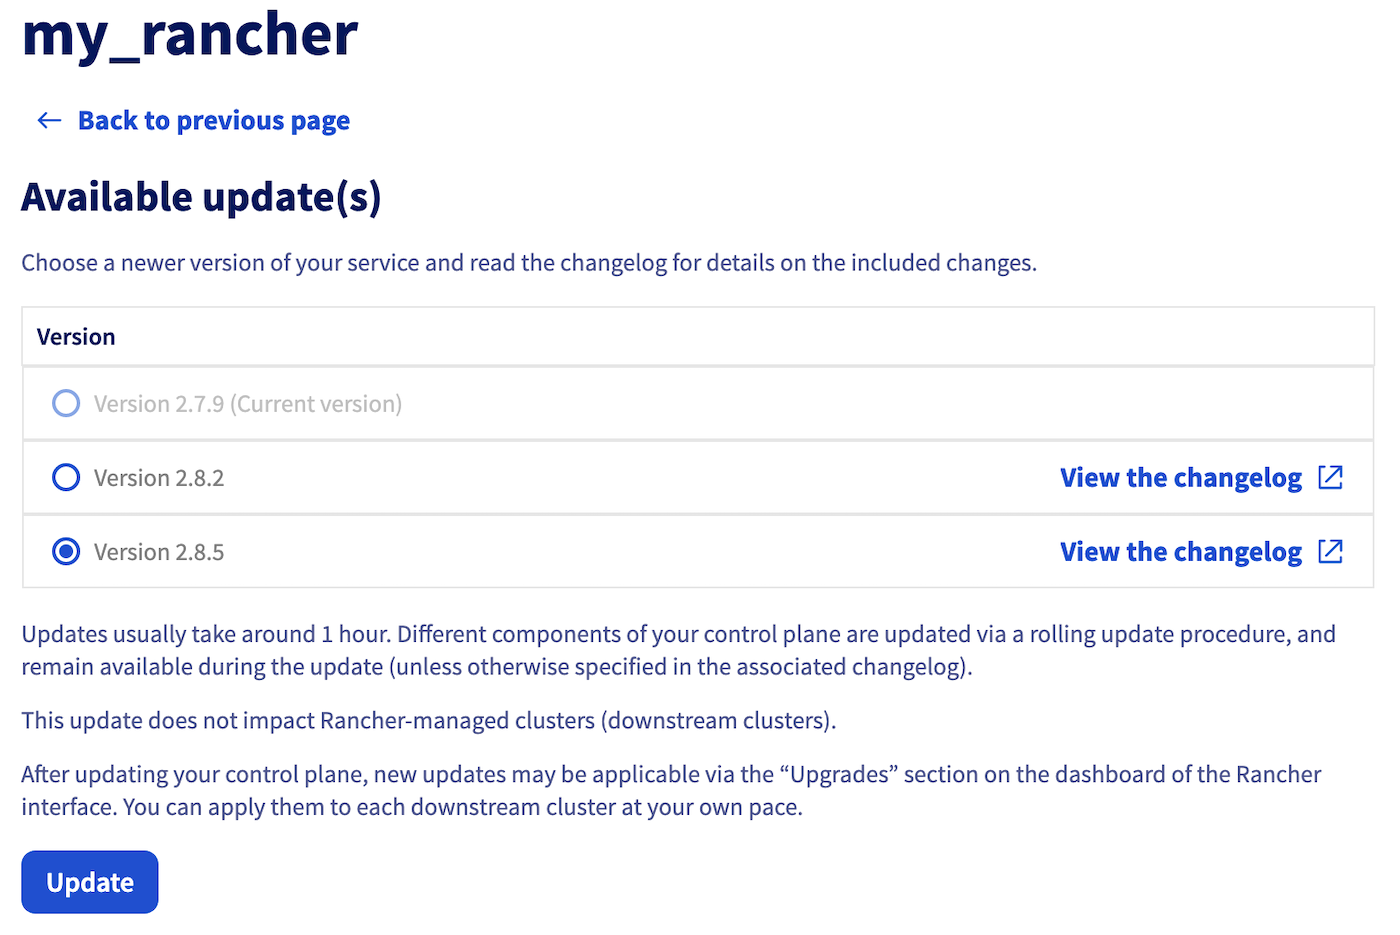
Choose the version and click the Update button.
You can read the changelog before updating a cluster by clicking on the View the changelog button.
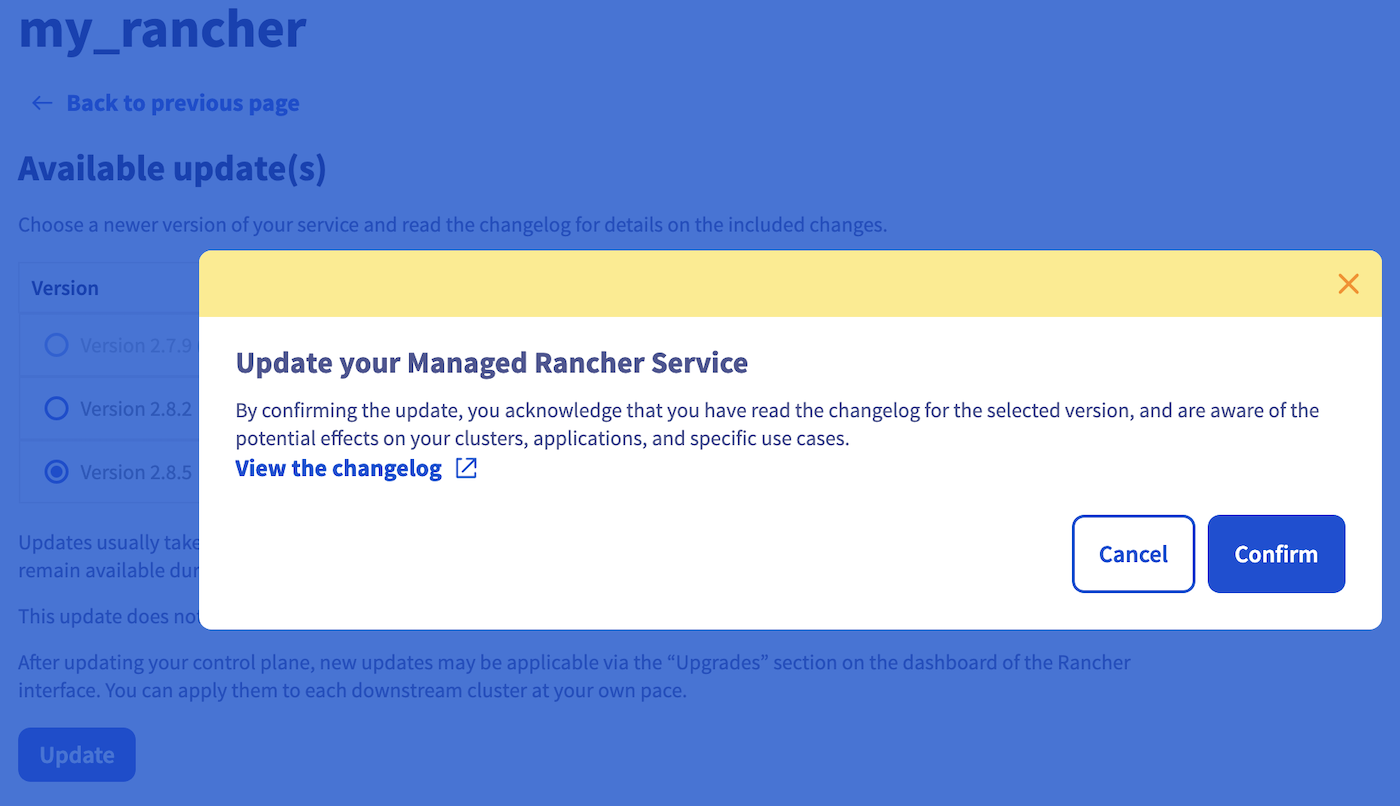
A popup will appear, click on the Confirm button to update your Rancher.
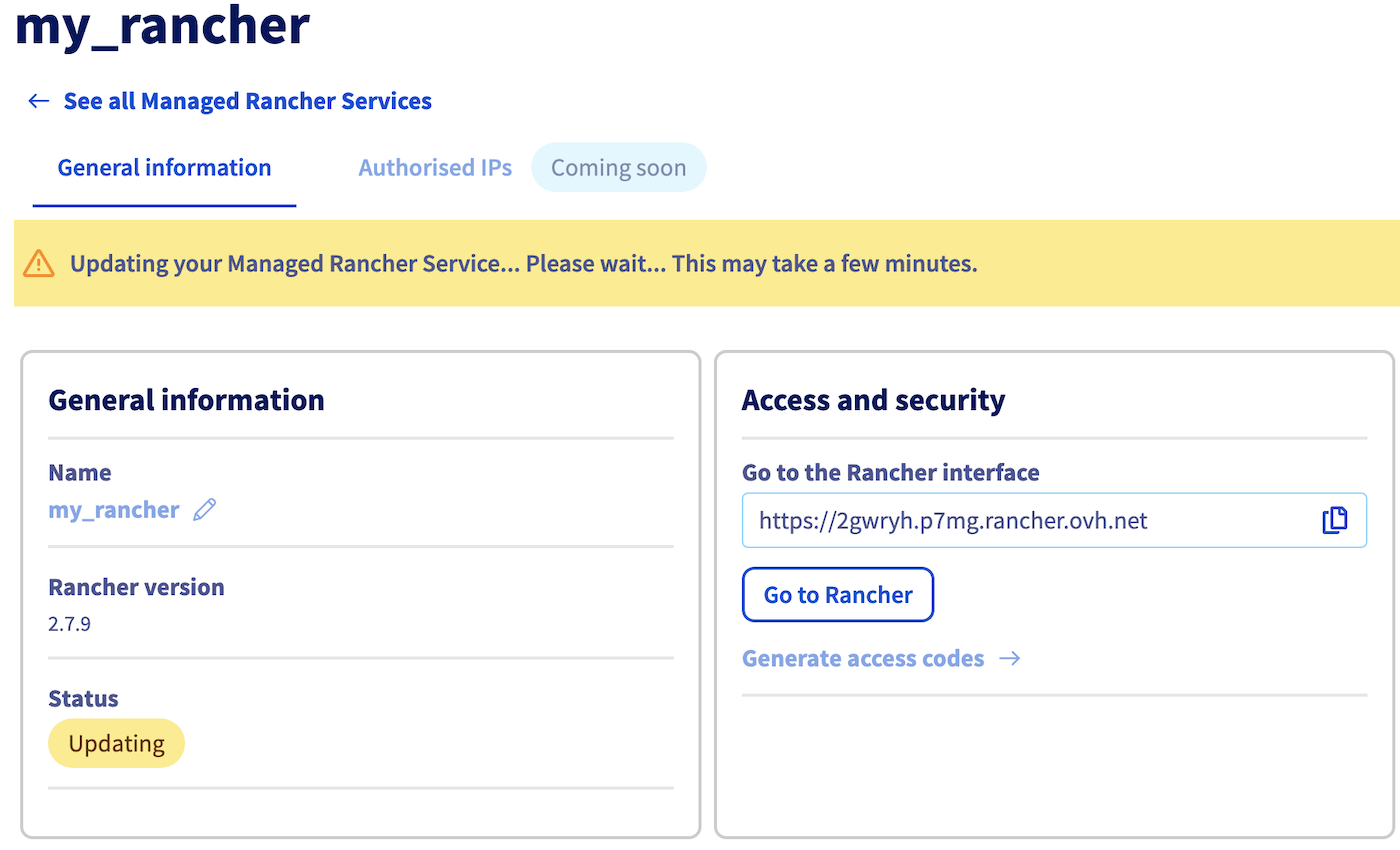
The Rancher instance is now updating. It should be updated within a few minutes.
Accessing a Managed Rancher Service
Access the administration UI for your OVHcloud Managed Rancher instances by clicking on Managed Rancher Service in the left-hand menu.
Click on the ... button to the right of your Rancher instance and choose Manage or click on the name of your Rancher instance.
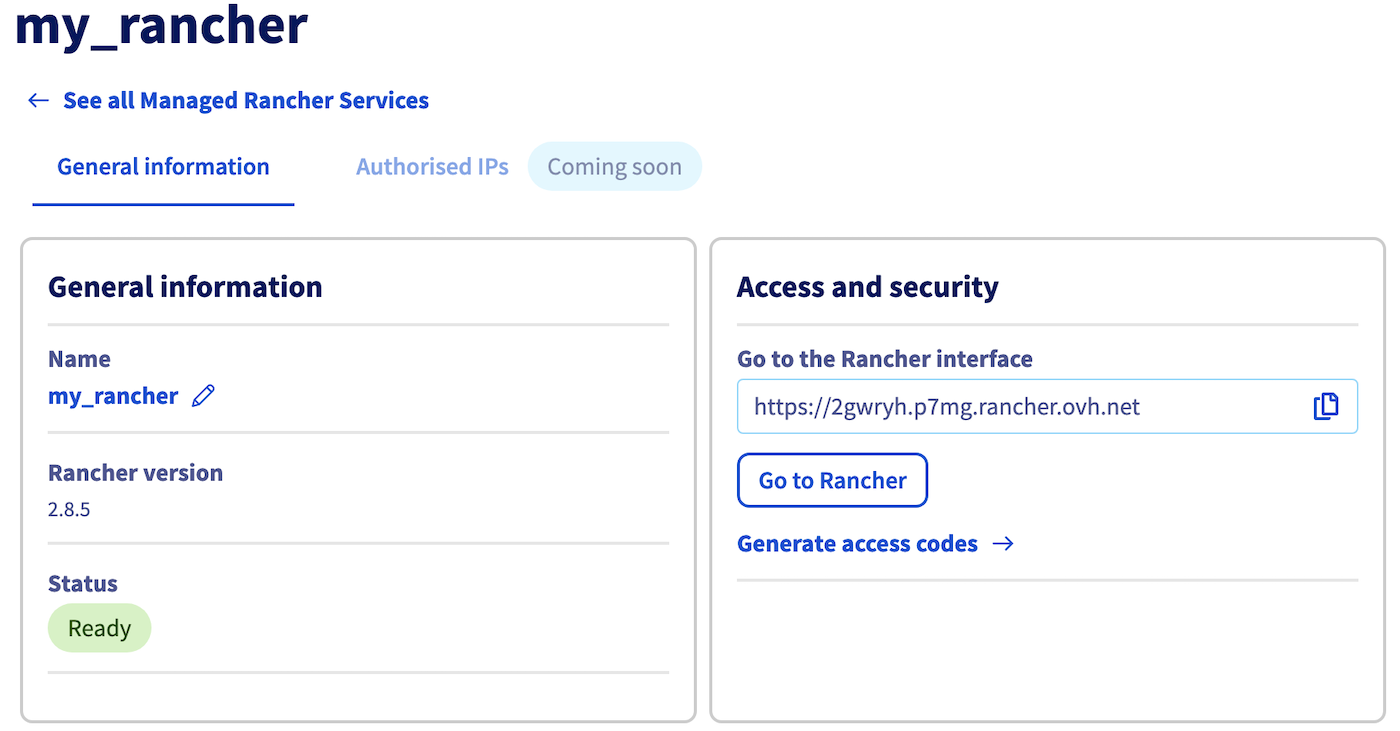
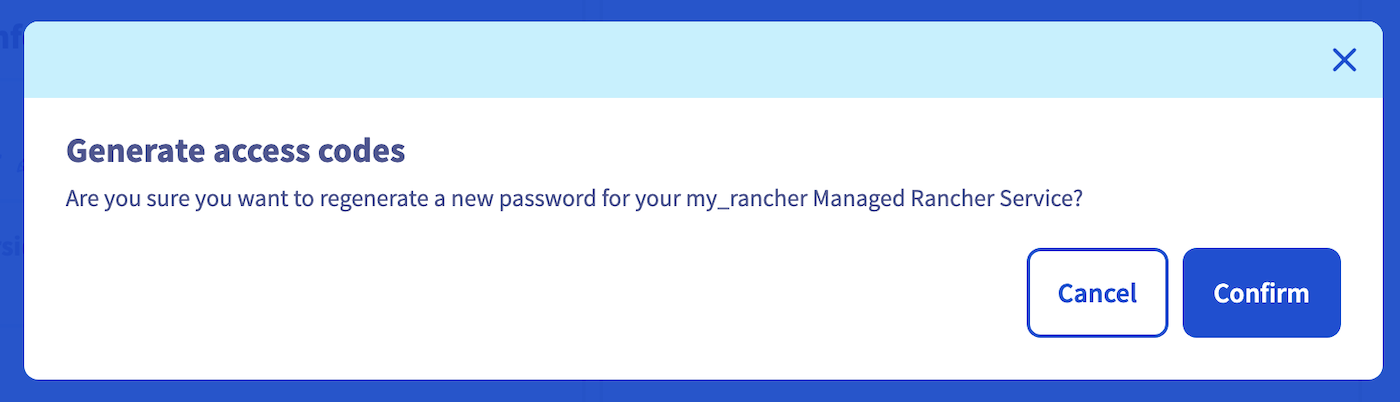
In the "Access and security" section, Click on Generate access codes button.
A popup will appear, then click on Confirm button.
Copy/paste the generated username and password and click on Go to Rancher button to access the Rancher login page.
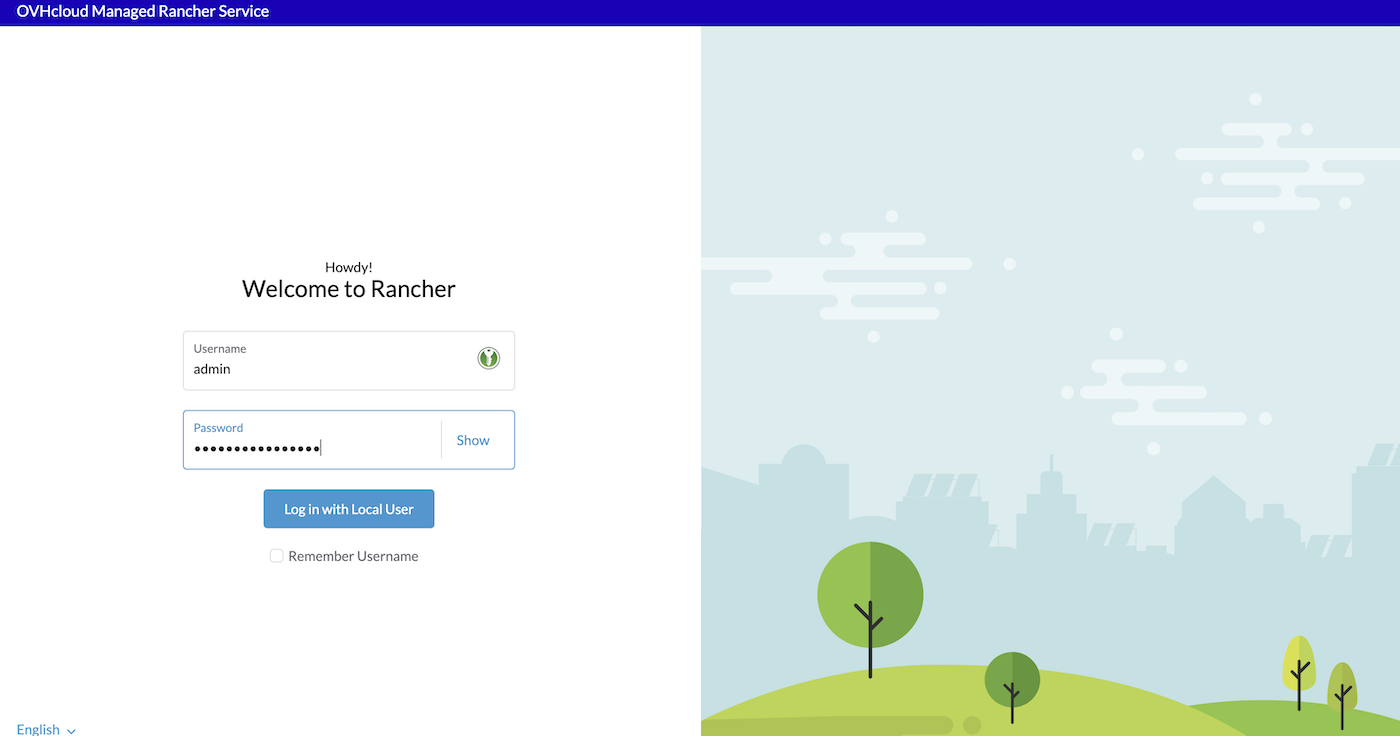
Finally, fill the Username and the Password fields and then click on Log in with Local User button.
At your first login, you will be asked to change your password with a randomly generated one or you can define it yourself. In case of lost password, you have the possibility to generate a new one by using the Generate access details action button.
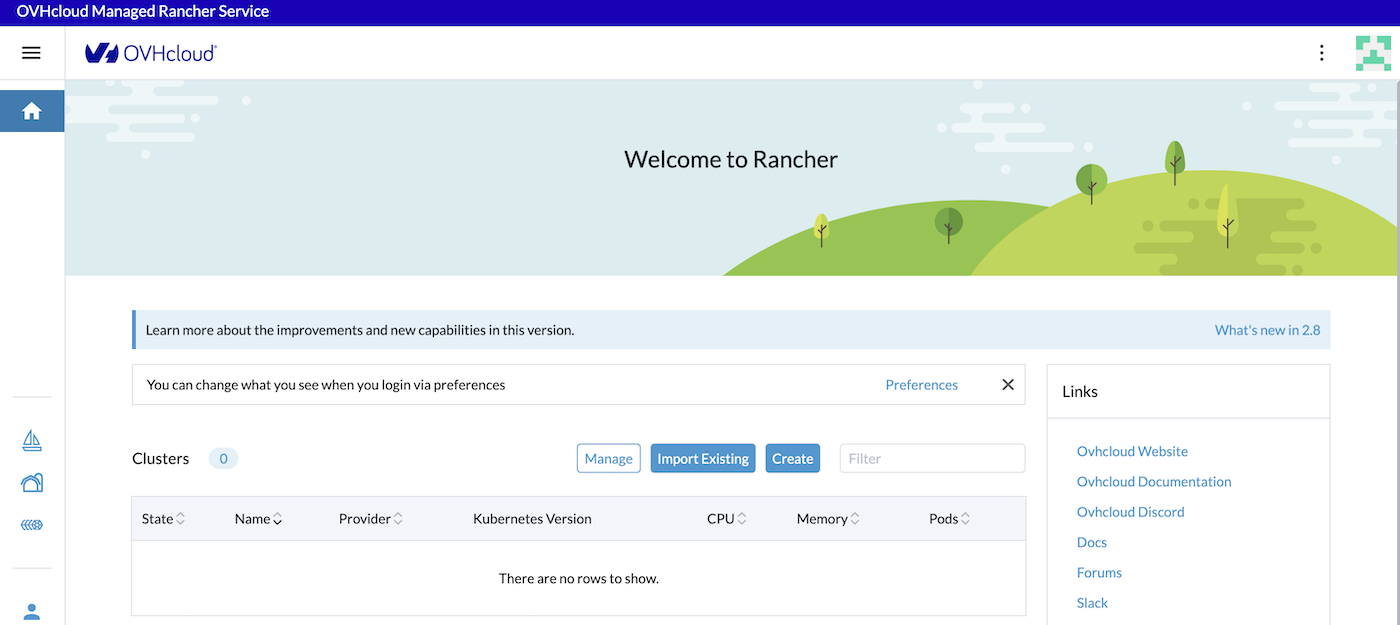
You now have access to the Rancher dashboard. It is designed to offer an intuitive and comprehensive view of your containerized environment. This web-based interface serves as your command center for orchestrating containers & clusters, visualizing cluster health, and managing various aspects of your Kubernetes infrastructure. Explore the navigation menu, which includes sections for clusters, projects, applications, and Rancher settings.
Go further
-
To have an overview of OVHcloud Managed Rancher service, you can go to the OVHcloud Managed Rancher page.
-
If you need training or technical assistance to implement our solutions, contact your sales representative or click on this link to get a quote and ask our Professional Services experts for assistance with your specific use case.
-
Our team remains available on our dedicated Discord Channel, do not hesitate to join and reach us: https://discord.gg/ovhcloud. Ask questions, provide feedback, and interact directly with the team that builds our Container and Orchestration services.
-
Join our community of users.

