Configure dynamic DNS (DynHost/DynDNS) for your domain name
35062 Views
Objective
The DNS (Domain Name System) zone is a domain name’s configuration file. It consists of DNS records that map the domain name to various services and functions.
For more information, please refer to our guides:
- Everything you need to know about DNS servers
- Everything you need to know about DNS zone
- Everything you need to know about DNS records
Dynamically updating a DNS record can prevent interruptions of your web services, in case you do not use a static IP address.
For example, the DynHost can be used for a self-hosted game server (located on your company premises or at your home) without a static IP address, meaning an Internet Service Provider (ISP) assigns a new IP address regularly.
Any A or AAAA record with a TTL (Time To Live) of 60 seconds is considered DynHost. The TTL is a value that indicates how long a DNS record is cached by DNS servers before it is updated.
This guide explains how to configure a dynamic DNS record (DynHost) for your OVHcloud domain name.
Requirements
- You have a domain name.
- You have a DNS zone at OVHcloud for the domain name concerned.
- The domain name has OVHcloud DNS servers configured as its nameservers.
- The DynHost record you are about to create must not already exist as an "A" or "AAAA" record in your domain name’s OVHcloud DNS zone.
OVHcloud Control Panel Access
- Direct link: DNS zones
- Navigation path:
Web Cloud>DNS zones> Select your domain name
If your domain name does not use OVHcloud DNS servers, please contact the service provider managing its DNS configuration to find out how to proceed.
If your domain name is registered with OVHcloud, you can check if it is using our configuration. To do this, click on the tabs below to view each of the 3 steps.
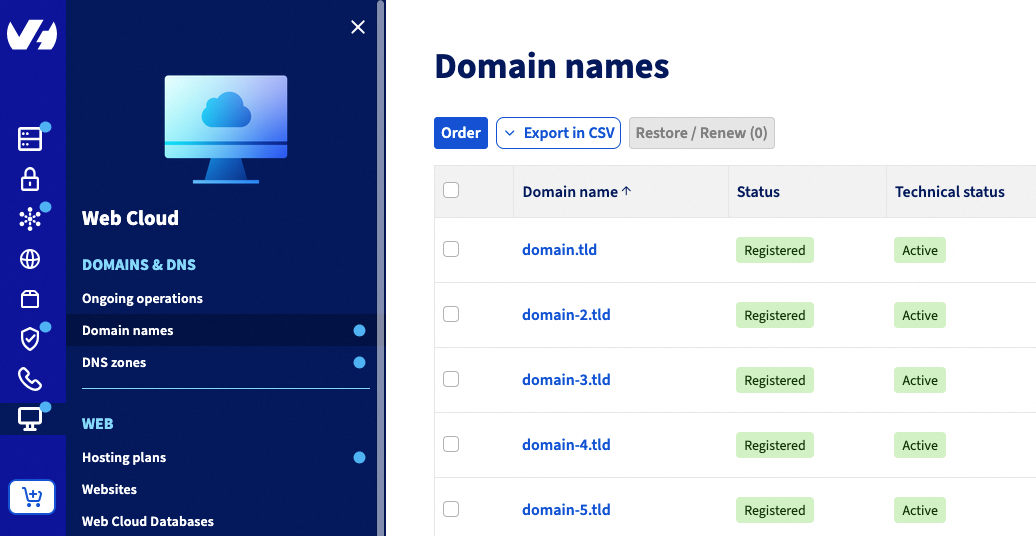
Go to the Domain names page, then choose the domain name concerned.
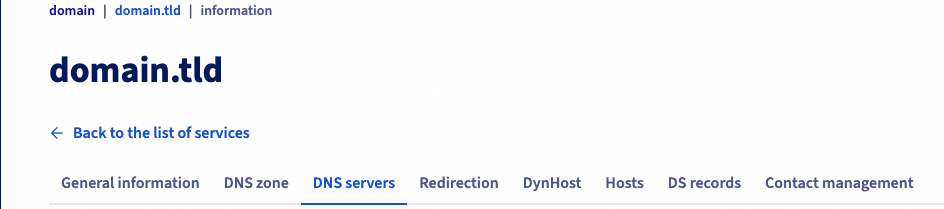
Select the DNS servers tab once you have clicked on the domain concerned.
The table that opens will contain the DNS servers currently set by OVHcloud for your domain name. Several DNS servers can be listed, each with its own row in the table.
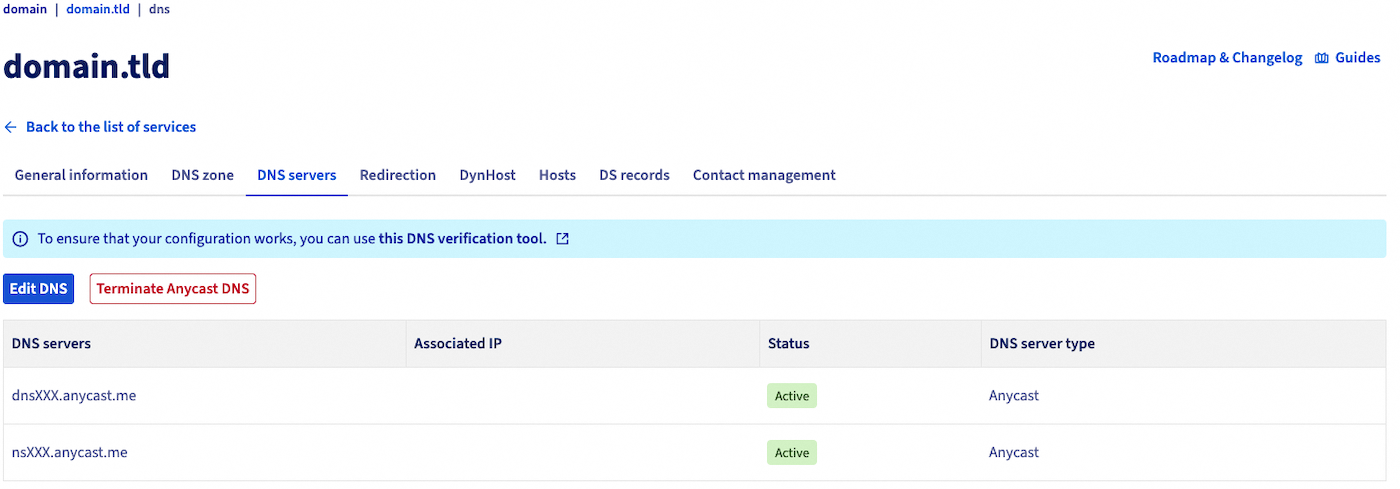
To find out whether or not you use OVHcloud DNS servers, they have one of the following two forms:
nsXX.ovh.netanddnsXX.ovh.netornsXXX.ovh.netanddnsXXX.ovh.net(where eachXrepresents a number between 0 and 9)ns200.anycast.meanddns200.anycast.me(if you have subscribed to the DNS anycast option)
If required, please refer to our guide on DNS servers for more information.
Instructions
1 - Create a DynHost username
Click on the tabs below to view each of the 5 steps.
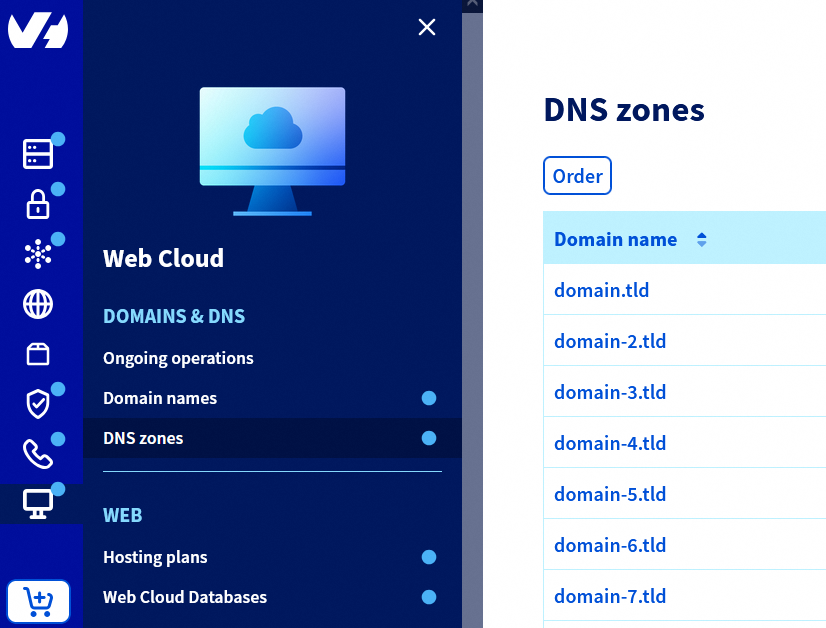
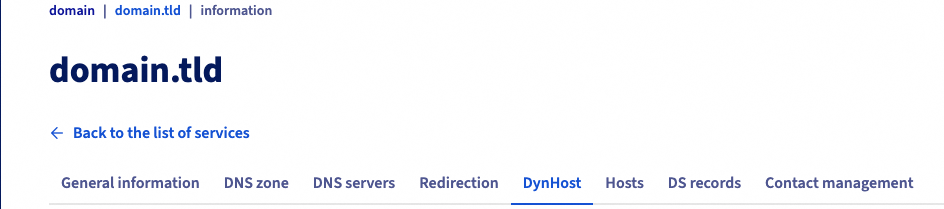
Go to the DNS zones page, then choose the domain name concerned.
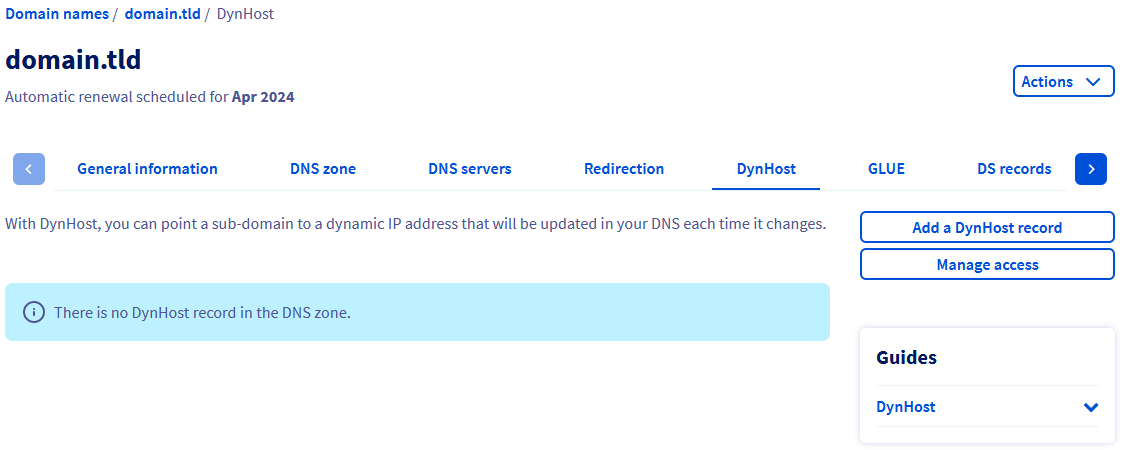
Select the DynHost tab once you have clicked on the domain concerned.
Click on the Manage access button, then Create a username.
In the popup window, enter the following information:
| Information | Description |
|---|---|
| Username suffix | Define a suffix for the DynHost username you are creating. |
| Sub-domain | Specify the subdomain you want to create the dynamic DNS record for. If you want to manage all the subdomains with a single identifier, just specify * in the entry form. |
| Password | Define a password for the DynHost username, then confirm it. |
To set up a DynHost directly for your domain name, enter only * in the input form labeled Sub-domain.
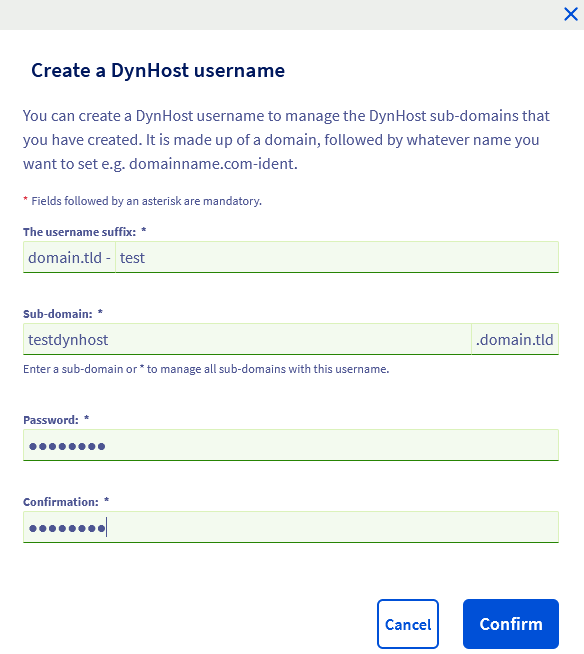
Once you have filled in all of the required fields, click Confirm. The username will then appear in the table on the current page.
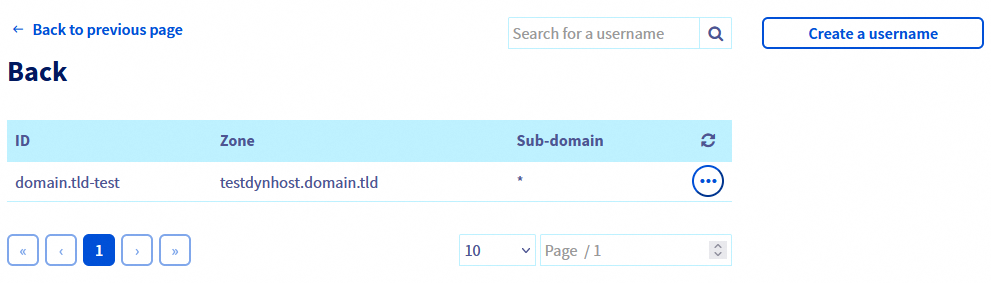
Repeat this step if you need additional DynHost usernames.
2 - Create the dynamic DNS record (DynHost)
This second step involves creating the DNS record that must be updated dynamically. As a reminder, it must not already exist in your domain name’s OVHcloud DNS zone as an "A" or "AAAA" record. For advice on how to check this and delete the A record if necessary, please read our guide "Editing an OVHcloud DNS zone".
Once you are ready to create the DynHost record.
Click on the tabs below to view each of the 4 steps.
Go to the DNS zones page, then choose the domain name concerned.
Select the DynHost tab once you have clicked on the domain concerned.
Click on the Add a DynHost button. In the popup window, enter the following information:
In the popup window, enter the following information:
| Information | Description |
|---|---|
| Subdomain | Enter the subdomain that the DNS record must be dynamically updated for. This subdomain must be identical to the one you entered when you created the DynHost username. If you would like to set up a DynHost directly for your domain name, leave this form blank |
| Target IP | Enter the IP address (IPv4 or IPv6) currently mapped in the DNS record. This is usually the public IP address of your Internet access box or your self-hosted server. In accordance with the DynHost principle, the IP will from now on be updated automatically. Only one IP address must be entered in this form. |
To set up a dynamic DNS record (DynHost), the use of a wildcard (by placing only the character *) in the form Sub-domain is unavailable.
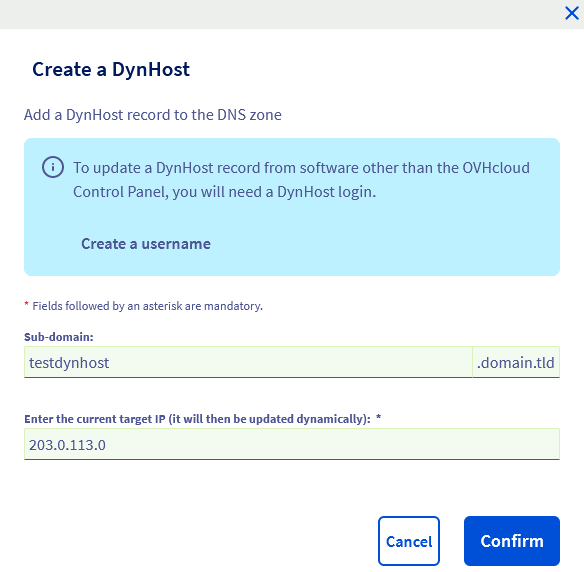
Once you have filled in all of the required fields, click Confirm. The DynHost record will then appear in the table on the current page.
Repeat this step if you need additional DynHost records.
If your domain or subdomain needs to be configured dynamically with, for example, an IPv4 and an IPv6, you can create two dynamic DNS records for the same domain or subdomain. The first dynamic DNS record will then be for IPv4 and the second for IPv6.
3 - Automate the DynHost update
Once you have created the user and the DynHost record, you need to automate DNS record updates so that they are performed dynamically. To do this, you will need to use a client software that regularly checks if the destination IP address has changed in order to update it automatically.
The installation and configuration of software and your devices must be done according to your own knowledge. Below is some information on how to proceed. However, we recommend contacting a specialist provider if you encounter any difficulties. We will not be able to assist you in this regard. Find more information in the "Go further" section of this guide.
There are several possibilities for the client software:
- It can be installed on your server or computer.
- It may already be available in the interface of your Internet router/box if it is compatible. If you experience any difficulties with this configuration, contact the support of your ISP.
Once the client has been chosen and installed, you will need to configure it using the information from the DynHost user created earlier in the OVHcloud Control Panel.
Depending on the client you are using, an update URL may be required, in addition to the DynHost username and subdomain concerned. If this is the case, use the URL below, taking care to replace the generic information:
| Information | Replace with |
|---|---|
| $HOSTNAME | The subdomain you are modifying the DNS configuration for |
| $IP | The new target IPv4 or IPv6 address |
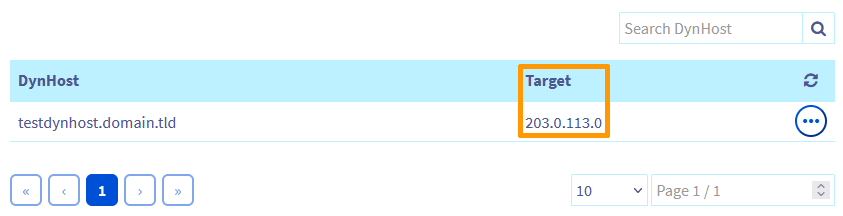
You can check if the destination IP address has been updated.
To do this, click on the tabs below to view each of the 3 steps.
Go to the DNS zones page, then choose the domain name concerned.
Select the DynHost tab once you have clicked on the domain concerned.
Check the IP address that appears in the Target column.
Any changes made to a domain name’s active DNS zone via DynDNS can cause the update to propagate for several minutes.
Go further
For specialized services (SEO, development, etc.), contact OVHcloud partners.
If you would like assistance using and configuring your OVHcloud solutions, please refer to our support offers.
Join our community of users.

