Configuring an IPv6 address on a virtual machine
551 Views
Objective
Internet Protocol version 6 (IPv6) is the successor to Internet Protocol version 4 (IPv4). Set up to resolve IPv4 address exhaustion, IPv6 uses 128-bit addresses instead of 32-bit addresses. High Grade, Scale and Advance range servers (since July 2024) are delivered with a /56 IPv6 block. Older servers come with an IPv6/64 block. A server delivered with a /56 IPv6 block can have up to 18 quintillion IP addresses.
Our infrastructure also allows you to configure IPv6 on your virtual machines.
This guide explains how to configure an IPv6 address on a virtual machine for Proxmox VE or Microsoft Hyper-V Server on an OVHcloud Dedicated Server.
OVHcloud provides services that you are responsible for. Since we have no access to these machines, we are not their administrators and cannot provide you with assistance. You are responsible for your own software and security management.
We have provided you with this guide to help you with common tasks. However, we recommend contacting a specialist provider if you experience any difficulties or doubts when it comes to managing, using or securing your server. You can find more information in the “Go further” section of this guide.
Requirements
- A dedicated server with an IPv6 block (/64) or (/56) in your OVHcloud account.
- An operating system with virtualization capabilities (Proxmox VE, Hyper-V Server, etc.).
- You must have all the information related to your IPv6 (prefix, gateway, etc.).
- Basic knowledge of SSH and networking.
OVHcloud Control Panel Access
- Direct link: Dedicated Servers
- Navigation path:
Bare Metal Cloud>Dedicated servers> Select your server
Instructions
The following sections contain the configurations of the distributions we currently offer and the most commonly used distributions/operating systems. The first step is always to connect to your server via SSH or via a GUI (RDP for a Windows server) connection session.
On dedicated servers, the first IPv6 is declared as 2607:5300:xxxx:xxxx::/64. For example, if we have assigned your server the IPv6 range: 2607:5300:xxxx:xxxx::/64, the first IPv6 on your server is: 2607:5300:xxxx:xxxx::/64.
Before you begin, review the table below for the terminology used in this guide:
| Term | Description | Example |
|---|---|---|
| YOUR_IPV6 | This is an IPv6 address of the IPv6 block assigned to your server | 2607:5300:xxxx:xxxx::1 |
| IPv6_PREFIX | This is the prefix (or netmask) of your IPv6 block, usually /64 or /56 | 2607:5300:xxxx:xxxx::/64 |
| IPv6_GATEWAY | This is the gateway of your IPv6 block | 2607:5300:xxxx:xxff:ff:ff:ff:ff or fe80::1 |
In our examples, we will use the nano text editor. You can use any text editor.
Default Gateway
The first step is to retrieve the IPv6 gateway assigned to your server. Two methods are possible:
- Get network information via the OVHcloud Control Panel
- Get network information via the APIs
Via the OVHcloud Control Panel
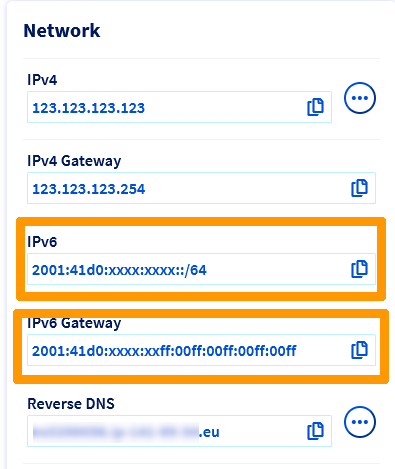
The IPv6 gateway assigned to your server is displayed in the Network section of the General information tab.
Via OVHcloud APIs
Another way to retrieve your server's network information is by using the OVHcloud API.
Execute the following API call, specifying the internal name of the server (example: ns3956771.ip-169-254-10.eu):
The preceding 0s can be removed from an IPv6 gateway.
Example: IPv6_GATEWAY: 2607:5300:60:62ff:00ff:00ff:00ff:00ff can also be written as 2607:5300:60:62ff:ff:ff:ff:ff.
Prepare the host
Proxmox VE
For a virtual machine
The first step is to create the virtual machine in Proxmox VE.
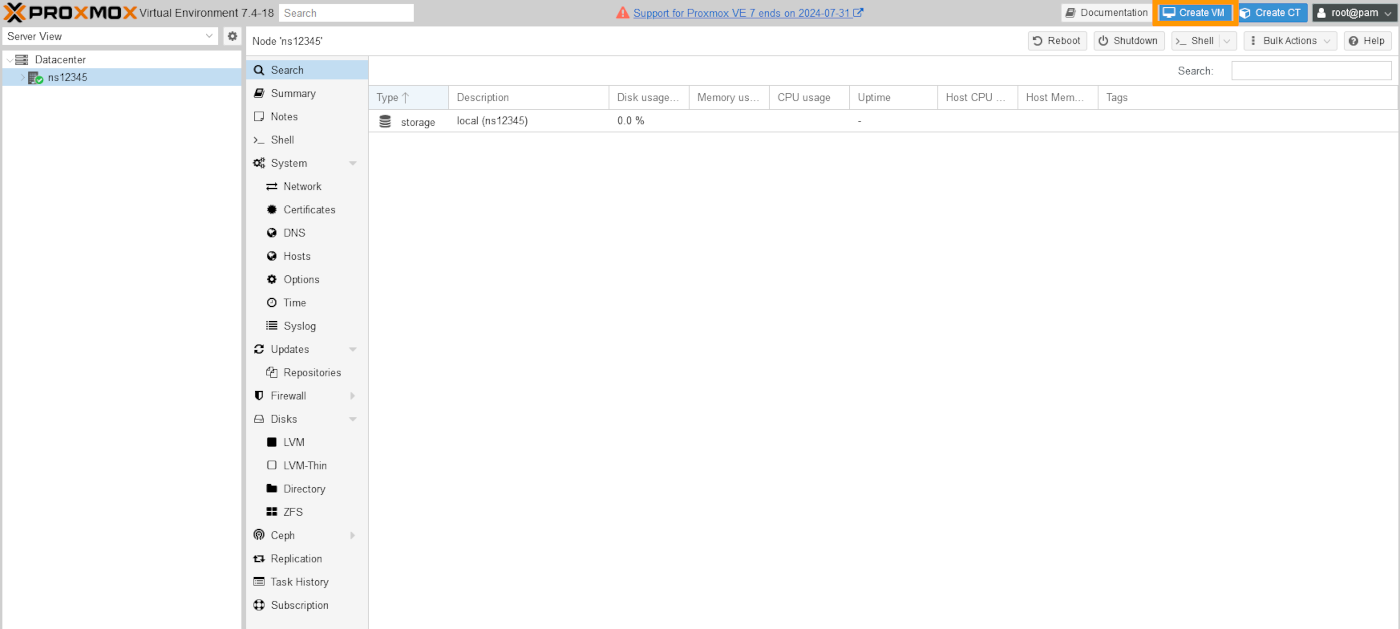
Once you have logged in to the Proxmox dashboard, click on your server name in the left-hand corner, then Create VM.
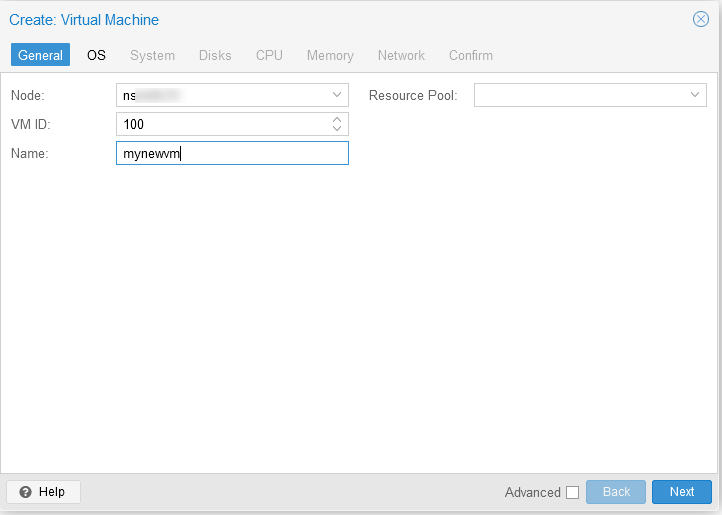
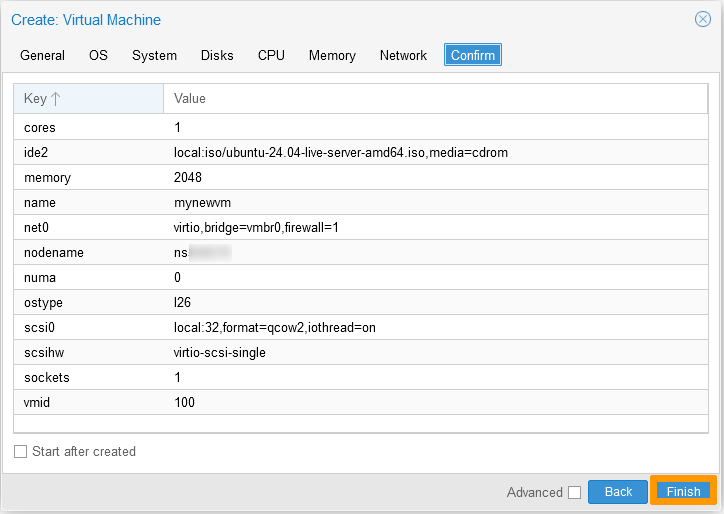
Create: Virtual Machine
Name: Enter a name for your VM.
Click the dropdown arrow next to ISO image to select the image of your choice. In our example, we use ubuntu 24.04 ISO.
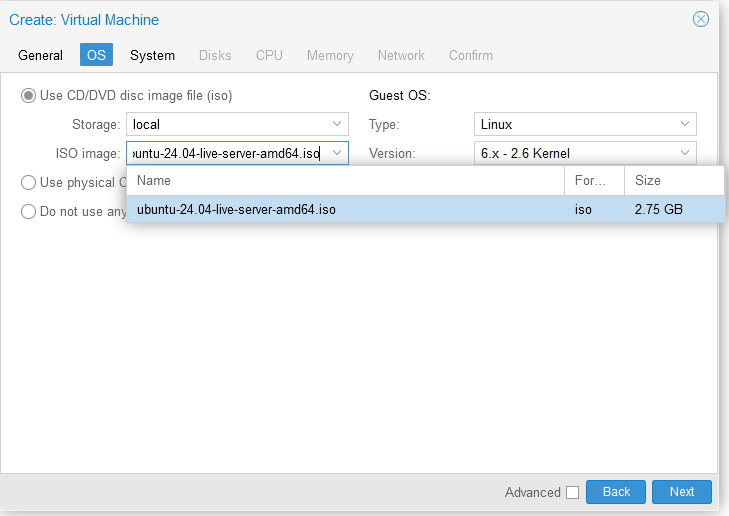
Once you have done this, click Finish to create the VM.
Once the operating system has been installed on the virtual machine, you can configure the IPv6 address.
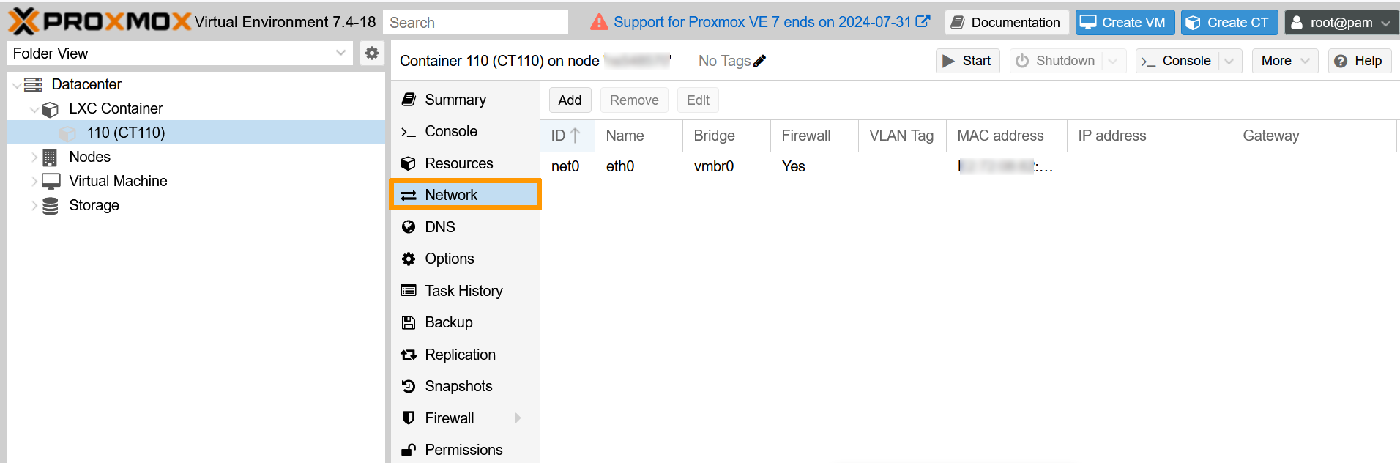
For a container
Once you have created your container, click on it in the left-hand menu. Then click Network.
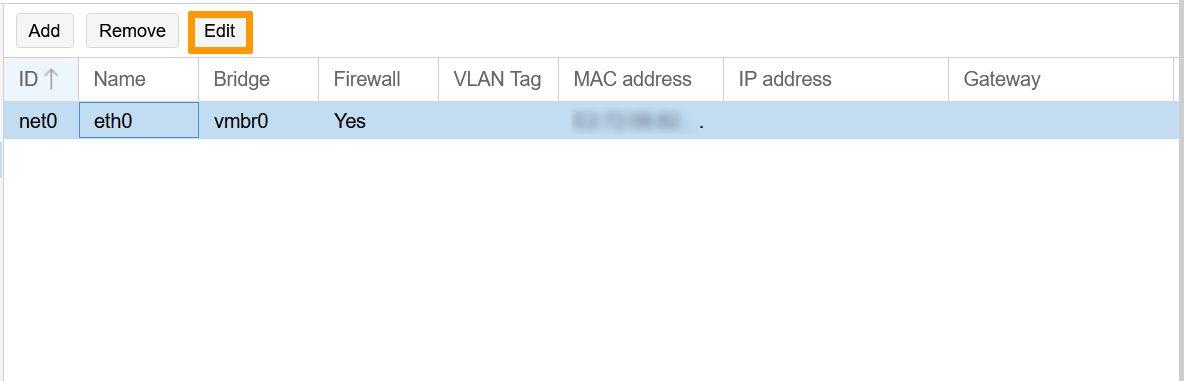
Select the existing network and click Edit.
Fill in the IPv6 fields with the correct information.
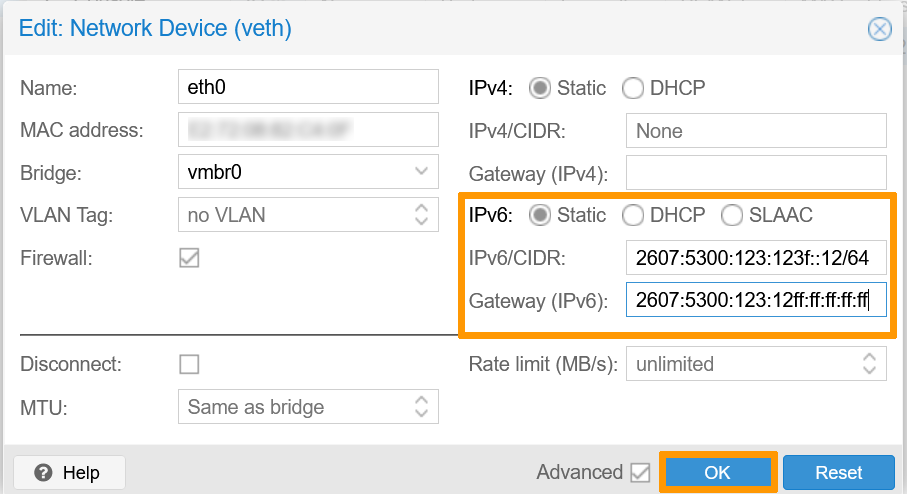
Once you have done this, click OK to save the changes.
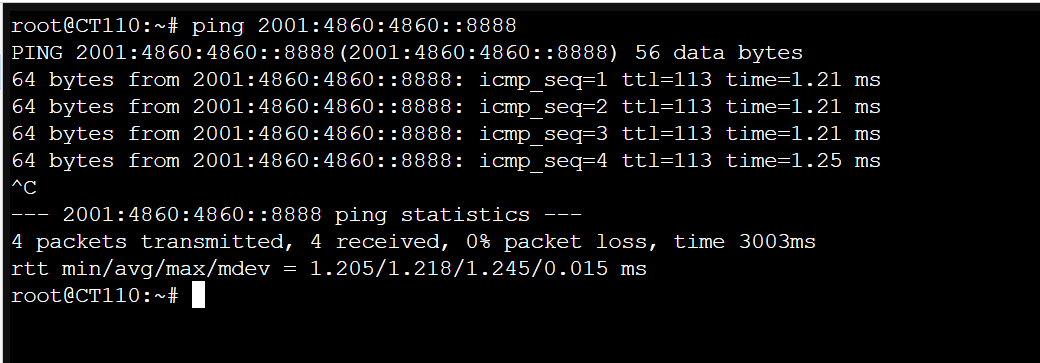
Log in to your container to verify IPv6 connectivity with the ping command:
Windows Server / Hyper-V
The first step is to install the Hyper-V role on your Windows Server. For more information, consult the official documentation.
Before configuring your virtual machine, you need to create a virtual switch.
From the command line of your dedicated server, run the following command and note the name of the network adapter that contains the server's main IP address:
This step is only required once for a Hyper-V server. For all VMs, a virtual switch is required to connect the VM’s virtual network adapters to the server’s physical adapter.
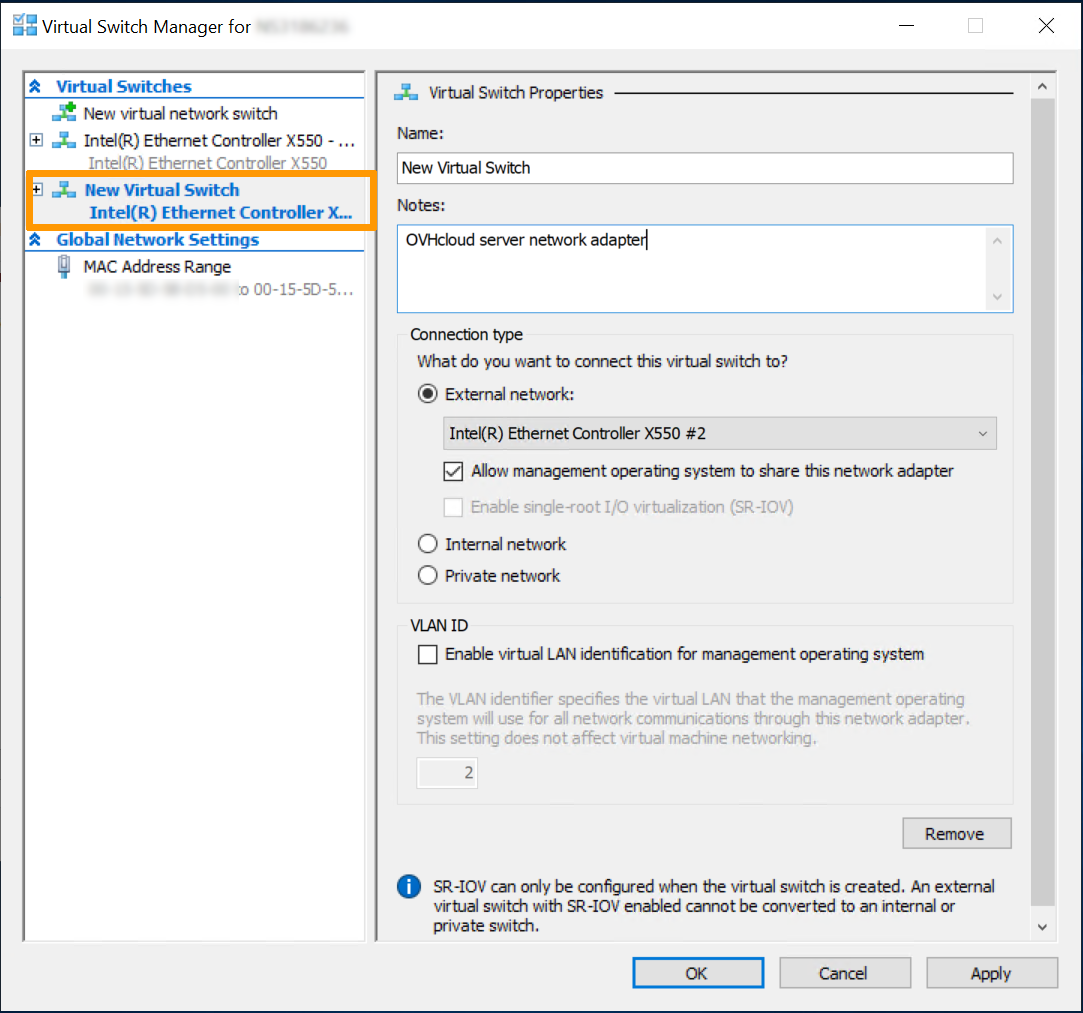
In the Hyper-V Manager, create a new virtual switch and set the connection type to External.
Select the adapter with the server’s IP, then tick the option Allow management operating system to share this network adapter.
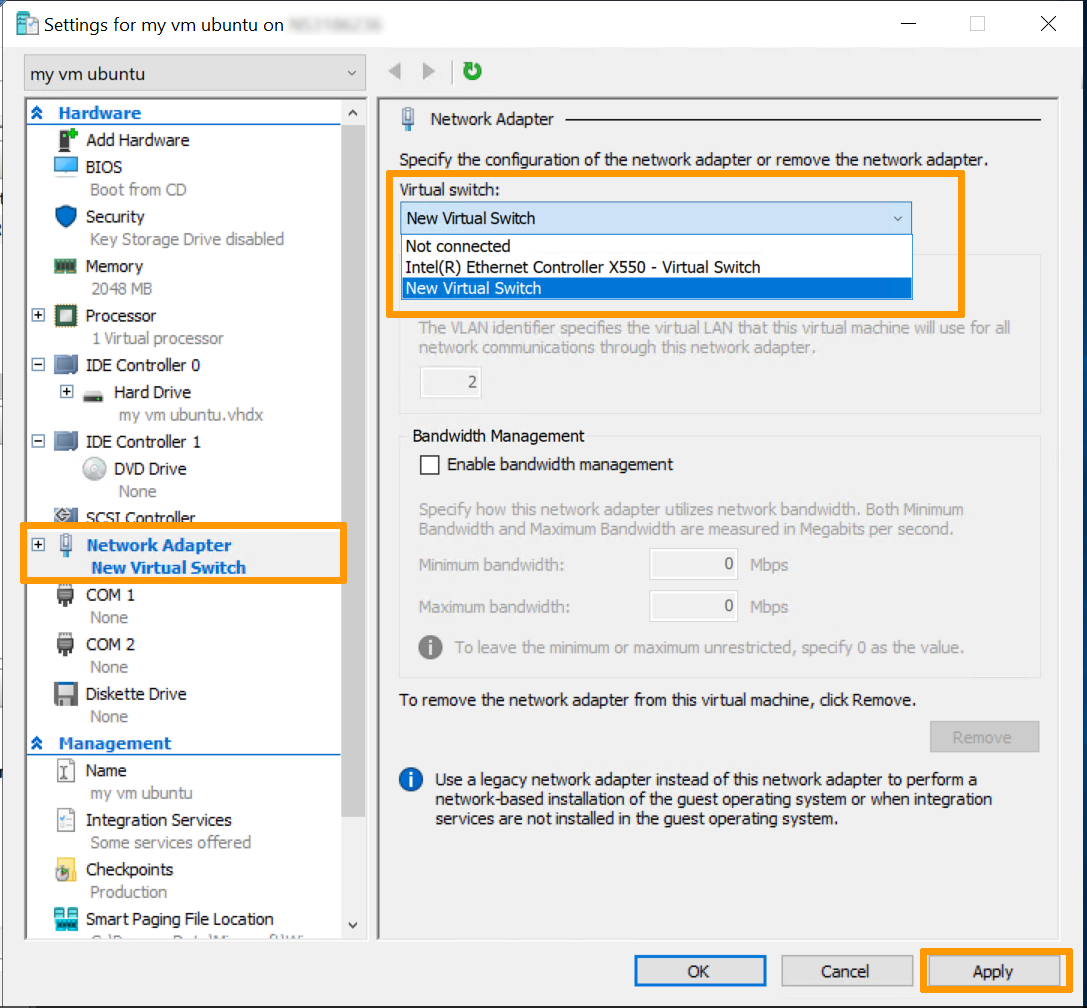
Next, go to the settings of the VM and click on Network Adapter in the left-hand tab. From the drop down list, select the virtual switch created earlier and click on Apply, then on OK.
Once you have installed the operating system on the virtual machine, you can proceed with the configuration of the IPv6 IP address.
Configure the IPv6 on virtual machines
Configuration based on Netplan
The configuration below is based on Ubuntu 24.04.
Once you are logged in to your virtual machine, the first step is to access the configuration file:
Next, configure the IPv6 address of your choice by replacing YOUR_IPV6, IPV6_PREFIX and IPV6_GATEWAY with your own values.
It is important to respect the alignment of each element in yaml files as represented in the example above. Do not use the tab key to create your spacing. Only the space key is needed.
Save your changes to the config file and exit the editor.
Apply the configuration:
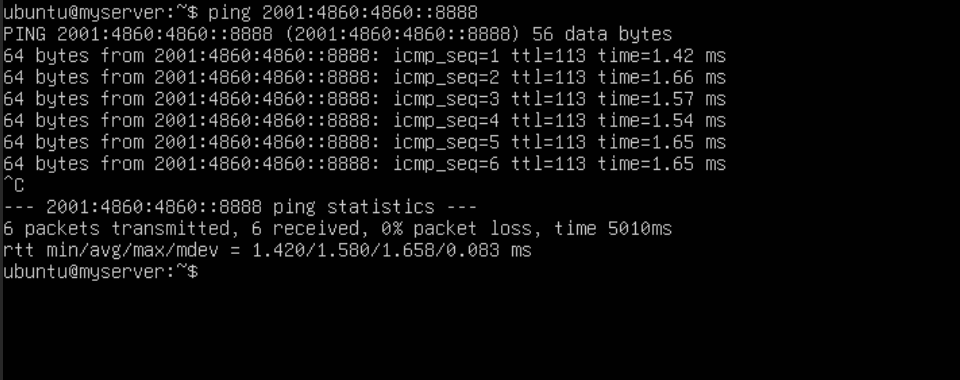
To test your IPv6 connectivity, run the ping command at 2001:4860:4860::8888:
Configuration based on ENI
The configuration below is based on Debian 11.
Once you are logged in to your virtual machine, the first step is to access the configuration file:
Next, configure the IPv6 address of your choice by replacing YOUR_IPV6, IPV6_PREFIX and IPV6_GATEWAY with your own values. Replace ens18 with your interface name.
Save your changes to the config file and exit the editor.
Next, reboot the network with the following command:
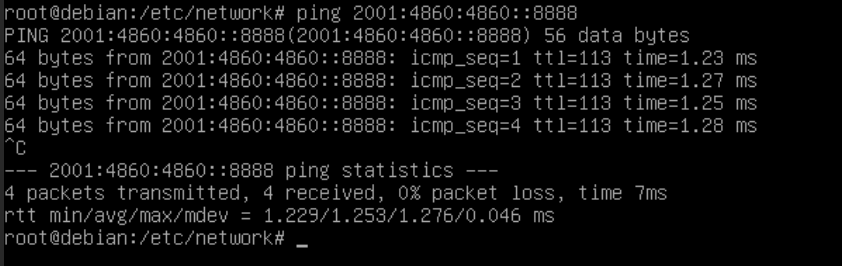
To test your IPv6 connectivity, run the ping command at 2001:4860:4860::8888:
Configuration based on NetworkManager
The configuration below is based on Fedora 40.
NetworkManager has previously stored network profiles in ifcfg format in this directory: /etc/sysconfig/network-scripts/. However, the ifcfg format is now deprecated. By default, NetworkManager no longer creates profiles in this format. The configuration file is now located in /etc/NetworkManager/system-connections/.
Once you are logged in to your virtual machine, the first step is to access the configuration file:
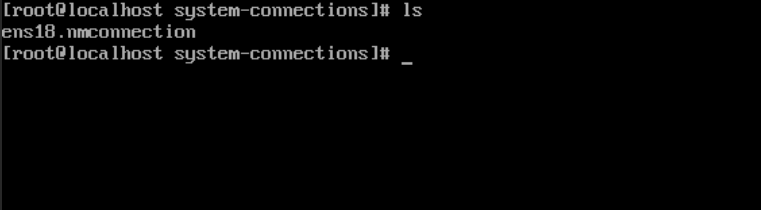
Use the ls command to display the network configuration file. In our example, our file is named ens18.nmconnection.
Next, configure the IPv6 address of your choice by replacing YOUR_IPV6, IPV6_PREFIX and IPV6_GATEWAY with your own values.
Save your changes to the config file and exit the editor.
Next, reboot the network with the following command:
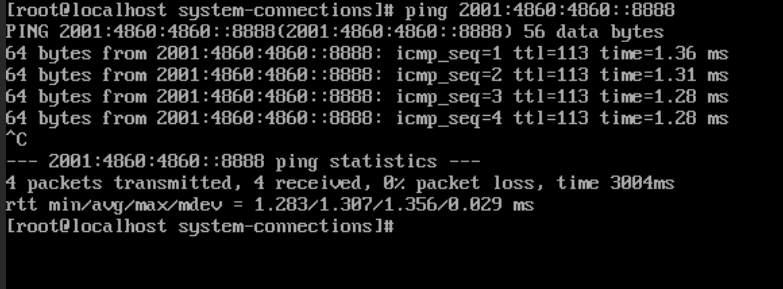
To test your IPv6 connectivity, run the ping command at 2001:4860:4860::8888:
Go further
Join our community of users.

