Enabling Entra ID SSO connections with your OVHcloud account
1284 Views
Objective
You can use Single Sign-On (SSO) to connect to your OVHcloud account. To enable these connections, your account and your Entra ID (formerly Azure Active Directory) have to be configured using SAML (Security Assertion Markup Language) authentications.
This guide explains how to associate your OVHcloud account with an external Entra ID.
Requirements
- Belong to the Application Administrator and User Administrator roles of an Entra ID service
- An OVHcloud account
OVHcloud Control Panel Access
- Direct link: SAML SSO
- Navigation path:
Identity, Security & Operations>Users>SSO connection
Instructions
In order for a service provider (i.e. your OVHcloud account) to establish an SSO connection with an identity provider (i.e. your Entra ID), the essential part is to establish a mutual trust relationship by registering the SSO connection in both services.
Entra ID Users and Groups
Your Entra ID acts as your identity provider. Authentication requests by your OVHcloud account will only be accepted if it is declared as a trusted party first.
Let's focus for a moment on the identities on the identity provider side.
Entra ID Users
To start, go to your Entra ID dashboard.
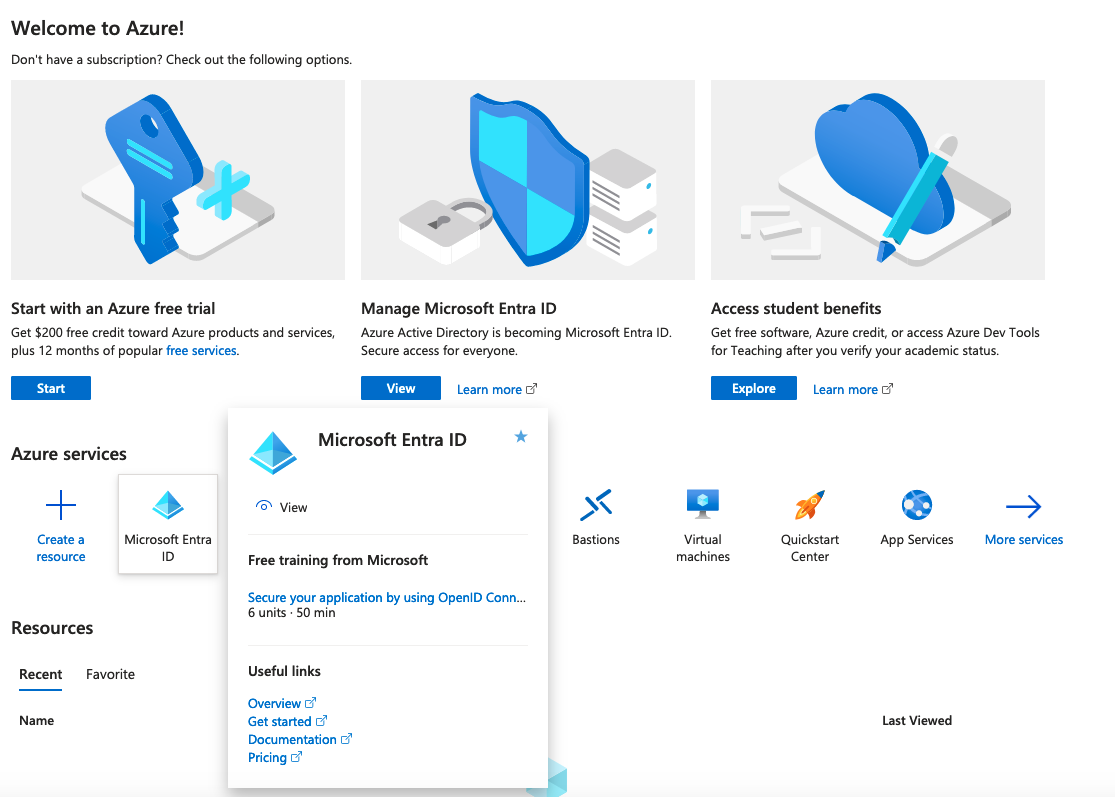
Then click on Users from the left-hand menu.
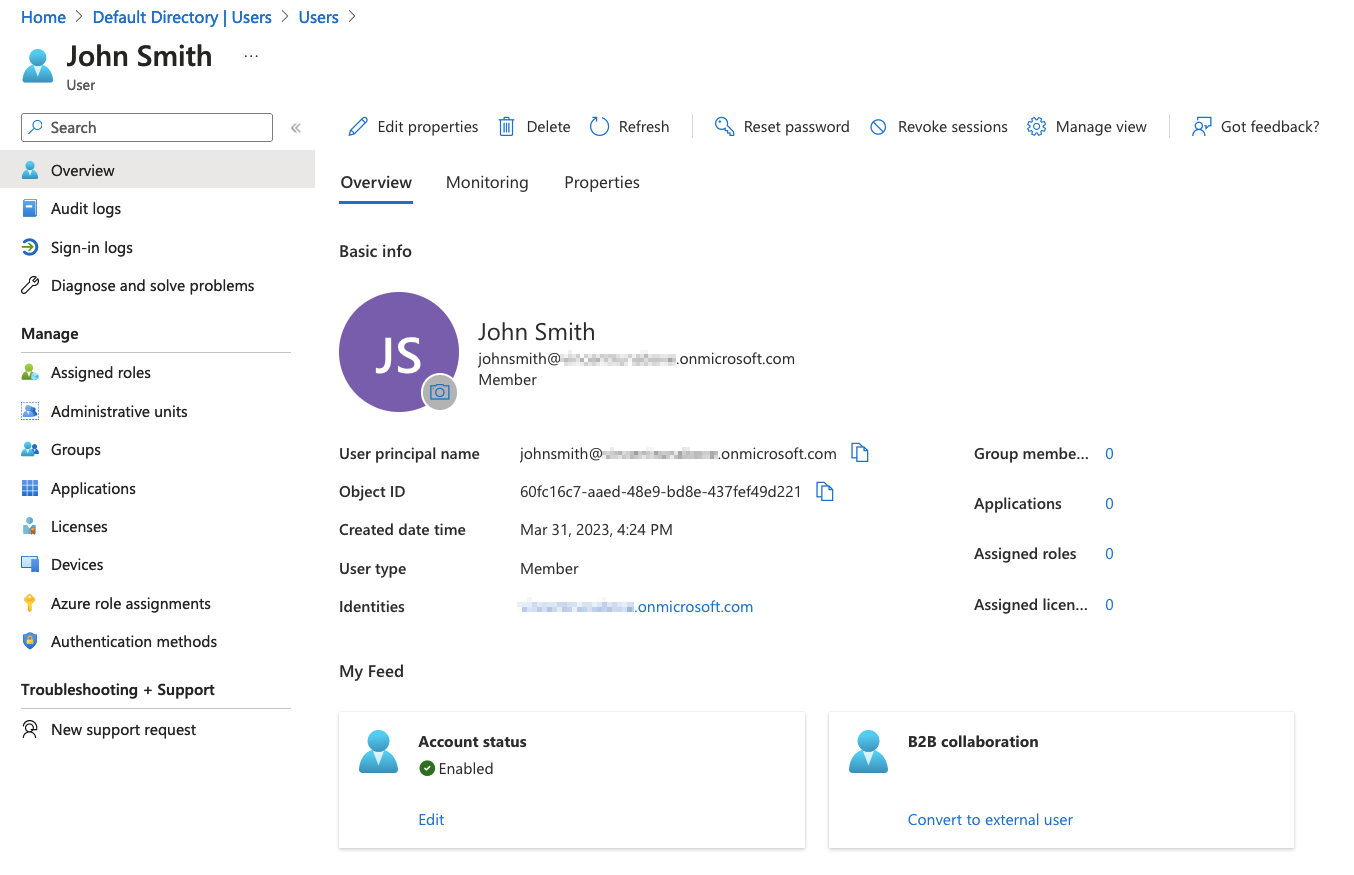
Create as many users as you need, or you can just check your users clicking on them.
For this example, the user John Smith will be used.
When an SSO authentication is performed, John Smith's identity will be provided by Entra ID to the OVHcloud account. However, it is necessary that this identity contains at least one group. If no group exists, let's look at how to create one to add John Smith to it.
Entra ID Groups
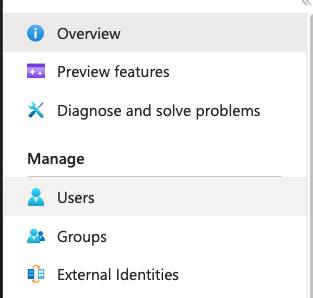
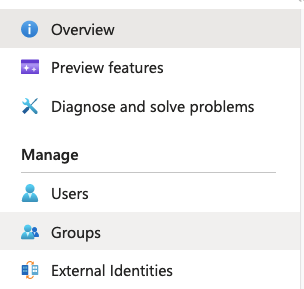
Click on Groups from the left-hand menu.
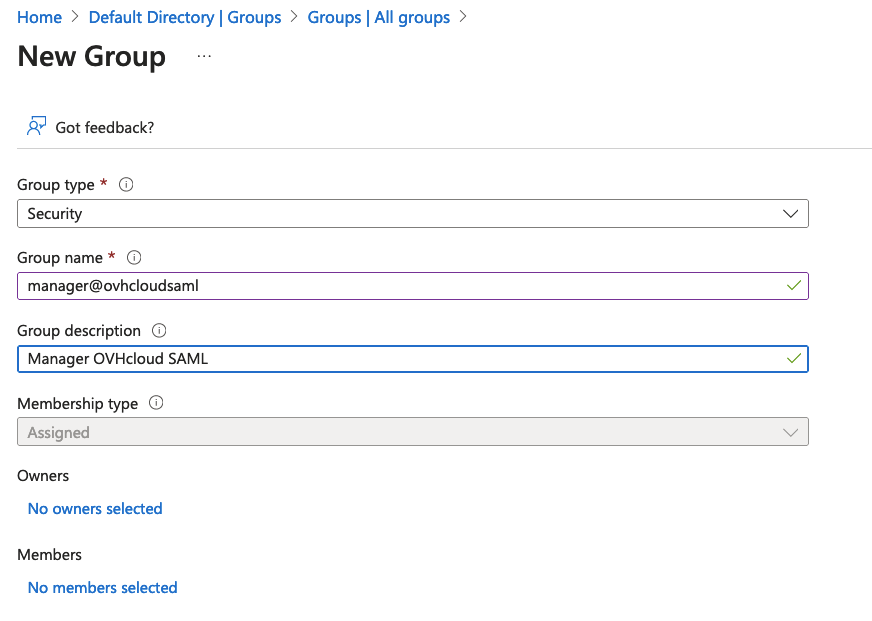
Click on New group in the top menu, and fill in all the necessary information.
For this example, the group manager@ovhcloudsaml will be used.
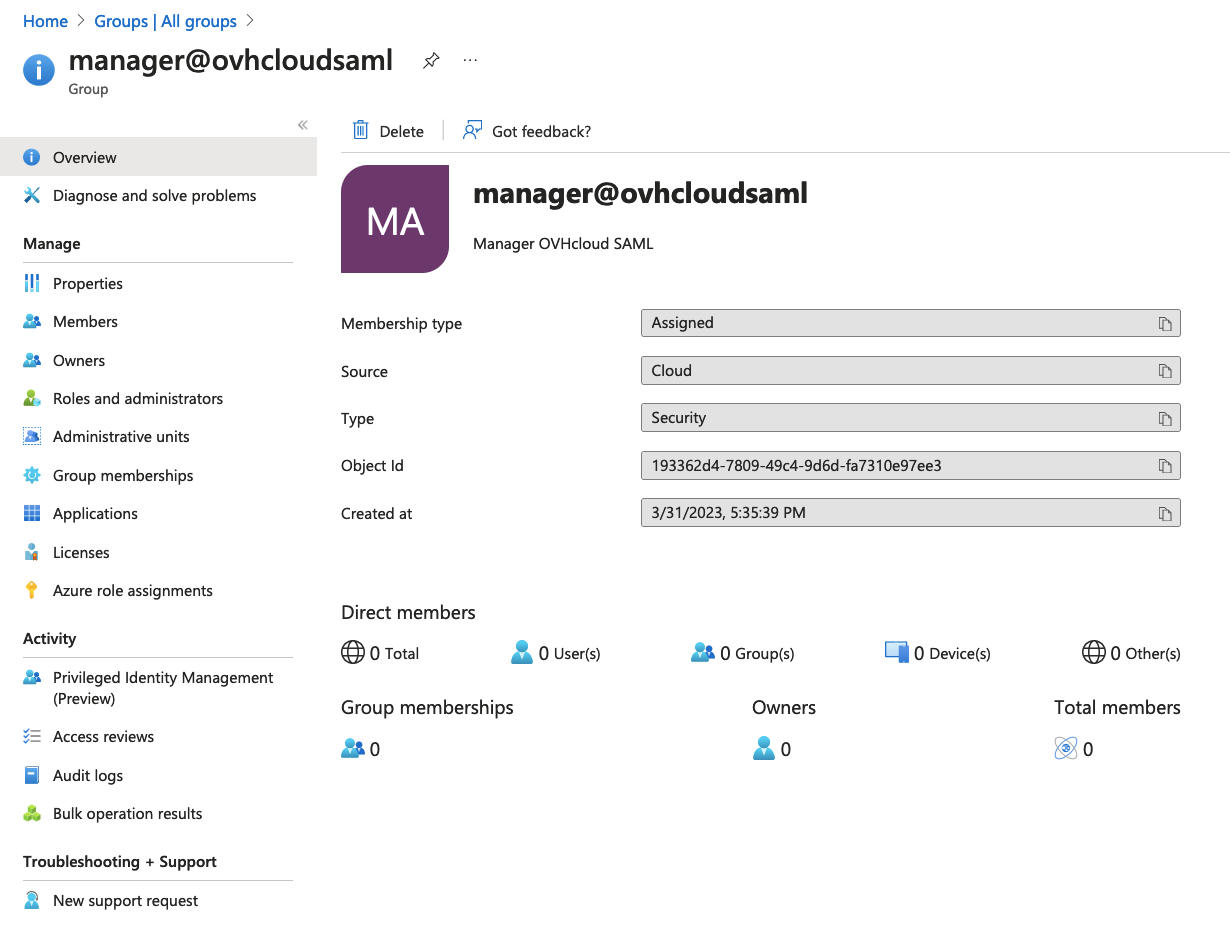
Click on the Create button to display all information about this group.
Now, users who will be used for SSO authentication must be added to a group.
In this example, let's link the user John Smith with the group manager@ovhcloudsaml.
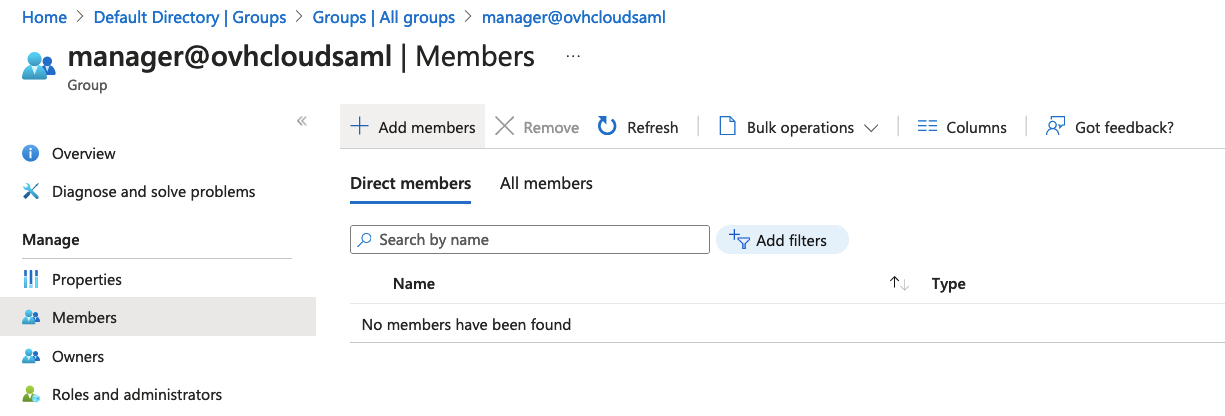
In the selected group interface, click on Members from the left-hand menu, then click Add members in the top menu.
Select the user to be added to this group, then click on the Select button.

Now we have a user assigned to a group.
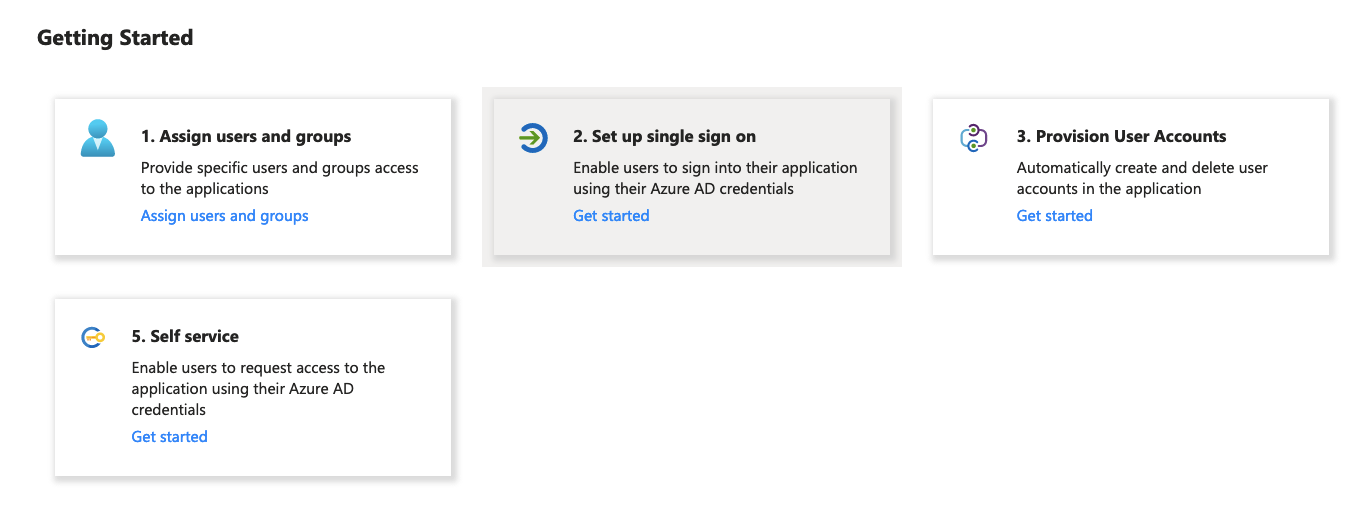
In order to perform SSO authentications, an Entra ID application must be created.
SSO must be configured on this application.
Entra ID applications
First of all, it is necessary to create an application if one does not yet exist.
Create an Entra ID application
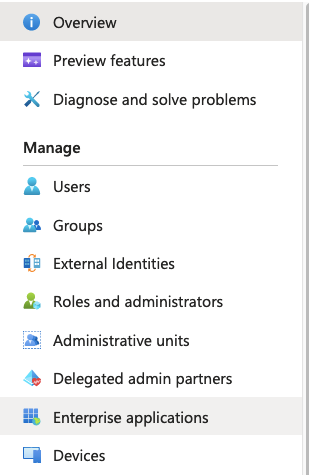
Click on Enterprise applications from the left-hand menu.
Click on New application in the top menu.

Click on Create your own application in the top menu.
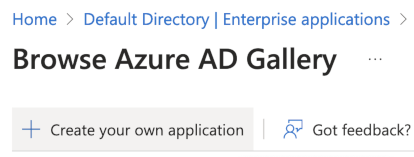
Select the Non-gallery from the left-hand menu, and click on the Create button.

The details of the application will then be displayed.
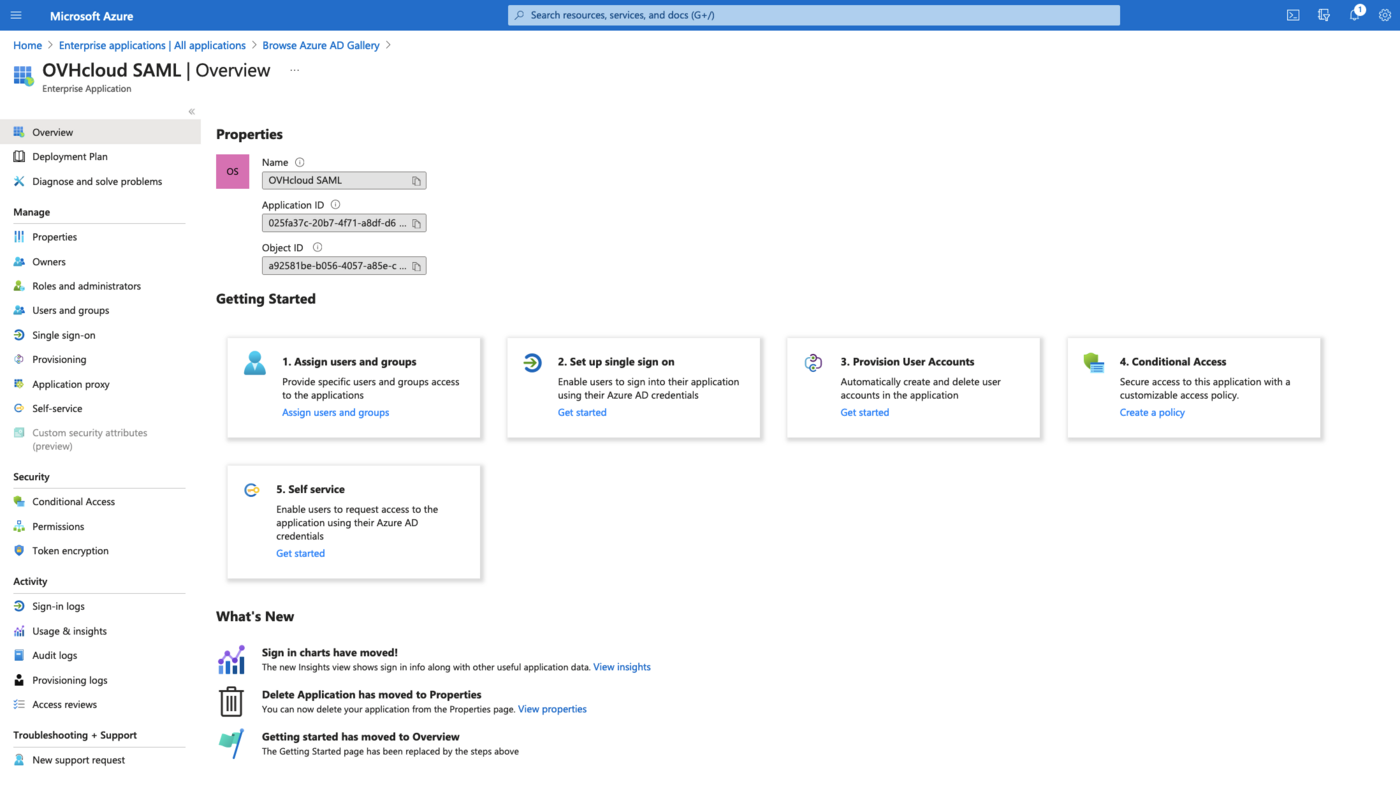
The Entra ID application is now created. Users who want to perform SSO authentications via this application must now be added to it.
Entra ID application - User assignment
In order for a user to perform an SSO authentication from an Entra ID application, it must be added to that application. It is therefore shown here how to add a user to an Entra ID application.
However, it is better to add a user group instead of users if you have Entra ID Premium.
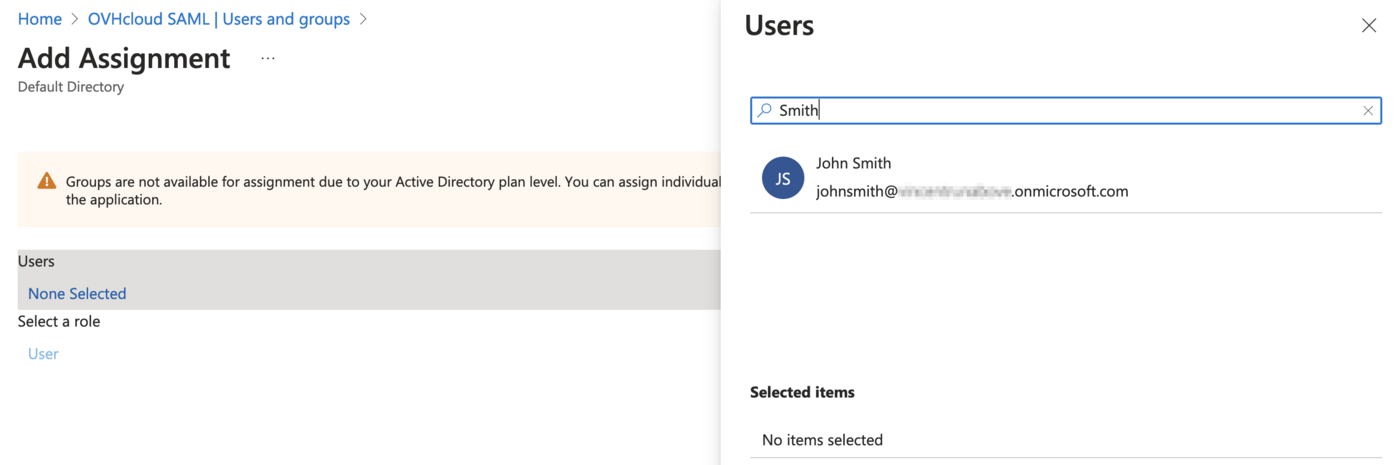
Click on Users and groups from the left-hand menu, then click Add user/group in the top menu.
Click then on the Users section, select the user to add to the application, and click on the Select button.
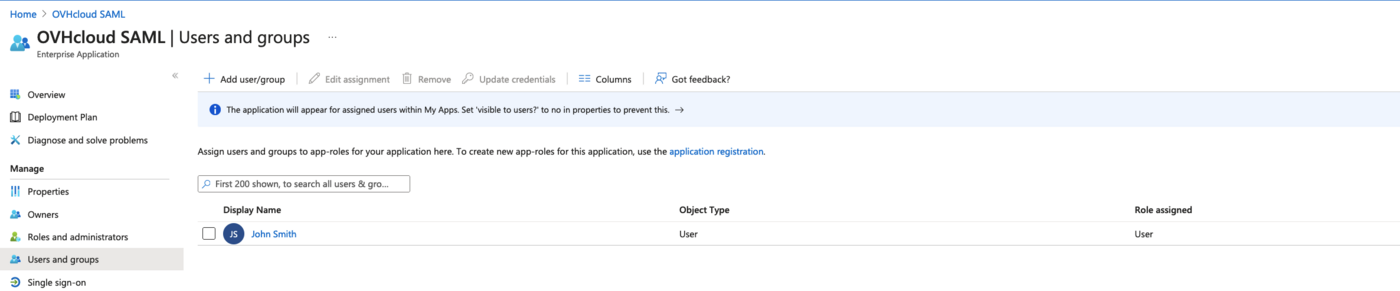
The application is created, a user has been assigned, all that remains is to set up the SSO via SAML.
Entra ID application SSO
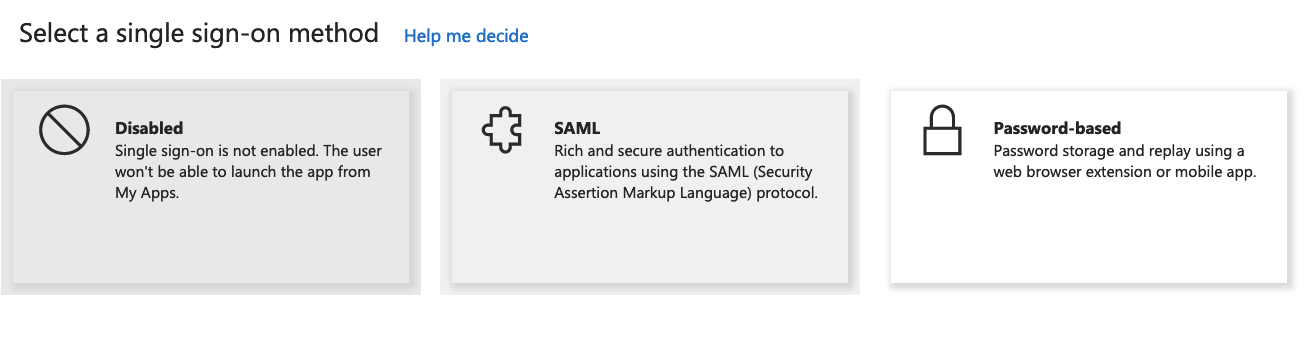
Get back to the overview via the Overview button from the left-hand menu, then click on the Set up single sign on section.
Click on the SAML section.
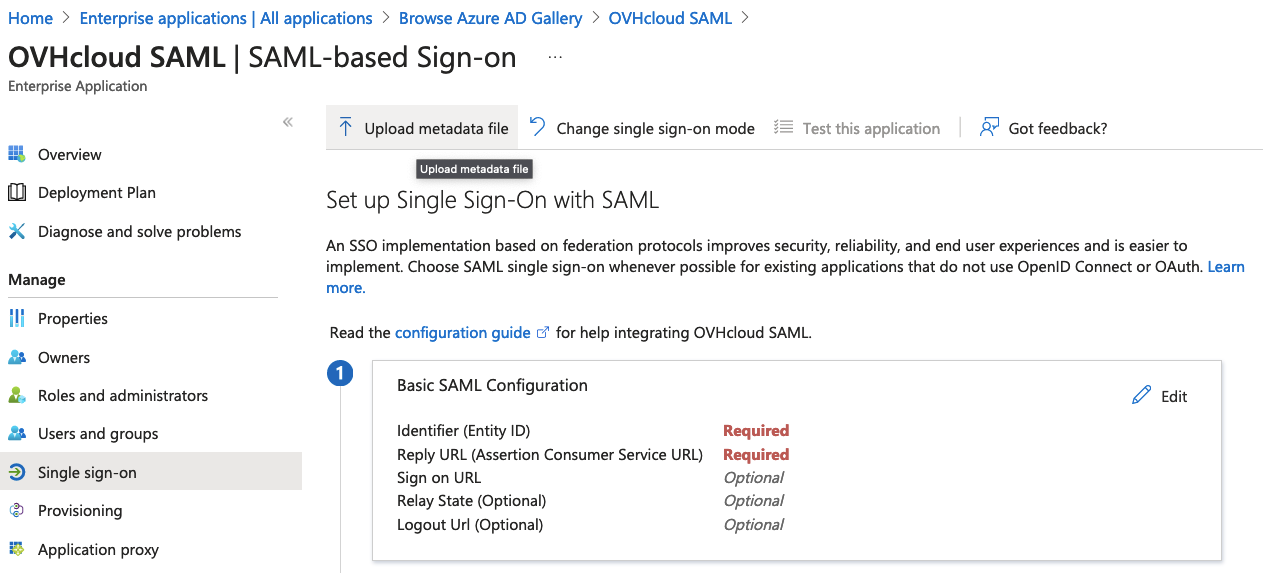
Click on Upload metadata file in the top menu.
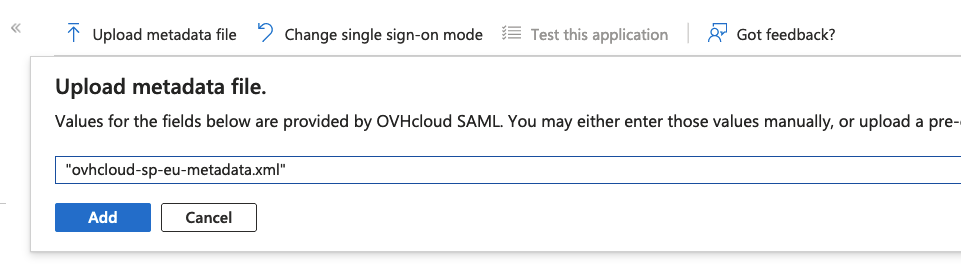
Click on the Select a file icon button, select the OVHcloud Service Provider metadata file and click on the Add button.
You can obtain the appropriate metadata file via the following links:
Download the metadata file, it will be necessary later.
The SAML configuration will be displayed.
In the Attributes & Claims section, click on the Edit button.
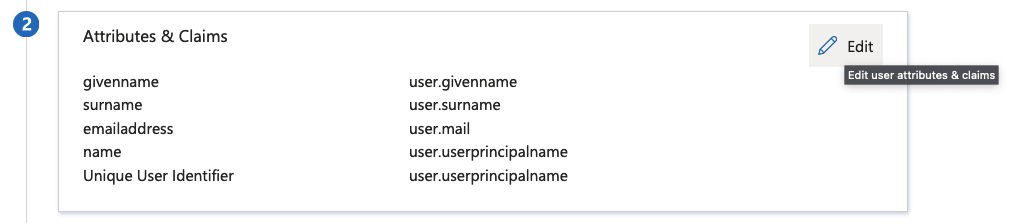
You now need to add a UPN (User Principal Name) attribute to SAML infos, in order to inform OVHcloud about the user's email. This step is mandatory.
Click on Add a new claim in the top menu.
Fill in the Name field with http://schemas.xmlsoap.org/ws/2005/05/identity/claims/upn.
Fill in the Source attribute field with user.mail.
Your interface should look like the following:

Click on Save.
Let's now declare the attribute for the user group.
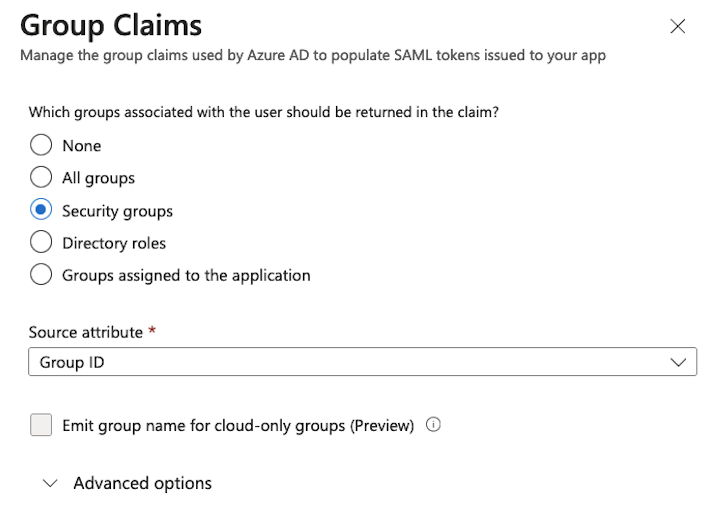
Click on Add a group claim in the top menu.
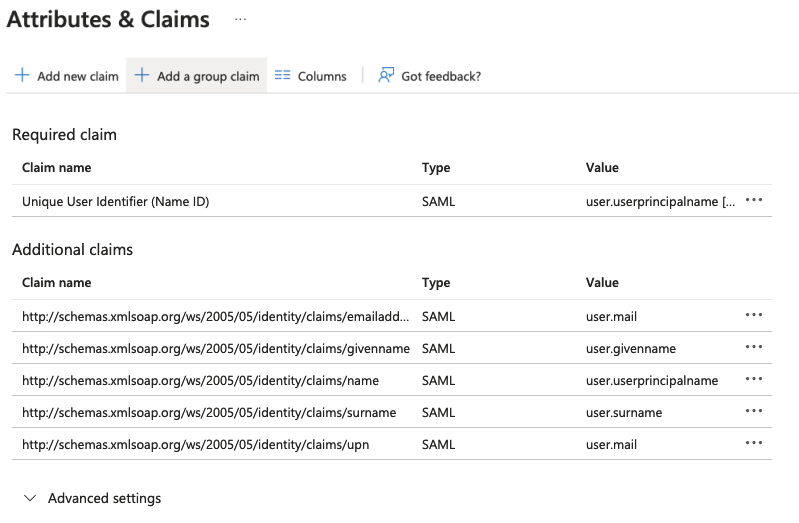
Select Security groups, and Group ID from the Source attribute and click on the Save button.
The groups claim should now appear in the list.
Copy and save the Claim name value somewhere (i.e a notepad), it will be necessary later.

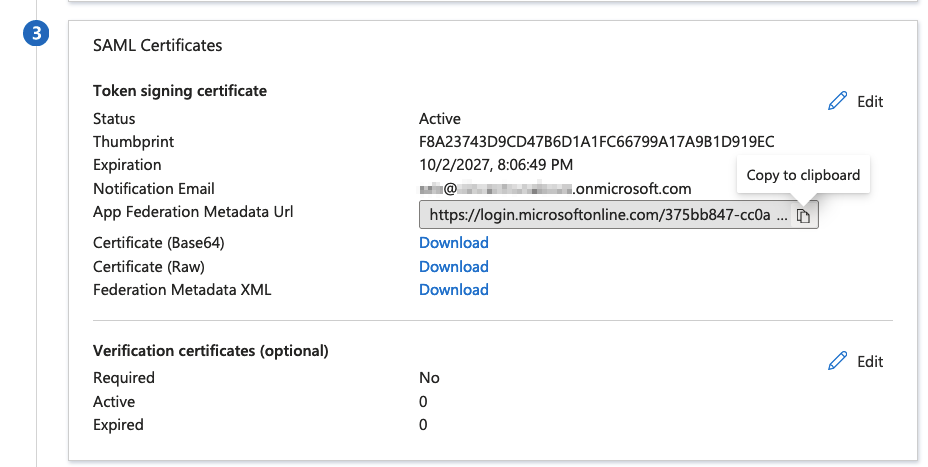
In the SAML certificates section, copy the App Federation Metadata Url field value.
Use this link to download the Entra ID application metadata file in order to use it later in the OVHcloud account.
Establishing OVHcloud account trust and configuring the connection
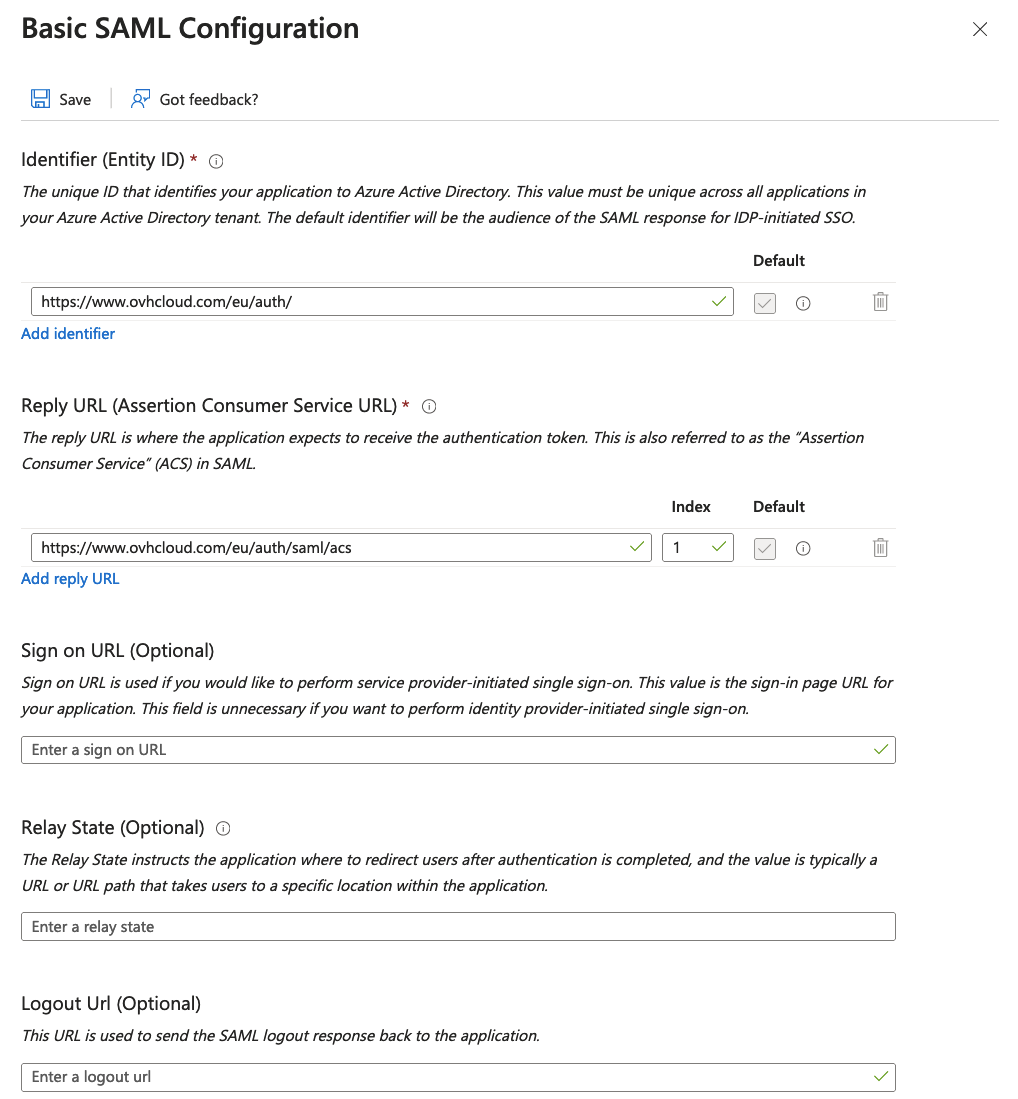
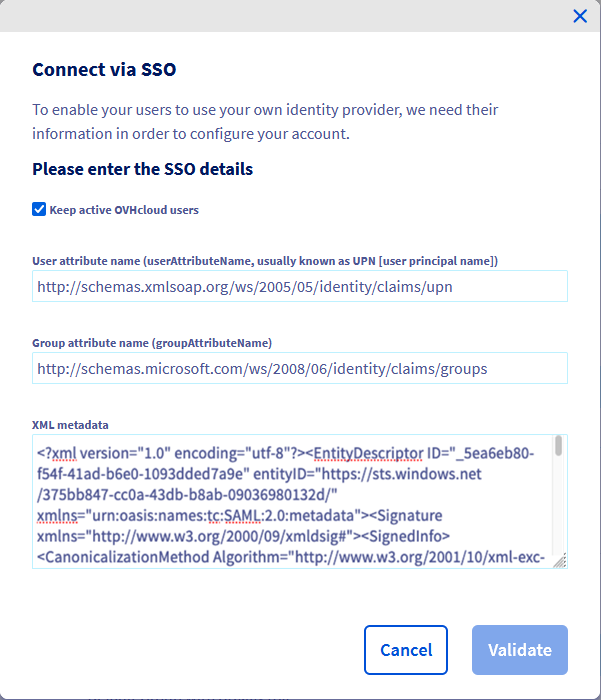
Adding your Entra ID application as a trusted identity provider is done on the SAML SSO page of your OVHcloud Control Panel, where you can provide the identity provider metadata.
Establish OVHcloud trust
Fill in the field User Attribute Name with the Entra ID application UPN claim name and enter the groups claim name value saved before into the field Group Attribute Name.
Fill in the XML metadata of your Entra ID application from the file saved before.
You can keep local users by ticking the Keep active OVHcloud users box.
Click on the Confirm button.
The trust of your Entra ID application as identity provider is thus established but you still have to add groups to your OVHcloud account.
If you try to connect at this stage via SSO, you will probably receive a Not in valid groups error message.
That is because your OVHcloud account checks if the authenticating user belongs to a group that actually exists on the account.
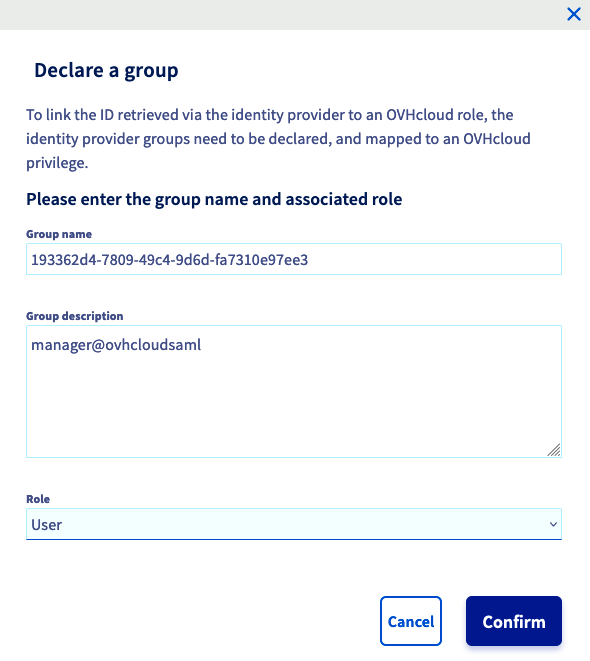
To resolve this, check the "Group" attribute that your Entra ID application returns: the Object Id field.
OVHcloud groups declaration
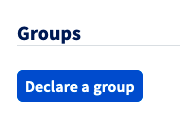
To add a group, go to the Identities section, then to the User groups tab. Then click the Declare a group:
Enter the group name and select the associated role, then click on Confirm.
The created group should appear on the list.

Warning: if you give the NONE role, you will need to assign permissions to this group via the IAM policies.
Connect via SSO
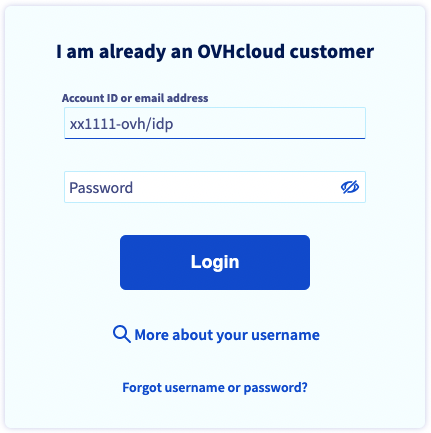
On the OVHcloud login page, enter your NIC handle followed by /idp without entering a password, and click the Login button.
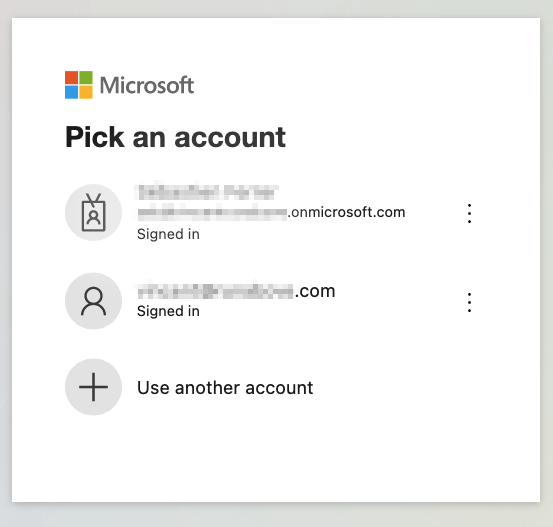
You are then redirected to your Entra ID application login page. Select Use another account.
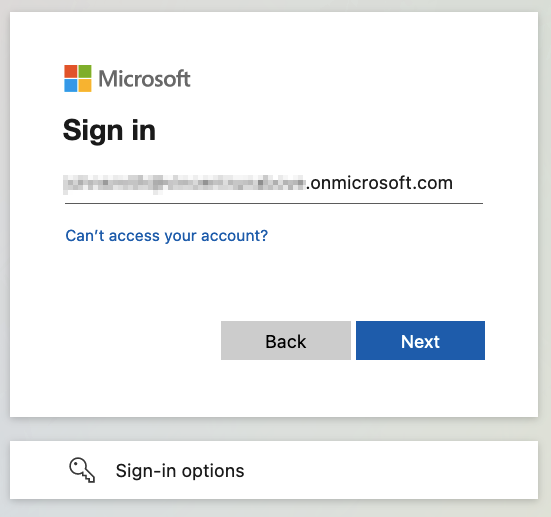
Enter the Entra ID application user email and click on the Next button.
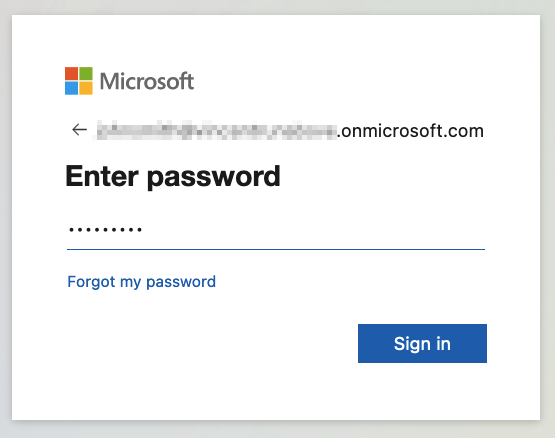
Enter the Entra ID application user password and click on the Sign In button.
You are now logged in with the same NIC handle, but via your Active Directory user and using your Entra ID application SSO.
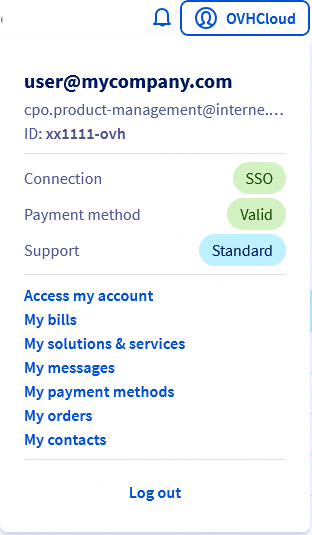
If your email does not appear below Connected via SSO, this means you have not configured the UPN attribute properly, and some of the features will not work in a correct manner.
Go further
How to use IAM policies using the OVHcloud Control Panel.
Join our community of users.

