Tutorial - Installing Pico manually
234 Views
Objective
With the CMS (Content Management System) Pico, you can create websites quickly. Designed to create and manage content easily through Markdown files, Pico is ideal for designing personal websites, portfolios or small business projects.
Find out how to manually install the Pico CMS on your OVHcloud web hosting plan.
Requirements
Instructions
Prepare for installation
To install the Pico CMS on your web hosting, you will need to make some preparations.
Follow the full set of steps described in our tutorial on installing a CMS manually before continuing on to the next step.
Finalize manual installation
Before continuing with the installation, clear your web browser cache to avoid any errors.
Go to your Pico website via your browser
Enter your domain name in the search bar of your web browser.
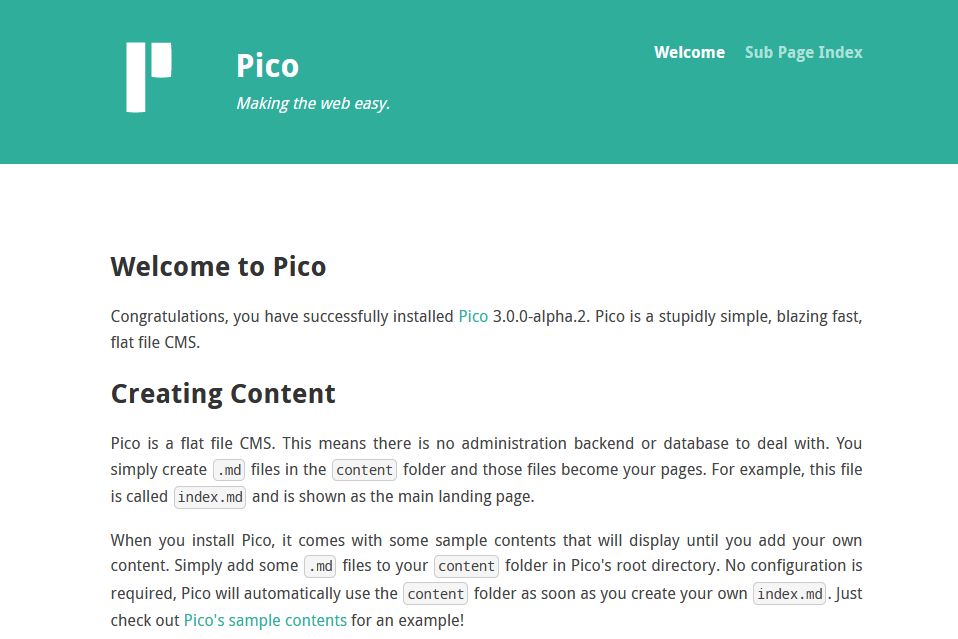
If the Pico source files were placed correctly in your root folder, the following page appears:
Pico is a file-based CMS, which means that all configuration and content creation is done directly by modifying the files on the server. Here are the steps to follow in order to configure and customize your Pico website.
Understand the structure of Pico folders
After installation, you will find several folders and files in the main Pico directory. The most important ones are:
content/: Contains your content's Markdown files.config/: Contains the configuration fileconfig.ymlfrom Pico.themes/: Contains the themes of your website.assets/: Contains static resources such as images, CSS, JavaScript scripts, etc.plugins/: Contains the plugins you want to use.
Basic configuration
1. Configure your website: Open the file config/config.yml with a text editor. Here, you can configure basic settings for your website, such as title, description, URL, or themes.
2. Change the title and description of your website: Search for the lines for site_title: and site_description: in the config/config.yml file to update the title and description of your website.
3. Change the title and description of your website: If you have a specific domain name, search for the line for base_url: in the config/config.yml file to update your website’s domain name. Otherwise, leave the default value: ~.
Add content
1. Create pages: To add a new page to your website, create a new Markdown (.md) file in the content/ folder. The file name will determine the URL of the page. For example, about.md will be accessible at http://yourdomain.tld/about.
2. Write content: Open the Markdown file with a text editor and start writing your content. Use Markdown syntax to format your text, create links, insert images, and more. For example, if you want to edit your website's main page (home), open the index.md file and insert the content of your choice.
3. Check content: Markdown files must have a valid YAML header. If the header is missing or badly formatted, Pico may not recognize it as a valid page. An example of a valid YAML header is:
Customize the theme
1. Select a theme: Pico is installed with a default theme, but you can download others from the Pico official website or create your own.
2. Edit Theme: To change the theme, update the theme: section in the config/config.yml file with the name of the theme folder you want to use.
3. Customize the theme: You can edit the theme files in themes/yourtheme/ to customize the look of your website. This may include editing HTML Twig, CSS, and JavaScript files.
Add plugins
Pico allows you to extend its features with plugins.
1. Find plugins: Visit Pico's official website to access the list of available plugins.
2. Install a plugin: Download the plugin and place it in the plugins/ folder of your Pico installation.
3. Configure the plugin: Some plugins require additional configuration in config/config.yml. Follow the instructions provided with the plugin.
Conclusion
You have just manually installed the Pico CMS on your OVHcloud web hosting plan. After configuring your website, adding content, customizing the theme and installing plugins, your Pico website is accessible online via your domain name.
Go further
Tutorial - Installing WordPress manually
Tutorial - Installing Joomla! manually
Tutorial - Installing Drupal manually
Tutorial - Installing PrestaShop manually
Tutorial - Installing Typo3 manually
Tutorial - Installing Grav manually
Tutorial - Installing SPIP manually
Tutorial - Manually install a CMS on my hosting plan
For specialised services (SEO, development, etc.), contact OVHcloud partners.
Join our community of users.

