Tutorial - Installing Grav manually
336 Views
Objective
The CMS (Content Management System) Grav enables websites to be developed quickly. Designed for optimized content management across Markdown files, Grav is perfect for creating personal websites or small business projects, without compromising on quality or customization.
Find out how to manually install the Grav CMS on your OVHcloud web hosting plan.
Requirements
Instructions
Prepare for installation
To install the Grav CMS on your web hosting, you will need to make some preparations.
Follow the full set of steps described in our tutorial on installing a CMS manually before continuing on to the next step.
Finalize manual installation
Before continuing with the installation, clear your web browser cache to avoid any errors.
Go to your Grav website via your browser
Enter your domain name in the search bar of your web browser.
If the Grav source files were placed correctly in your root folder, the configuration page appears under your-domain/admin:
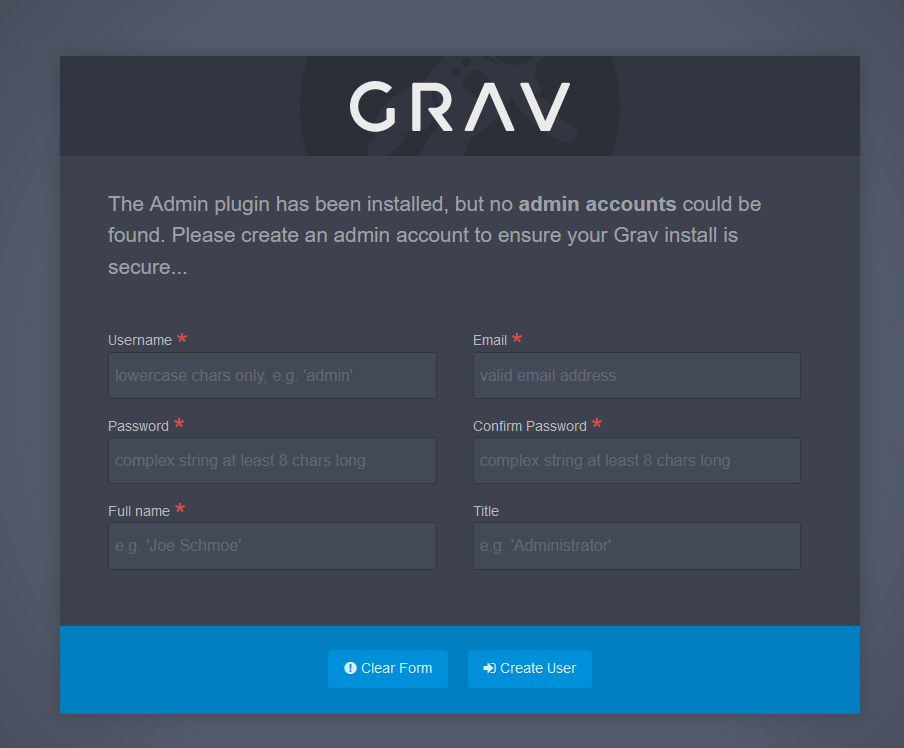
Fill in the form to create an admin user, then click Create User to confirm.
Once you have logged in to the Grav administration interface, start customizing your website.
Customize your Grav website
Once you are logged in as an administrator on the Grav dashboard, you have access a multitude of options to configure and customize your website.
General website configuration
System configuration
In the main menu of Grav, click Configuration, then in the Site tab, change the name of your website, set the default language, or configure several settings related to your website.
To improve performance for your website, enable the cache. Click on the System tab, then Caching. Identify the Caching line and tick Yes.

Media configuration
In the main menu of Grav, choose Configuration, then in the System tab, click Media. On this page, define the behavior of your website’s media, such as images, videos, and documents.
Content management
Pages
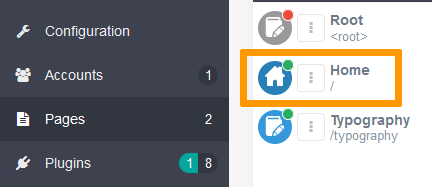
In the main menu of Grav, click Pages to see a list of all the pages on your website. Create new pages, modify existing ones, and organize the structure of your website.
To view and edit the contents of a page, click the name of the page in the list. For example, click Home to change the title of your website’s main page, as well as its content.
Themes
In the main menu of Grav, click Themes to change the appearance of your website. Install new themes or select a previously installed theme as the active theme.
To change the active theme, click the theme labeled Active Theme.
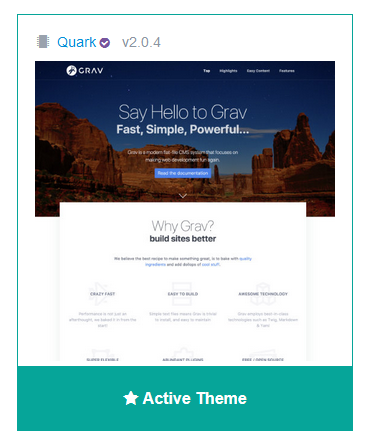
On the page that opens, customize your active theme.
Backup and update
Backup
By backing up your website, you can restore it to an earlier state, in the event of a technical issue.
In the main menu of Grav, click Tools, select Backup Now in the top right-hand corner of the screen that appears, then Download Backup to download the backup of your website to your computer. By refreshing the Backup page, your backup will appear in the Backup History list.

Update
Keeping your system up-to-date is vital to the security and performance of your website. In the main menu of Grav, click Check for Updates to discover the available updates.
Conclusion
You have just manually installed Grav CMS on your OVHcloud web hosting plan. After configuring your website, adding content and customizing the theme, your Grav website is accessible online via your domain name.
Go further
Tutorial - Installing WordPress manually
Tutorial - Installing Joomla! manually
Tutorial - Installing Drupal manually
Tutorial - Installing PrestaShop manually
Tutorial - Installing Pico manually
Tutorial - Installing Typo3 manually
Tutorial - Installing SPIP manually
Tutorial - Manually install a CMS on my hosting plan
For specialised services (SEO, development, etc.), contact OVHcloud partners.
Join our community of users.

