OVF Tool
1059 Views
Objective
OVFTOOL is an export/import tool for VMs using the OVF format (compatible with Windows, Linux and Mac).
This guide offers a step by step study case on how to use this tool.
Requirements
- Being an administrative contact of your Hosted Private Cloud infrastructure to receive login credentials
- A user account with access to vSphere (created in the OVHcloud Control Panel)
Instructions
We will use the OVFTOOL v4.0 under Linux Debian.

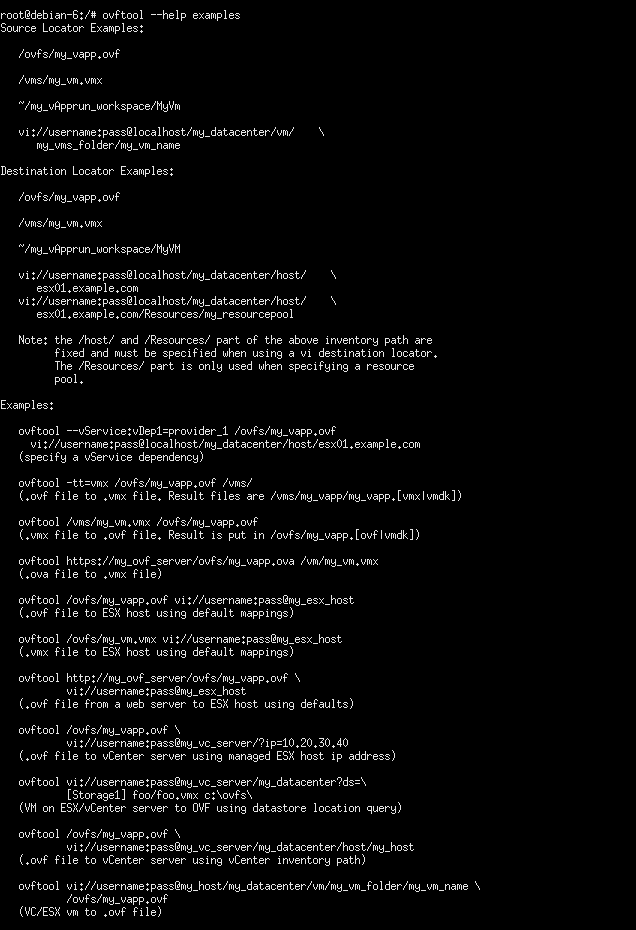
Use the ovftool --help command to see the application help file and ovftool --help examples for examples.
We will proceed with an export of an .ovf virtual machine in pcc-37-187-228-180.ovh.com called SQL3.
Before the export, shut the VM down using the vftool powerOffSource command as shown below.
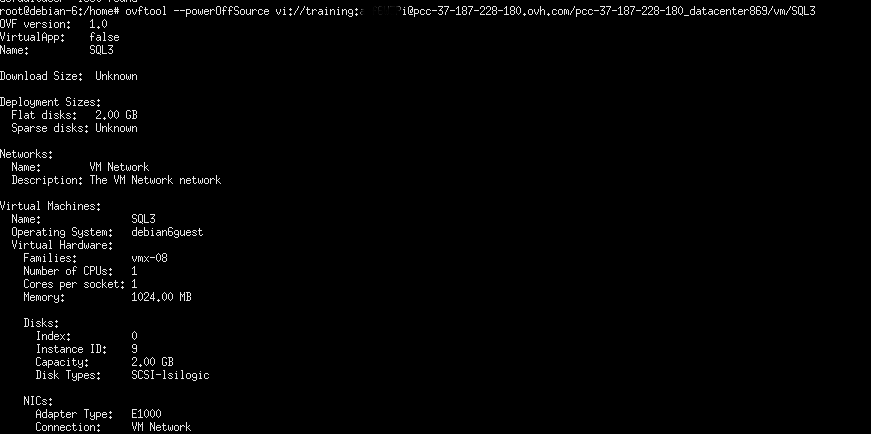
In the vCenter recent tasks, you can see the VM being shut.
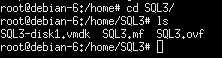
We can now export the VM. Type in the following command:
ovftool vi://user:password@Dedicatedcloud/datacentre/vm/vmname /destination

Export happens and is successful.
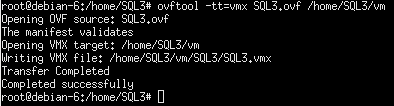
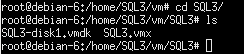
To convert an .OVF file into a .VMX one, use the ovftool -tt=vmx file.ovf /destination/ command.
To import the VM in your infrastructure, you need to indicate the destination datastore ovftool -ds=datastore file.ovf

The virtual machine is now deployed in your environment.
Finally, migrating SQL3 to a new Hosted Private Cloud (transfer does not require a third party machine).

Go further
Join our community of users on https://community.ovh.com/en/.

