Shelve or pause an instance
1511 Views
Objective
As part of the configuration of a high-availability infrastructure, you may need to cut access to your instances to perform different tests. OpenStack allows you to suspend, pause or shelve your instance. In each case, your IP is maintained.
The naming of these options in the OVHcloud Control Panel is different from the naming in OpenStack/Horizon. If you are doing this via the OVHcloud Control Panel, make sure you select the right option.
This guide explains how to shelve, pause or suspend your instance.
Requirements
- An OVHcloud Public Cloud instance on hourly billing
- Access to the Horizon interface
- Knowledge of OpenStack API and OpenStack variables
OVHcloud Control Panel Access
- Direct link: Public Cloud Projects
- Navigation path:
Public Cloud> Select your project
Instructions
Scope: This guide applies to all Public Cloud instances, regardless of their billing model (hourly or monthly).
Monthly billing: An instance that remains shelved for the entire month will not be billed. As soon as the instance is unshelved, even briefly, the full month’s billing applies.
Note: As long as the instance is not deleted, any operation will continue to incur instance charges.
The table below allows you to differentiate the options available on your instances. Continue reading this guide by clicking on the option of your choice. We put the terminology used in the Horizon interface in brackets.
| Term | Description | Billing |
|---|---|---|
| Suspend (shelve) | Retains the resources and data in your disk by creating a snapshot, all other resources are released. The main IP is also maintained | You are only billed for the snapshot. |
| Turn off (suspend) | Stores the VM state on disk, the resources dedicated to instance are still reserved. | You will still be billed the same price for your instance. |
| Pause | Stores the state of the VM in RAM, a paused instance becomes frozen. | You will still be billed the same price for your instance. |
Content overview
- Suspend (shelve) an instance
- Reactivate (unshelve) an instance
- Turn off (suspend) an instance
- Pause an instance
Suspend (shelve) an instance
Please note that suspending an IOPS or T1/T2-180 instance will result in the loss of data on the NVMe passthrough drives.
Suspending this type of instance leads to its decommissioning from the host, and therefore from the disks in passthrough.
This option releases the resources dedicated to your Public Cloud instance, but the IP address will remain. The data on your local disk will be stored in a snapshot automatically created once the instance is shelved. Data stored in the memory and elsewhere will not be retained.
From the OVHcloud Control Panel
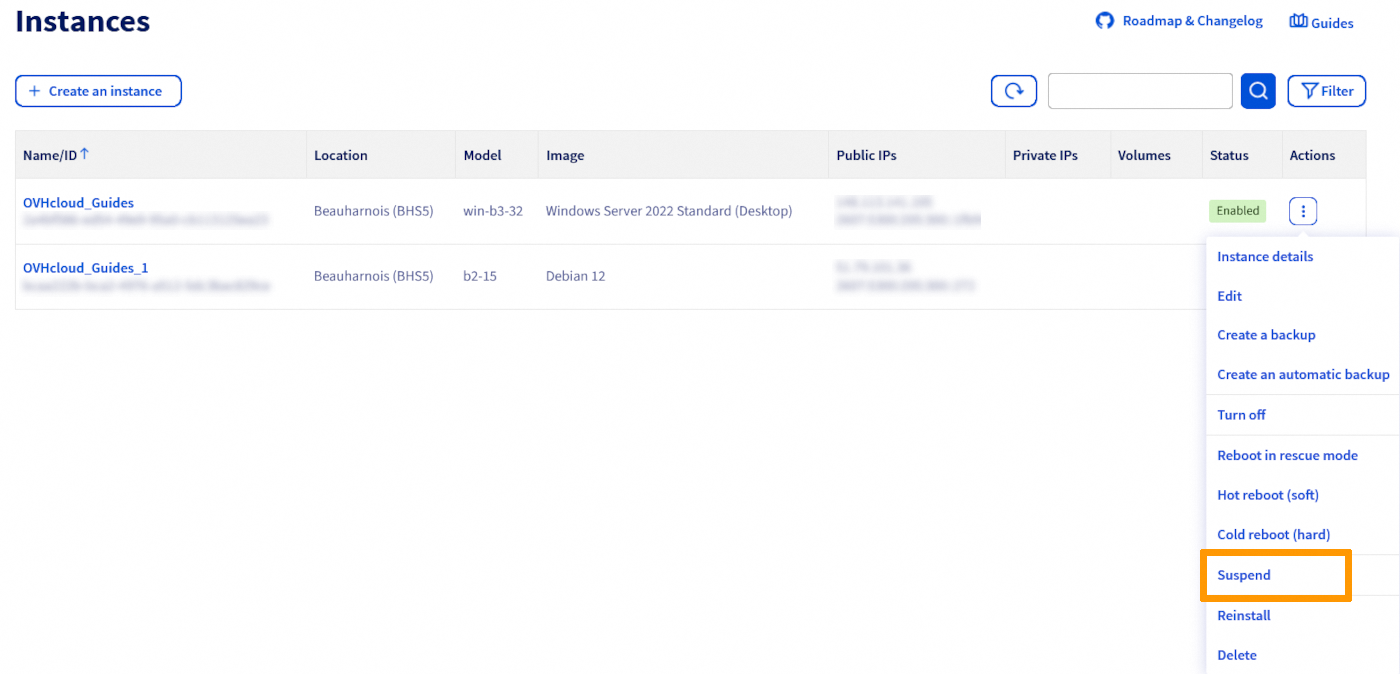
In the OVHcloud Control Panel, select your project from the Public Cloud section. Click on Instances in the left side menu.
Click on the ⋮ button to the right of the instance you want to suspend, then click on Suspend.
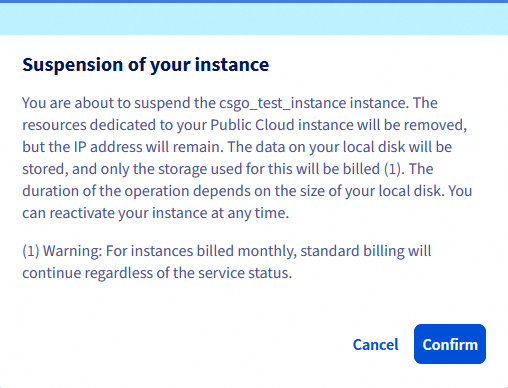
In the pop-up window, take note of the message and click on Confirm.
A message will appear while the operation is in progress:

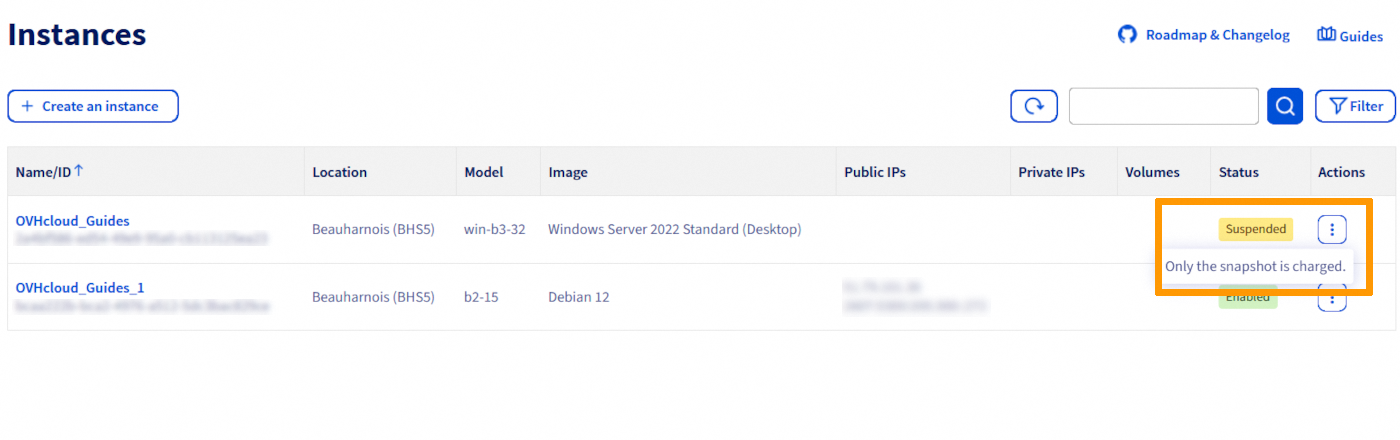
Once the process is completed, your instance will now appear as Suspended.
To view the snapshot, click on Instance Backup underneath the Compute tab in the left side menu. A snapshot named xxxxx-shelved will now be visible:

From the Horizon Interface
To proceed, you need to log in to the Horizon interface:
-
To log in with OVHcloud Single Sign-On: use the
Horizonlink in the left-hand menu under "Management Interfaces" after opening yourPublic Cloudproject in the OVHcloud Control Panel. -
To log in with a specific OpenStack user: open the Horizon login page and enter the OpenStack user credentials previously created, then click on
Connect.
If you have deployed instances in different regions, make sure you are in the correct region. You can verify this on the top left corner in the Horizon interface.
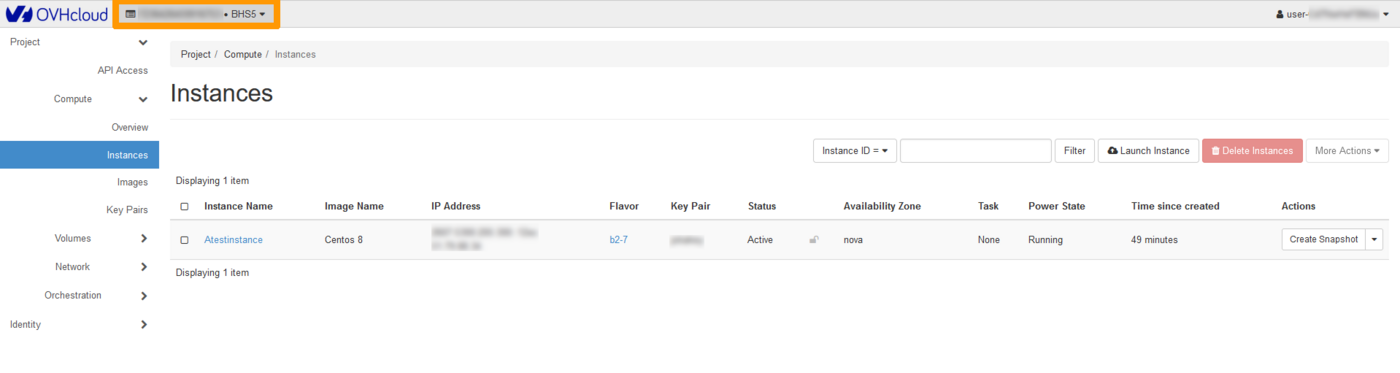
Click on the Compute menu on the left side and select Instances. Select Shelve Instance in the drop list for the corresponding instance.
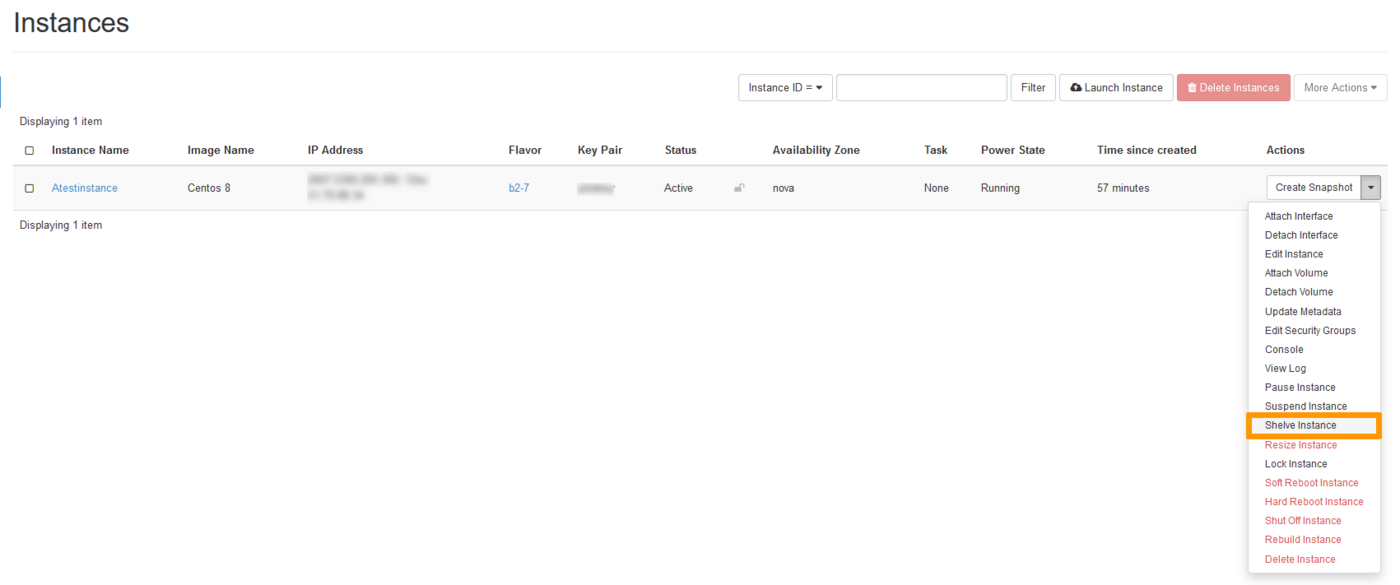
Once the process is completed, your instance will now appear as Shelved Offloaded.

To view the snapshot, in the Compute menu, click on Images.

Using OpenStack/Nova APIs
Before proceeding, it is recommended that you consult these guides:
Once your environment is ready, type the following at the command line:
Reactivate (unshelve) an instance
This option will allow you to re-up your instance so that you can continue using it. Please note that once this is done, the regular billing will resume.
Any actions on the snapshot other than unshelve can be very dangerous for your infrastructure in case of misuse. Once you unshelve an instance, the snapshot is automatically deleted. It is not recommended to deploy a new instance from any snapshot created as a result of shelving (suspending) an instance.
OVHcloud is providing you with machines that you are responsible for. We have no access to these machines, and therefore cannot manage them. You are responsible for your own software and security management. If you experience any issues or doubts when it comes to managing, using or securing your server, we recommend that you contact a specialist service provider.
From the OVHcloud Control Panel
In the OVHcloud Control Panel, select your project from the Public Cloud section and click on Instances in the left side menu.
Click on the ⋮ button to the right of the instance, then click on Reactivate.
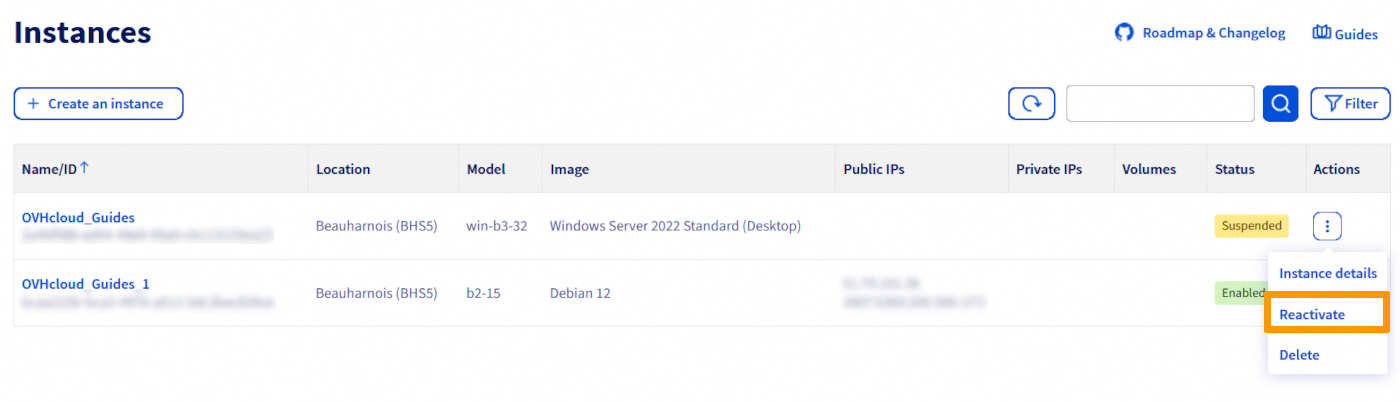
In the pop-up window, take note of the message and click on Confirm.
Once the process is completed, the status of your instance will now appear as Enabled.
From the Horizon interface
In the Horizon interface, click on the Compute menu on the left and then select Instances. Select Unshelve Instance in the drop list for the corresponding instance.

Once the process is completed, your instance will now appear as Active.
Using OpenStack/Nova APIs
Once your environment is ready, type the following at the command line:
Turn off (suspend) an instance
This option shuts down your instance and stores the VM state on disk, including memory.
From the OVHcloud Control Panel
In the OVHcloud Control Panel, select your project from the Public Cloud section and click on Instances in the left side menu.
Click on the ⋮ button to the right of the instance you want to stop, then click on Turn off.
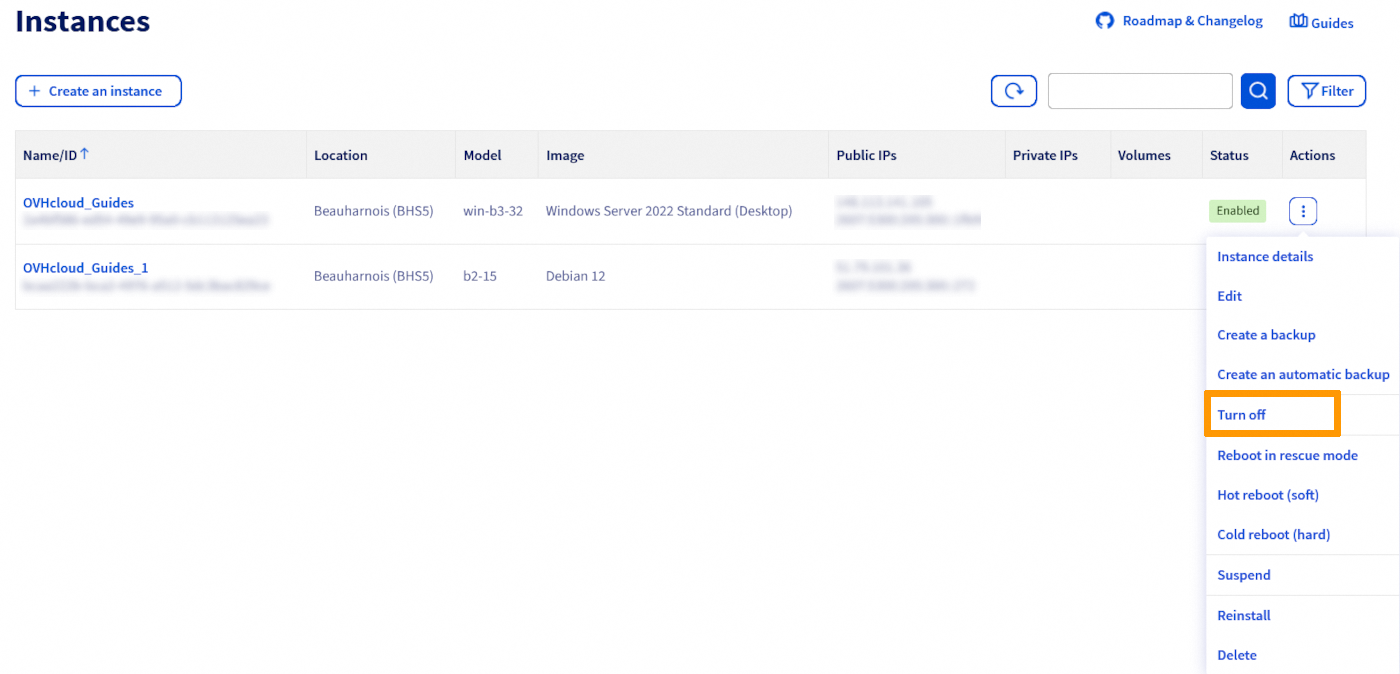
In the pop-up window, take note of the message and click on Confirm.
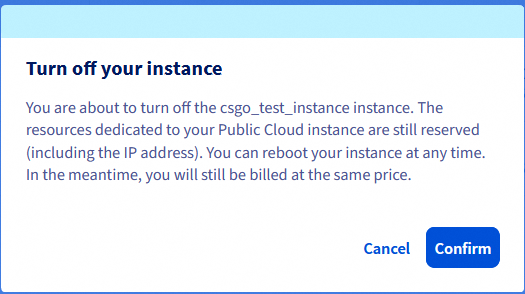
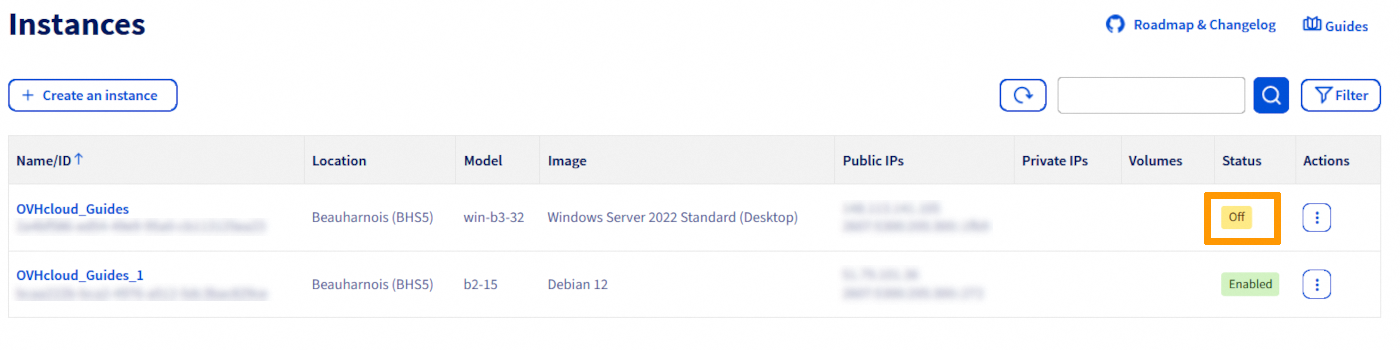
Once the process is completed, your instance will now appear as Off.
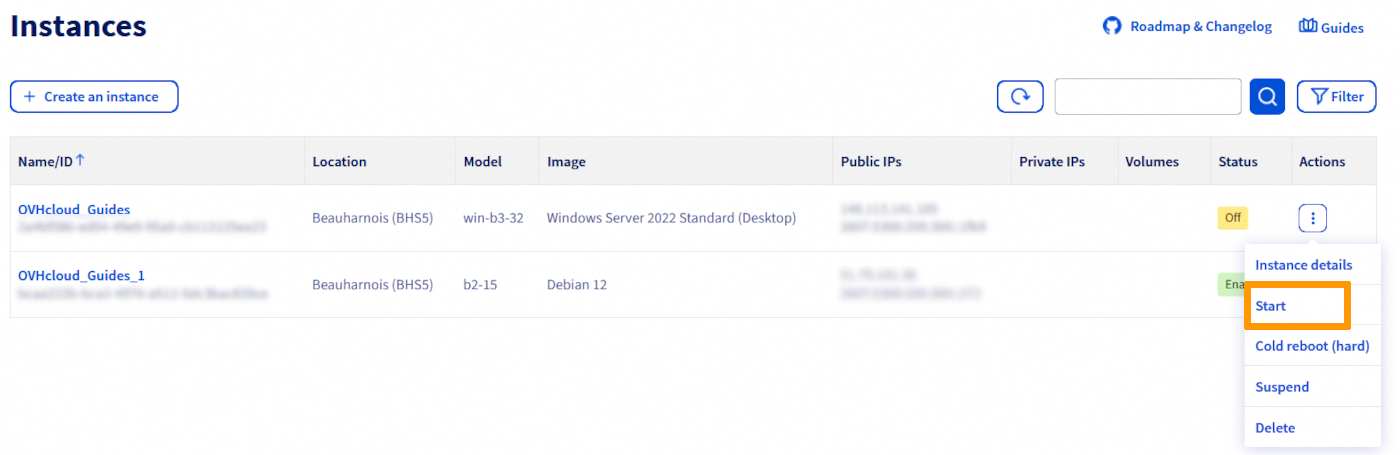
To resume the instance, perform the same steps as mentioned above. Click on the ⋮ button to the right of the instance and select Start. In some cases, you might need to do a cold reboot.
Once the process is completed, the status of your instance will now appear as Enabled.
From the Horizon interface
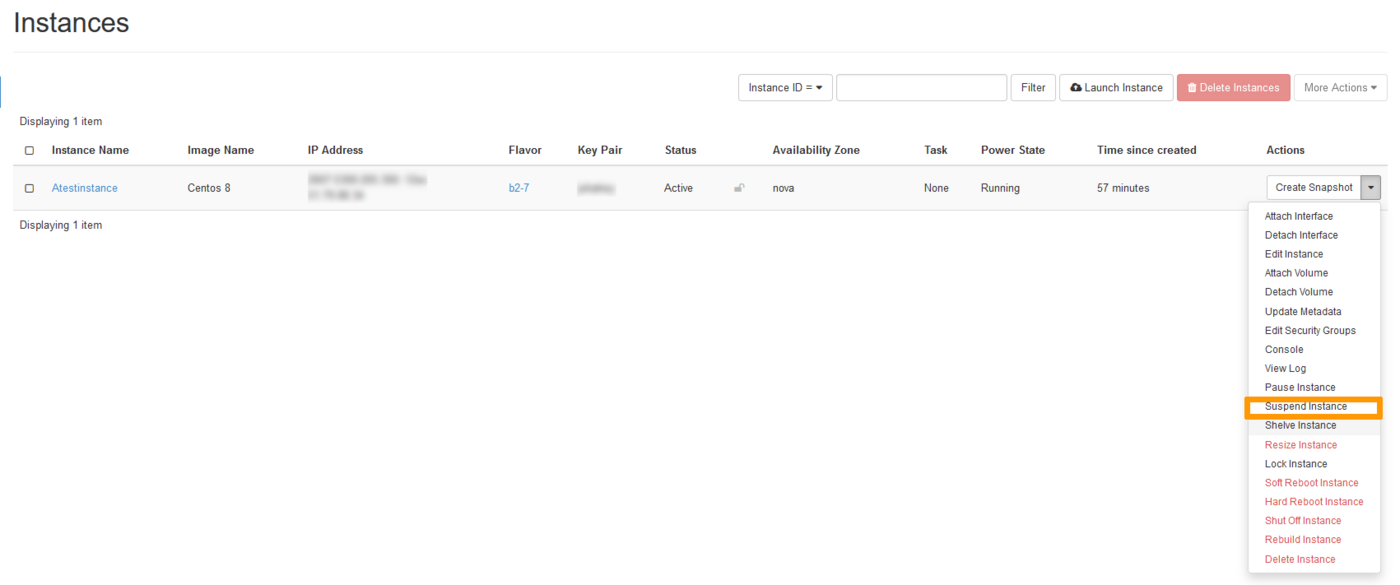
In the Horizon interface, click on the Compute menu on the left and then select Instances. Select Suspend Instance in the drop list for the corresponding instance.
The confirmation message will appear, indicating that the instance has been suspended.
To resume the instance, perform the same steps as mentioned above. In the drop list for the corresponding instance select Resume Instance.
Using OpenStack/Nova API
Once your environment is ready, type the following at the command line:
To resume the instance, type the following at the command line:
Pause an instance
This action is only possible in the Horizon interface or via the OpenStack/Nova API. It allows you to freeze your instance.
From the Horizon Interface
In the Horizon interface, click on the Compute menu on the left and then select Instances. Select Pause Instance in the drop list for the corresponding instance.

The confirmation message will appear, indicating that the instance has been paused.
To unpause the instance, perform the same steps as mentioned above. In the drop list for the corresponding instance select Resume Instance.
Using OpenStack/Nova APIs
Once your environment is ready, type the following at the command line:
To unpause the instance, type the following at the command line:
Go further
Join our community of users.

