Preparing an environment for using the OpenStack API
5013 Views
Objective
You can manage Public Cloud services using commands sent from the system console, once you have downloaded and installed OpenStack tools.
With the OpenStack API, you can automate your management by generating scripts.
OpenStack requires Python >=3.8.
This guide describes the installation of the package python-openstackclient which bundles the command line for the majority of OpenStack projects.
The Octavia project (which powers the Public Cloud Load Balancer) is not included. Hence you have to run pip3 install python-octaviaclient on top of the installation instructions found below.
If you need to manage secrets with Barbican, you will need to install an additional package with pip3 install python-barbicanclient.
Find out how to install these OpenStack tools.
Requirements
- Root access to the environment you want to configure
Instructions
On Debian
Open the terminal and connect to the environment you want to prepare via SSH.
Update the packet cache using the apt update command:
Use the command below to install the OpenStack client:
After you have completed this step, we recommend creating a special user without root access.
To access the help tools, run the following command:
The documentation for the OpenStack API is available here.
On CentOS
Open the terminal and connect to the environment you want to prepare via SSH.
Update the packet cache using the following command:
Use the command below to install the OpenStack client:
After you have completed this step, we recommend creating a special user without root access.
To access the help tools, run the following command:
The documentation for the OpenStack API is available here.
On Windows
Download and install Python version 3.12.0. You can choose to add the Python programming language automatically to Path, by ticking this option in the installation configuration:

You can also install it yourself. To do this, follow the actions described below:
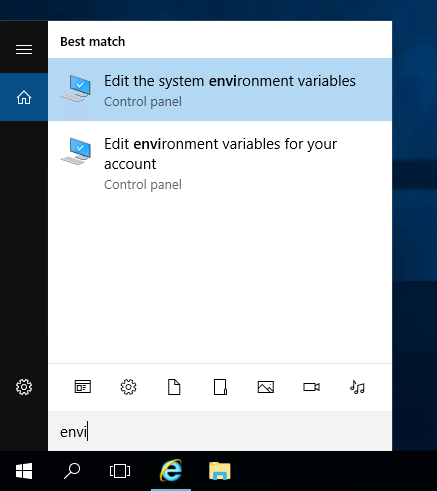
Step 1: Edit the system’s environment variables.
Search for the system’s environment variable settings, and go to “Edit the system environment variables”:
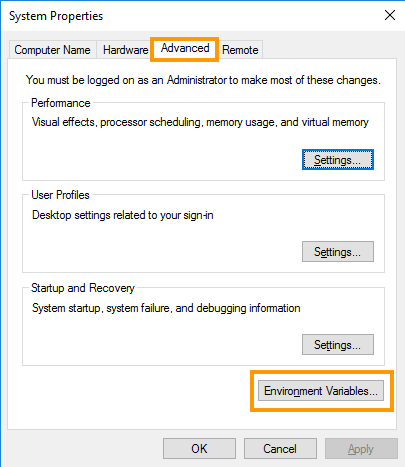
Step 2: Edit the system settings.
Go to the Advanced tab, and click Environment Variables to edit the settings.
Step 3: Configure the environment variables.
In the ‘System variables’ section, select ‘New’, attribute the name “PYTHON_HOME”, and add the access path to Python.
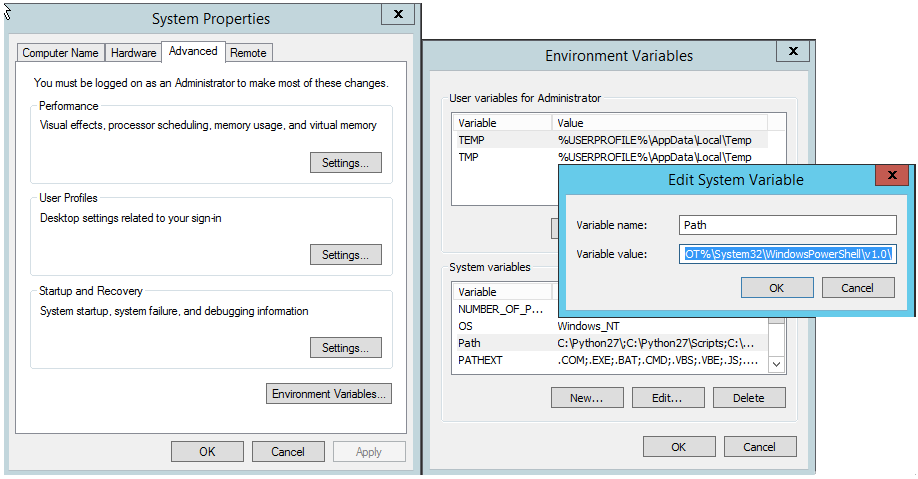
Step 4: Add the path for the variables.
Once you have added Python, edit the ‘Path’ field in the system variables, and add the following to the end of the path:
...;%PYTHON_HOME%\;%PYTHON_HOME%\Script
Step 5: Restart Windows.
The changes you have made will become effective after the system has been rebooted.
Step 6: Install the OpenStack client.
As an administrator, open the program in the command line (CMD), and install the OpenStack client using the following command:
If the operation is completed properly, you will see a summary:
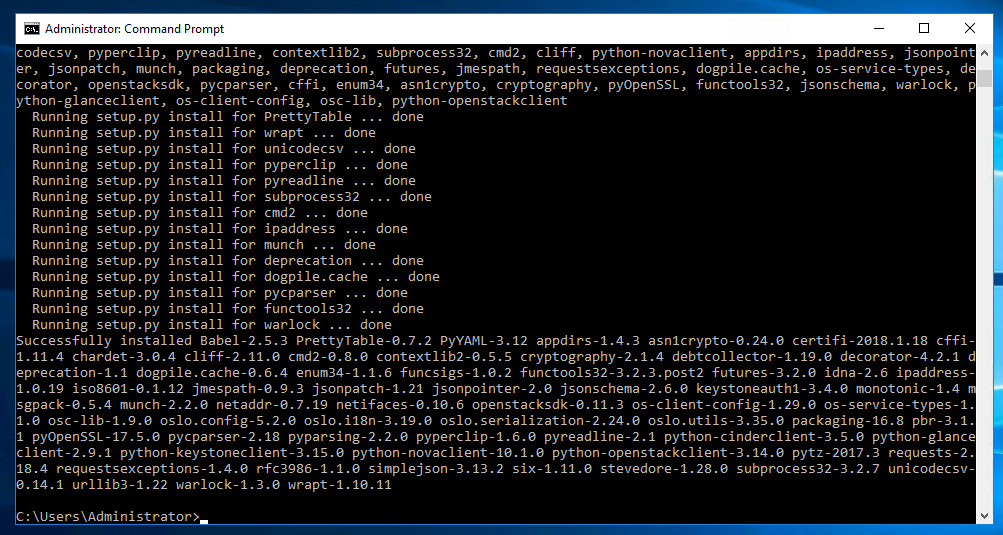
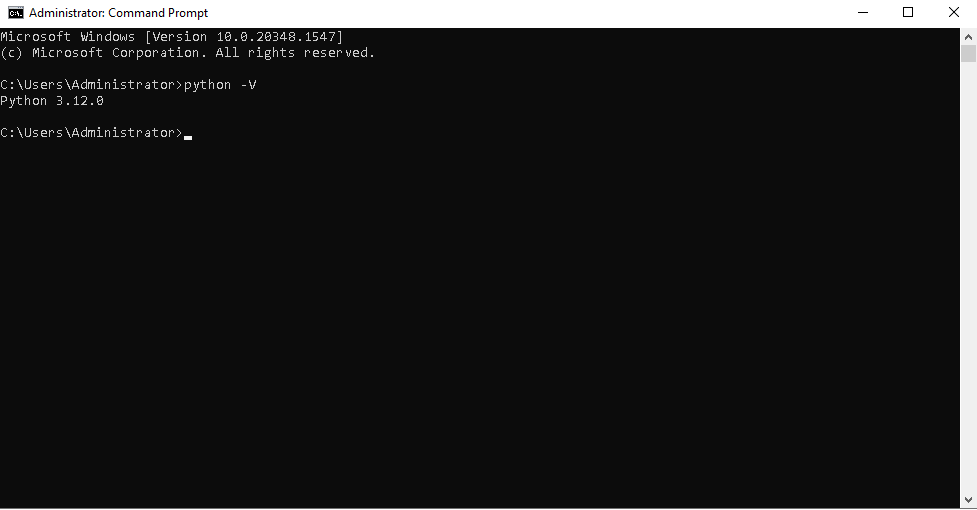
You can check the installation version in the CMD (command line) window that has just opened, by entering python -V from any system location.
On MacOS
You can use HomeBrew, a package manager for MacOS.
Open the terminal and execute the following command:
To access the help tools, run the following command:
Go further
Setting OpenStack environment variables
Join our community of users.

