How to assign a tag to a Bare Metal server
84 Views
Objective
Tags are labels that can be attributed to your resources, allowing you to organize and manage them more efficiently.
Each tag consists of two parts:
- Key: Represents an attribute or category.
- Value: Corresponds to the information associated with that key.
For example, you can categorize your resources by site, service, or even security level. Using tags can make it easier to search, organize your resources, manage associated costs, and apply policies with the desired granularity.
This guide explains how to create, assign and delete tags for each dedicated server from the OVHcloud Control Panel.
Requirements
- A dedicated server in your OVHcloud account.
OVHcloud Control Panel Access
- Direct link: Dedicated Servers
- Navigation path:
Bare Metal Cloud>Dedicated servers> Select your server
Instructions
Assign a tag to a dedicated server via the OVHcloud Control Panel
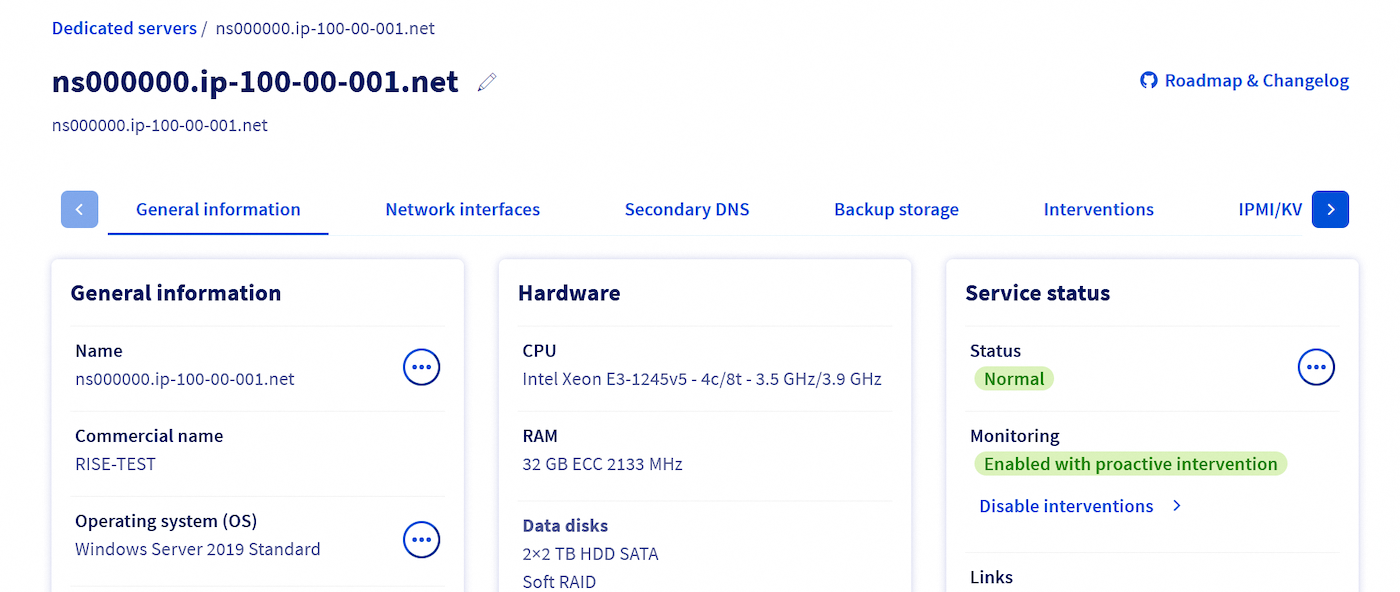
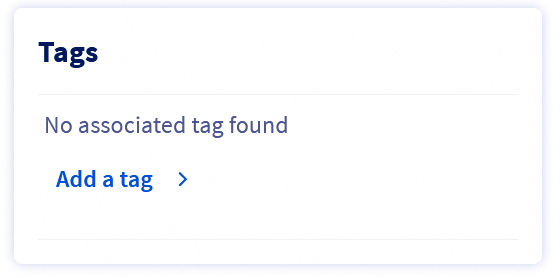
In the Tags box, click Add a tag.
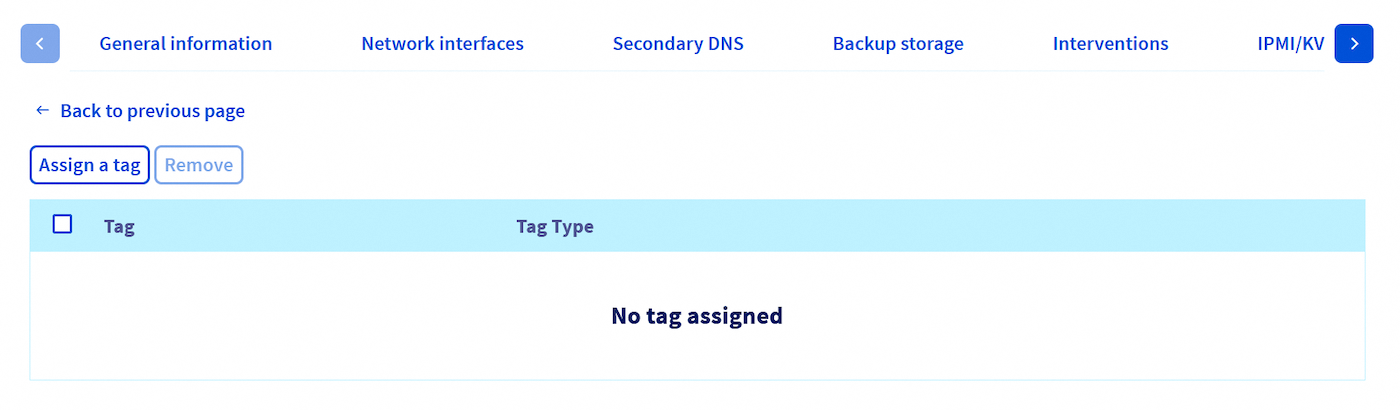
You are automatically pointed to the Tags tab.
Click the Assign a tag button.
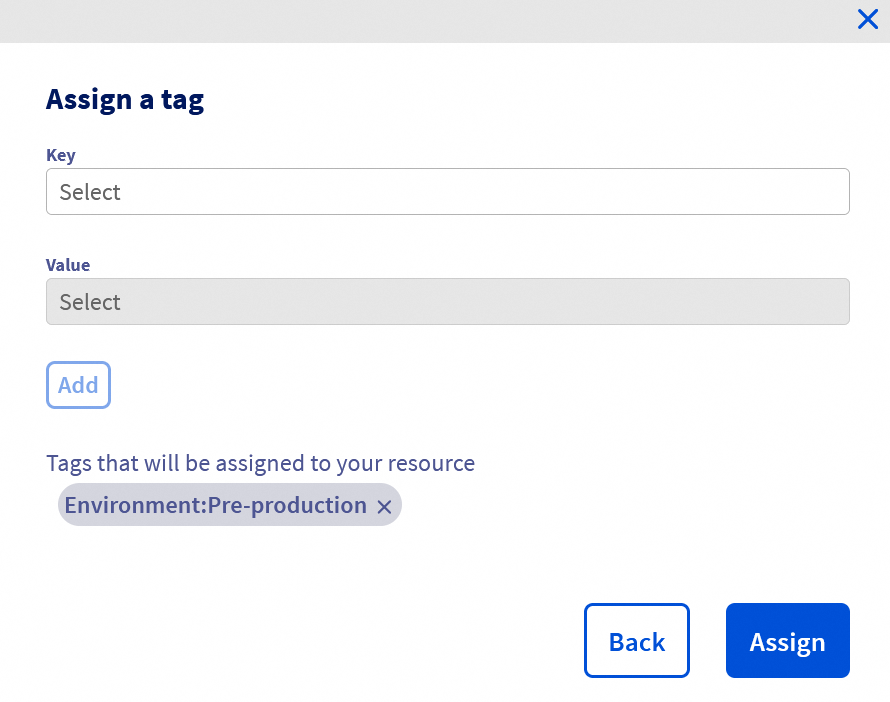
In the window that pops up, click in the Key field to open the dropdown menu, then select the key you want.
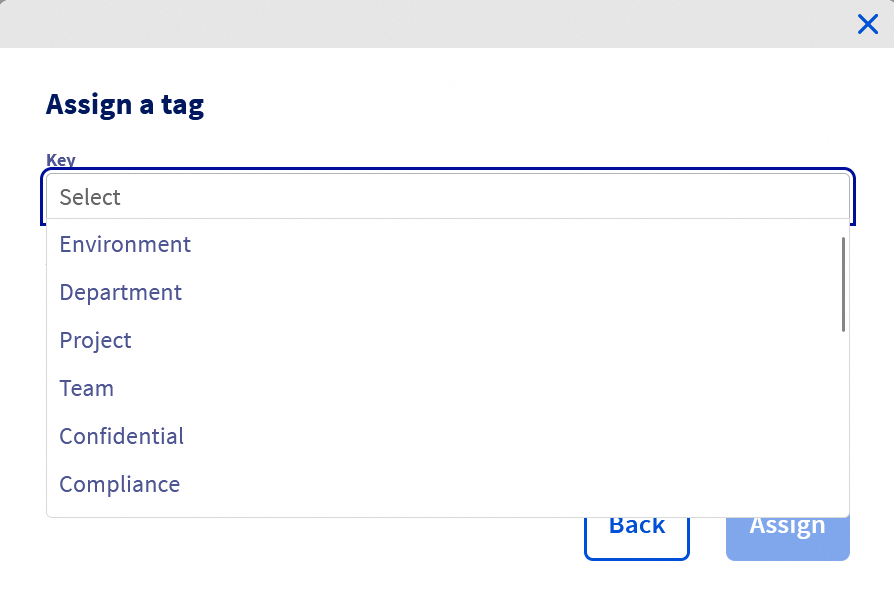
Next, click in the Value field and select the appropriate value from the dropdown menu.

If you want to use a key or value that does not yet exist, you can create it by entering it, then clicking Add your-value, where "your-value" corresponds to the text you have entered.
Finally, click the Add button to create the tag, then click the Assign button in the lower right-hand part of the window.
You will receive a green confirmation message, then see the list of tags applied to the chosen server.

Delete a tag on a dedicated server
To find the list of tags assigned to your server:
- Log in to your OVHcloud Control Panel.
- Go to the
Bare Metal Cloudsection. - Click
Dedicated serversand select your server from the list. - Go to the
Tagstab.
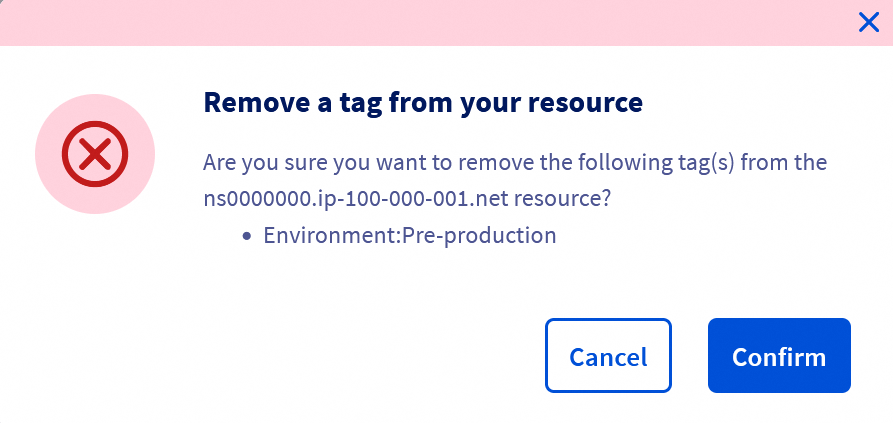
Click the ... button, to the right of the tag you want to remove from your server.
Then click Remove.

A confirmation window will appear. Click the Confirm button to unassign the tag.
Go further
Join our community of users.
-
Secure Shell (SSH) : un protocole de réseau sécurisé utilisé pour établir des connexions entre un client et un serveur. Il permet d'exécuter des commandes à distance de manière sécurisée. ↩

