Tutorial - Installing SPIP manually
162 Views
Objective
The CMS (Content Management System) SPIP is a solution adapted to editorial websites such as online magazines, newspapers or institutional websites. With its modular architecture and customizable skeleton system, SPIP allows you to design feature-rich websites, while offering a wide range of customization options.
Find out how to manually install the SPIP CMS on your OVHcloud web hosting plan.
Requirements
- An OVHcloud web hosting plan that includes at least one database
- A domain name
Instructions
Prepare for installation
To install the SPIP CMS on your web hosting, you will need to make some preparations.
Follow the full set of steps described in our tutorial on installing a CMS manually before continuing on to the next step.
Finalize manual installation
Before continuing with the installation, clear your web browser cache to avoid any errors.
Accessing your SPIP website via your browser
Enter your_domain/ecrire in the search bar of your web browser to start the installation of your SPIP website. The following page appears:
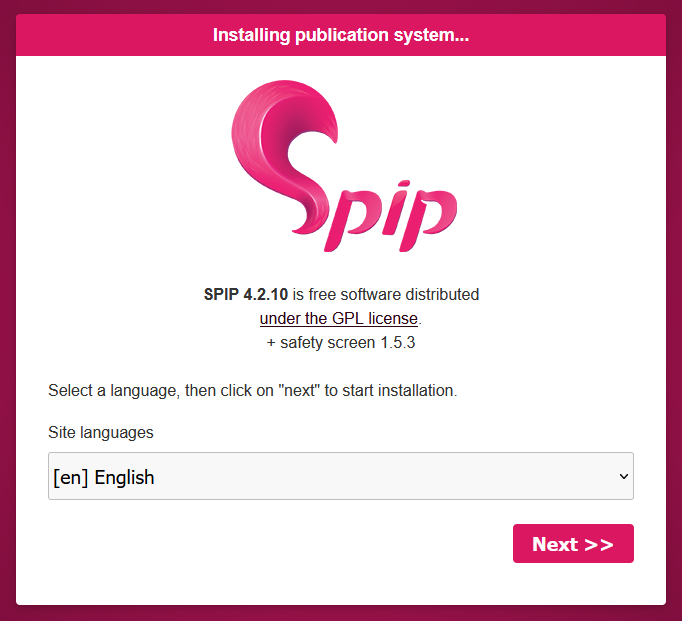
Select the language of your SPIP website and click Next to confirm. The following screen appears:
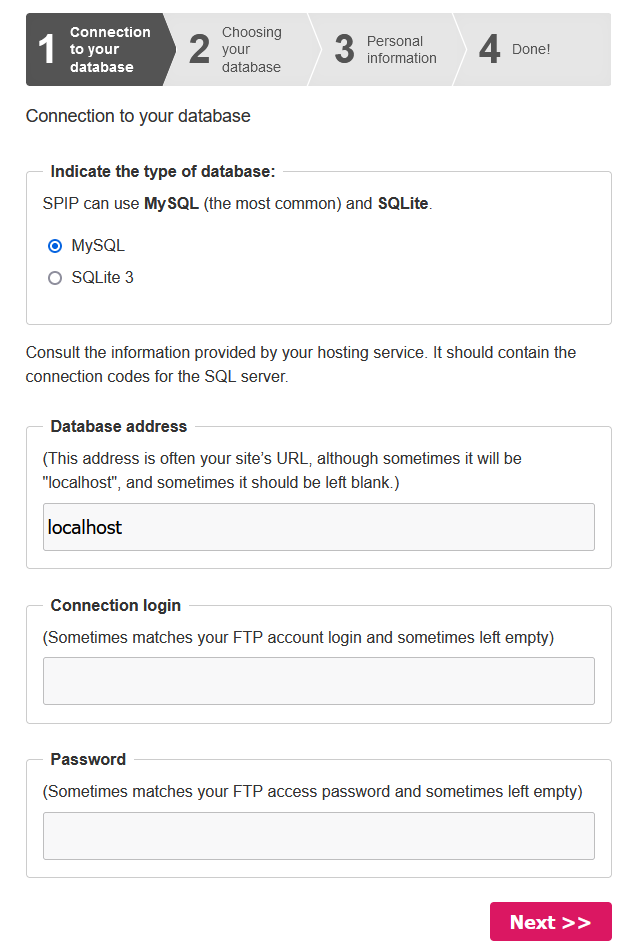
Enter the information to connect to your DBMS (MySQL, for example). Once you have successfully connected your database, the following screen will appear:
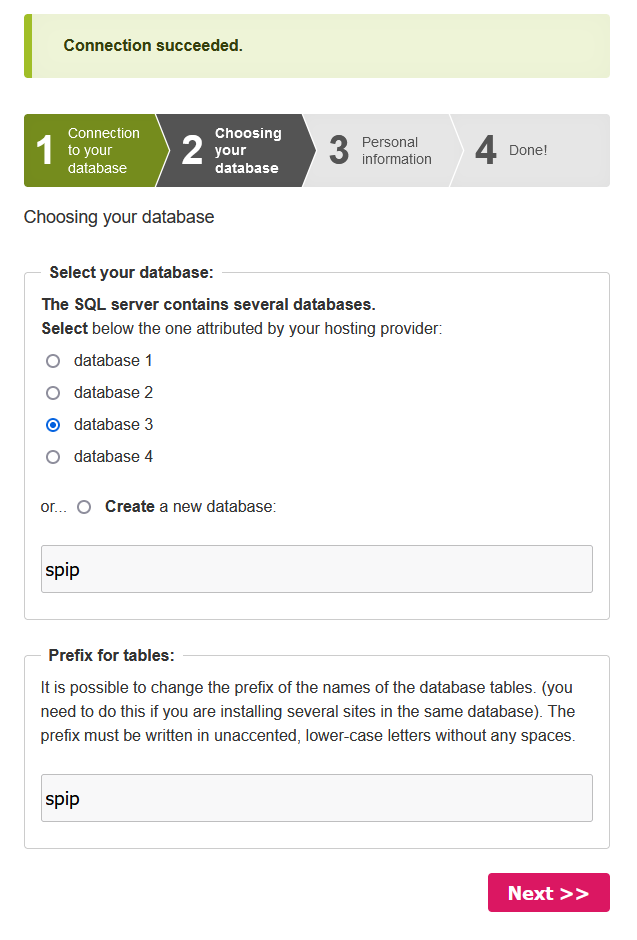
Select the database you want to use for your website or create a new one. Choose a prefix for your database tables. By default, the prefix spip is used. Click Next to confirm. The following screen appears:
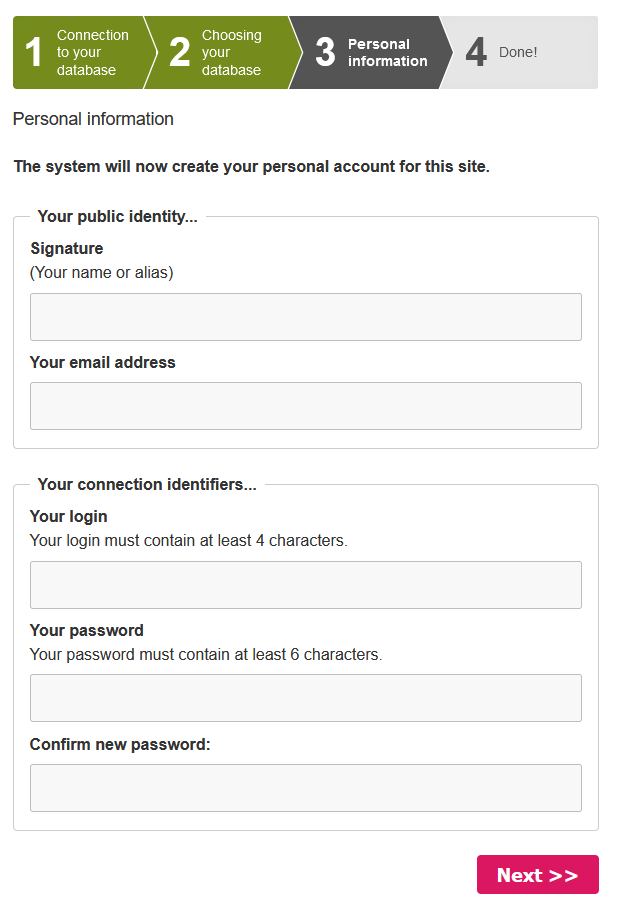
Enter the information requested and click Next to confirm. The following screen appears:
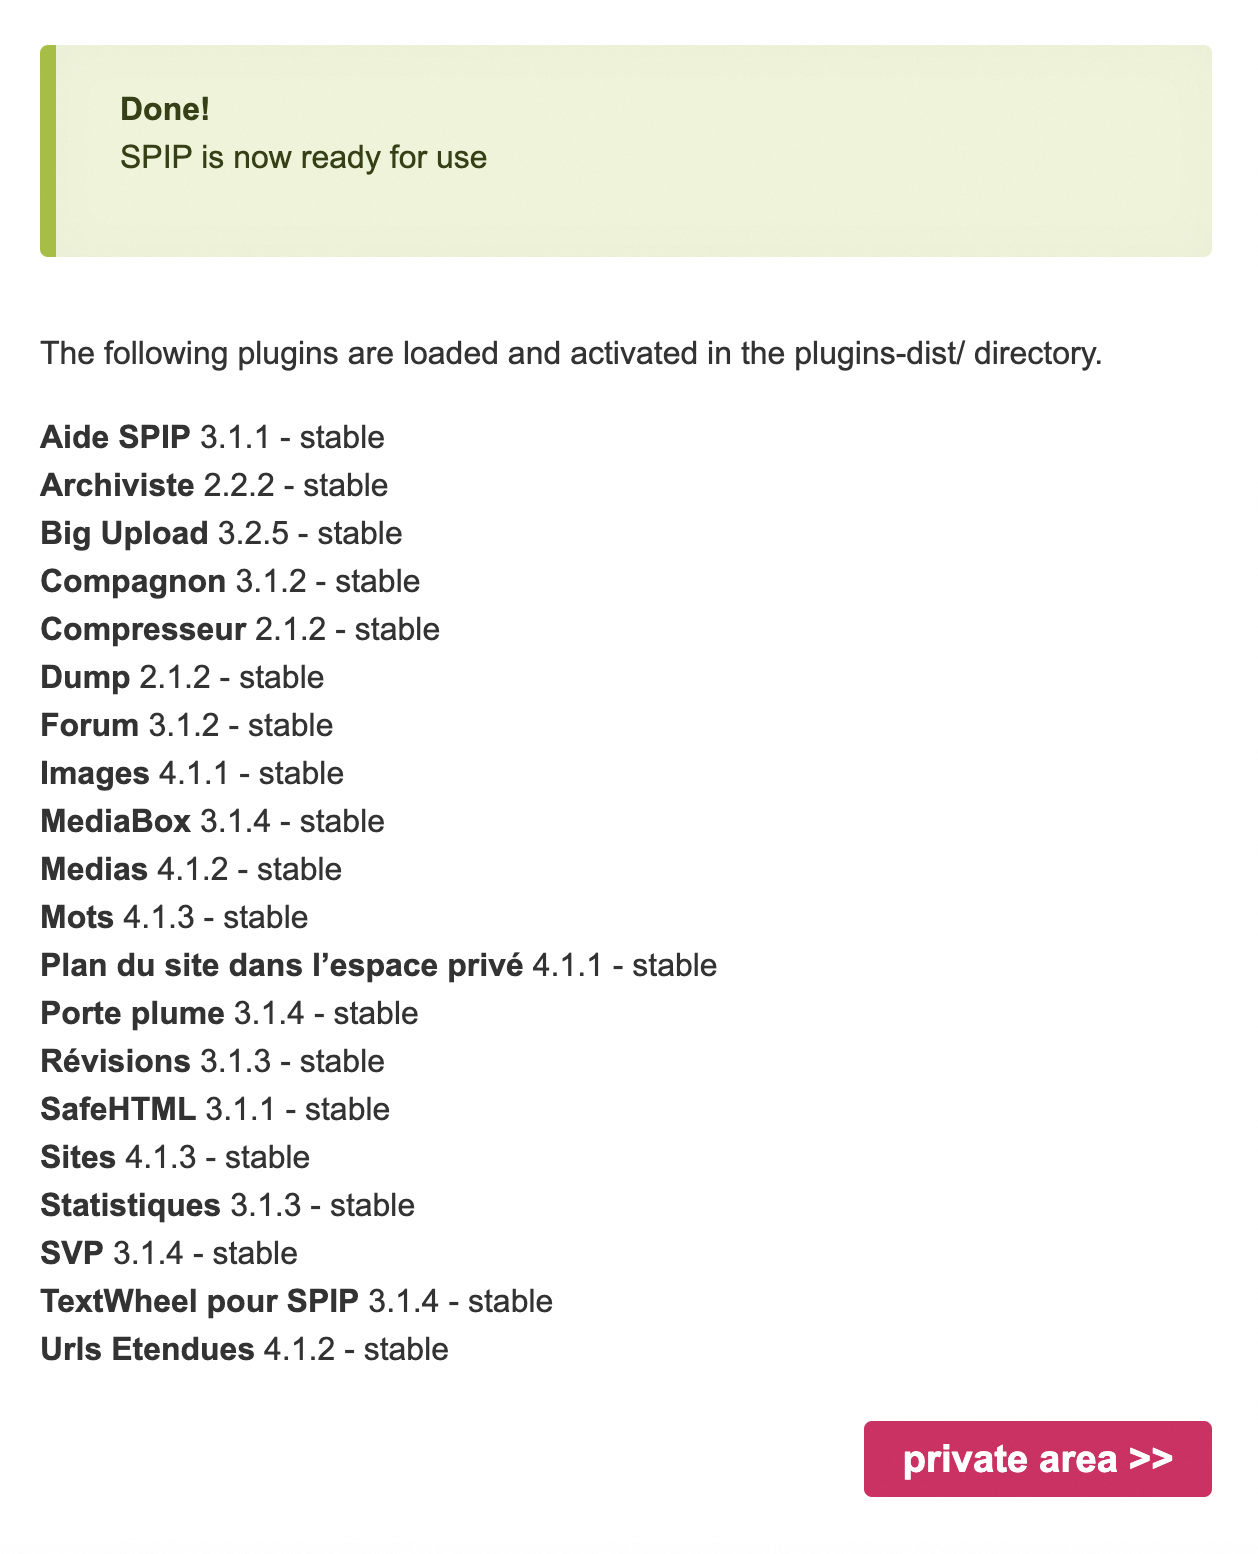
The screen displays a list of plugins available for your website, and informs you that the installation of SPIP has been successful.
Conclusion
You have just manually installed the SPIP CMS on your OVHcloud web hosting plan. Your SPIP website is accessible online via your domain name. To log in to your SPIP website’s admin area, type your_domain/ecrire in the search bar of your web browser.
Go further
Tutorial - Installing WordPress manually
Tutorial - Installing Joomla! manually
Tutorial - Installing Drupal manually
Tutorial - Installing PrestaShop manually
Tutorial - Installing Pico manually
Tutorial - Installing Typo3 manually
Tutorial - Installing Grav manually
Tutorial - Manually install a CMS on my hosting plan
Creating a database on your web hosting plan
For specialised services (SEO, development, etc.), contact OVHcloud partners.
Join our community of users.

