Getting started with the Hosted Exchange service
1523 Views
Objective
With the Hosted Exchange service, you can get professional email accounts to use for collaborative work, with features such as calendar and contact syncing.
Find out how to get started with your Hosted Exchange service.
Requirements
- You need to have a subscription to a Hosted Exchange solution.
- You need to have received an email confirming that your Hosted Exchange solution has been set up.
- You must have a domain name.
OVHcloud Control Panel Access
- Direct link: Exchange
- Navigation path:
Web Cloud>Exchange> Select your platform
Instructions
Access your service management
Once your Hosted Exchange service has been created and is available:
The name of a Hosted Exchange service in your OVHcloud Control Panel begins with hosted-, contains part of your NIC handle and ends with a figure (1 for the first Hosted Exchange service installed, 2 for the second, etc.).
Configure your service for the first time
Since you have not used your service yet, you will need to configure it for the first time. Once you have done so, you can then use your new Exchange email addresses.
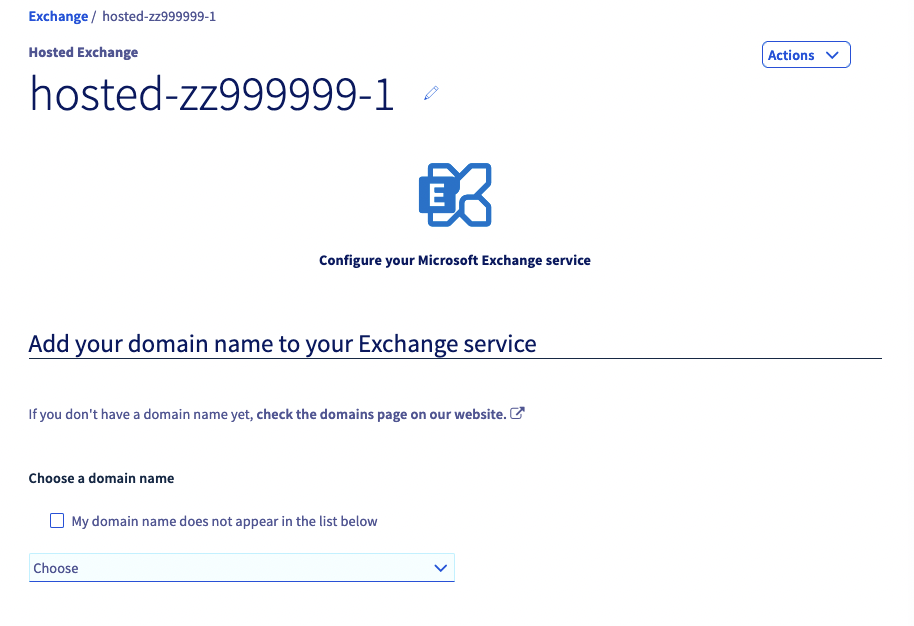
To do this, when you first access the management interface for your Hosted Exchange service, a configuration assistant will open. To get started, click the Start button.
With this configuration assistant, you can makes several changes depending on your situation:
Choosing a domain name
Choose one of your domain names from the list, or select the check box My domain name is not in the list below to enter a domain name that is not managed in your Control Panel, but that you can configure.
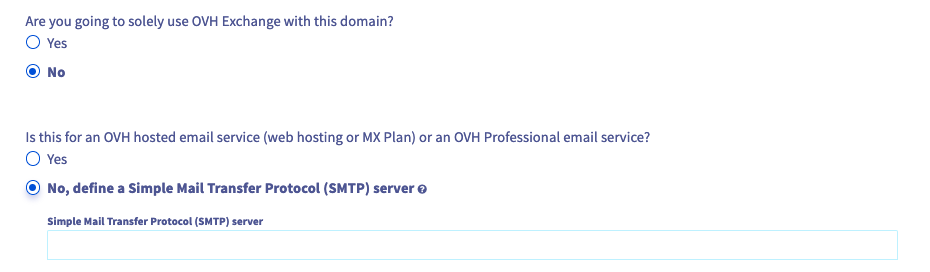
Are you going to only use the OVHcloud Exchange solution with this domain name?
The question "Are you going to use OVHcloud Exchange only with this domain?" will determine the type of configuration for your domain name.
- If you use an Exchange offer alone or with other OVHcloud email offers, the configuration can be done automatically, or manually using only OVHcloud email servers.
- If you are using your Exchange solution as a complement to an external email service to the OVHcloud email offers, you will be asked to enter the URL of your external email service’s incoming server under the heading
(SMTP) server.
How do you want to configure your DNS zone?
- Automatic configuration: The domain name entered will be automatically configured in its DNS zone, if it is managed by OVHcloud on the same NIC handle as your Exchange service.
- Manual configuration: The domain name is not managed in the same control panel as your platform, it is managed by another domain name provider, or you simply want to configure it yourself.
You can then find the values to enter at the end of the configuration process, or in theAssociated domainssection for your platform.

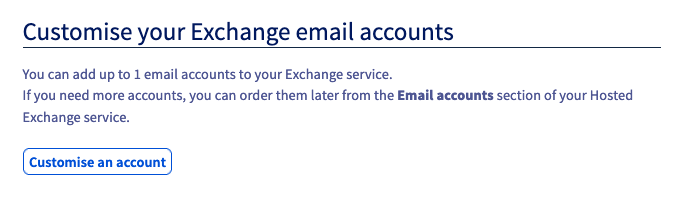
Configure Exchange accounts
Determine the name of your Exchange email addresses, and add additional information.
Special case
- If you configure your Exchange platform with a domain name that is not managed on the same control panel as this platform, or with another domain name provider, you will see the following window:
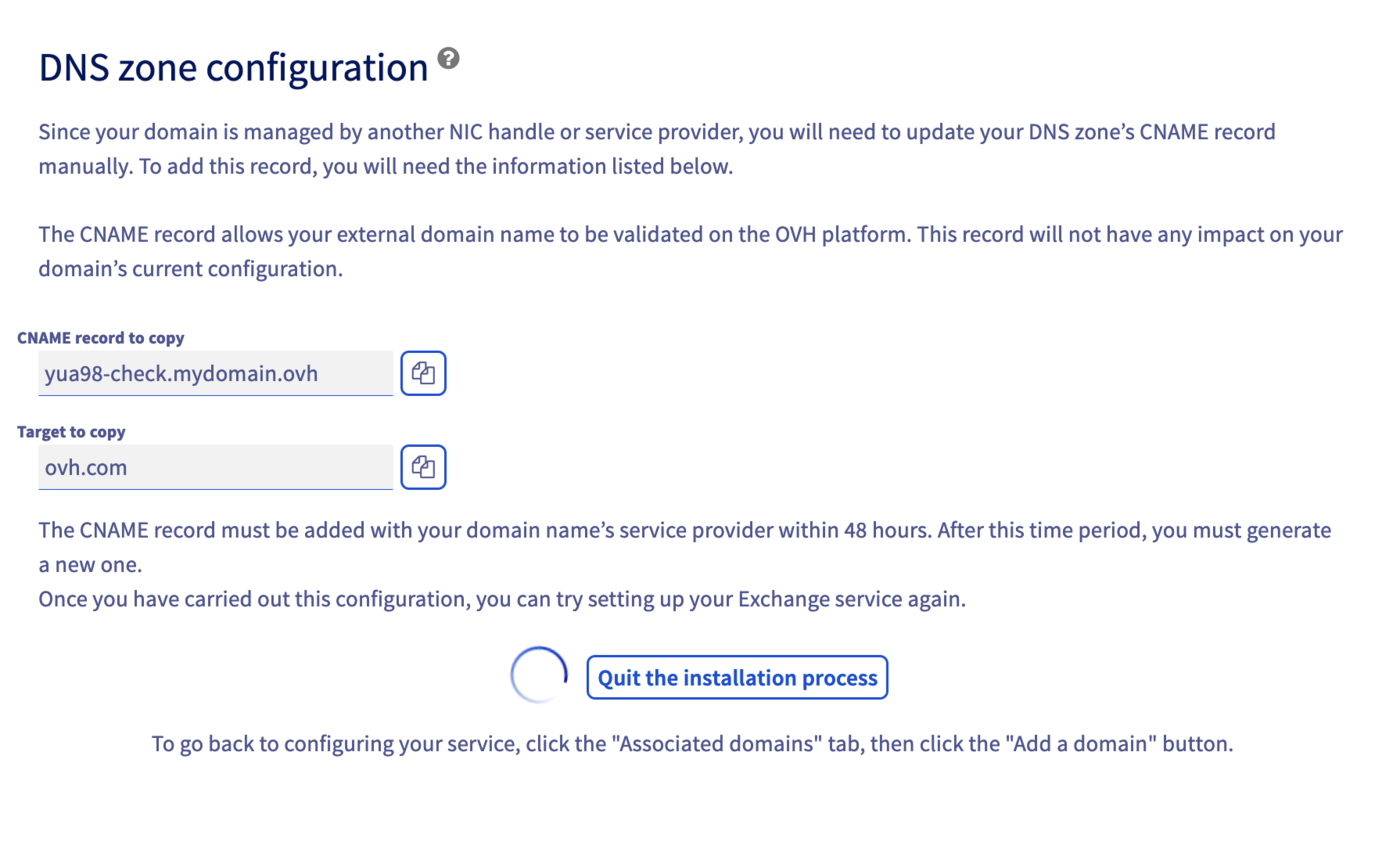
This window will prompt you to add a CNAME record to the domain name’s DNS zone. The purpose of this entry is to check that you are actually managing this domain name.
Without this validation by CNAME record, you cannot use the platform with this domain name.
- If you configure your Exchange platform with a domain name that is not managed on the same control panel as this platform, that is managed with another domain name provider, or if you have chosen to manually configure your domain name, the following window will appear:
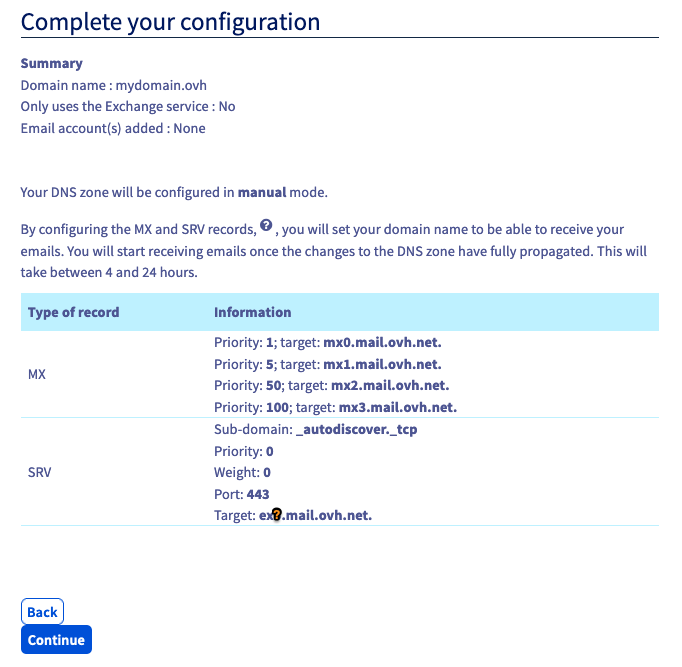
Here, you will find the values to enter into your DNS zone. The MX records correspond to the receiving servers of your emails. The SRV field corresponds to the automatic configuration of your email addresses.
You can find the DNS zone configuration details for your email service on our Add an MX record to your domain name’s configuration page.
Add additional domain names (optional)
Once you have finished configuring your domain name, you can also configure additional ones via the assistant, if you have not already done so.
All of the addresses created on your Exchange service will be visible in the directory of addresses for that service, including those with a different domain name. To stop different domain names from being displayed this way, you will need to order a new Hosted Exchange solution for the domain name(s) concerned.
To add a new domain name, select the Hosted Exchange service concerned in your OVHcloud Control Panel, and click on Associated domains. You will see a table showing all of the domain names currently configured, or about to be configured on your service. To add new ones, click on the Add a domain button, then follow the various steps of the process.
To find out more, please refer to this guide on Adding a domain name to an Exchange service.
If a domain name requires a specific action for its configuration, a red box will appear in the Diagnostic column of the table. By clicking on it, you will see the modifications that need to be made. If this domain name does not use OVHcloud configuration (its DNS servers), you will need to carry out the modifications in the interface you use to manage your domain name’s configuration.

Configure additional Exchange accounts (optional)
You can configure additional accounts if you have not already done so via the wizard.
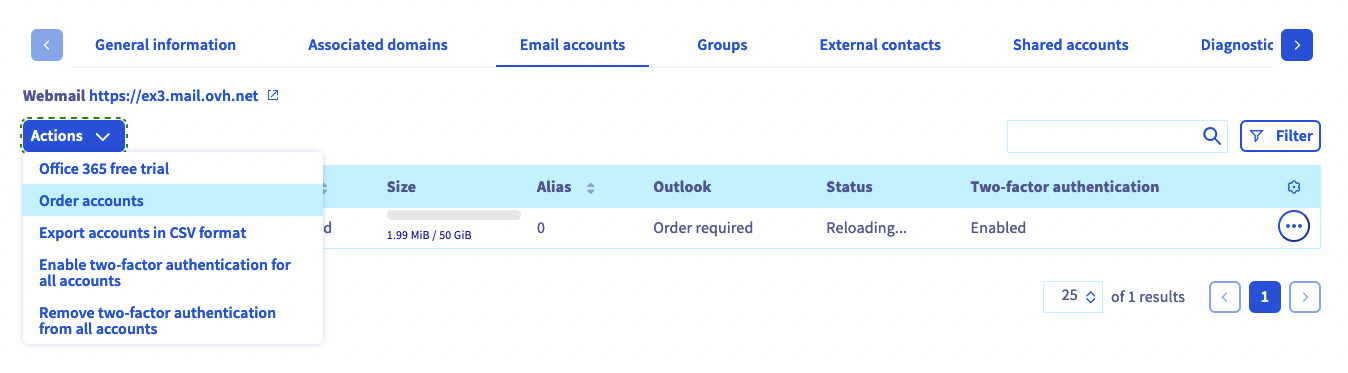
To do this, click on the Hosted Exchange service concerned in your OVHcloud Control Panel, then on Email accounts. You will see a table showing all of the accounts currently configured, or about to be configured on your service.
The accounts that have not yet been configured configuration will appear in the table as “@configureme.me”. To configure them, click on the pencil icon, then follow the steps.
Repeat this step as required, depending on the number of accounts you have. You can order new ones by clicking on the Actions button, then Order accounts.
Use your email addresses
Once you have configured your accounts, you can now start using them. To do this, OVHcloud offers the Outlook Web App (OWA) webmail app. You can access this via the following address: Webmail. To log in, enter your email address credentials. If you require any assistance using OWA, please refer to our documentation.
If this is your first time logging in to OWA with this email address, you will be prompted to set the interface language and time zone. Next, click Save to continue.
Time zones are listed according to the UTC (Coordinated Universal Time) standard, not in alphabetical order of cities.
Example: For Western Europe, it is UTC +1 (Brussels, Copenhagen, Madrid, Paris).
If you would like to configure your email address on an email client or mobile device (e.g. a smartphone or tablet), please refer to our documentation. To optimise the way you use your Exchange email address on an email client, ensure that it is compatible with the service.
OVHcloud offers optional Outlook licences with your Exchange email account in the OVHcloud Control Panel.
To subscribe, go to our page on Getting an Outlook licence for Exchange.
With Exchange, you can sync all of your settings (filters, email signatures, folders, etc.), regardless of whether you were using a web application or a compatible email client. This way, if you use Exchange on three devices via different login interfaces (webmail, compatible email software or client), all of your information will be available at the same time.
Set up collaborative features (optional)
Now that your Hosted Exchange service is configured and functional, you can set up the service’s collaborative features in your OVHcloud Control Panel. You can use these features to create resources (meeting rooms, equipment, etc.), groups, and more.
To enable these features, select the Hosted Exchange service concerned in your OVHcloud Control Panel, then choose which action to perform from the tabs that appear.
For assistance with these features, please refer to our documentation.
Go further
Creating and using a shared account
Delegating permissions on an email account
Managing the billing for Exchange accounts
Join our community of users.

