Web Hosting FAQ
386 Views
Click on the questions below to see the explanations.
Management of your solution
How do I configure my web hosting plan?
Follow these steps:
- Log in to the OVHcloud Control Panel, then go to the
Web Cloudsection. - Click the
Hosting plansmenu, then select the web hosting plan concerned.
You can manage your SSL certificates, the PHP version applied to your web hosting plan, the CDN option, multisites, databases, etc.
To help you configure your web hosting plan, please refer to the sections Getting started and Configuring a Personal, Professional or Performance web hosting plan of this page.
I forgot the password for accessing the account my web hosting plan is on. What should I do?
To retrieve your OVHcloud NIC handle or the password associated with it, follow these steps:
- Go to the interface for connecting to the OVHcloud Control Panel.
- Click on the
Forgotten your username or password?link under theLoginbutton. - Enter your OVHcloud NIC handle (e.g. aa00000-ovh) or contact email address associated with your OVHcloud NIC handle.
- Then click the
Sendbutton.
The reset procedure will then be sent to your contact email address.
Find all the details in our guide “Setting and managing an account password”.
How do I manage the password for my web hosting plan’s FTP storage space?
Follow these steps:
- Log in to the OVHcloud Control Panel, then go to the
Web Cloudsection. - Click the
Hosting plansmenu, then select the web hosting plan concerned. - On the page that appears, click on the
FTP - SSHtab.
Here, you can change your web hosting plan’s FTP password.
Find all the details in our guide “Web Hosting - Changing an FTP user password”.
How do I change the password for my database linked to my web hosting plan?
If you change the password for a database used by one of your websites, you can also update it in the configuration file for the website concerned. Without this update, your website will be disconnected from its database and will not work properly.
Follow these steps:
- Log in to the OVHcloud Control Panel, then go to the
Web Cloudsection. - Click the
Hosting plansmenu, then select the web hosting plan concerned. - On the page that appears, click on the
Databasestab.
Here, you can change the passwords for your databases associated with your Web Hosting plan.
Find all the details in our guide “Changing the password for a Web Hosting plan’s database”.
How do I change the password for an email account linked to my web hosting plan?
Follow these steps:
- Log in to the OVHcloud Control Panel, then go to the
Web Cloudsection. - Click the
Emailsmenu (or on theMX Planmenu if you are using the beta version of the OVHcloud Control Panel), then choose the domain name concerned. - On the page that appears, click on the
Emailstab. - In the table that pops up, click the
...button to the right of the email account concerned, then clickChange password.
Here, you can change your email password (please ensure that you follow the password policy listed in the login window).
Find all the details in our guide “Changing an email password”.
If you use an email client (Outlook, macOS Mail, Thunderbird, etc.), update the password for your email account when the email client prompts you to do so, when it is opened, or when it is synchronized.
If you have any further questions on the MX Plan email solution, please refer to our FAQ - Emails.
How do I get my website online?
To put your website online, you will need the following information:
- A domain name that will correspond to the web address from which your website will be accessible via a web browser (example: domain.tld). This domain name must also be associated with your web hosting plan to view the website.
- A web hosting plan on which to install your website.
Here are the main steps to follow:
- Define your project (turn-key website (CMS) installed manually or with OVHcloud 1-click modules/website created by you or a provider, etc.).
- Put the website files online in your web hosting plan’s FTP storage space.
- Link the website to a database (if the website uses one).
- Go to your website.
For more details on putting a website online on a web hosting plan, please read our detailed guide on Publishing a website on your Web Hosting plan.
If you choose to install a CMS (WordPress, Joomla!, PrestaShop, Drupal) with our 1-click modules solution, please read our detailed guide “Setting up your website with a 1-click module (CMS)”.
If your website already exists with another provider, and you would like to migrate it to OVHcloud, please read our detailed guide on "Migrating your website and associated services to OVHcloud".
To help you configure your web hosting plan, you can refer to the full set of guides for our web hosting solutions.
How do I transfer my website, database, domain name and emails to OVHcloud without any service interruptions?
Here are the main steps to follow:
- Order hosting and email accounts from OVHcloud.
- Create and pre-configure a DNS zone for your domain name at OVHcloud.
- Retrieve a full backup of your website.
- Import your website backup onto your OVHcloud hosting plan.
- Recreate your email addresses identically at OVHcloud.
- Declare OVHcloud email servers in your domain name’s active DNS zone.
- Transfer the content of your old email accounts to your new ones at OVHcloud.
- Reconfigure your email software.
- Replace your domain name’s active DNS servers with OVHcloud DNS servers.
- Transfer your domain name to OVHcloud.
Find all the details in our guide "Migrating your website and associated services to OVHcloud".
How do I host multiple websites on a single web hosting plan?
If your web hosting plan is compatible, follow these steps:
- Log in to the OVHcloud Control Panel, then go to the
Web Cloudsection. - Click the
Hosting plansmenu, then select the web hosting plan concerned. - On the page that appears, click on the
Multisitetab.
Here, you can manage the multi-site domain names/sub-domains declared on your Web Hosting plan.
You can find all the details in our guide "Hosting multiple websites on your Web Hosting plan".
How do I display my website with a URL in HTTPS?
In order for your website to be accessible with a URL in “HTTPS” (e.g.: https://domain.tld), you will need two prerequisites:
- You must have an active SSL certificate for your domain name (or installed on your Web Hosting plan).
- In your website’s source code, it must force URLs to be rewritten to HTTPS.
OVHcloud offers several SSL certificates on web hosting plans.
To activate an SSL certificate on your Web Hosting plan for your website, follow these steps:
- Log in to the OVHcloud Control Panel, then go to the
Web Cloudsection. - Click the
Hosting plansmenu, then select the web hosting plan concerned. - On the page that pops up, click on the
SSL certificatestab. - Choose the certificate you want from the available certificates.
- Continue until you have finished installing the SSL certificate (by confirming the purchase order beforehand, if you choose one of the Sectigo SSL certificates).
Find all the details in the following guides:
Once you have installed and set up an SSL certificate of your choice on the OVHcloud side, check that the source code of your website rewrites the URLs for accessing your website in HTTPS. If you experience any difficulties with this, please contact your webmaster or one of our partners.
How do I change my web hosting plan?
To order the web hosting plan that best suits your needs, check out our offers on this page.
Depending on your current web hosting plan, some plans may not be available. Read our guide on Upgrading a web hosting plan for more information on this topic.
Once you have made your choice, follow these steps:
- Log in to the OVHcloud Control Panel, then go to the
Web Cloudsection. - Click the
Hosting plansmenu, then select the web hosting plan concerned. - On the page that pops up, in the box Plan, click on the
...button to the right of the wordService plan, then onChange plan. - Then select your new subscription and its duration. Confirm the corresponding contracts, then click
Send.
Find all the details in our guide on "Web Hosting - How to change your solution".
When I cancel a web hosting plan, how do I keep the email solution attached to my web hosting plan?
When you cancel or delete your web hosting plan, the email solution attached to it is also cancelled. To keep your email addresses, you will need to detach the email solution before canceling the web hosting plan concerned.
Follow these steps:
- Log in to the OVHcloud Control Panel, then go to the
Web Cloudsection. - Click the
Hosting plansmenu, then select the web hosting plan concerned. - On the page that pops up, in the Configuration box, click on the
...button to the right of theEmail addressescomment, then onDetach my email option. - Follow the instructions to order an independent email solution that will allow you to keep your email addresses already created.
When I cancel a Performance web hosting plan, how do I keep the attached Web Cloud Databases solution?
Performance web hosting plans include a Web Cloud Databases solution that can be activated for free.
When you cancel or delete your Performance web hosting plan, any attached Web Cloud Databases solution will also be cancelled. To keep your Web Cloud Databases solution, you will need to detach it before the hosting plan is cancelled.
Follow these steps:
- Log in to the OVHcloud Control Panel, then go to the
Web Cloudsection. - Click the
Hosting plansmenu, then select the web hosting plan concerned. - On the page that pops up, in the Configuration box, click the
...button to the right of theWeb Cloud Databasescomment, thenDetach. - Follow the instructions to order an independent Web Cloud Databases solution in order to keep your Web Cloud Databases solution already created.
This action cannot be undone, and the Web Cloud Databases solution will then be billed separately from your Performance web hosting plan.
How do I increase the RAM of a "Web Cloud Databases" solution linked to a "Performance" web hosting plan?
Follow these steps:
- Log in to the OVHcloud Control Panel, then go to the
Web Cloudsection. - Click on the
Web Cloud Databasesmenu, then choose the Web Cloud Databases solution concerned. - On the page that pops up, in the box General information, click on the
...button to the right ofRAM, then onChange the ammount of RAM. - Follow the instructions to order the amount of RAM you want, then proceed until the order is confirmed.
If necessary, please also refer to the “Modifying your Web Cloud Databases solution” section of our guide “Configuring your database server”.
Diagnostic
If you encounter any issues that are not listed in this FAQ, please refer to the “Troubleshooting” section of our guides on web hosting solutions.
What should I do if my website stops working?
There are several reasons why your website might not work.
To identify the cause, start by ensuring that none of your subscriptions need to be renewed.
Follow these steps:
- Log in to the OVHcloud Control Panel, then go to the
Web Cloudsection. - On the page that pops up, click on your name in the top right-hand corner, then choose
My offers and services.
Find all the details in our guide “How to renew OVHcloud services”.
Then check out the current events on our infrastructure.
If all your services are active and are not affected by any incidents or maintenance, please carry out a more in-depth diagnostic.
See the “Troubleshooting” section of our guides on web hosting solutions.
What do I do if the OVHcloud “Website under construction” page remains displayed once my website is online?
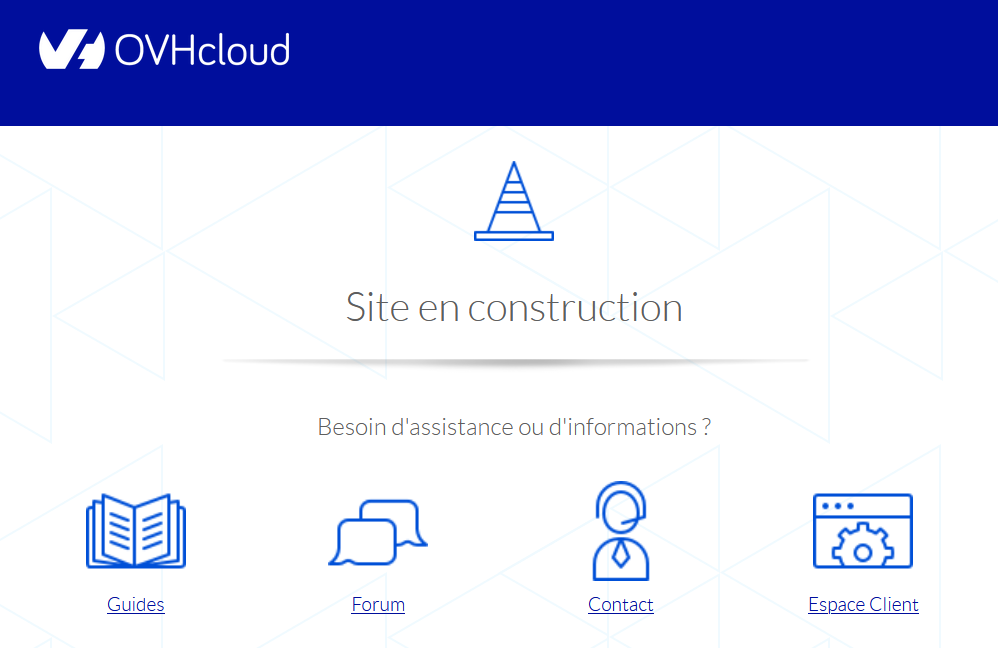
When your web hosting plan is set up, OVHcloud sets up this holding page in the form of a index.html file, which is contained in the www folder in your web hosting plan’s FTP storage space.
There are two possible scenarios:
- If you have installed a 1-click module: This file is automatically deleted by our installation robots.
- If you have set up your website manually, then follow the steps below:
- Log in to your web hosting plan’s FTP storage space.
- Once you have logged in to the FTP storage space, go down to the
wwwdirectory. - Rename the file index.html to index.html.old. This will disable the page after a few minutes.
My website appears with an address like xxxxx.clusterXXX.hosting.ovh.net. What should I do?

Your website has been created with a 1-click module, using your web hosting plan’s default web address “xxxxx.clusterXXX.hosting.ovh.net” when you set it up.
You will then need to delete your 1-click module, then reinstall it.
Deleting a 1-click module, just like deleting a database, is permanent. It also deletes backups of the data concerned. Before deleting your website on the web hosting plan, make sure you can recreate it identically. If you are unsure about the changes you need to make, contact your Webmaster or one of our partners.
If necessary, also refer to these detailed guides:
Only after you have carried out all the necessary backups, delete your 1-click module by doing the following:
- Log in to the OVHcloud Control Panel, then go to the
Web Cloudsection. - Click the
Hosting plansmenu, then select the web hosting plan concerned. - On the page that appears, click on the
1-click modulestab. - In the table that pops up, click the
...button on the right-hand side of the 1-click module concerned, then clickDelete the module.
Deleting the 1-click module may take several minutes.
Then delete the database associated with it by doing the following:
- Log in to the OVHcloud Control Panel, then go to the
Web Cloudsection. - Click the
Hosting plansmenu, then select the web hosting plan concerned. - On the page that appears, click on the
Databasestab. - In the table that pops up, click the
...button in the row of the database concerned, thenDelete a database.
It may take several minutes to delete the associated database.
Once the deletions are complete, reinstall your 1-click module, taking care to select the domain name you want.
Find all the details in our guide on Setting up your website with a 1-click module (CMS) .
Following a change, my website appears with a web address like “xxxxx.clusterXXX.hosting.ovh.net”. What should I do?
Your website will be displayed with your web hosting plan’s default web address, like ‘xxxxx.clusterXXX.hosting.ovh.net’, after you have modified your 1-click module.
If your website appears with this URL after you have made a change, the quickest way to do this is to restore it to a previous state, where it worked properly.
Restoring a web hosting plan restores all of the websites it contains.
When you restore, the contents of your FTP storage space or the contents of your database are irreversibly replaced by a backup. Any data that was present before the restoration was launched on the FTP storage space or database to be restored will be overwritten and permanently lost. If necessary, be sure to retrieve a backup of this content beforehand. If you are unsure about the changes you need to make, contact your webmaster or one of our partners.
If necessary, also refer to these detailed guides:
To restore your website’s source code, follow these steps:
- Log in to the OVHcloud Control Panel, then go to the
Web Cloudsection. - Click the
Hosting plansmenu, then select the web hosting plan concerned. - On the page that appears, click on the
FTP - SSHtab. - On the new page that appears, click the
Restore backupbutton. - In the window that pops up, choose the date of the backup you want to restore, and then continue until the process begins.
Restoring the FTP storage space may take several minutes.
To restore a backup of your database, follow these steps:
- Log in to the OVHcloud Control Panel, then go to the
Web Cloudsection. - Click the
Hosting plansmenu, then select the web hosting plan concerned. - On the page that appears, click on the
Databasestab. - In the table that pops up, click the
...button in the row of the database concerned, thenRestore backup. - On the new page that pops up, choose the backup to restore (ideally the backup corresponding to the date you have chosen for restoring your website’s source code (see above)).
- Once you have chosen the backup, click the
...button to the right of the backup you want to restore, thenRestore the backup.
Restoring a database backup may take several minutes.
Find all the details in the following guides:
My website redirects to the OVHcloud Webmail interface. What should I do?
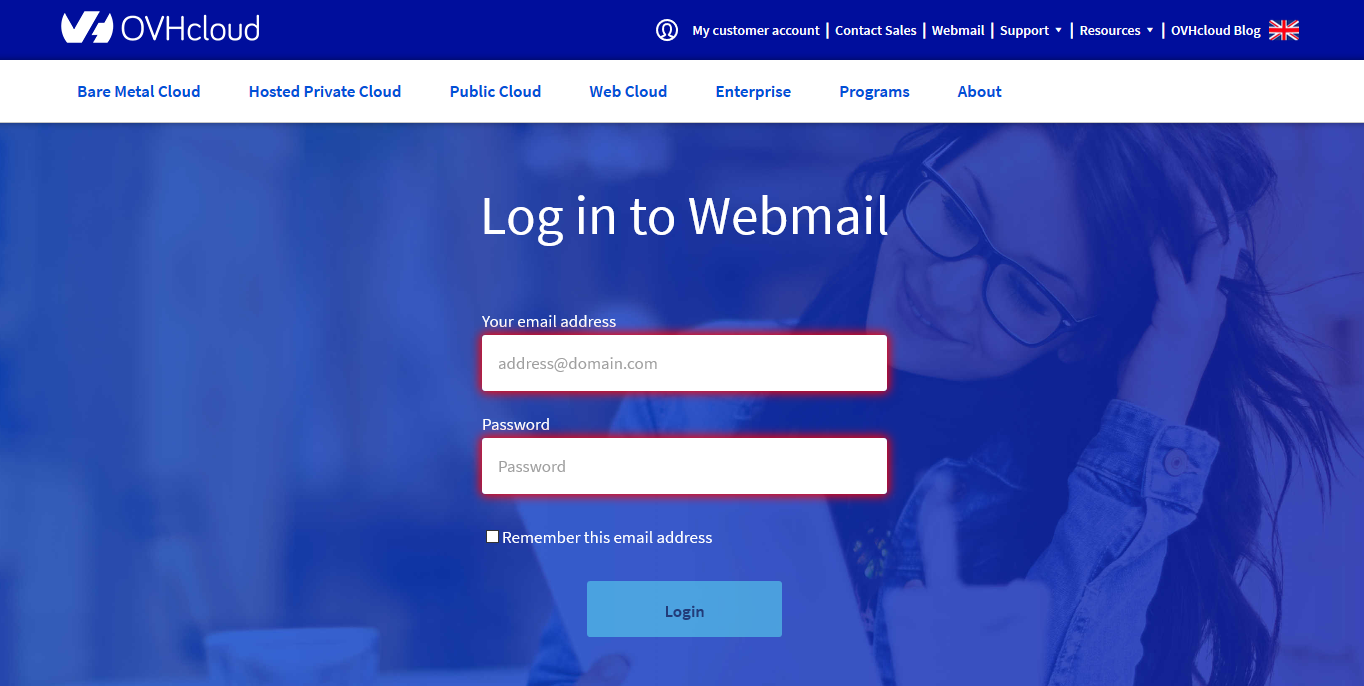
This situation indicates an incorrect configuration in the DNS servers or DNS zone associated with your domain name.
The most common case is that you have ordered your domain name and web hosting plan separately, so they are not automatically linked to each other via your domain name’s DNS zone.
To correct this, follow these steps:
- Log in to the OVHcloud Control Panel, then go to the
Web Cloudsection. - Click on the
Domain namesmenu, then choose the domain name concerned. - On the page that appears, click on the
DNS serverstab. - Then note down the names of the DNS servers listed, and go to the
DNS Zonetab (to the right of theDNS Serverstab). - In the table (representing the DNS zone of the domain name) that appears, compare the
Targetsof theNStype entries present in the DNS zone with the names of the DNS servers retrieved earlier. There are three possible scenarios. Click on the tabs below to view the solution to each case.
The Targets (DNS servers) of the entries of type NS declared in the DNS zone of the domain name are identical to those retrieved in the DNS servers tab.
In this case, this means that your domain name (or its www sub-domain) points to the IP address of our redirection server (213.186.33.5).
- Log in to the OVHcloud Control Panel, then go to the
Web Cloudsection. - Click on the
Domain namesmenu (or on theDNS zonesmenu if you are using the beta version of the OVHcloud Control Panel), then select the domain name concerned. - On the page that opens, click on the
DNS Zonetab. - In the table that appears (representing your domain name’s DNS zone), identify the entry of type
AwhoseTargetis set to the IP address213.186.33.5. 5 Click the...button to the right of the line, thenModify record. - In the window that opens, replace the IP address
213.186.33.5in theTarget*form with the IP address of the web hosting plan where your website is located.
If necessary, also refer to the following detailed guides:
The Targets (DNS servers) of the entries of type NS declared in the DNS zone of the domain name are not identical to those retrieved in the DNS servers tab. However, the Targets (DNS servers) have one of the following forms:
nsXX.ovh.netanddnsXX.ovh.netornsXXX.ovh.netanddnsXXX.ovh.net(where eachXdesignates a number between 0 and 9)nsXX.ovh.caanddnsXX.ovh.caornsXXX.ovh.caanddnsXXX.ovh.ca(where eachXdenotes a number between 0 and 9)ns200.anycast.meanddns200.anycast.me(if you have subscribed to the DNS anycast option)
If one of your DNS servers declared in the DNS servers tab has the following form: sdnsX.ovh.net, sdnsX.ovh.ca, vpsXXXXXX.ovh.net or vpsXXXXXX.ovh.ca (where each X designates a number between 0 and 9), please refer to the Case 3.
These are the names of DNS servers provided by OVHcloud, which only allow our customers to host their DNS configuration directly on their own servers (Dedicated Servers, VPS, etc.).
In this case, this means that your domain name is not using the correct OVHcloud DNS servers to apply the DNS zone configuration listed in the DNS zone tab.
To correct this, follow these steps:
- Log in to the OVHcloud Control Panel, then go to the
Web Cloudsection. - Click on the
Domain namesmenu, then choose the domain name concerned. - On the page that opens, click on the
DNS serverstab. - On the new page that appears, click the
Modify DNS serversbutton. - On the page that pops up, select the option
Use OVHcloud default DNS, then click theApply configurationbutton.
It can take up to 48 hours to propagate the DNS server update applied to a domain name.
Find all the details in our guide “How to modify the DNS servers of an OVHcloud domain name”.
The Targets (DNS servers) of the entries of type NS declared in the DNS zone of the domain name are not identical to those retrieved in the DNS servers tab. In addition, the names of the DNS servers retrieved in the DNS servers tab do not have any of the forms described in the Case 2, with the exception of the following forms: sdnsX.ovh.net, sdnsX.ovh.ca, vpsXXXXXX.ovh.net or vpsXXXXXX.ovh.ca (where each X designates a number between 0 and 9).
In this case, the active DNS zone applied to your domain name is not managed directly by OVHcloud. Contact your Webmaster, domain name provider, DNS provider or one of our partners.
What do I do if my website displays a "Page is not redirecting properly" error?
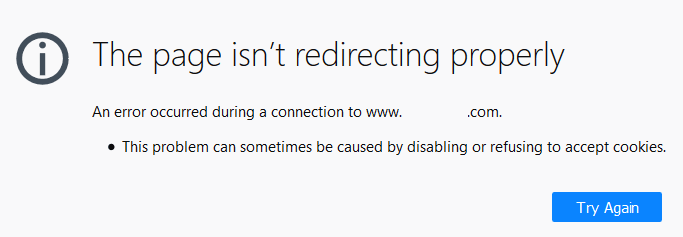
In this case, the quickest solution will be to restore it to a previous state where it worked correctly.
Restoring a web hosting plan restores all of the websites it contains.
When you restore an instance, the contents of your FTP storage space or the contents of your database are irreversibly replaced by a backup. Any data that was present before the restoration was launched on the FTP storage space or database to be restored will be overwritten and permanently lost. Please ensure that you have backed up this content beforehand. If you are unsure about the changes you need to make, contact your Webmaster or one of our partners.
See also these detailed guides:
To restore your website’s source code, follow these steps:
- Log in to the OVHcloud Control Panel, then go to the
Web Cloudsection. - Click the
Hosting plansmenu, then select the web hosting plan concerned. - On the page that appears, click on the
FTP - SSHtab. - On the new page that appears, click the
Restore backupbutton. - In the window that pops up, choose the date of the backup you want to restore, and then continue until the process begins.
Restoring the FTP storage space may take several minutes.
To restore a backup of your database, follow these steps:
- Log in to the OVHcloud Control Panel, then go to the
Web Cloudsection. - Click the
Hosting plansmenu, then select the web hosting plan concerned. - On the page that appears, click on the
Databasestab. - In the table that pops up, click the
...button on the right-hand side of the row for the database concerned, thenRestore backup. - On the new page that pops up, choose the backup to restore (ideally the backup corresponding to the date you have chosen for restoring your website’s source code (see above)).
- Once you have chosen the backup, click the
...button to the right of the backup you want to restore, thenRestore the backup.
Restoring a database backup may take several minutes.
Find all the details in the following guides:
If this does not restore access to your website, contact your Webmaster or one of our partners.
What do I do if my website displays the error "503 error Backend fetch failed (Varnish cache)"?
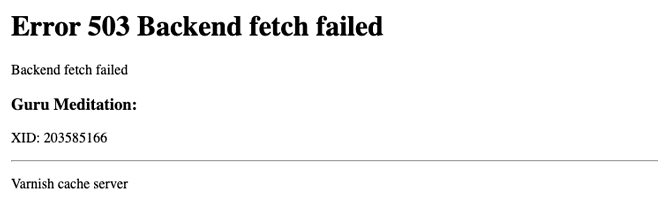
If you have enabled the CDN option on your web hosting plan, disable Maintenance mode on your WordPress or PrestaShop website.
If you have not enabled this option or used Maintenance mode, please contact your webmaster or one of our partners.
This error can also appear if an HTTP request ends in timeout on your website.
If necessary, also refer to these detailed guides:
What should I do if my website displays a “Your request has been blocked” error?
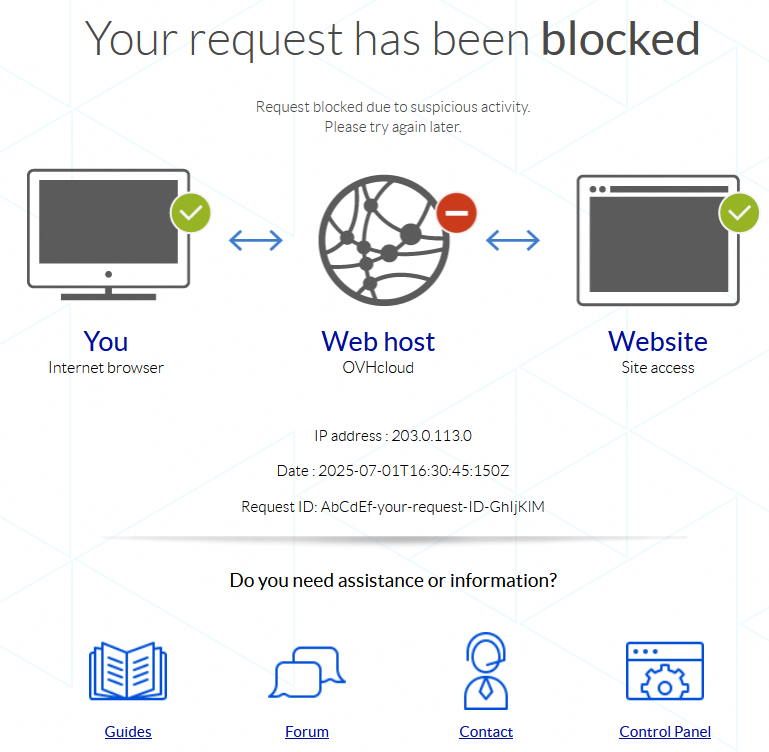
The “Your request has been blocked” page may appear for a number of reasons (non-exhaustive list):
- The request is made from an unupdated web browser (Firefox, Chrome, Safari, Edge, etc.).
- A very large number of requests, similar or not, are made in an extremely short time.
- The request attempts to perform unauthorized actions on the shared infrastructure where your web hosting plan is located.
In this situation, several actions are required:
- Check that your web browser is up to date.
- Retrieve the URL called (for example:
https://www.domain.tld) as well as all the information present on the page “Your request has been blocked” (IP address,DateandRequest ID). - Send this information to support by creating a support ticket.
If you are unsure about the changes you need to make, contact your webmaster or one of our partners.
Please also refer to our detailed guide: What should I do if the page “Your request has been blocked” appears?.
What should I do if my website displays a “Your IP has been banned” error?
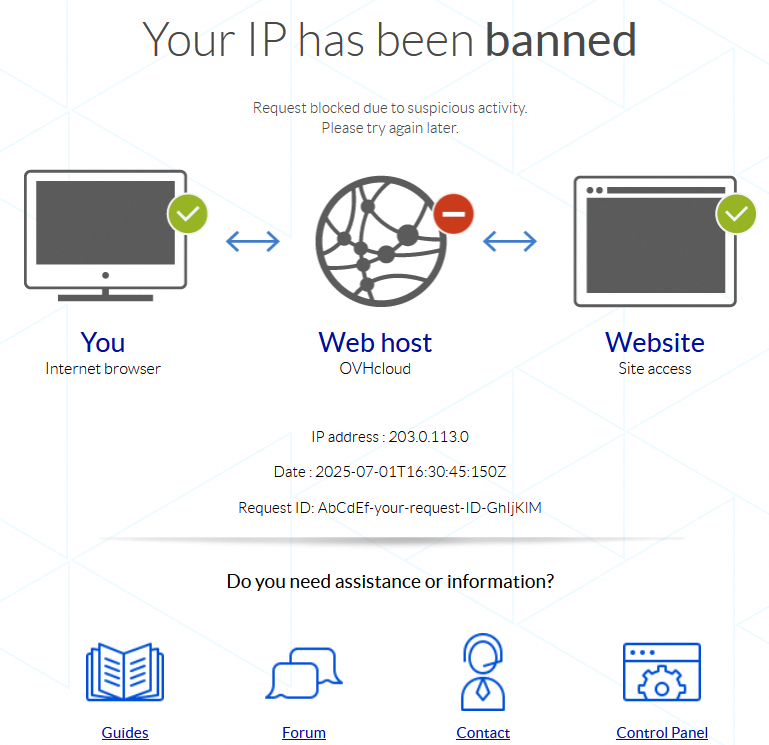
The “Your IP has been banned” page may appear for a number of reasons (non-exhaustive list):
- A very large number of requests, similar or not, are made in an extremely short time from the same IP address.
- Requests made from the IP address in question are suspicious.
In this situation, several actions are required:
- Retrieve the URL called (for example:
https://www.domain.tld) as well as all the information present on the page “Your IP has been banned” (IP address,DateandRequest ID). - Send this information to support by creating a support ticket.
If you are unsure about the changes you need to make, contact your webmaster or one of our partners.
Please also refer to our detailed guide: What should I do if the page “Your IP has been banned” appears?.
I have ordered a domain name with special characters, and it appears written in a strange way in my Control Panel. What should I do?
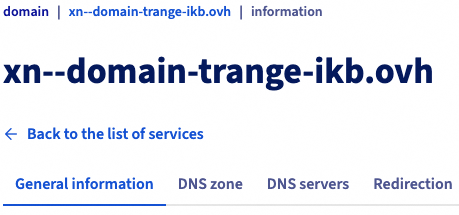
You have no action to take in this situation. Even if your domain appears in internationalized notation (IDN) in your Control Panel, it will work and display in a normal way elsewhere. Your website's web address will be displayed as you requested. Your email addresses will also appear as you wish to your contacts.
We do not recommend using an email address with an Internationalized Domain Name (IDN) from an email client (Outlook, macOS Mail, etc.). Some email clients do not interpret domain names with accented characters, which blocks the transmission of emails. A sender sending you an email will receive an automatic message stating that your email address does not exist.
It is recommended that you reserve the same domain name without accents, in addition to your domain name with accented characters, to avoid any incompatibility in email exchanges.
Go further
If you would like assistance using and configuring your OVHcloud solutions, please refer to our support offers.
Join our community of users.

