Tutorial - Add dynamic content to a static web page generated with Cecil
280 Views
Objective
This tutorial describes how to use the Cecil site builder to display the contents of a dynamic page. All this while calling an API to retrieve and display information on a page generated via Cecil.
Find out how to add a call to an external API from your static web page.
OVHcloud provides services which you are responsible for with regard to their configuration and management. You are therefore responsible for ensuring they function correctly.
If you experience any difficulties following the steps in this tutorial, we recommend contacting a specialist provider or reach out to the OVHcloud community. We will not be able to assist you. You can find more information in the Go further section of this guide.
Requirements
- Have an OVHcloud web hosting plan that includes SSH access. With this access, you can install one or more alternative solutions online, to those offered by default in our web hosting plans.
- Be familiar with command line input.
- You need to have installed and configured the Cecil application on your web hosting plan (see our tutorial on installing and configuring Cecil).
Instructions
The chosen example is to use one of the APIs of a service providing meteorological data. It relies on a city entered by the user.
The steps are as follows:
- Create a new page on Cecil and add this page to the website menu.
- Create an account and retrieve the key for making requests to the weather API.
- Modify the
.mdfile created by adding HTML code. - Add
assets(JavaScript and CSS). - Build and test the solution.
Create a new page
Prepare your environment by logging in via SSH to your web hosting plan, and refer to the tutorial “Installation and configuration of Cecil” to install your Cecil application in a dedicated directory.
Create a directory and switch to it:
Using the OpenWeather API
For this tutorial, we will use an API provided by the OpenWeather website. It allows to retrieve weather information based on the name of a city.
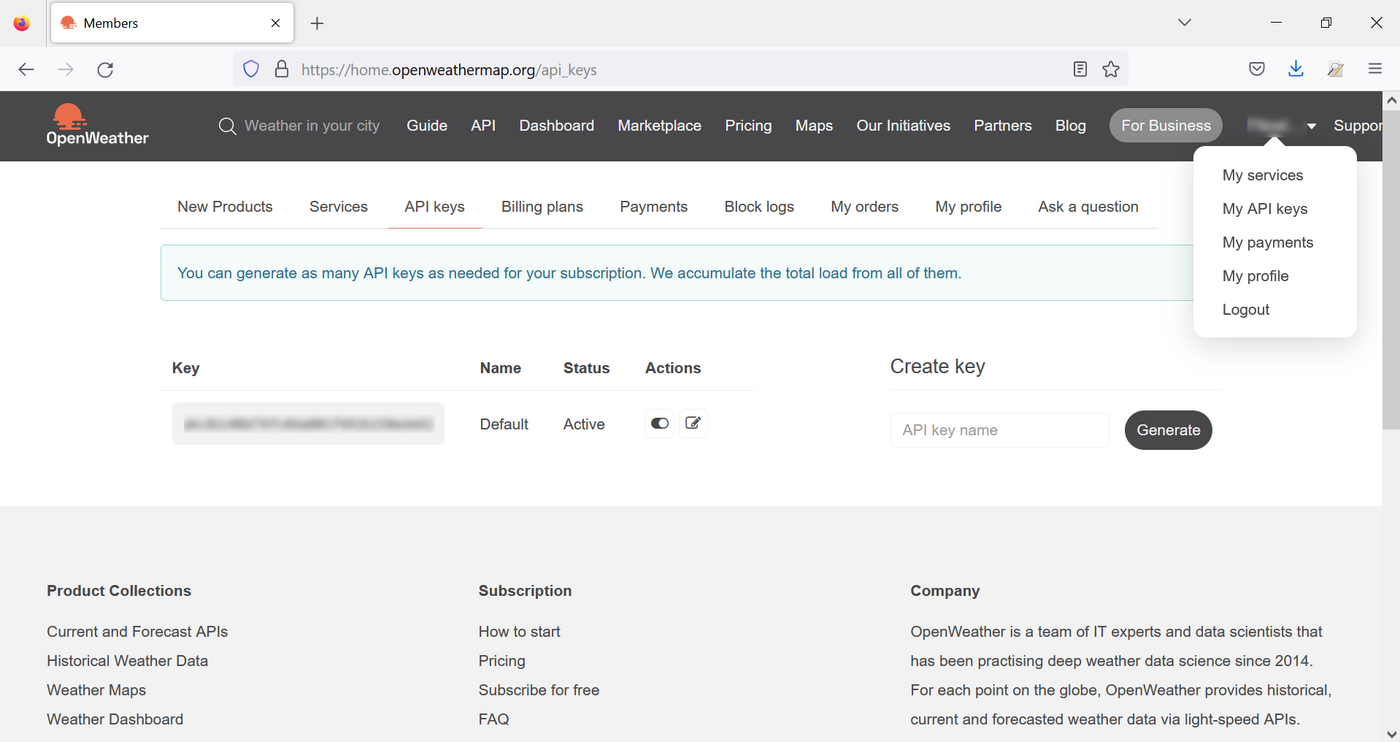
Create an account on https://home.openweathermap.org/users/sign_up.
Once your account has been validated (by sending a confirmation email), go to the “My API keys” menu. A key was generated by default, retrieve it and save it for the rest of this tutorial.
Add HTML
Create a new page with the following command:
Then edit the page that you generate:
Change the file header so that the page appears in the menu:
---
title: "Weather"
date: 2022-11-28
published: true
menu: hand
---
After the header, add the HTML code to display the chosen city, the temperatures returned by the API and a button to change the parameter:
Generate the HTML page with the following command:
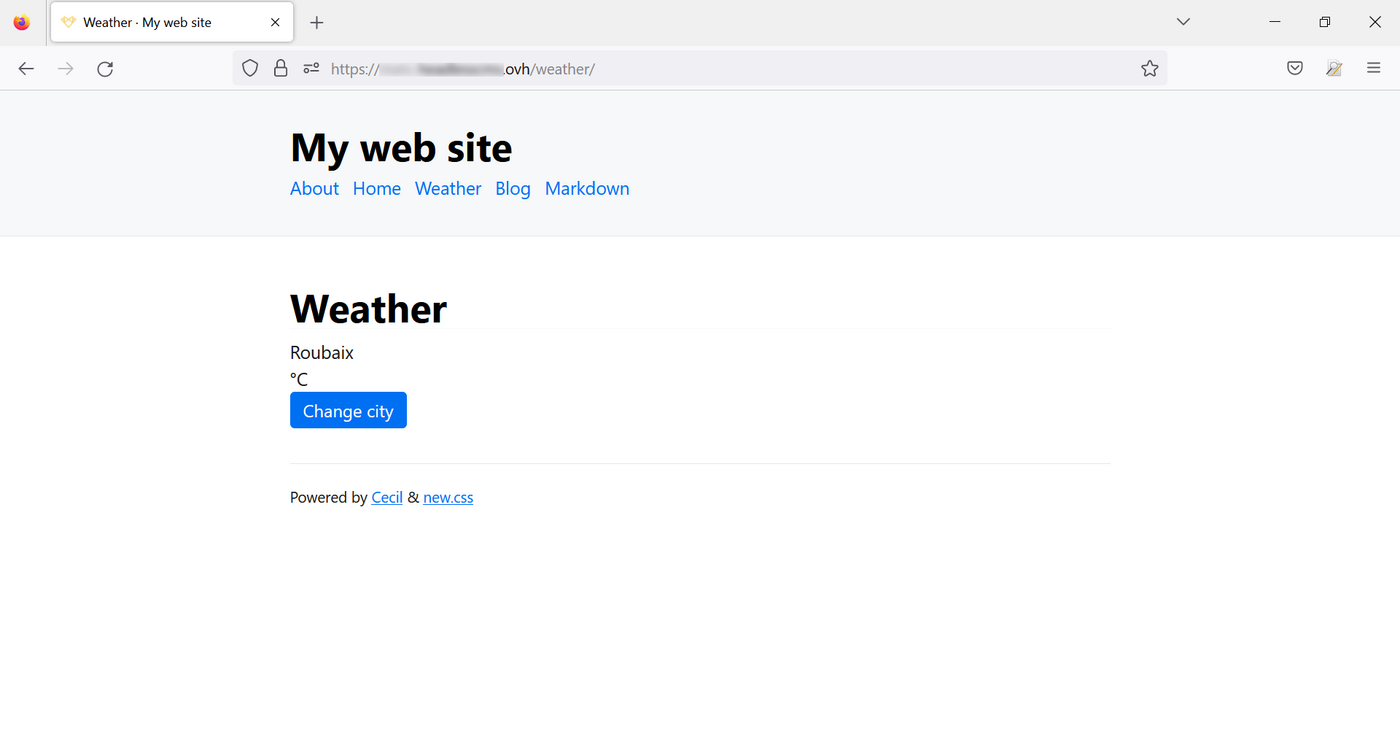
Check the result in your browser and click the "Weather" link that was added to the main menu:
Add JavaScript
You cannot add a <script> tag to a Markdown file. You will need to modify the template provided by default.
Modify the template
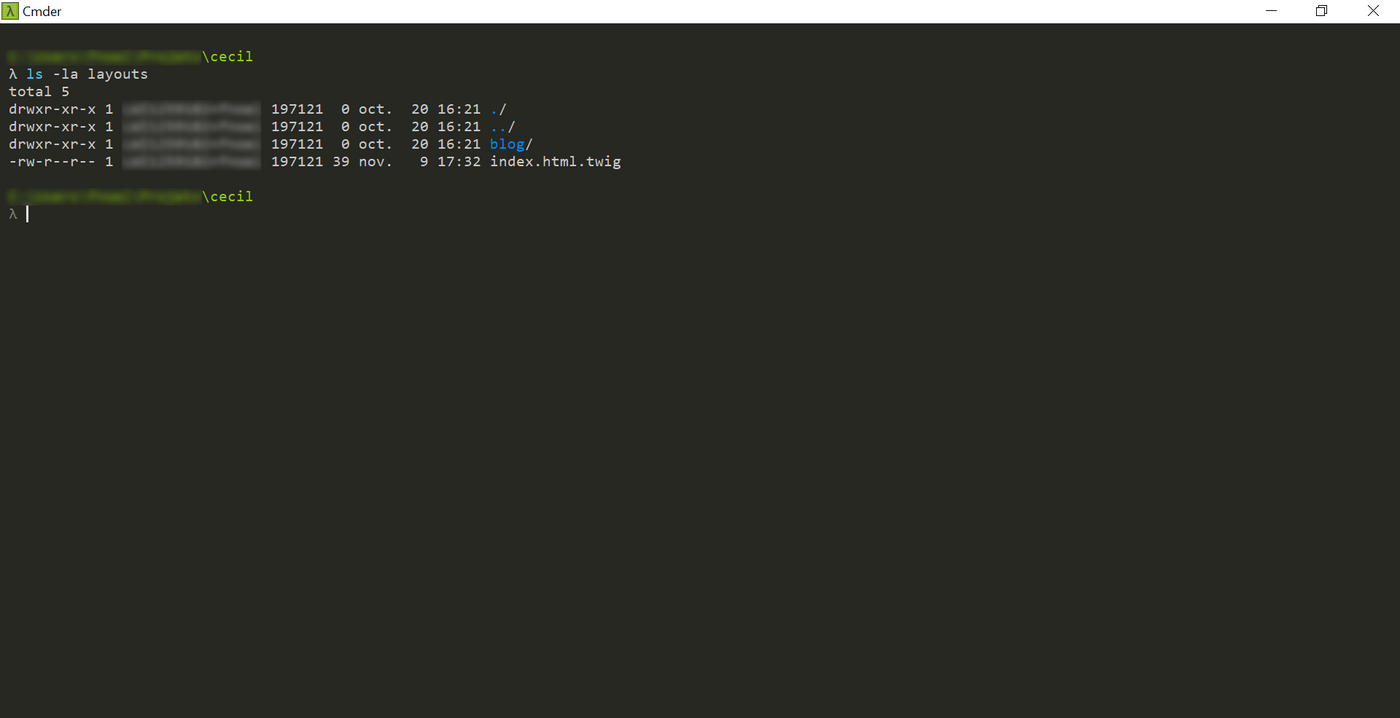
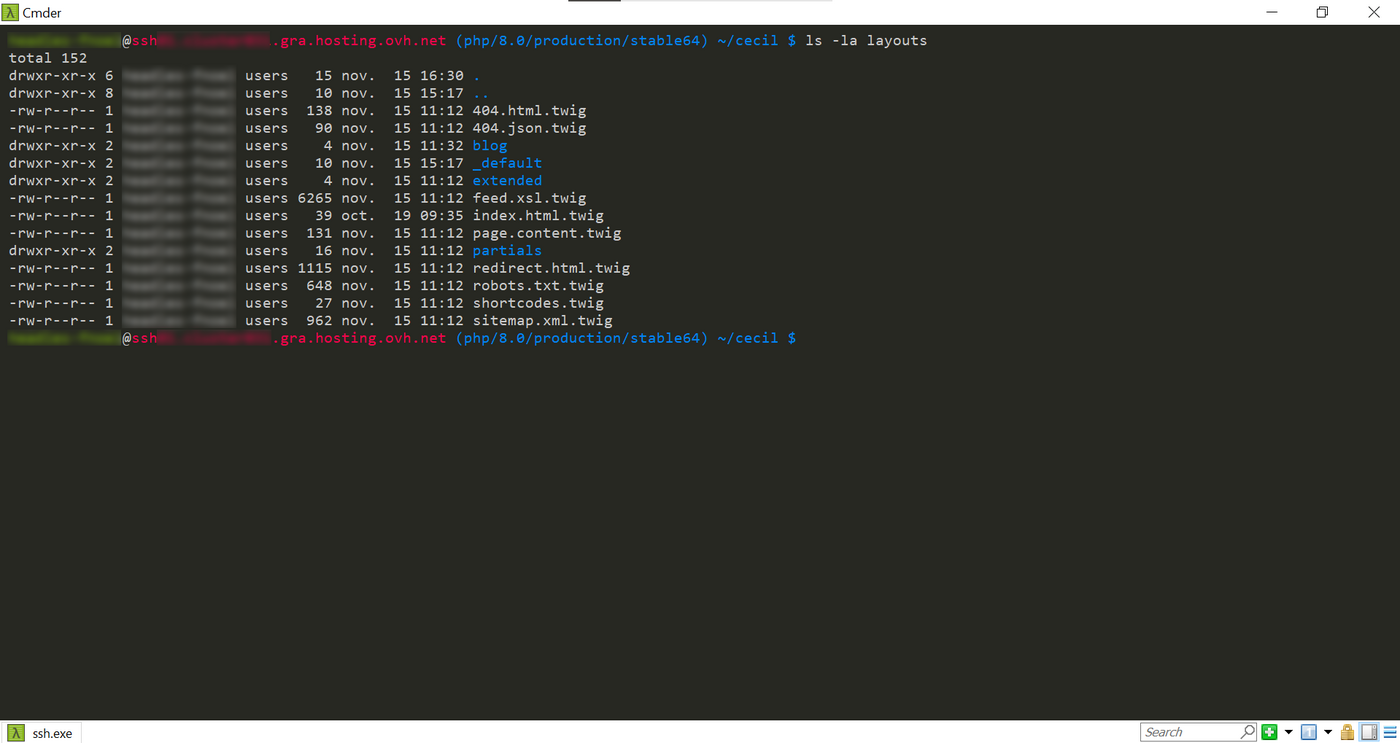
Templates are arranged in the layouts directory. You can view them with the following command:
The file contains a blog directory and an index.html.twig file:
Open the file index.html.twig:
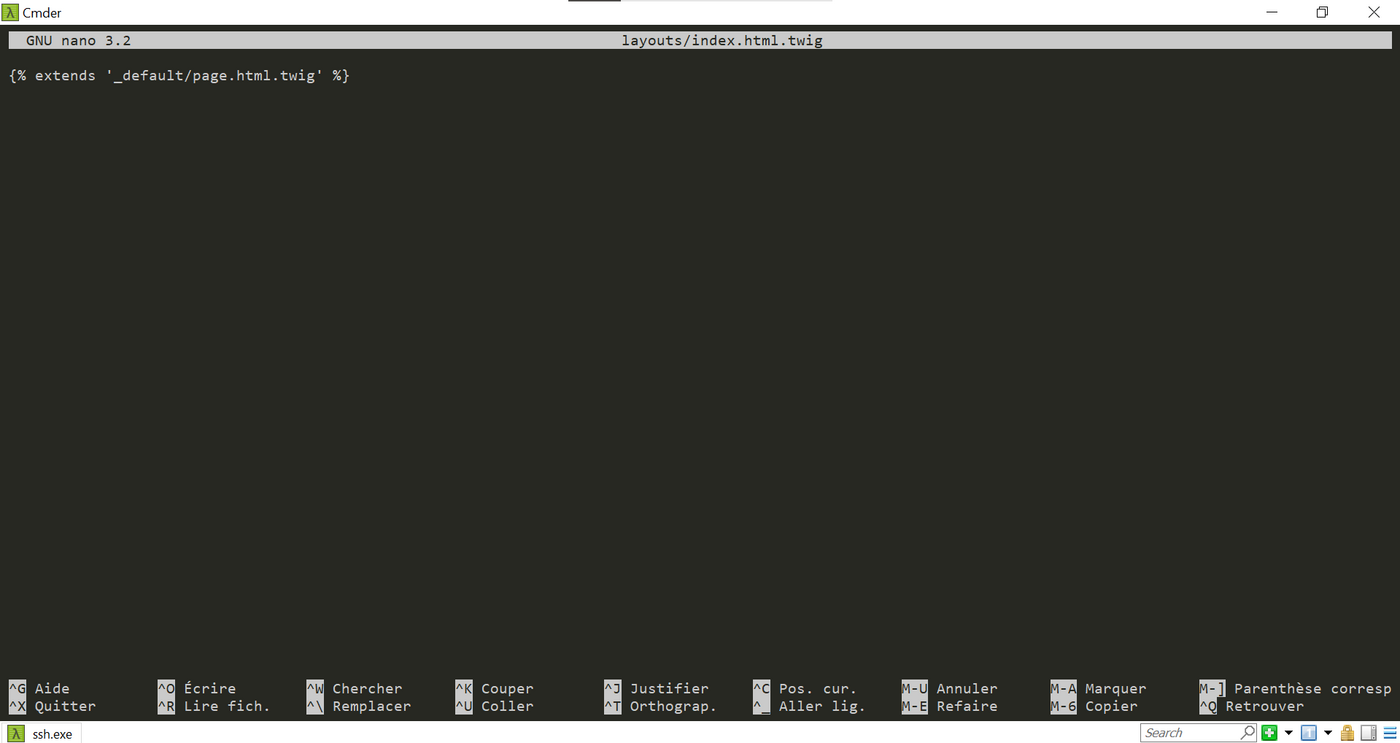
The file references a template that is not present in the directory. This file (and others) are actually inside cecil.phar. Files with the .phar extension are PHP file archives that can be manipulated without being decompressed.
Unzip the files in this archive to make them visible:
Display the contents of the layouts directory again:
Modify the default template to insert a <script> tag that will contain the code to call the API:
This tag and its contents must be placed before the closing tag </body> at the bottom of the page:
When one or more asset files are modified, rebuild the cache with the following command:
If the modifications are not displayed in your web browser, clear the cache. You can also delete the files generated on your Web Hosting plan:
Then rebuild your solution using the command below:
Add JavaScript
JavaScript files, such as CSS files, must be placed in the assets directory. You can organise them in different directories.
Create the previously mentioned script.js file at the root of the assets directory:
Replace the value of the apiKey variable with the key retrieved earlier on the OpenWeather site.
Tests
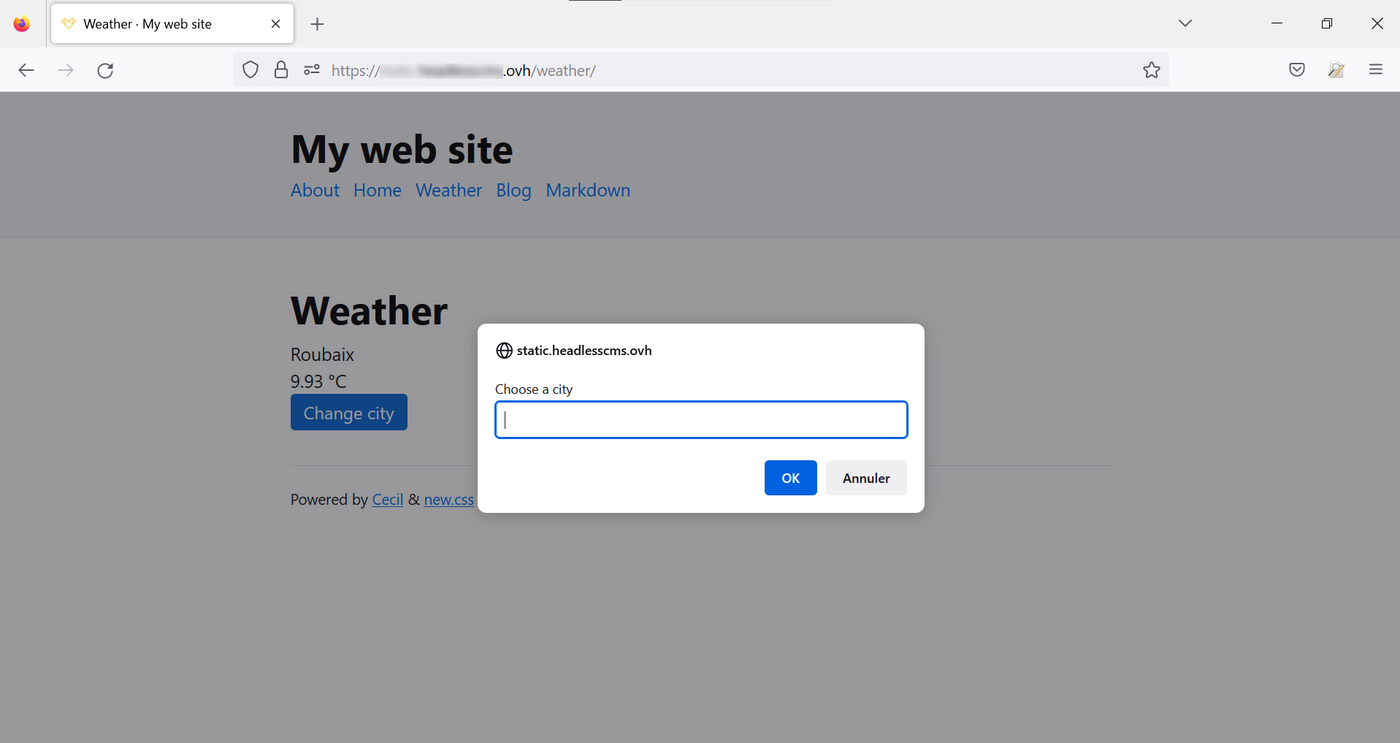
Now visit your website in a web browser:

Click on “Change city” and enter the name of a municipality:

Conclusion
This tutorial shows you an example of how to integrate dynamic data retrieved from external sources using APIs. Build and maintain a website by manually editing the content of these pages, or create new ones. All this while enriching their content from other websites.
Go further
- Some APIs to test on your website:
- Cecil commands
For specialised services (SEO, development, etc.), contact OVHcloud partners.
If you would like assistance using and configuring your OVHcloud solutions, please refer to our support offers.
Join our community of users.

