Deploying an application
301 Views
Objective
OVHcloud Managed Kubernetes service provides you with Kubernetes clusters without the hassle of installation or operation. This guide will explain how to deploy a simple Hello World application on a OVHcloud Managed Kubernetes cluster.
Requirements
- an OVHcloud Managed Kubernetes cluster
- at least one node on the cluster (see the ordering a node guide for details)
- a well configured
kubectl(see the configuring kubectl guide for details)
When a LoadBalancer Service resource is created inside a Managed Kubernetes cluster, an associated Public Cloud Load Balancer is automatically created, allowing public access to your K8S application. The Public Cloud Load Balancer service is hourly charged and will appear in your Public Cloud project. For more information, please refer to the following documentation: Network Load Balancer price.
Instructions
Step 1 - Deploy your first application
The following command will deploy a simple application (nginx image) using a Kubernetes Deployment and a Kubernetes Service.
Create a new namespace:
Create a hello.yml file for our ovhplatform/hello Docker image:
And apply the file:
After applying the YAML file, a new hello-world service and the corresponding hello-world-deployment deployment are created in the hello-app namespace:
The application you have just deployed is a simple Nginx server with a single static Hello World page.
Basically it just deploys the Docker image ovhplatform/hello.
Step 2 - List the pods
You have just deployed a hello-world service in a pod in your worker node. Let's verify that everything is correct by listing the pods.
You should see your newly created pod:
In this tutorial, we chose to create a special namespace to isolate our application.
But if you want to use the default namespace instead, it's the default Kubernetes namespace so you don't need to specify it in your kubectl commands.
Step 3 - List the deployments
You can also verify that the deployment is active:
And you will see the hello-service-deployment:
Step 4 - List the services
Now, you will use kubectl to view your service:
You should see your newly created service:
In case you get <pending> under EXTERNAL-IP, it may take a minute or two to provision the LoadBalancer, so try again in a few moments.
Step 5 - Test your service
Retrieve the URL of the hello-world application:
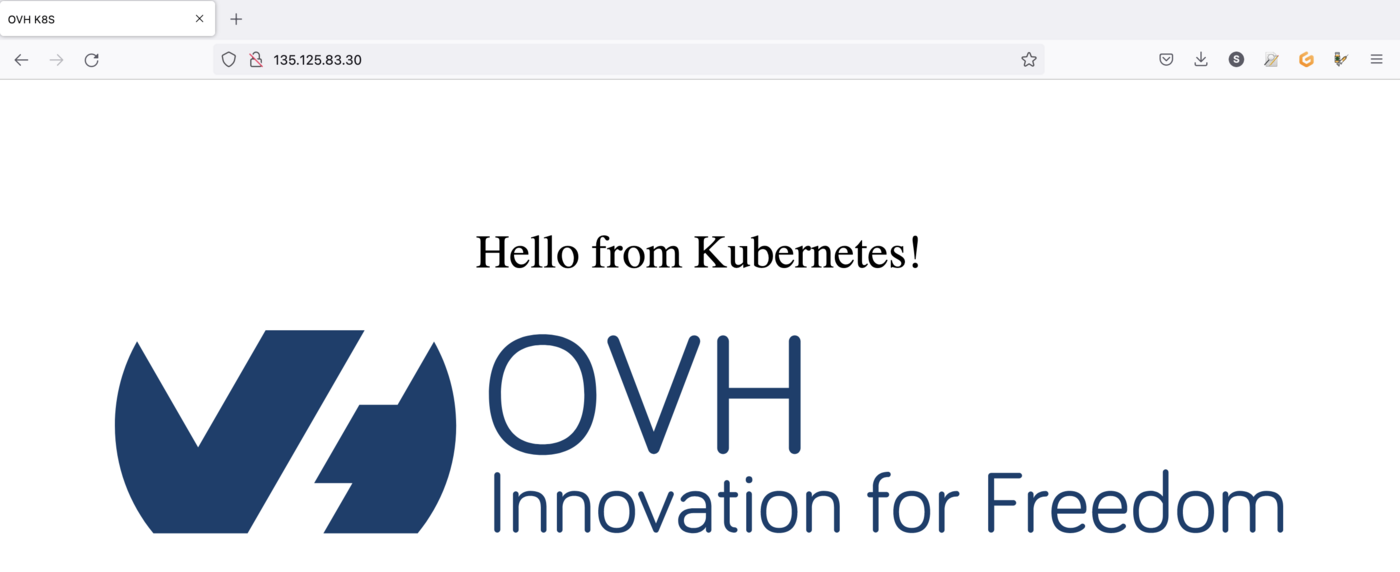
Copy/paste the URL in your browser to see your new running hello-world application:
You can also test the newly created service, in command line, with curl:
You should see your newly created service:
If you have an error message "Failed to connect to 135.125.83.30 port 80: Connection refused", it's normal. The service is starting, so you have to wait a few seconds in order to test it again.
Step 6 - Clean up
At the end, you can clean up by deleting the service and the deployment.
Let's delete the namespace (deleting the namespace will delete all resources created within it, including the deployment and the service):
If you list the services, the deployments and the pods, you will see that hello-world doesn't exist anymore:
Go further
To learn more about using your Kubernetes cluster the practical way, we invite you to look at our OVHcloud Managed Kubernetes doc site.
-
If you need training or technical assistance to implement our solutions, contact your sales representative or click on this link to get a quote and ask our Professional Services experts for assisting you on your specific use case of your project.
-
Join our community of users.

