Build and connect a Node.js application to Public Cloud Databases for MongoDB
316 Views
Objective
In this tutorial, we will use the Node.js platform to build a real-time chat application that sends and shows messages to a recipient instantly without any page refresh. We will use the JavaScript framework Express.js and the Mongoose and Socket.io libraries to achieve this.
OVHcloud provides services for which you are responsible for their configuration and management. You are therefore responsible for their proper functioning.
This tutorial is designed to help you as much as possible with common tasks. If you are having difficulty performing these actions, please contact a specialized service provider and/or discuss it with our community of users on https://community.ovh.com/en/. OVHcloud can't provide you with technical support in this regard.
Requirements
- A Public Cloud project in your OVHcloud account
- Access to the OVHcloud Control Panel
- A MongoDB database running on your OVHcloud Public Cloud Databases (this guide can help you to meet this requirement)
- Configure your MongoDB instance to accept incoming connections
- A NodeJS working environment and public network connectivity (Internet). This tutorial was made using NodeJS LTS 16.14.0.
Instructions
Building a simple Chat Application
Our app must allow multiple users to chat together. The messages should update without refreshing the page. For simplicity, we will be avoiding authentication.
We can start by creating a new project directory and moving into it. Then we can initiate our project with the following command:
This will prompt us to enter details about our project.
After this a package.json file will be created:
Our app directory is now set.
The first thing we need to do is to create a server. In order to create that, we will be making use of a framework named Express.
Express.js
Express.js, or simply Express, is a web application framework for Node.js. Express provides a robust set of features for web and mobile applications and a thin layer of fundamental web application features, without obscuring Node.js features.
Install Express.js using the following command:
Inside the package.json file, a new line will be added:
Next, we will create a server.js file.
In this file, we need to require Express and create a reference to a variable from an instance of Express. Static contents like HTML, CSS or JavaScript can be served using Express.js:
And we can start listening to a port using the code:
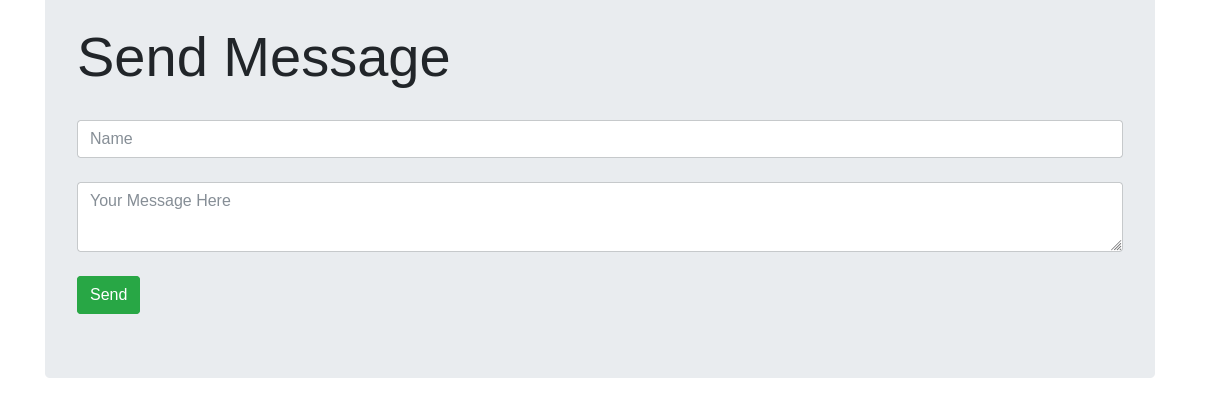
Now we need to create an HTML file, index.html, that displays our UI.
Please note that the empty <script></script> tag will be the place where we will write the client-side JavaScript code.
In order to tell Express that, we will be using a static file. We will add a new line inside server.js:
We can run server.js using the command:
Or with a package called nodemon, so that the changes made in the code will be automatically detected. Download nodemon using the command:
The -g stands for global, so that it is accessible in all projects.
Run the code using the command:
If you go to localhost:3000 we can see the index file:
Now that our server is up and running, we need to create our database. For this app, we will have a No-SQL database and will be using MongoDB. Our database will contain a single collection called messages with the fields name and message.
In order to connect this database to the app, we will use another package called Mongoose.
Mongoose
Mongoose is a MongoDB object modeling tool designed to work in an asynchronous environment.
Mongoose can be installed with the command:
Inside server.js we will require Mongoose:
We will assign a variable, the Service URI of our MongoDB instance database.
Mongoose will connect to the MongoDB database with the connect method:
And we will be defining our message model as:
We can implement the chat logic now, but before that, there is one more package that needs to be added.
Body-Parser
Body-Parser extracts the entire body portion of an incoming request stream and exposes it on req.body. The middleware was a part of Express.js earlier, but now you have to install it separately.
Install it using the following command:
Add the following code to server.js:
Routing
Routing refers to how an application's endpoints (URIs) respond to client requests. You define routing using methods of the Express app object that correspond to HTTP methods: app.get() to handle GET requests and app.post() to handle POST requests.
These routing methods specify a callback function (sometimes called “handler functions”) called when the application receives a request to the specified route (endpoint) and HTTP method. In other words, the application “listens” for requests that match the specified routes and methods, and when it detects a match, it calls the specified callback function.
Now we need to create two routes to the messages for our chat to work.
Inside server.js:
- Get will get all the message from the database:
- Post will post new messages created by the user to the database:
In order to connect these routes to the front end we need to add the following code in the client side script tag in the index.html:
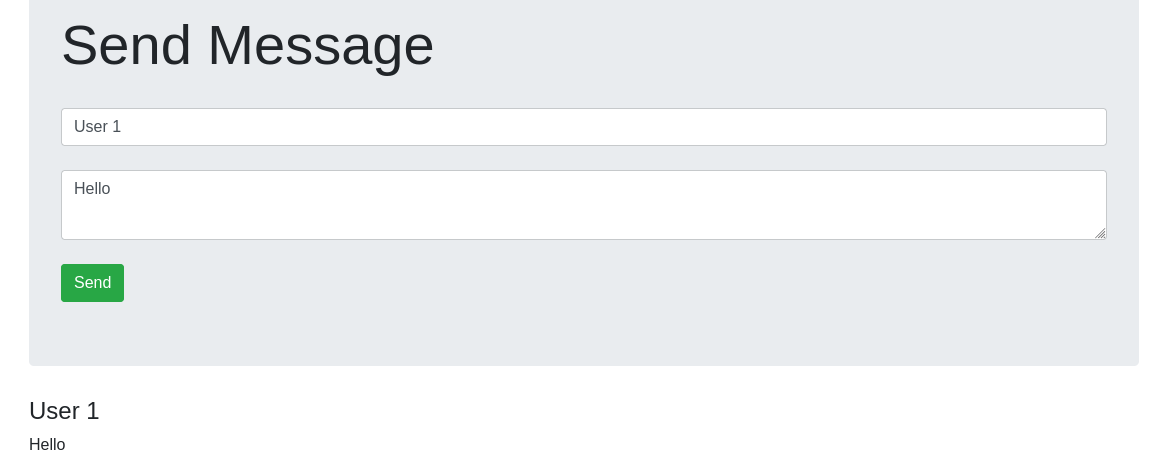
Here sendMessage is used to invoke the post route of the messages and save a message sent by the user. The message is created when a user clicks the send button.
Similarly, getMessage is used to invoke the get route of messages. This will get all the messages saved in the database and will be appended to the messages div.
The only issue now is that there is no way for the client to know if the server is updated. So each time we post a message we need to refresh the page to see the new messages.
To solve this we can add a push notification system that will send messages from server to client. In Node.js we use socket.io.
Socket.io
Socket.io is a JavaScript library for real-time web applications. It enables real-time, bi-directional communication between web clients and server and has two parts: a client-side library that runs in the browser and a server-side library for Node.js. Socket.io enables real-time bi-directional event-based communication.
To install socket.io:
We also need an HTTP package for Socket.io to work:
Add the following code to server.js:
And create a connection:
In index.html, add the following tag:
Now we need to create an emit action when a message is created in server.js. So the post route becomes:
And in the client side script tag in index.html, add the following code:
So each time a message is posted, the server will update the messages in the message div.
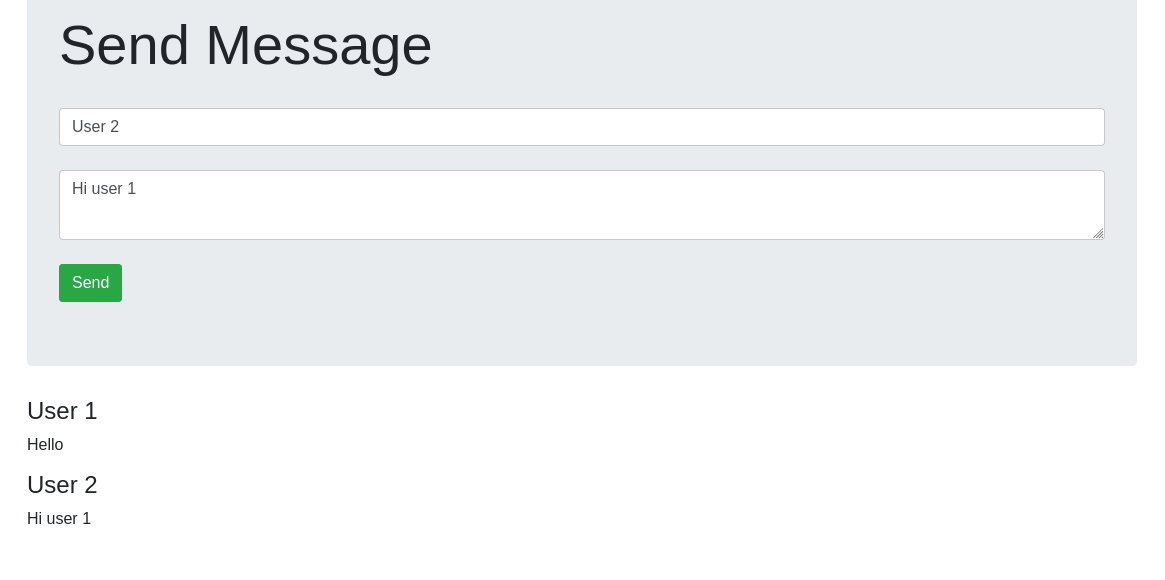
Great! You now have a nodeJS chat application up and running, with messages stored on a MongoDB cluster. Reach out to official NodeJS tutorials for more use cases.
Attachments
package.json
index.html
server.js
spec/server.spec.js
spec/support/jasmine.json
We want your feedback!
We would love to help answer questions and appreciate any feedback you may have.
If you need training or technical assistance to implement our solutions, contact your sales representative or click on this link to get a quote and ask our Professional Services experts for a custom analysis of your project.
Are you on Discord? Connect to our channel at https://discord.gg/ovhcloud and interact directly with the team that builds our databases service!

