Managing your Public Cloud instances
443 Views
Objective
You can manage your Public Cloud instances in the OVHcloud Control Panel.
This guide explains the available Control Panel actions for a Public Cloud instance.
Requirements
- A Public Cloud project in your OVHcloud account
- A Public Cloud instance in your project
OVHcloud Control Panel Access
- Direct link: Public Cloud Projects
- Navigation path:
Public Cloud> Select your project
Instructions
Using the management interface for instances
Click on Instances in the left-hand menu.
This page lists all your Public Cloud instances and some of their properties:
- The instance ID, needed for certain API calls
- The location of the data centre i.e. the region of the instance
- The instance template
- The image i.e. the OS installed on the instance
- The IPv4 address of the instance
- The private address currently attached to the instance
- Additional volumes (disks) currently attached to the instance
- The status of the instance, indicating whether it is in the
Activatedstate
Management options on the instance dashboard
From the instance management page, click on the name of the instance concerned.
This will take you to the General Information page, which centralizes the main details and operating status of your instance (status, resources, network, access, and metadata).
Some of these operations are also accessible from the instance management page via the ... button in the instance table.
Editing the configuration of the instance
Click Edit image, or open Additional actions and then select Edit.
The new page displays a modified version of the instance creation options where you can edit the following items:
- Renaming the instance: You can give a name to the instance for easier identification.
- Changing the image: You can choose a different operating system for the instance. (Note that reinstalling an instance will delete all data stored on it.)
- Changing the template: You can switch to a different instance model. Refer to this guide for more information about the options.
- Changing the billing type: You can change the billing period of the instance from hourly to monthly. Refer to this guide for detailed information.
Creating a backup of the instance
Click on Create a backup.
Refer to our guide Backing up an instance for detailed information.
Deleting an instance
Click on Delete.
This action will permanently delete the instance, as well as all of the data stored on it.
Confirm the request in the popup window.
Deleting an instance does not automatically delete all the options associated with it (storage, snapshot, backup, etc...), so make sure that all other options associated with the instance are also deleted to stop being billed.
Attach a volume
Click Attach a volume.
Then select the volume to associate with the instance and click Confirm. Once attached, the volume is immediately available and can be mounted from the instance's operating system.
Change the reverse DNS
Click on ⋮ then Change reverse DNS.
Refer to the guide How to configure the reverse DNS of my connection for more information.
Configure the firewall
Click on ⋮ then Configure the firewall.
Refer to the guide Enabling and configuring the Edge Network Firewall for more information.
Manage private networks
Click on ⋮ then Manage private networks.
Refer to the guide Creating a private network with Gateway for more information.
Attach a network
Click on ⋮ then Attach a network.
Select the desired network from the drop-down list, then click Confirm.
Additional actions
Click on Additional actions
Creating an automatic backup of the instance
Click on Create an automatic backup.
Refer to our guide Backing up an instance for detailed information.
Stop the instance
Click on Stop.
This will put the instance in an Off state, but you will still be charged the same price for your instance. Refer to our guide Shelve or pause an instance for detailed information.
Click on Boot to reactivate the instance.
Using rescue mode
Click on Reboot in rescue mode.
This will activate rescue mode for the instance. Refer to our guide How to activate rescue mode on a Public Cloud instance for detailed information.
Restarting the instance
The Hot reboot option is currently not available for Metal instances.
- Click on
Hot reboot (soft)to perform a software-level reboot. - Click on
Cold reboot (hard)to perform a hardware-level reboot.
Confirm the reboot request in the popup window.
Shelving the instance
Click on Suspend.
This will put the instance in the "shelved" state, here displayed as Suspended. Consult our guide Shelve or pause an instance to learn more about the different states.
Click on Reactivate to restore the Activated state.
Reinstalling an instance
Click on Reinstall.
This action will reinstall the instance with the same operating system, provided the image is still supported.
Note that reinstalling deletes all data currently stored on your instance.
Accessing the VNC console
Click on Instances in the left-hand menu. On the instance management page, click on the name of the instance in the table.
Switch from the dashboard to the tab VNC console.
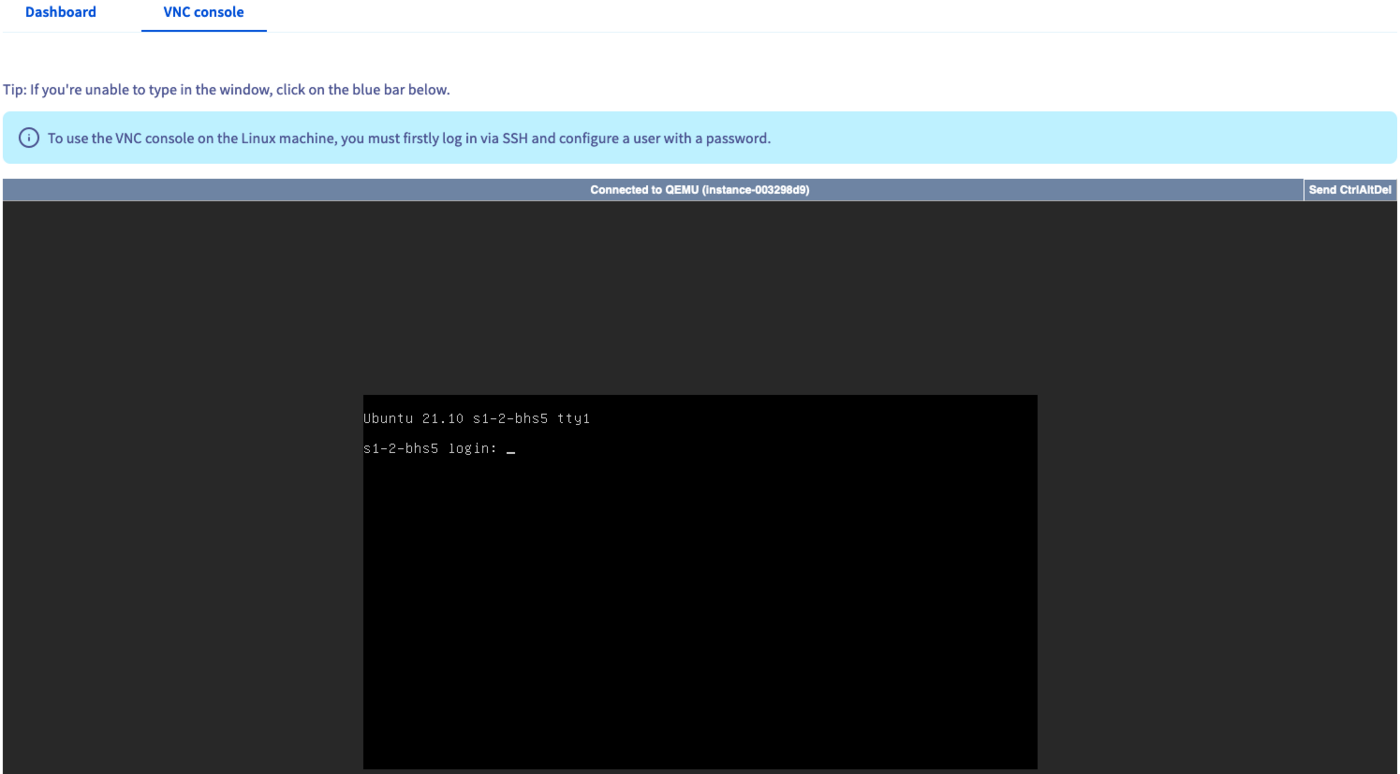
The VNC console provides direct access to your instance. For this to work, first configure a username and password on the instance.
Consult our Getting started guide to learn more about the necessary steps.
Go further
Creating and connecting to your first Public Cloud instance
If you need training or technical assistance to implement our solutions, contact your sales representative or click on this link to get a quote and ask our Professional Services experts for assisting you on your specific use case of your project.
Join our community of users.

