Backing up an instance
311 Views
Objective
You can create a single backup of an instance or configure a schedule in order to automate your instance backups. Backups can be used to restore your instance to a previous state or to create a new, identical instance.
This guide explains how to create manual and automatic backups of a Public Cloud instance.
Requirements
- A Public Cloud instance in your OVHcloud account
- OpenStack CLI. Use our guide to know how to prepare the environment to use the OpenStack API. (optional)
OVHcloud Control Panel Access
- Direct link: Public Cloud Projects
- Navigation path:
Public Cloud> Select your project
Instructions
Creating a backup of an instance
This option is only available through a Cold Snapshot for Metal instances. During this process, the Metal instance will be switched to rescue-mode, and once the backup is performed, the instance will reboot back to normal mode.
Two types of backup are available:
- Local: A local backup is stored in the same region as your instance.
- Distant: A distant backup automatically creates a copy of the local backup in a different region of your choice.
Each backup is billed separately — the distant backup will be charged based on the storage pricing of the selected remote region.
Note: Local Zones are not eligible for distant backups.
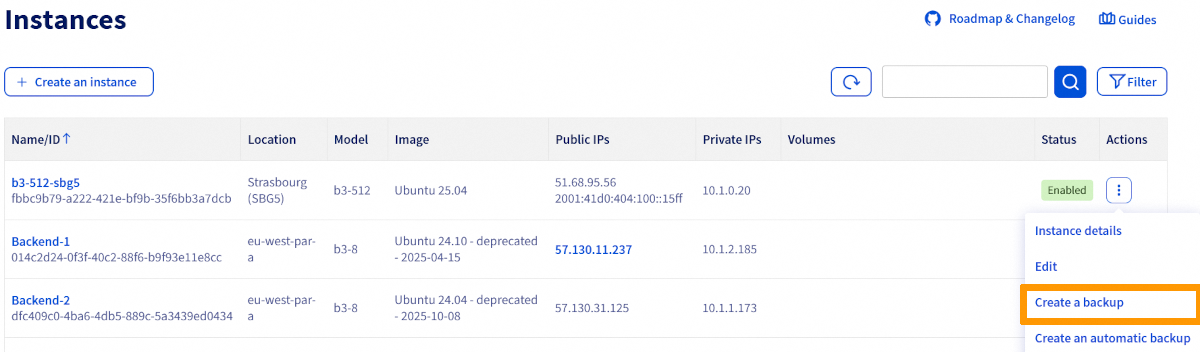
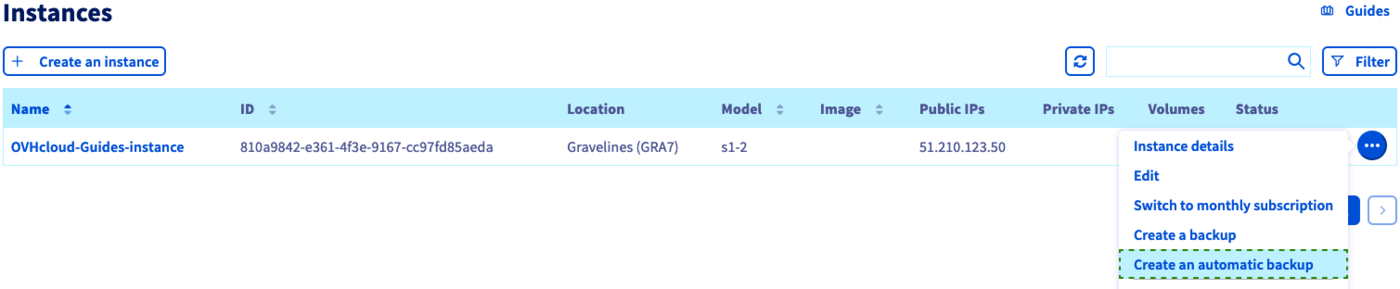
Click on Instances in the left-hand menu.
Click on the ... button to the right of the instance and select Create backup.
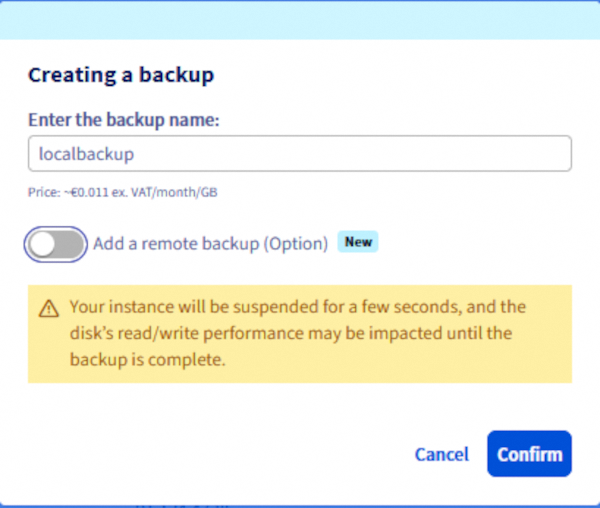
Local backup
Enter a name for the backup. Review the pricing information and click Confirm.
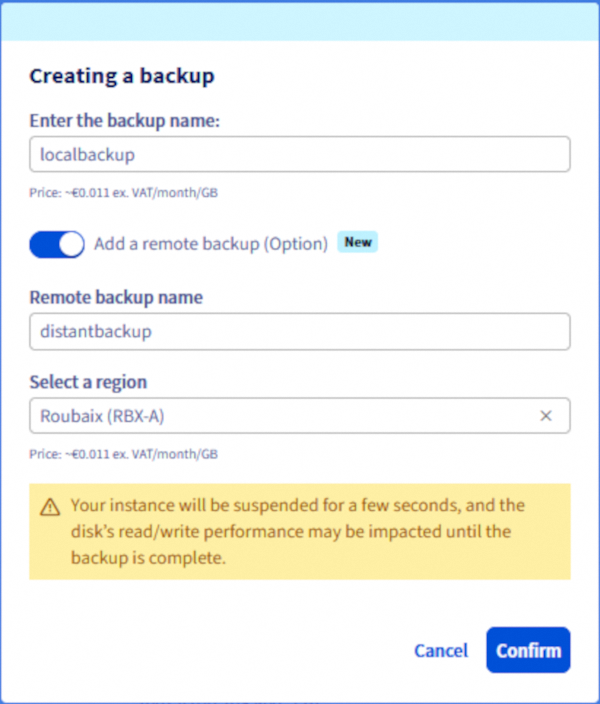
Distant backup
Enter a name for the backup. Review the pricing information. Click Add a remote backup (Option), enter a name for distant backup, select a region and click Confirm
It is not possible to monitor backup progress in real time. However, in the Instance Backup section under Compute in the left-hand menu, the status Backup in progress will be displayed during the process.
Once the backup is complete, it will be available in the Instance Backup section under Compute in the left-hand menu.

Log in to the OVHcloud API.
You can then list all available regions using the following API call:
Then use the following API call:
Fill in the variables:
- instanceId: The unique instance ID.
- regionName: The region name where the source instance is located.
- serviceName: The OVHcloud project ID.
- distantRegionName (optional): The remote region name where the distant backup will be stored.
- distantSnapshotName (optional): The name of the distant backup to create in the remote region.
- snapshotName: The name of the snapshot (local backup) to create.
Only create a distant backup if the parameters related to the remote region (distantRegionName and distantSnapshotName) are provided.
Run the following command to display the list of instances:
You can list all available regions using the following command:
Local backup
Then run the following command to create a backup of your instance:
Remote backup
Run the following command after following the local backup step:
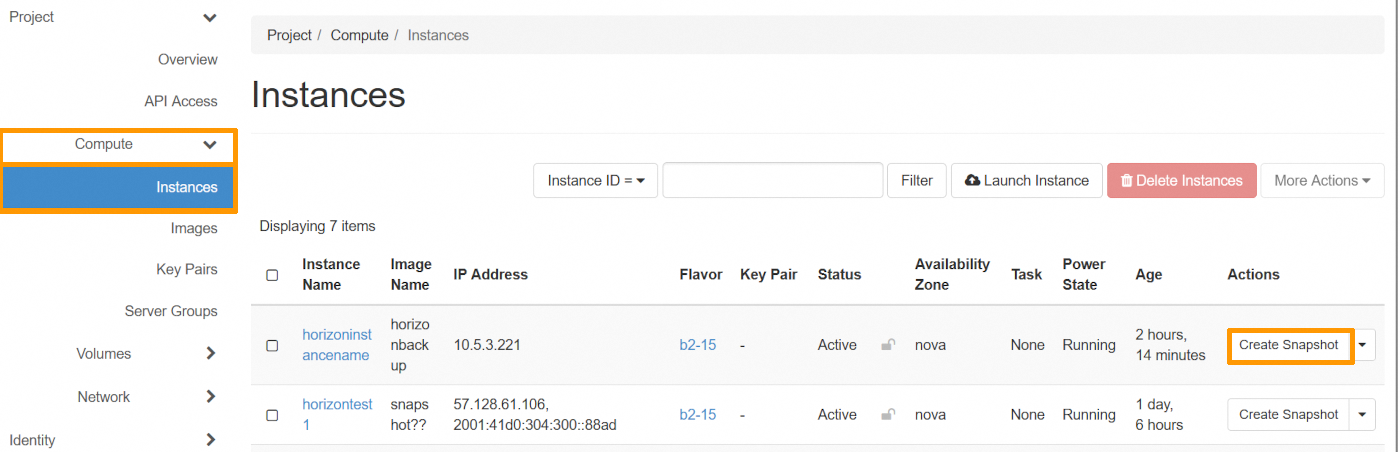
Click on the Compute menu on the left, then select Instances.
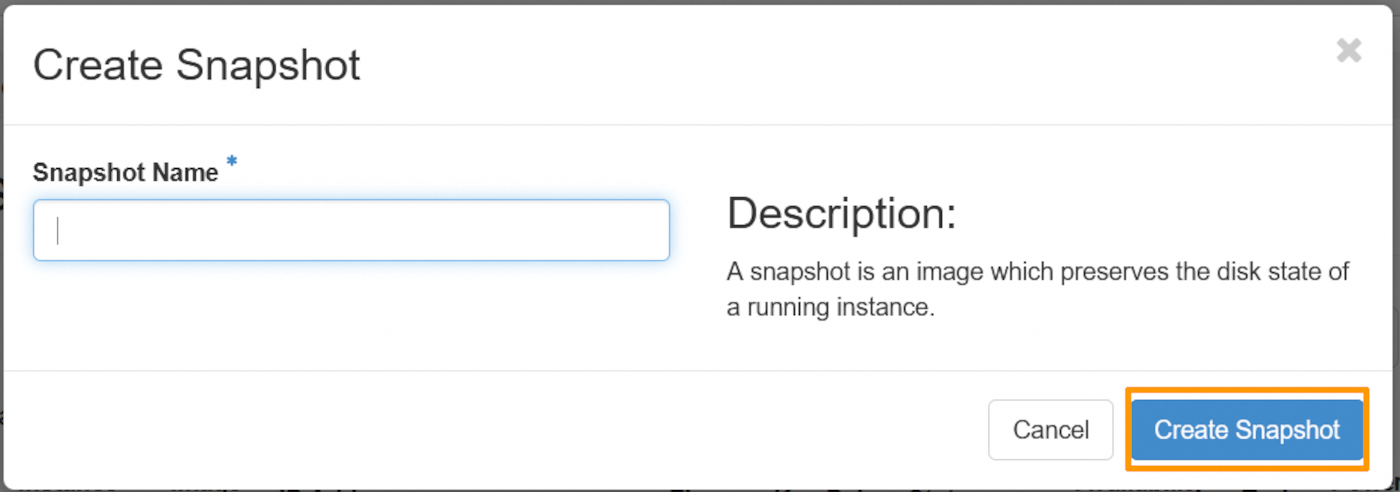
Then click on the Create Snapshot button to the right of the instance line.
Fill in the backup name and press the Create Snapshot button.
Creating an automated backup of an instance
If you want to automate this functionality directly via OpenStack, you can create a Mistral workflow associated with a cron trigger.
Click on the ... button to the right of the instance and select Create an automatic backup.
You can configure the following backup settings on the next page:
The workflow
Currently, only one workflow exists. It will create a backup for the instance and its primary volume.

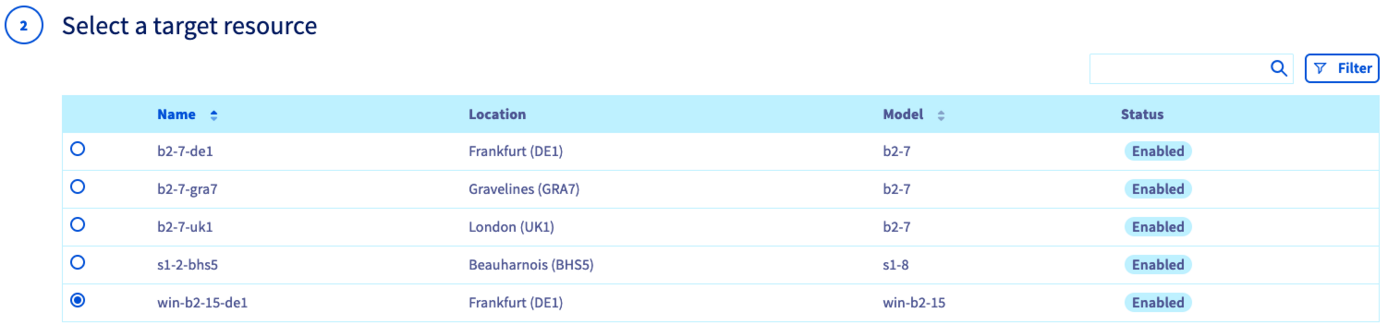
The resource
You can select the instance to back up.
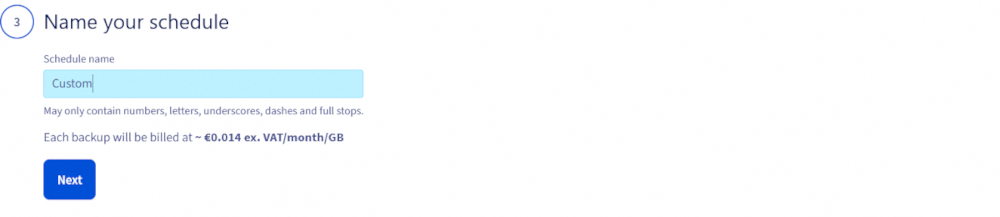
The name
Enter a name for the automatic backup schedule. Take note of the pricing information and create the schedule with Confirm.
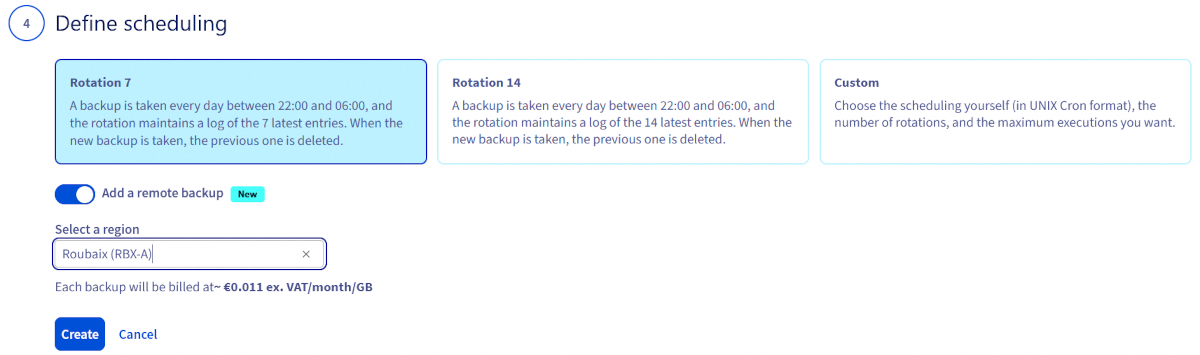
The schedule
You can set up a custom backup schedule or choose one of the default frequencies:
- Daily backup with retention of the last 7 backups
- Daily backup with retention of the last 14 backups

Adding a remote backup
Click the Add a remote backup button, select a location, review the pricing information, and click the Create button.
Managing backups and schedules
Schedules can be created and deleted in the Workflow Management section, which is located under Compute in the left-hand menu.

Your instance backups are managed in the Public Cloud Instance Backup section, which can be found under Compute in the left-hand menu.
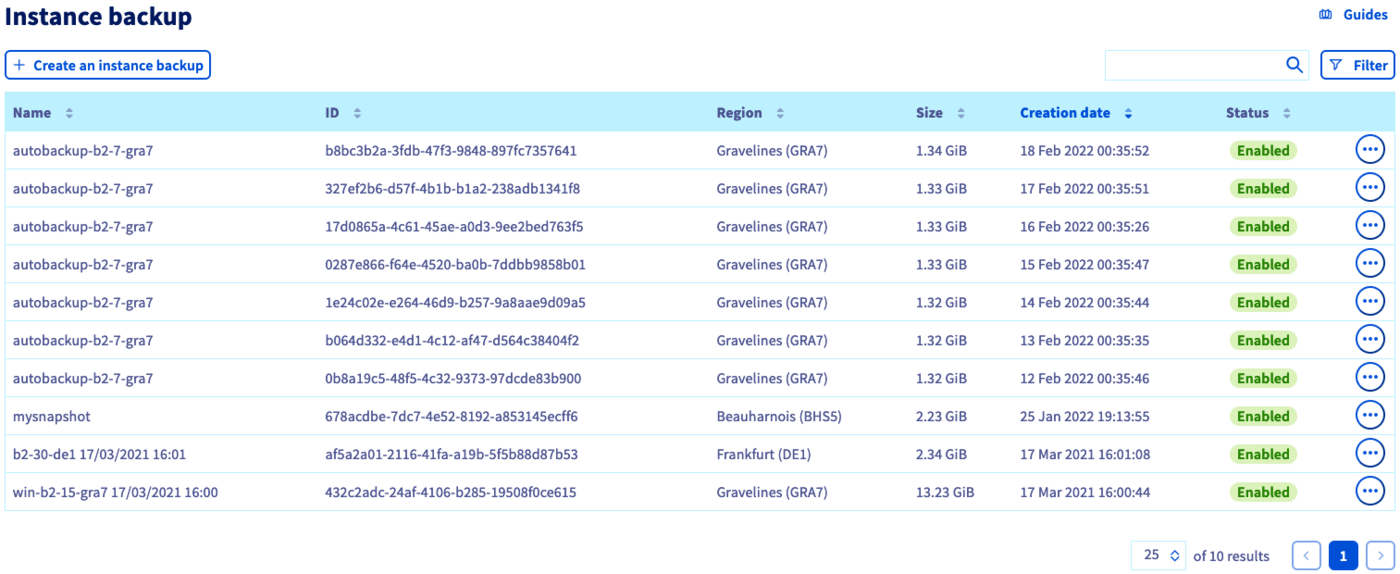
The instance backup option must be deleted separately if you no longer wish to be billed for it. Deleting an instance does not delete the options attached to it.
Note that you cannot delete an instance backup if an instance that has been spawned from this backup is running at the time of the delete action.
Find out how to use backups to clone or restore instances in this guide.
Go further
Using instance backups to create or restore an instance
Join our community of users.

